Modeling & Materials

Weekly Design Challenge Template

Object Selection and Introduction to Modeling


Module 1


I photographed eight everyday objects to study their shapes and details. I also tried modeling a button myself in Blender and wrote prompts for AI to generate a smartwatch model.

Design Challenge 1
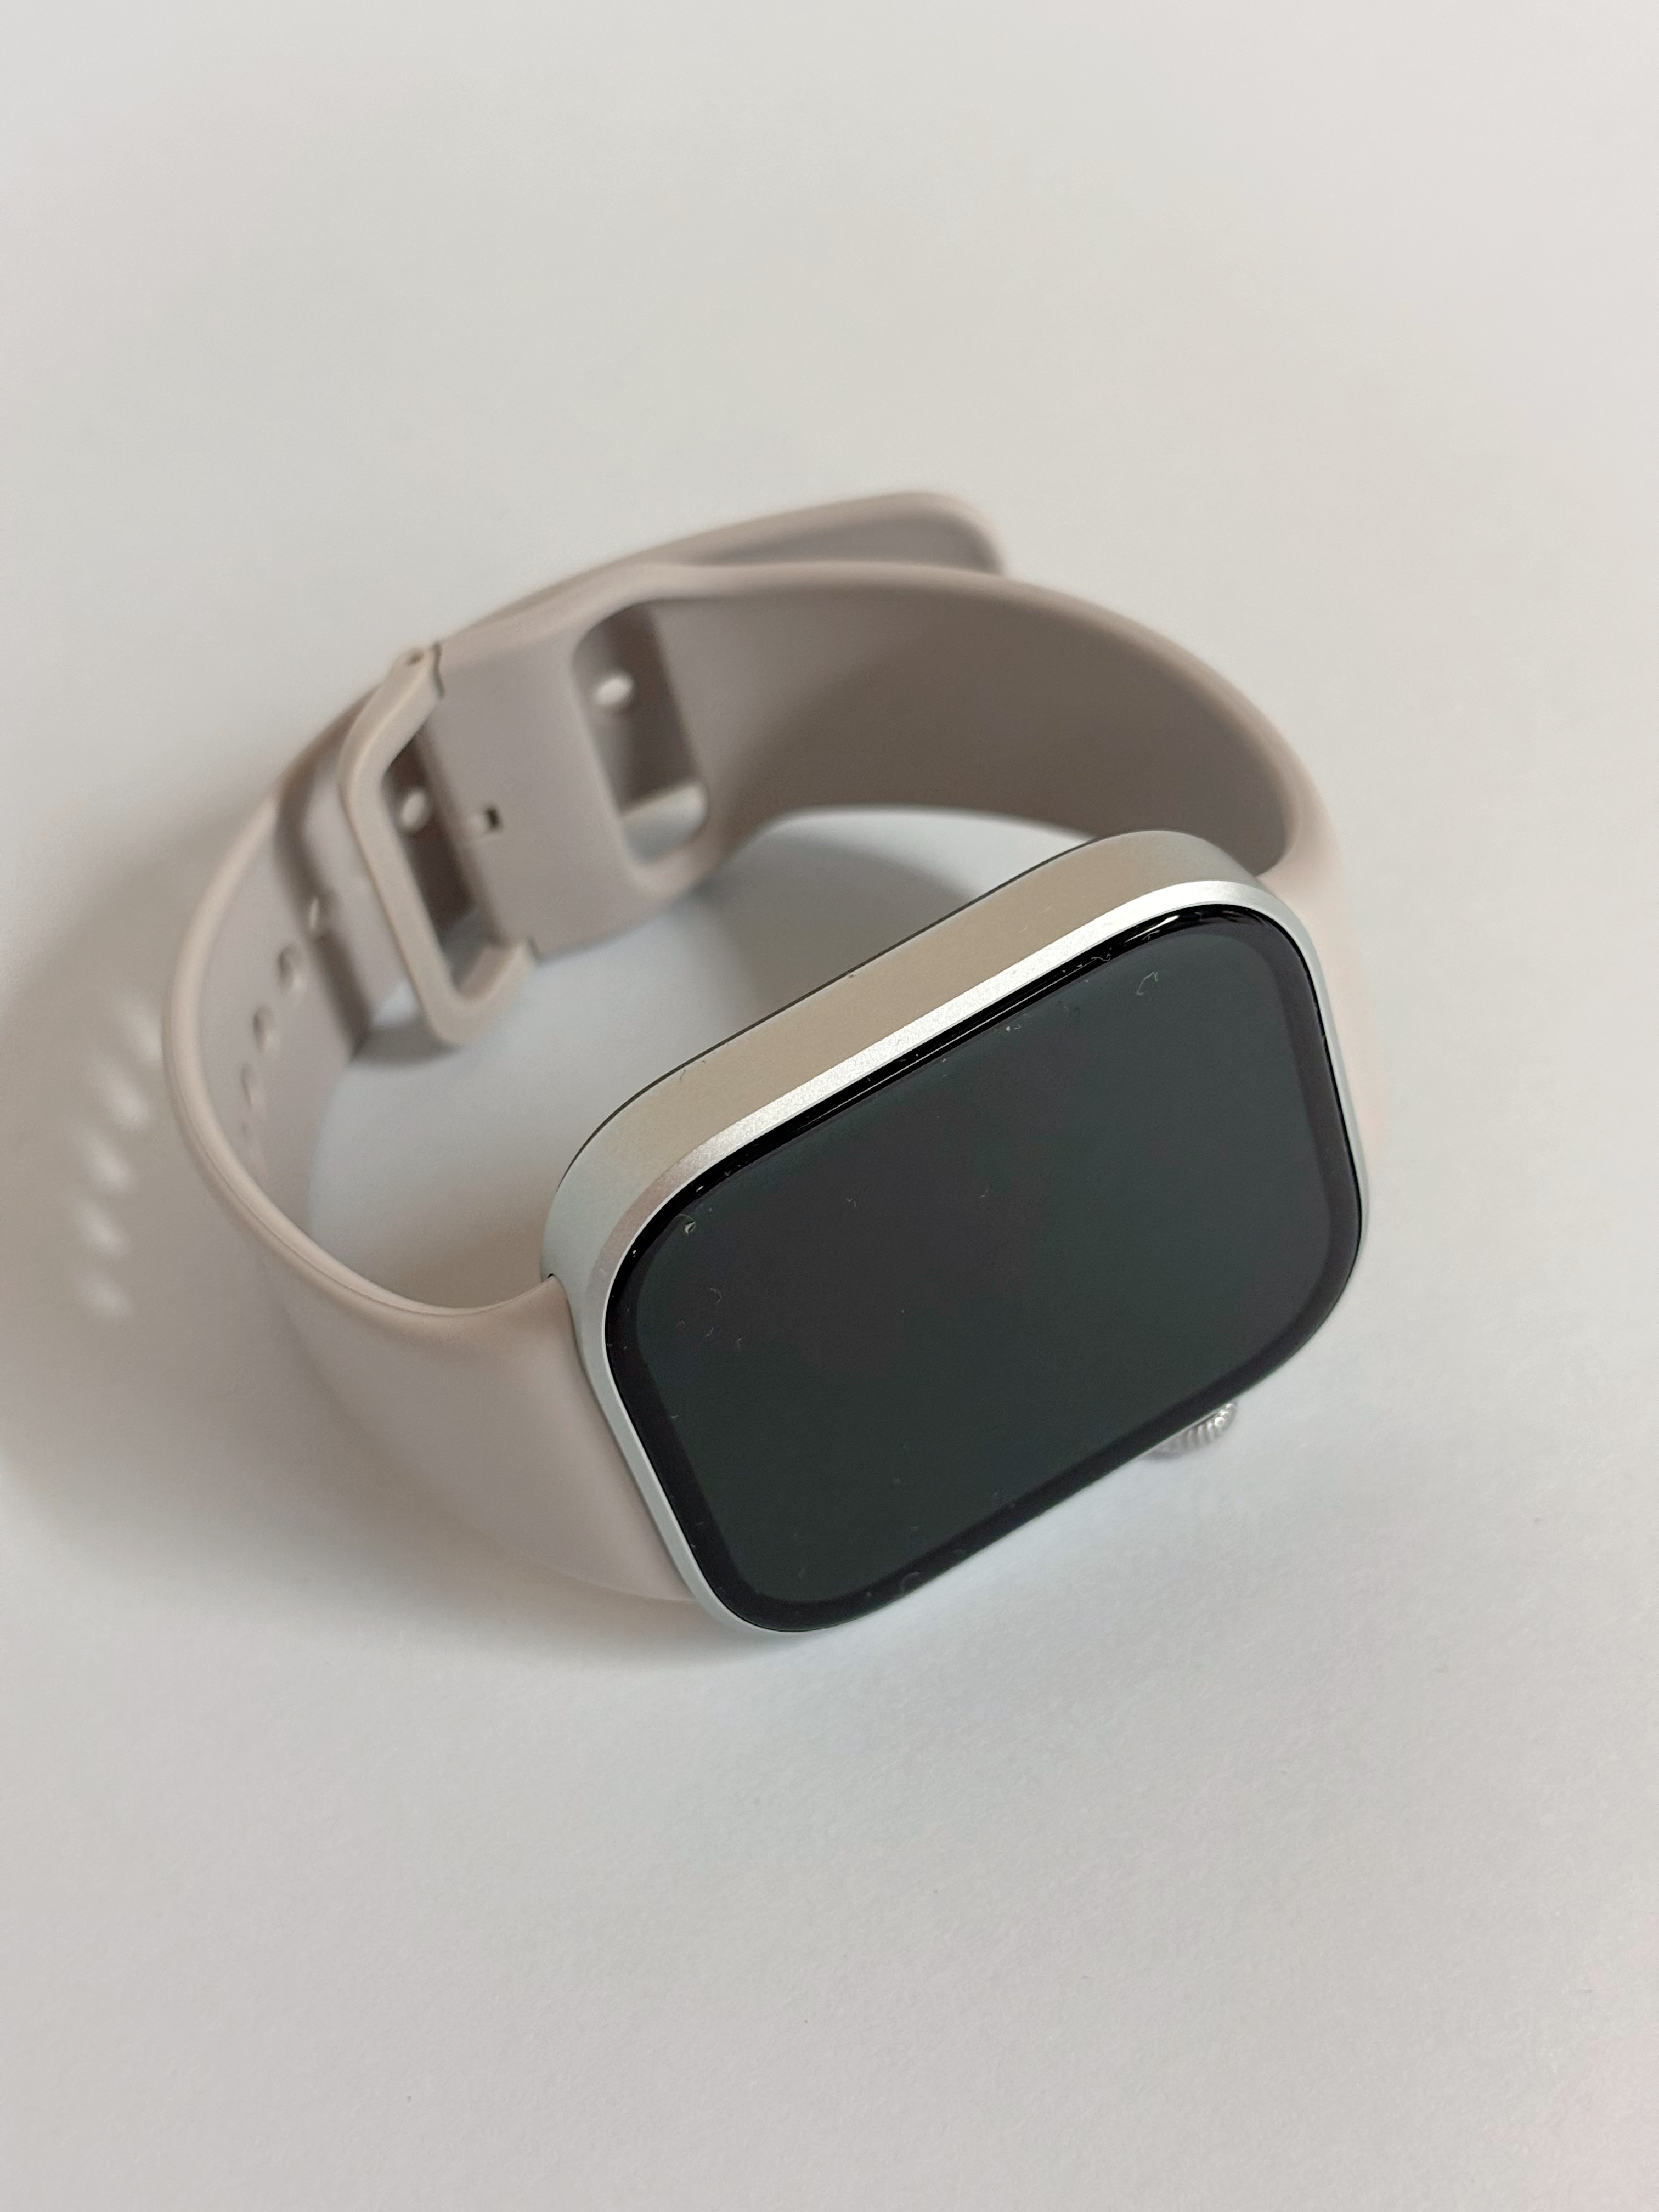
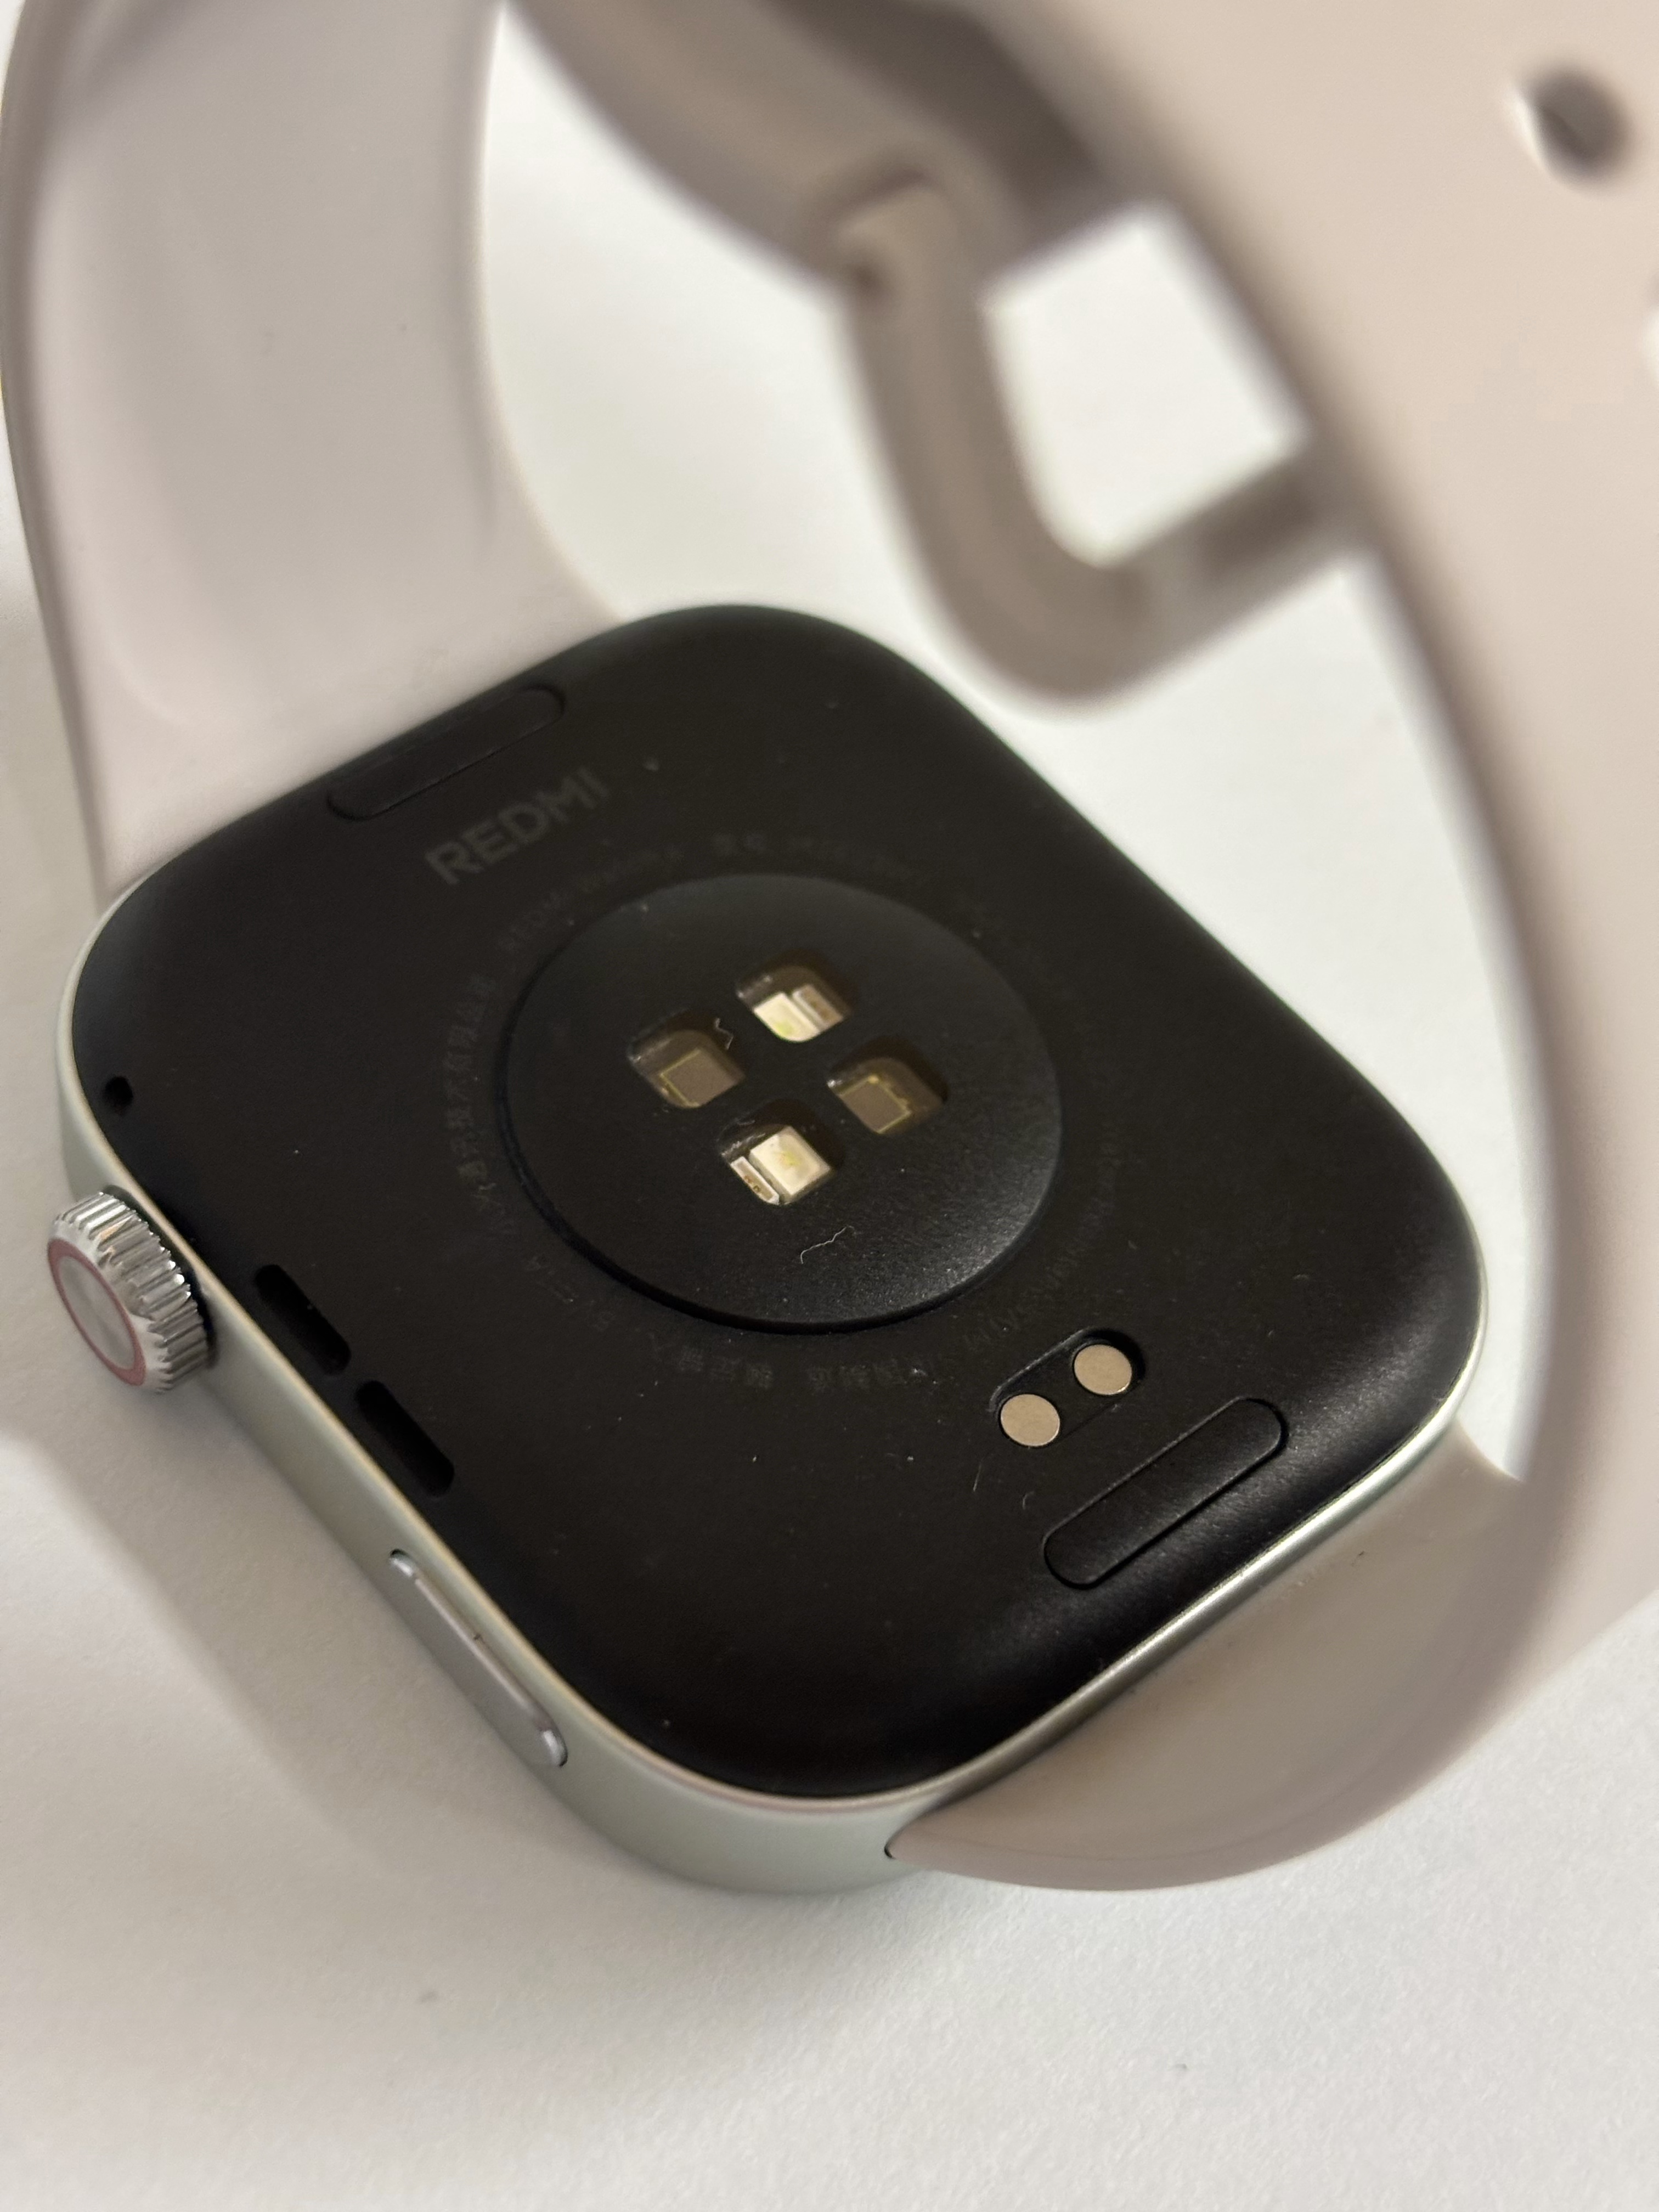
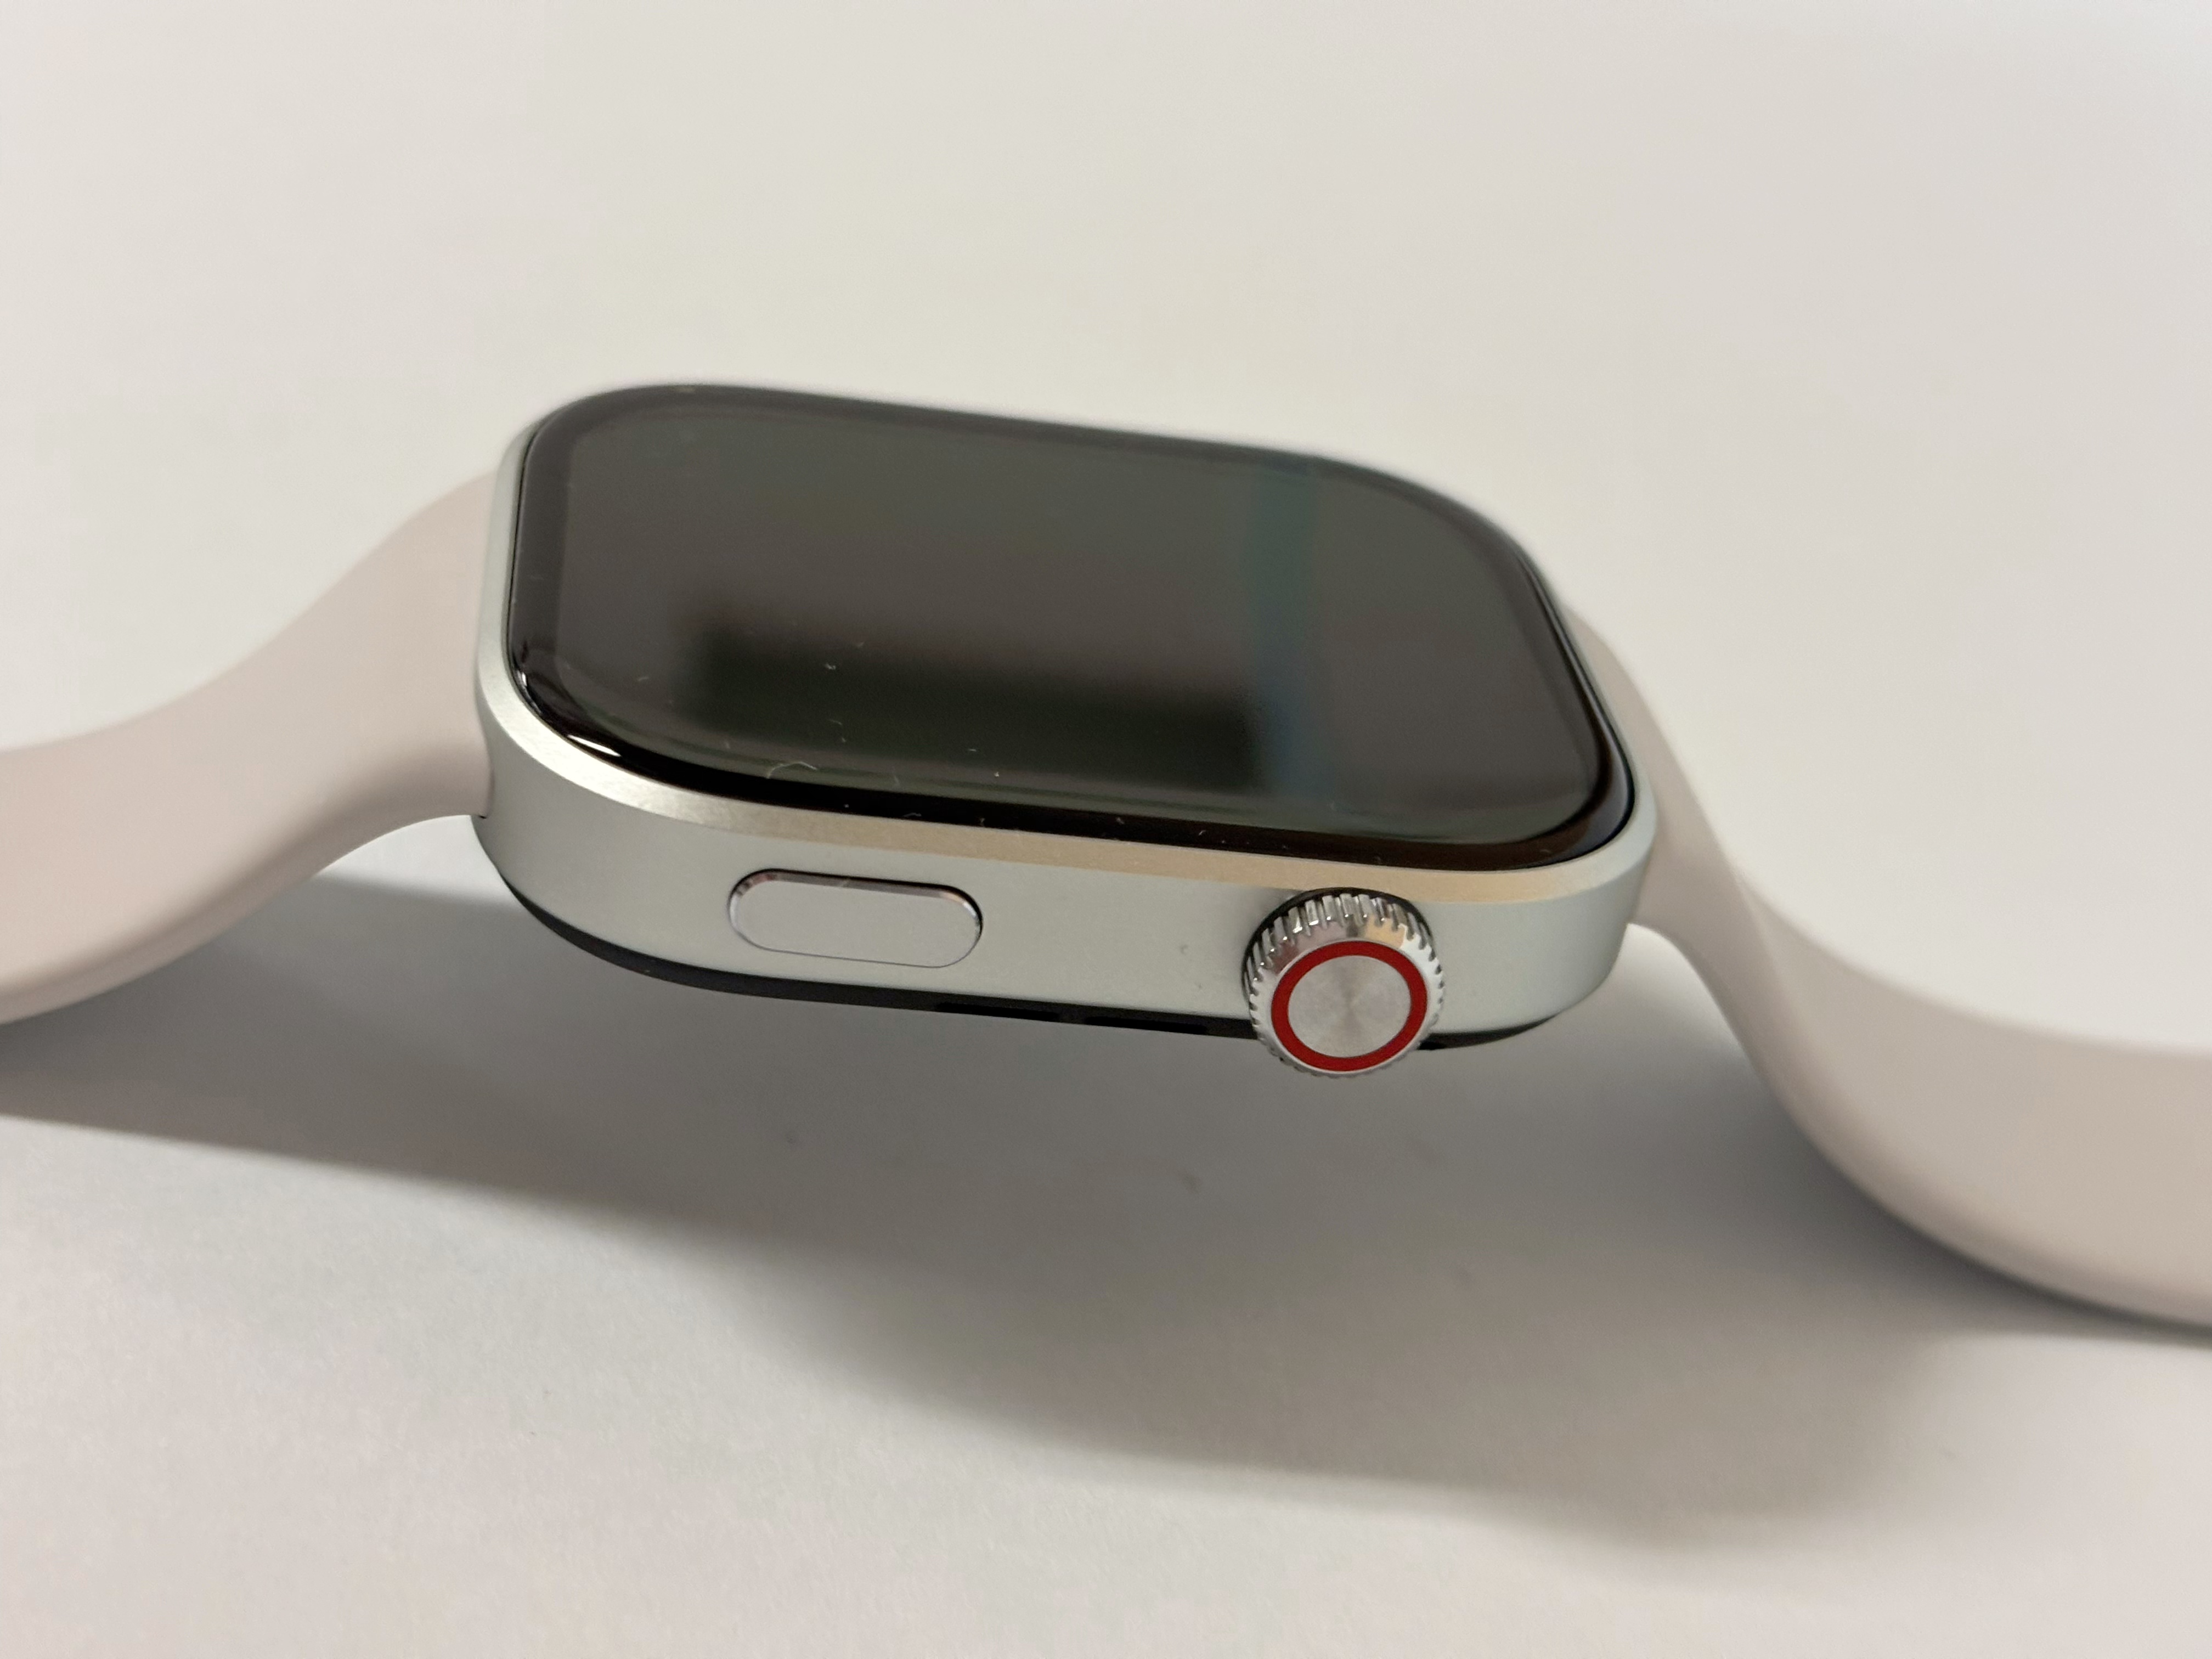
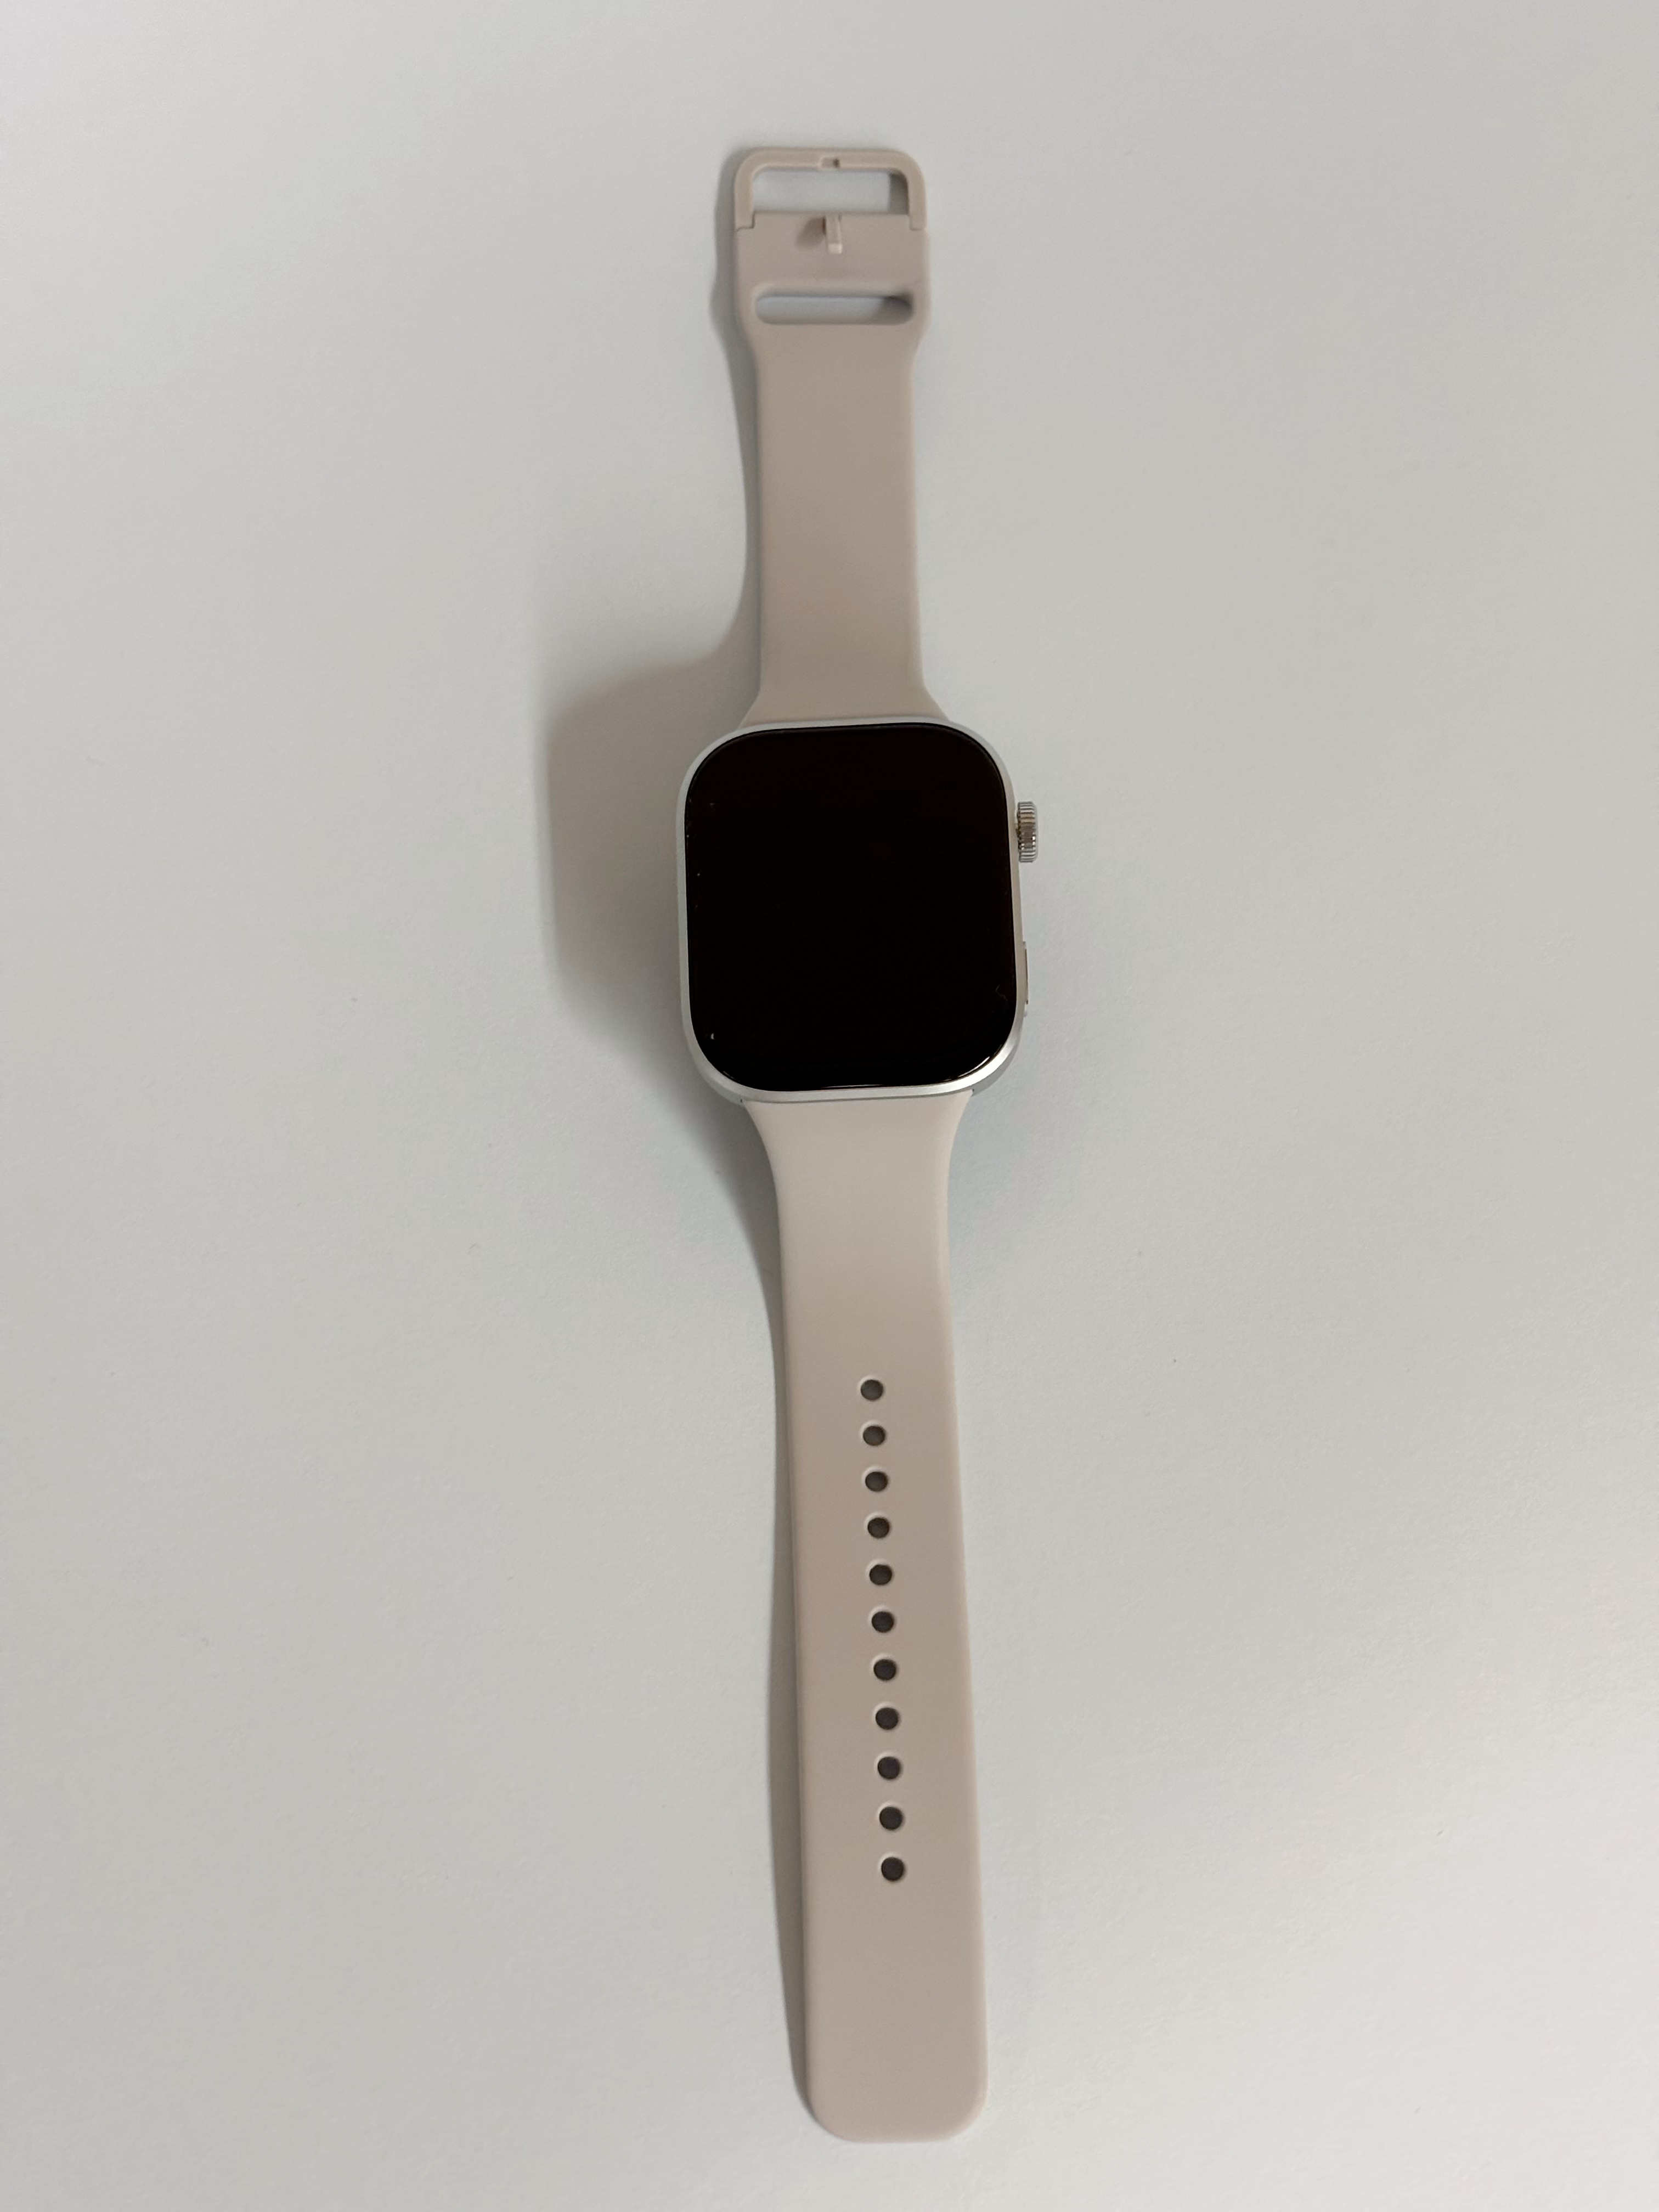
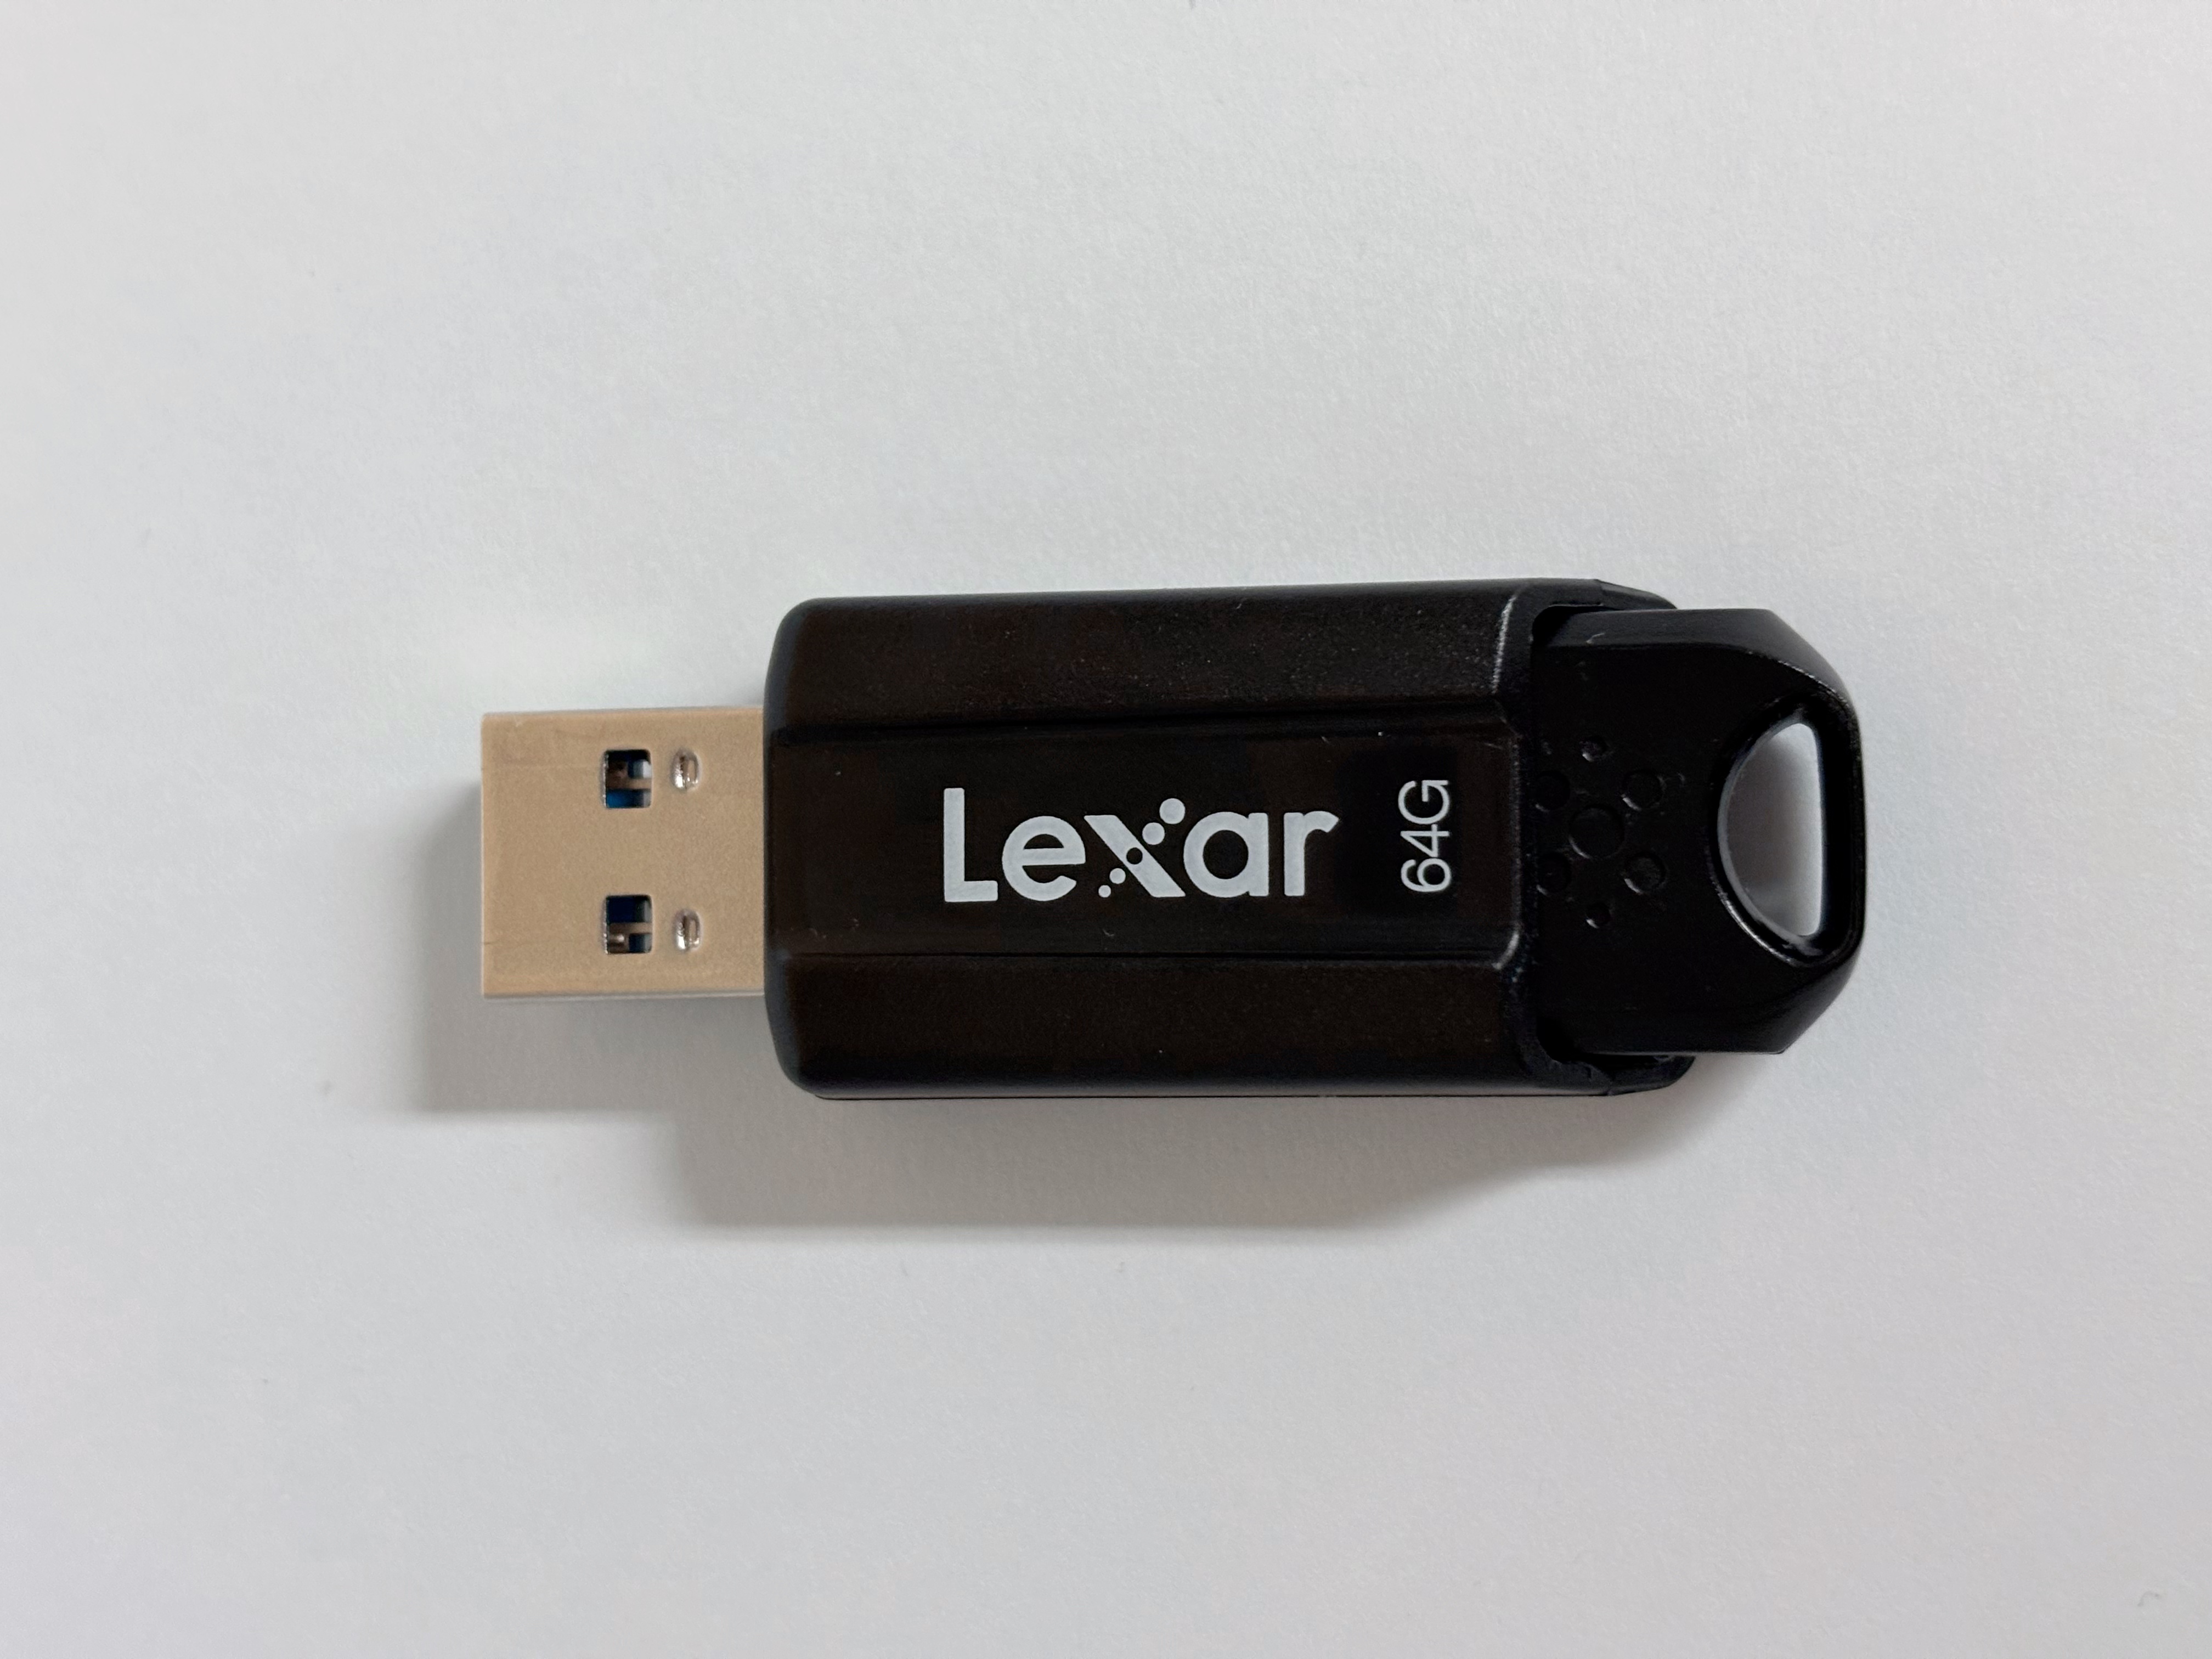
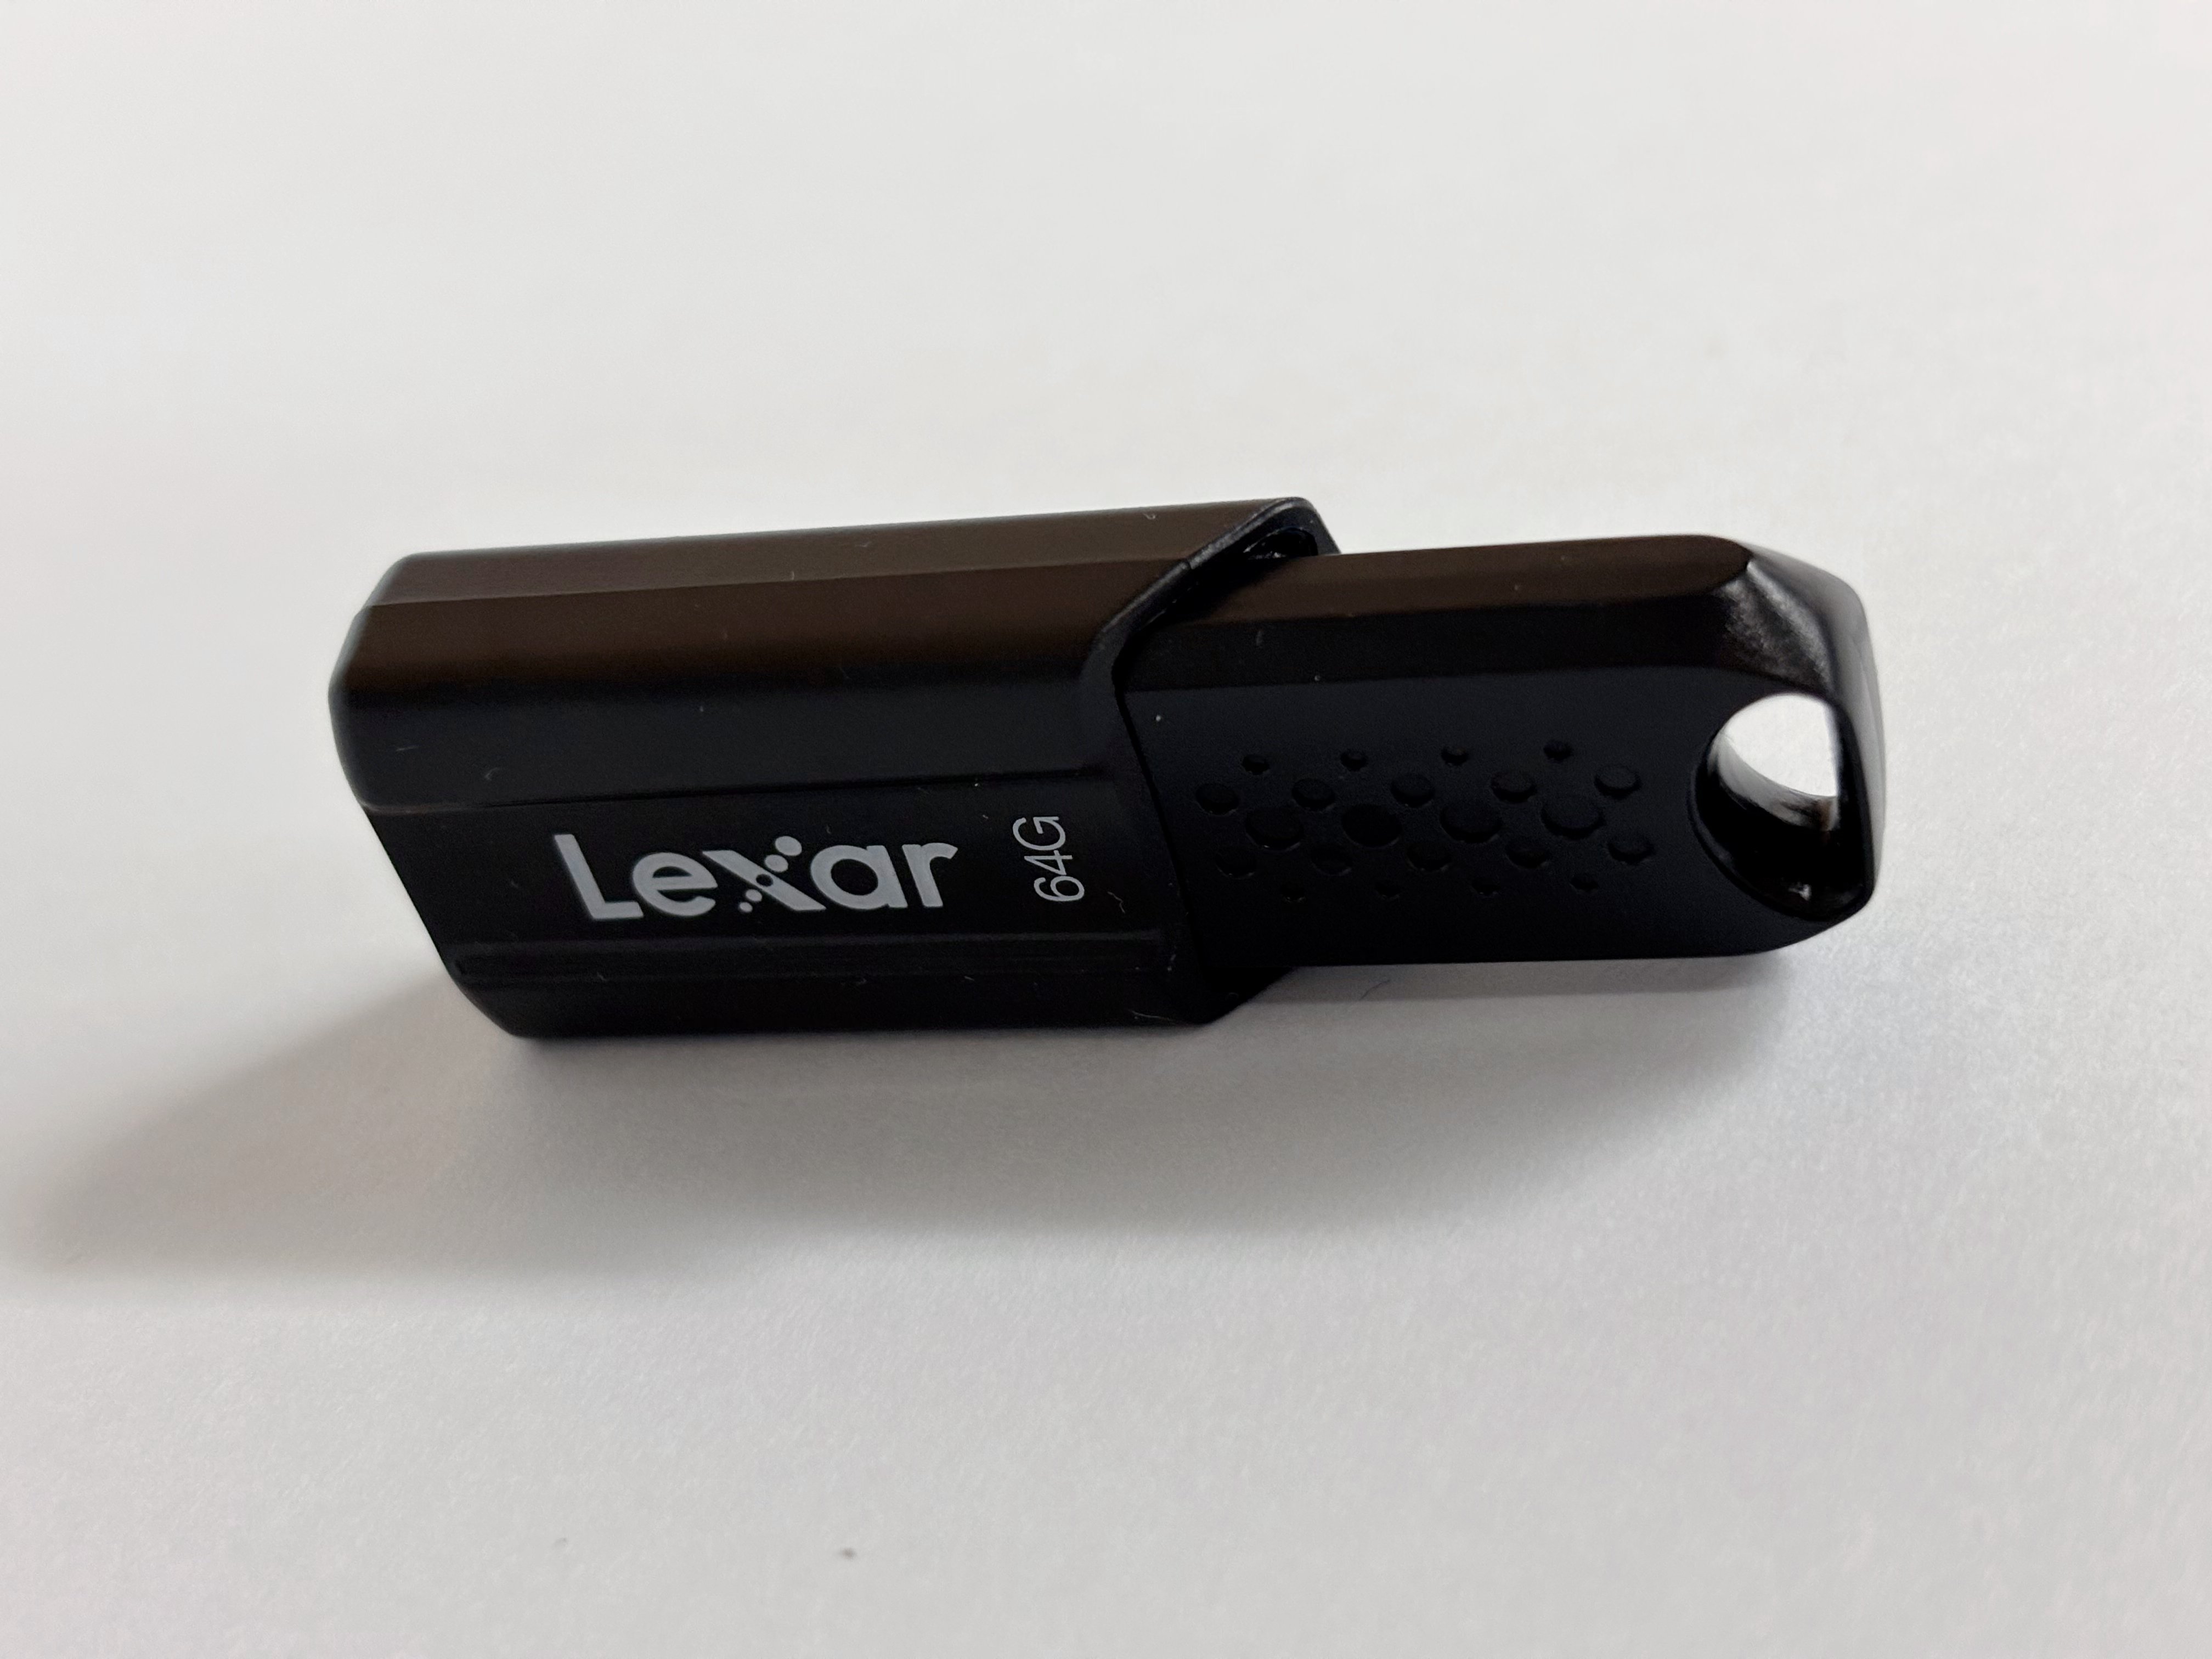
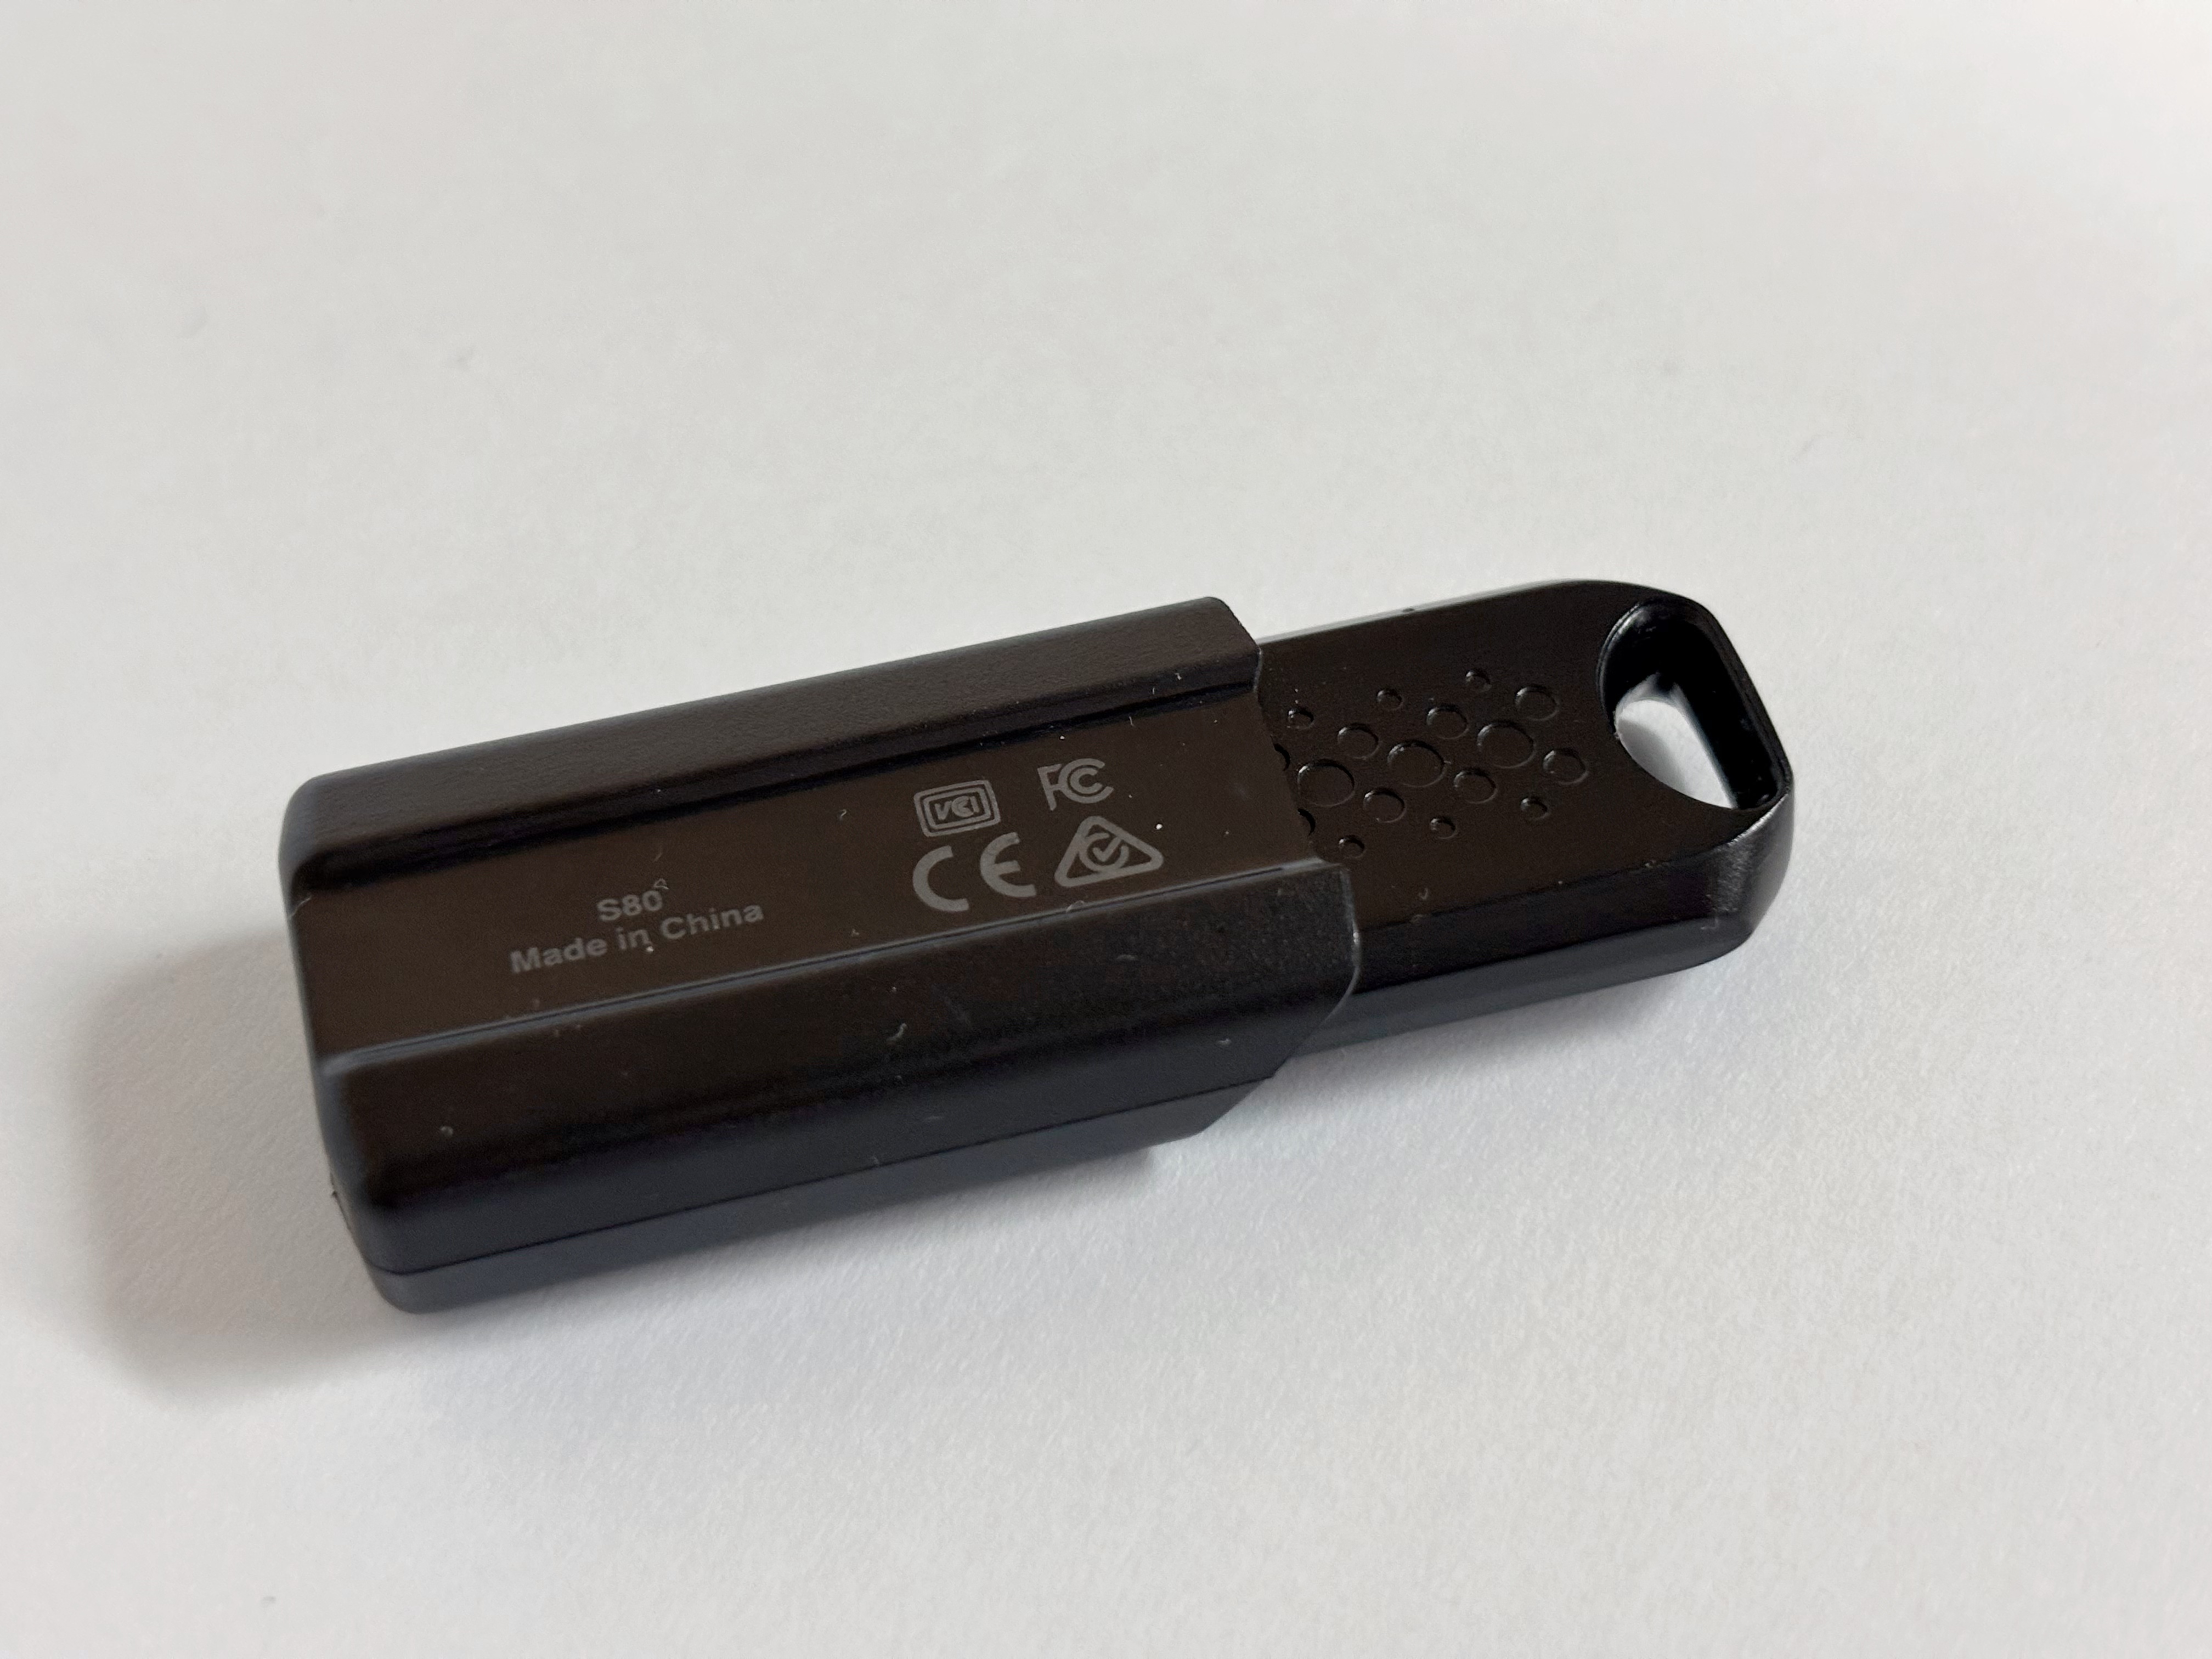
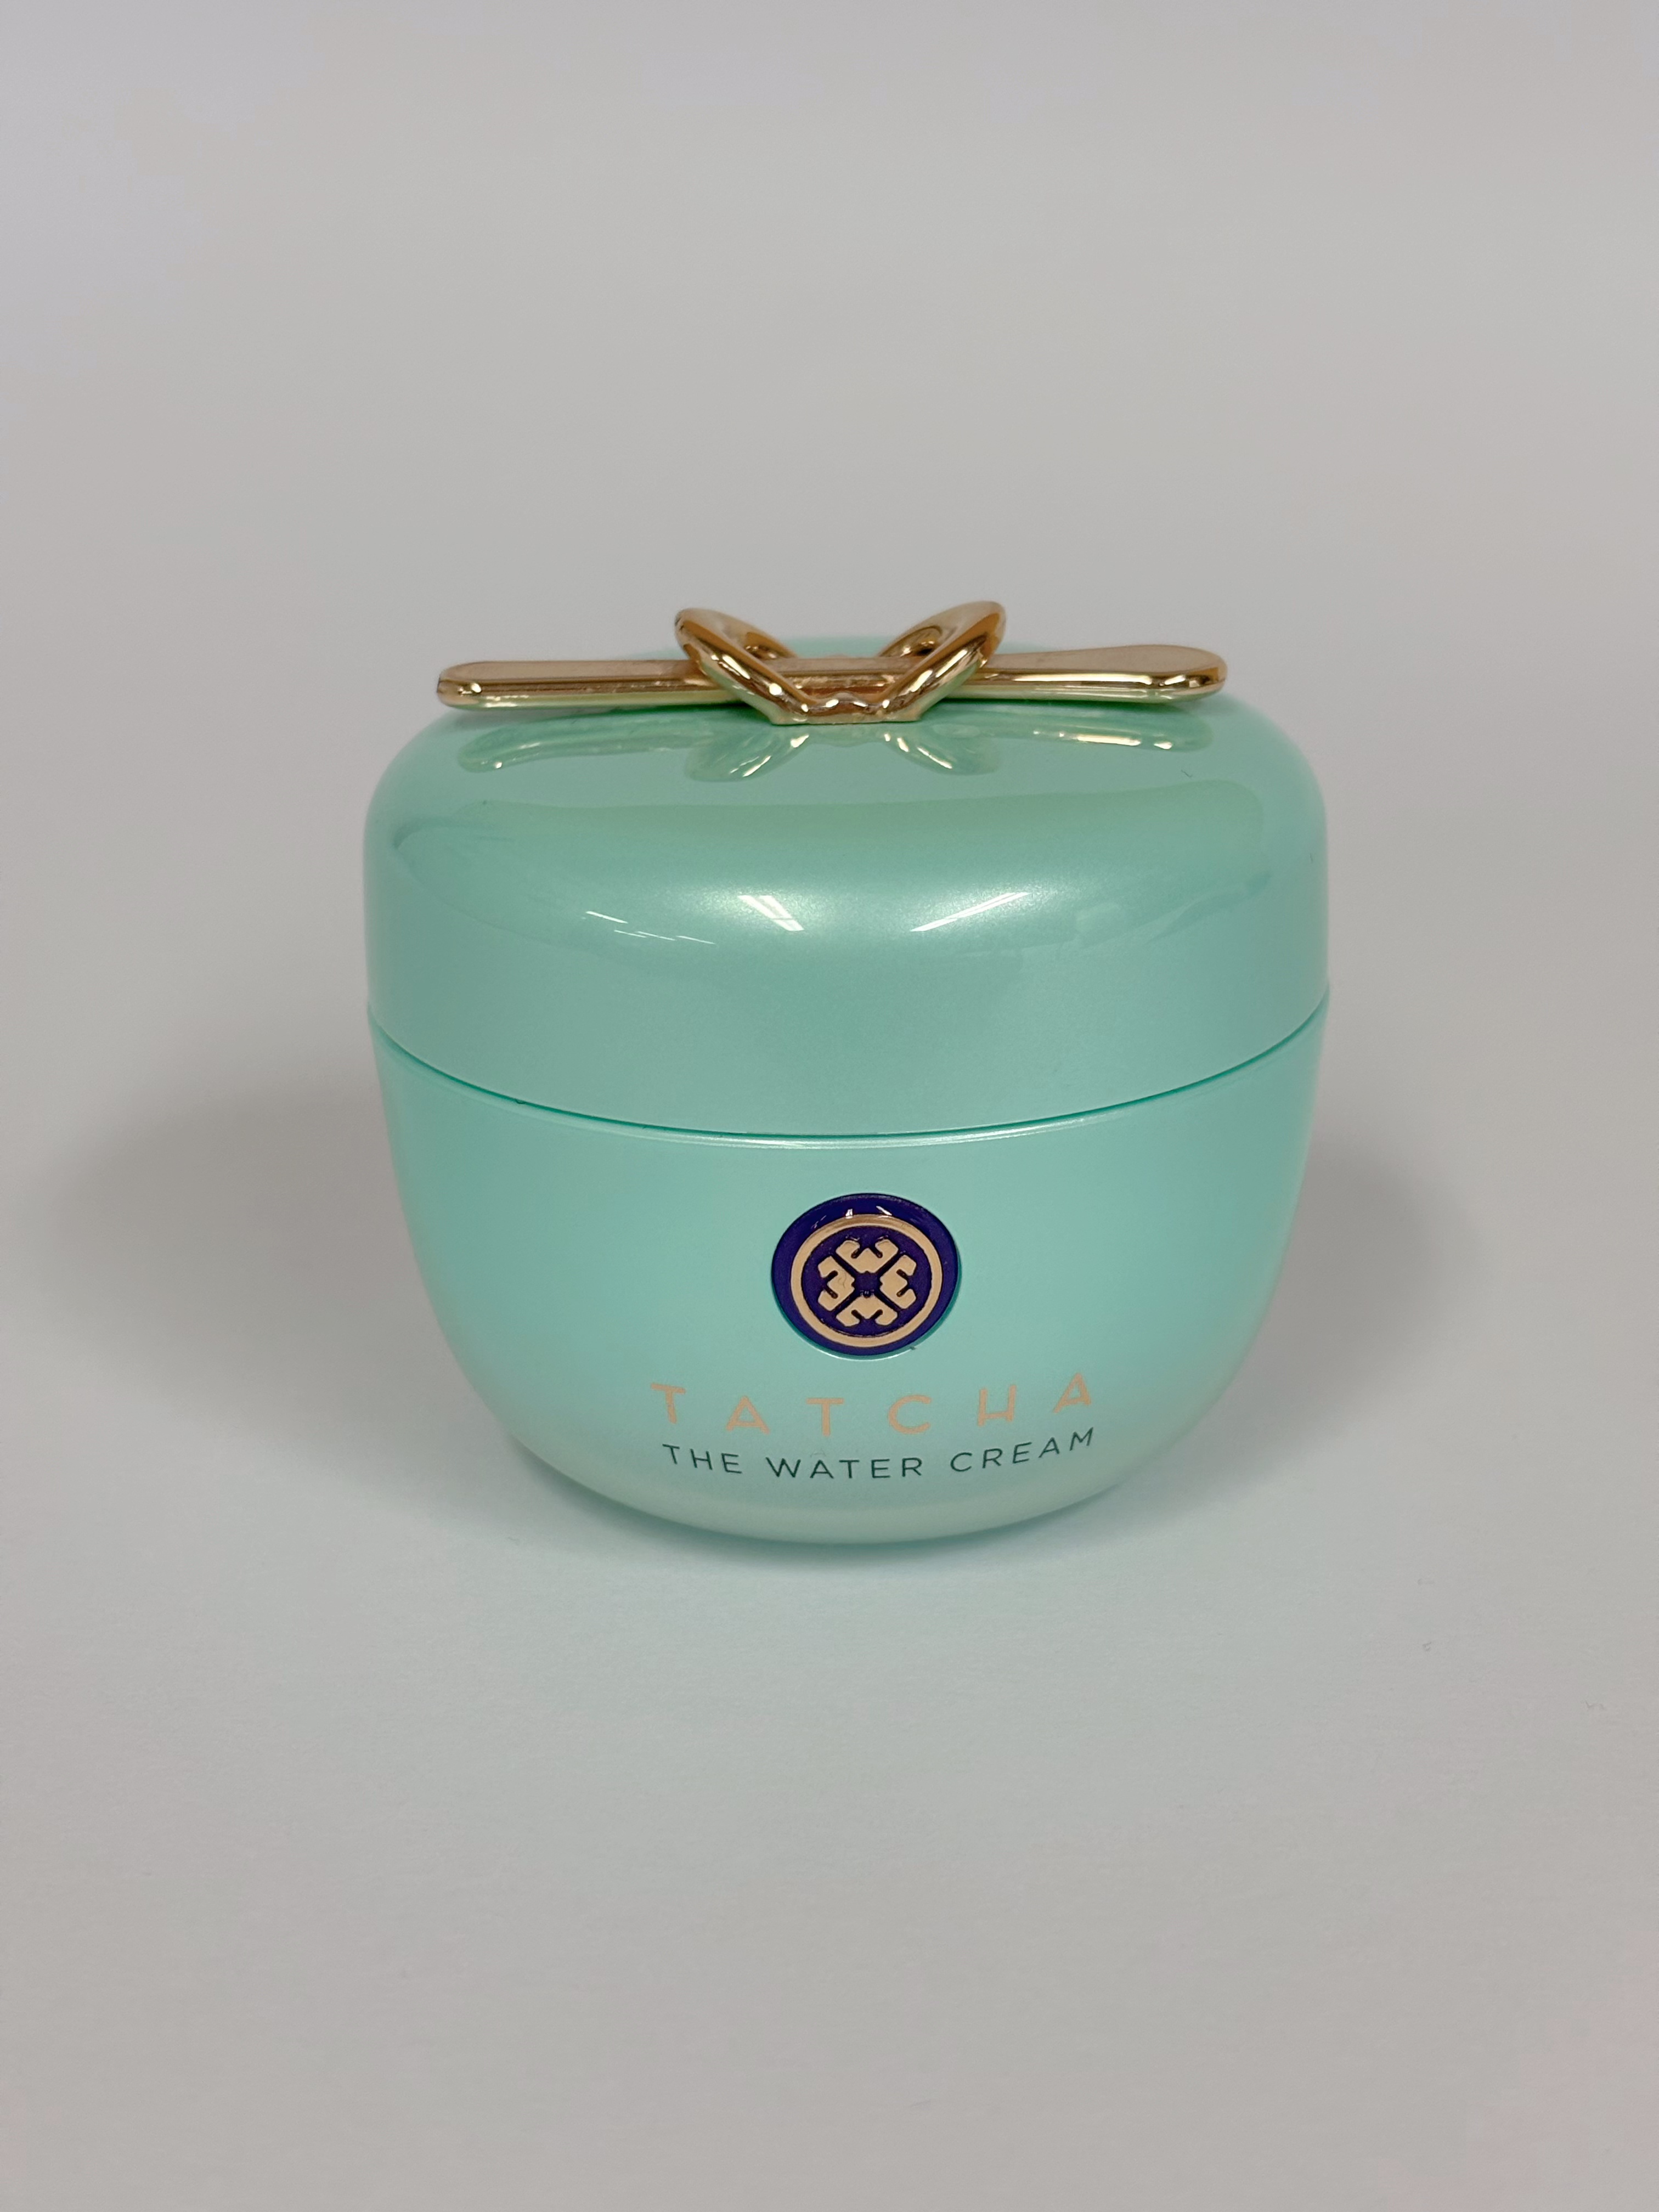
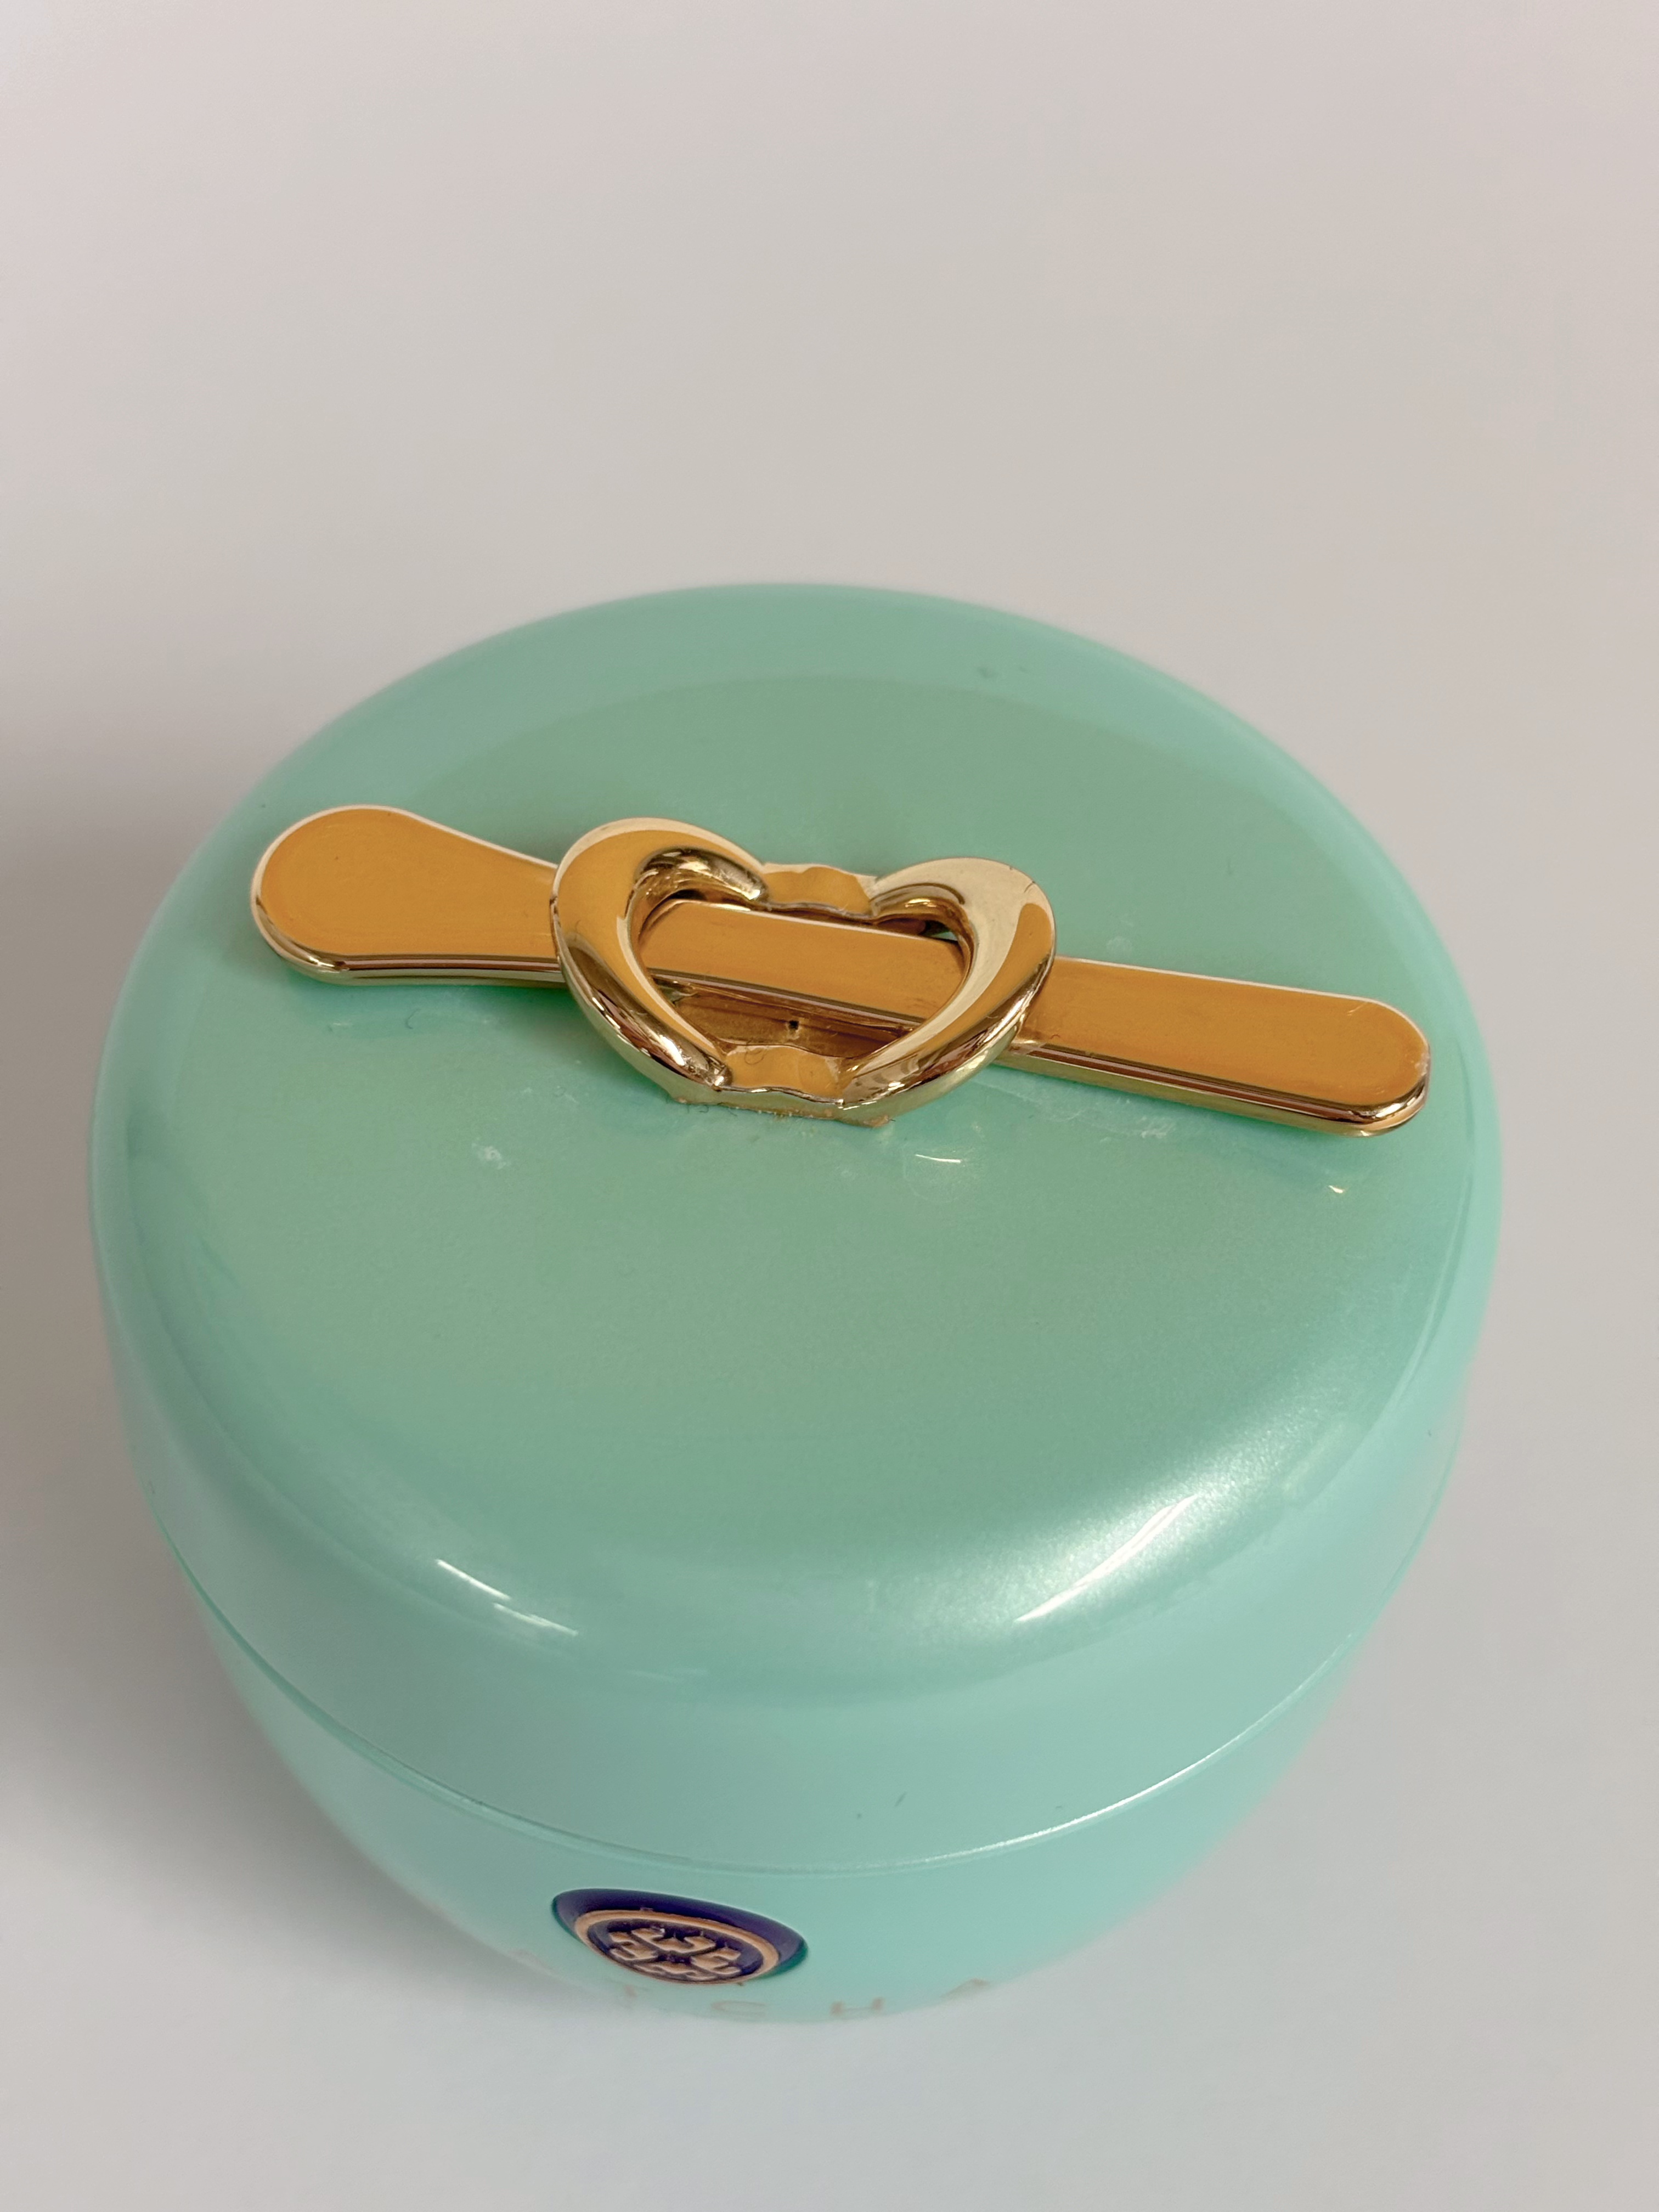
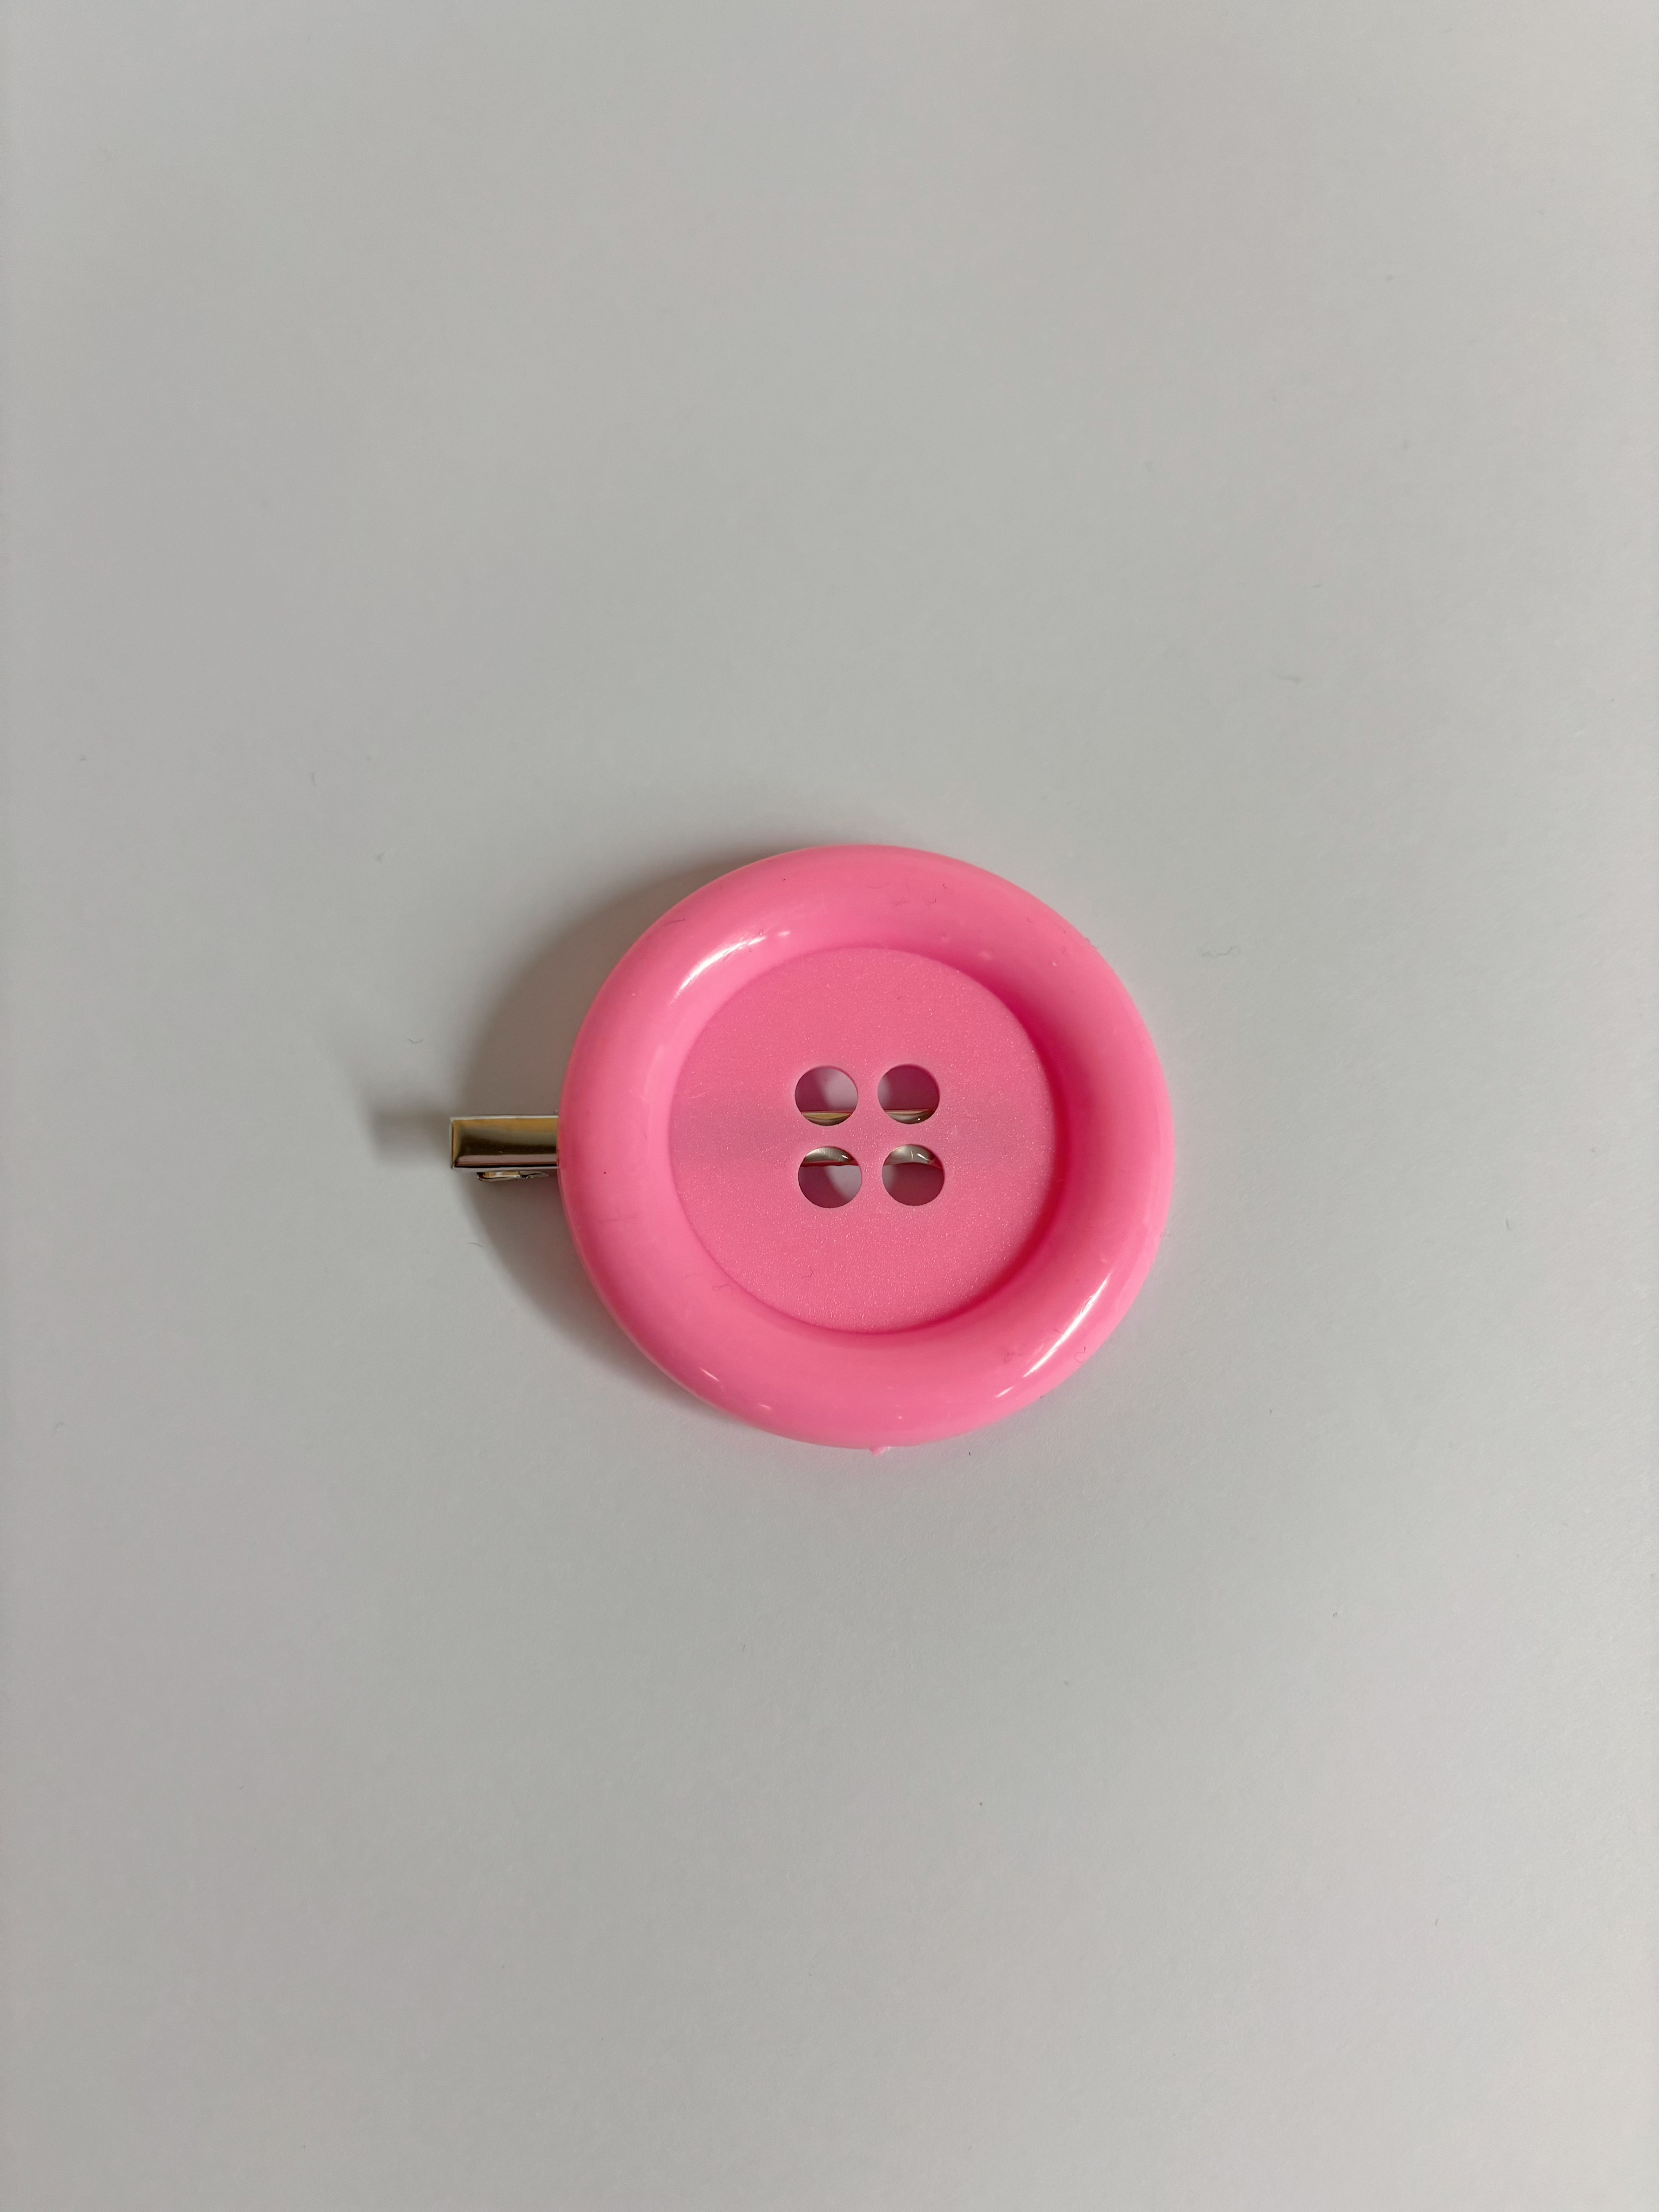
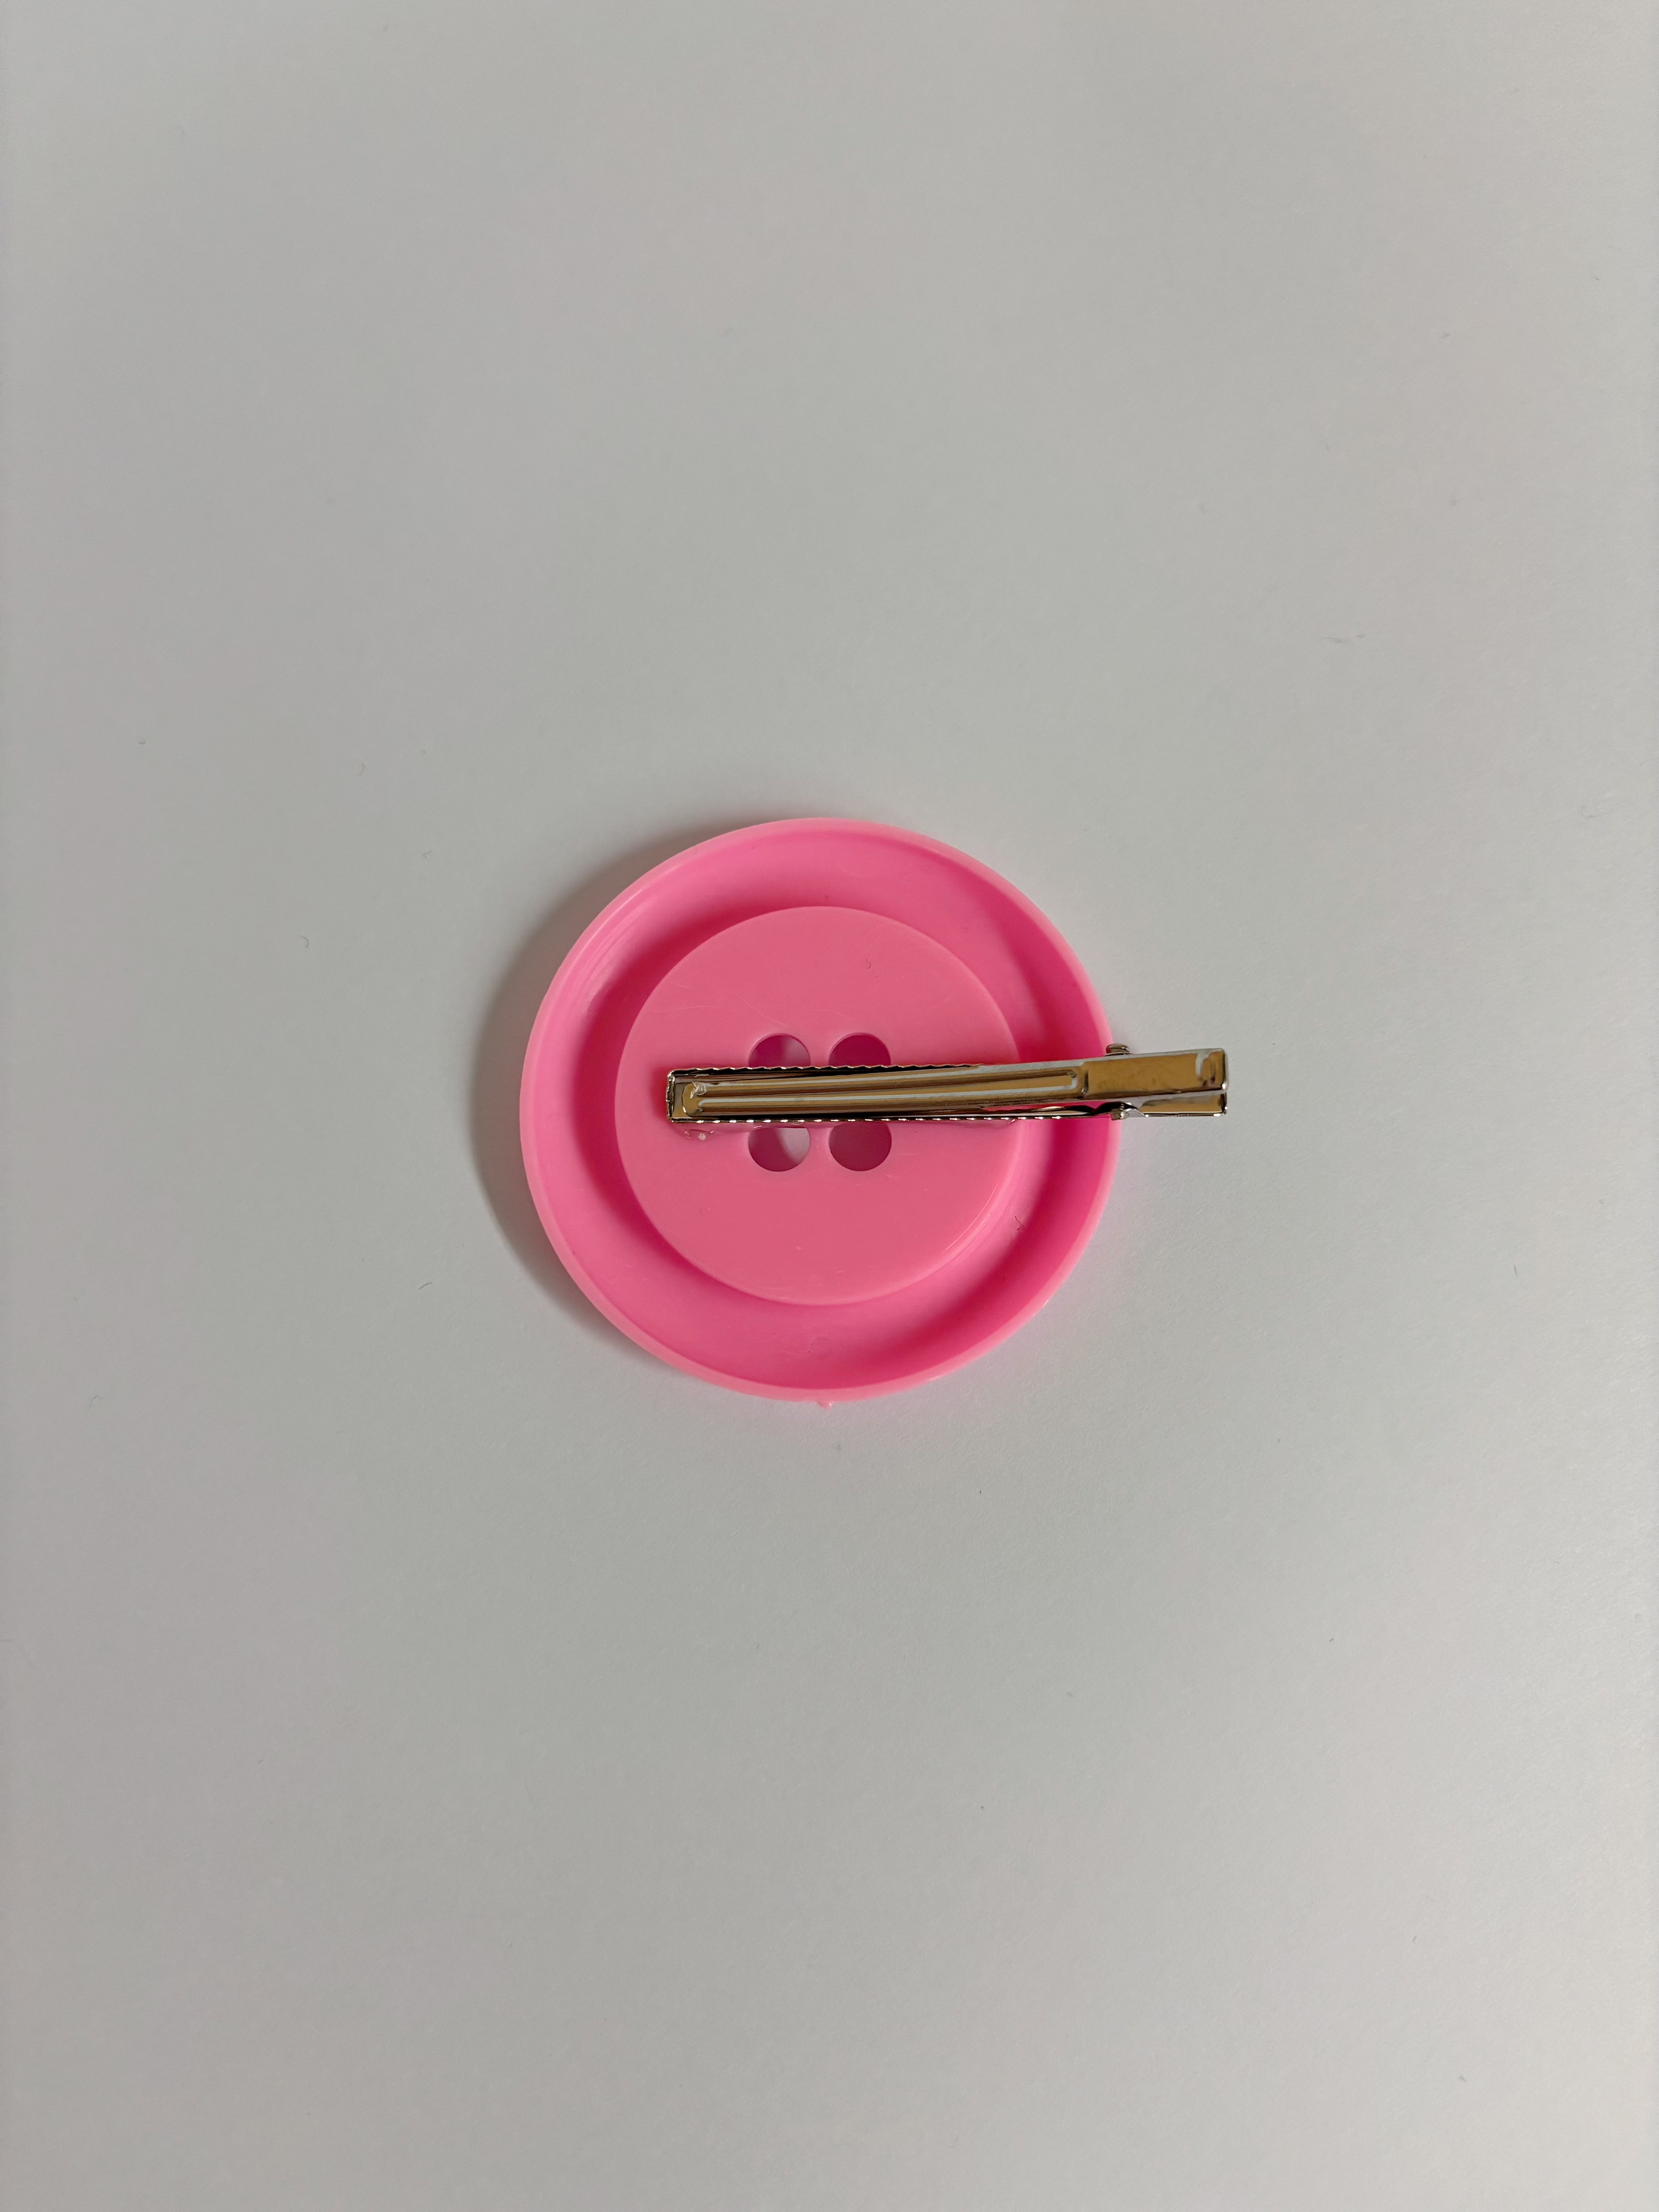
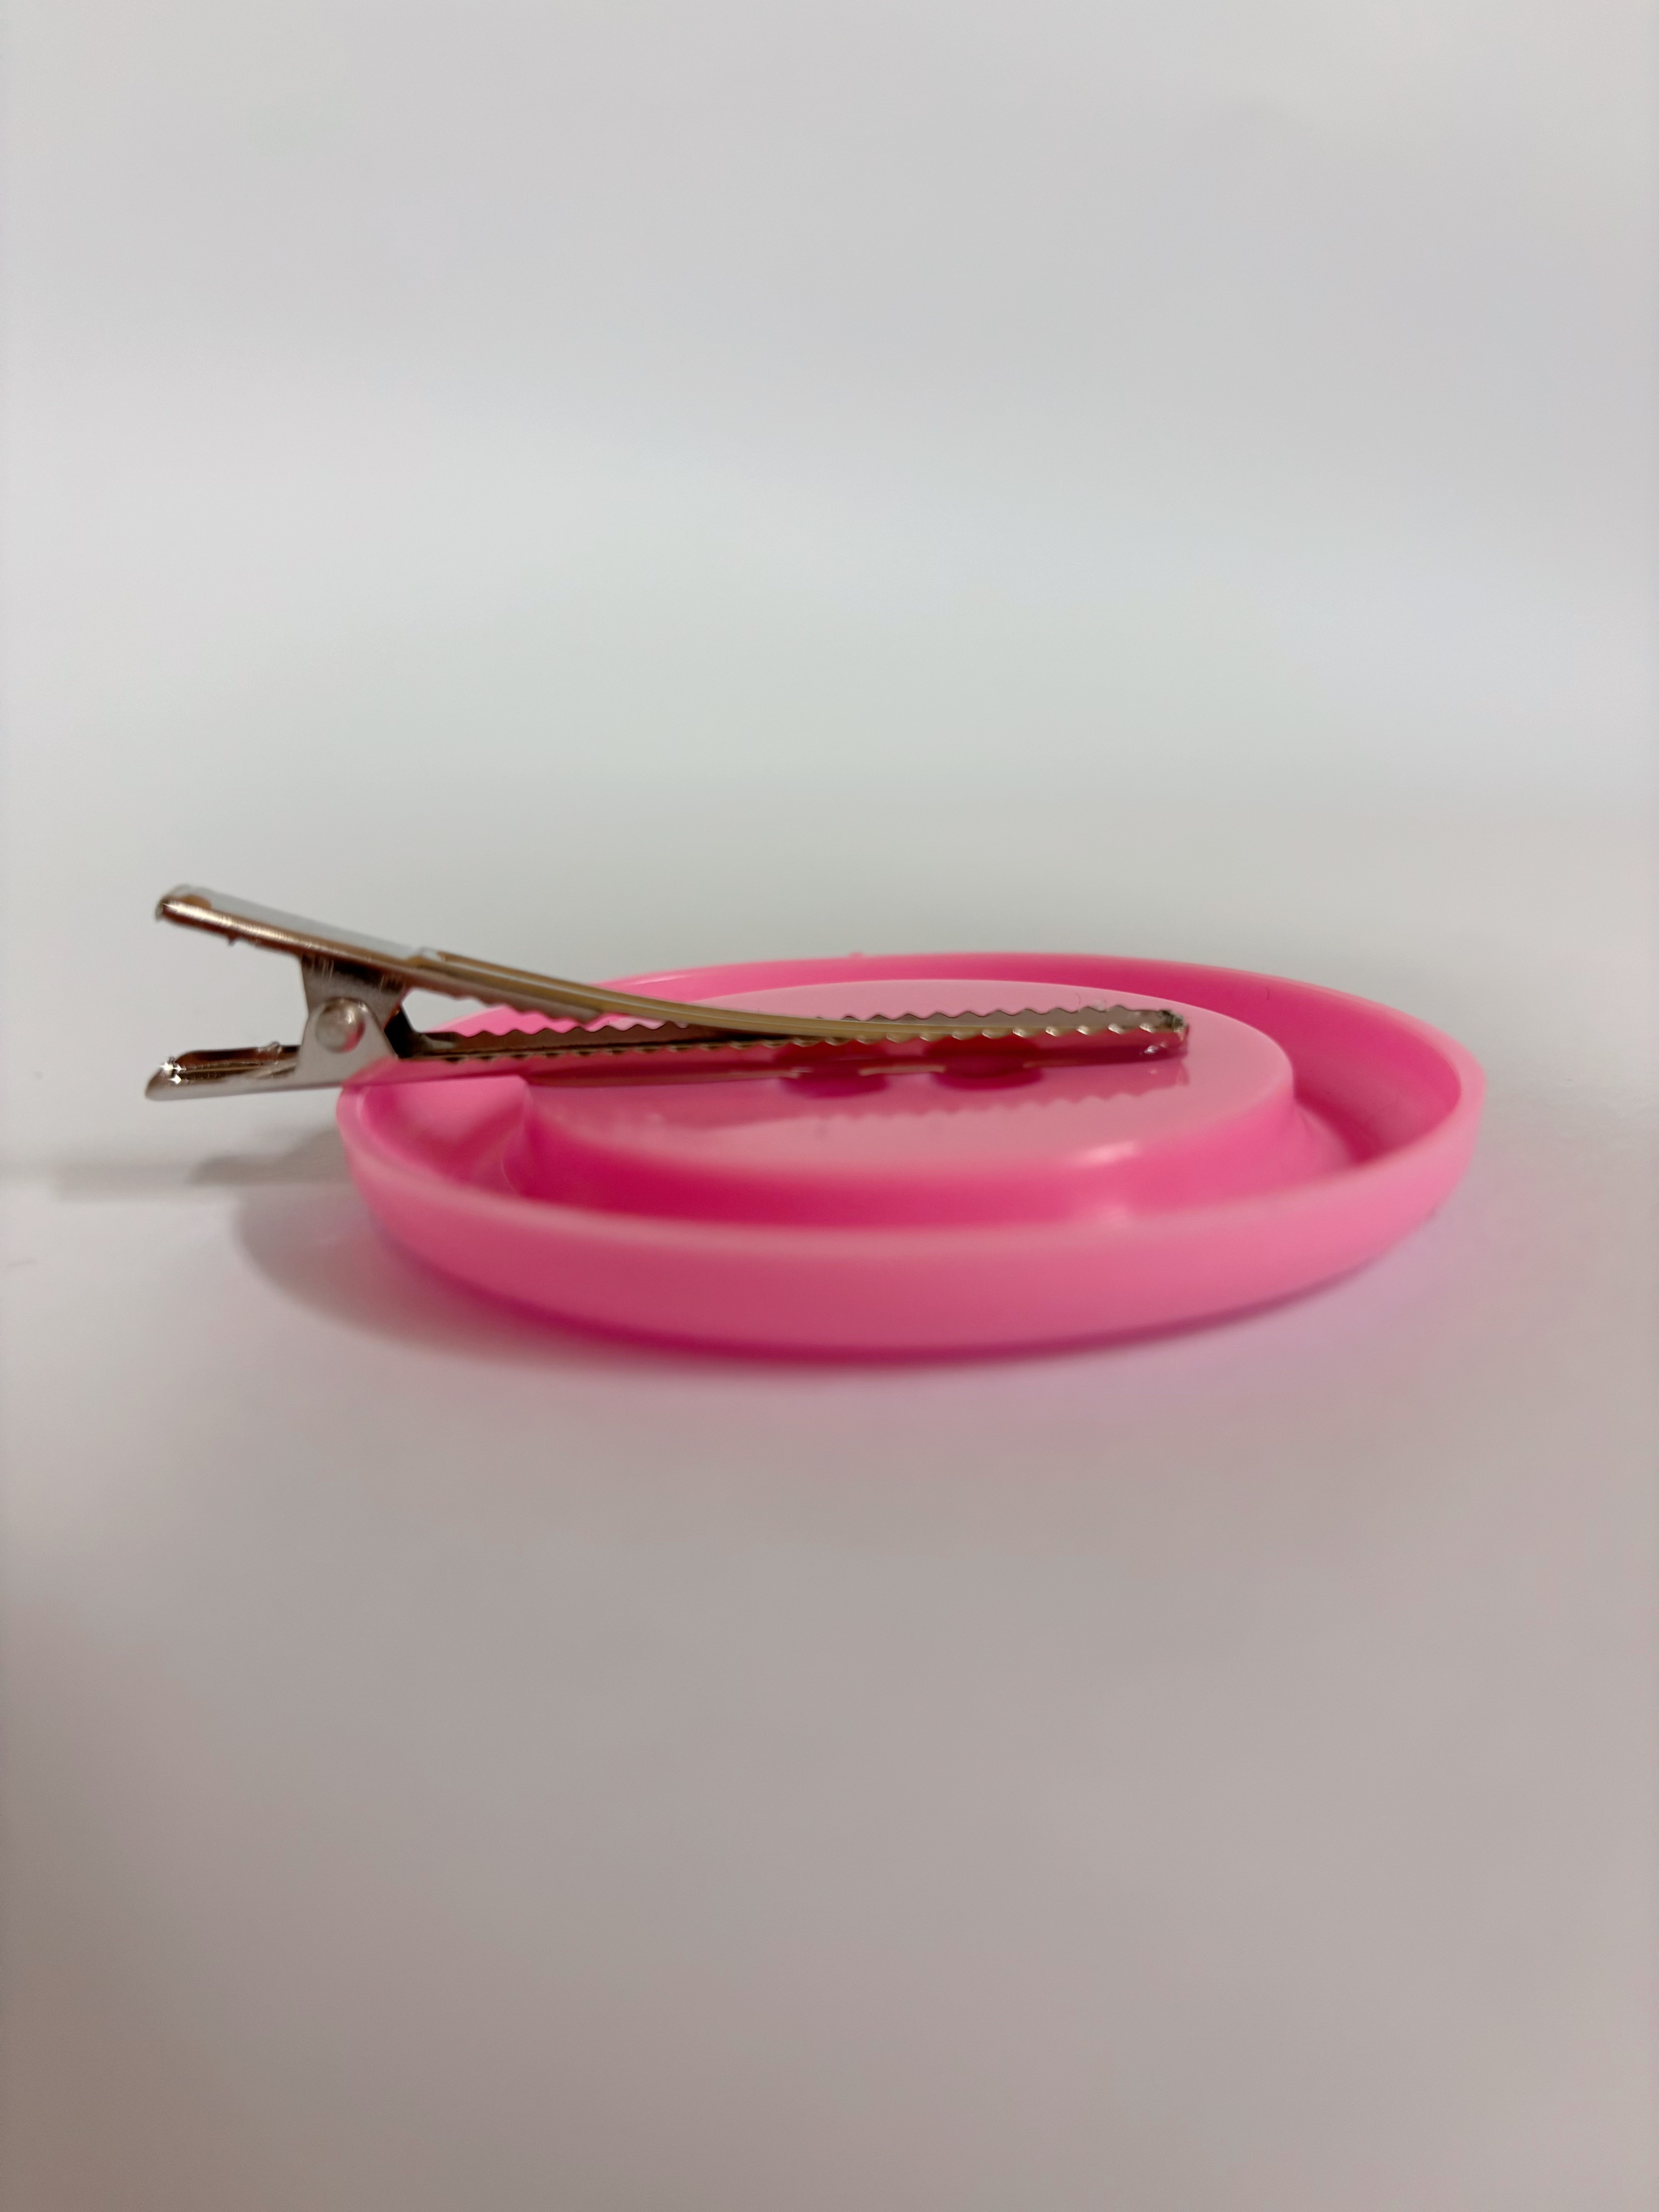
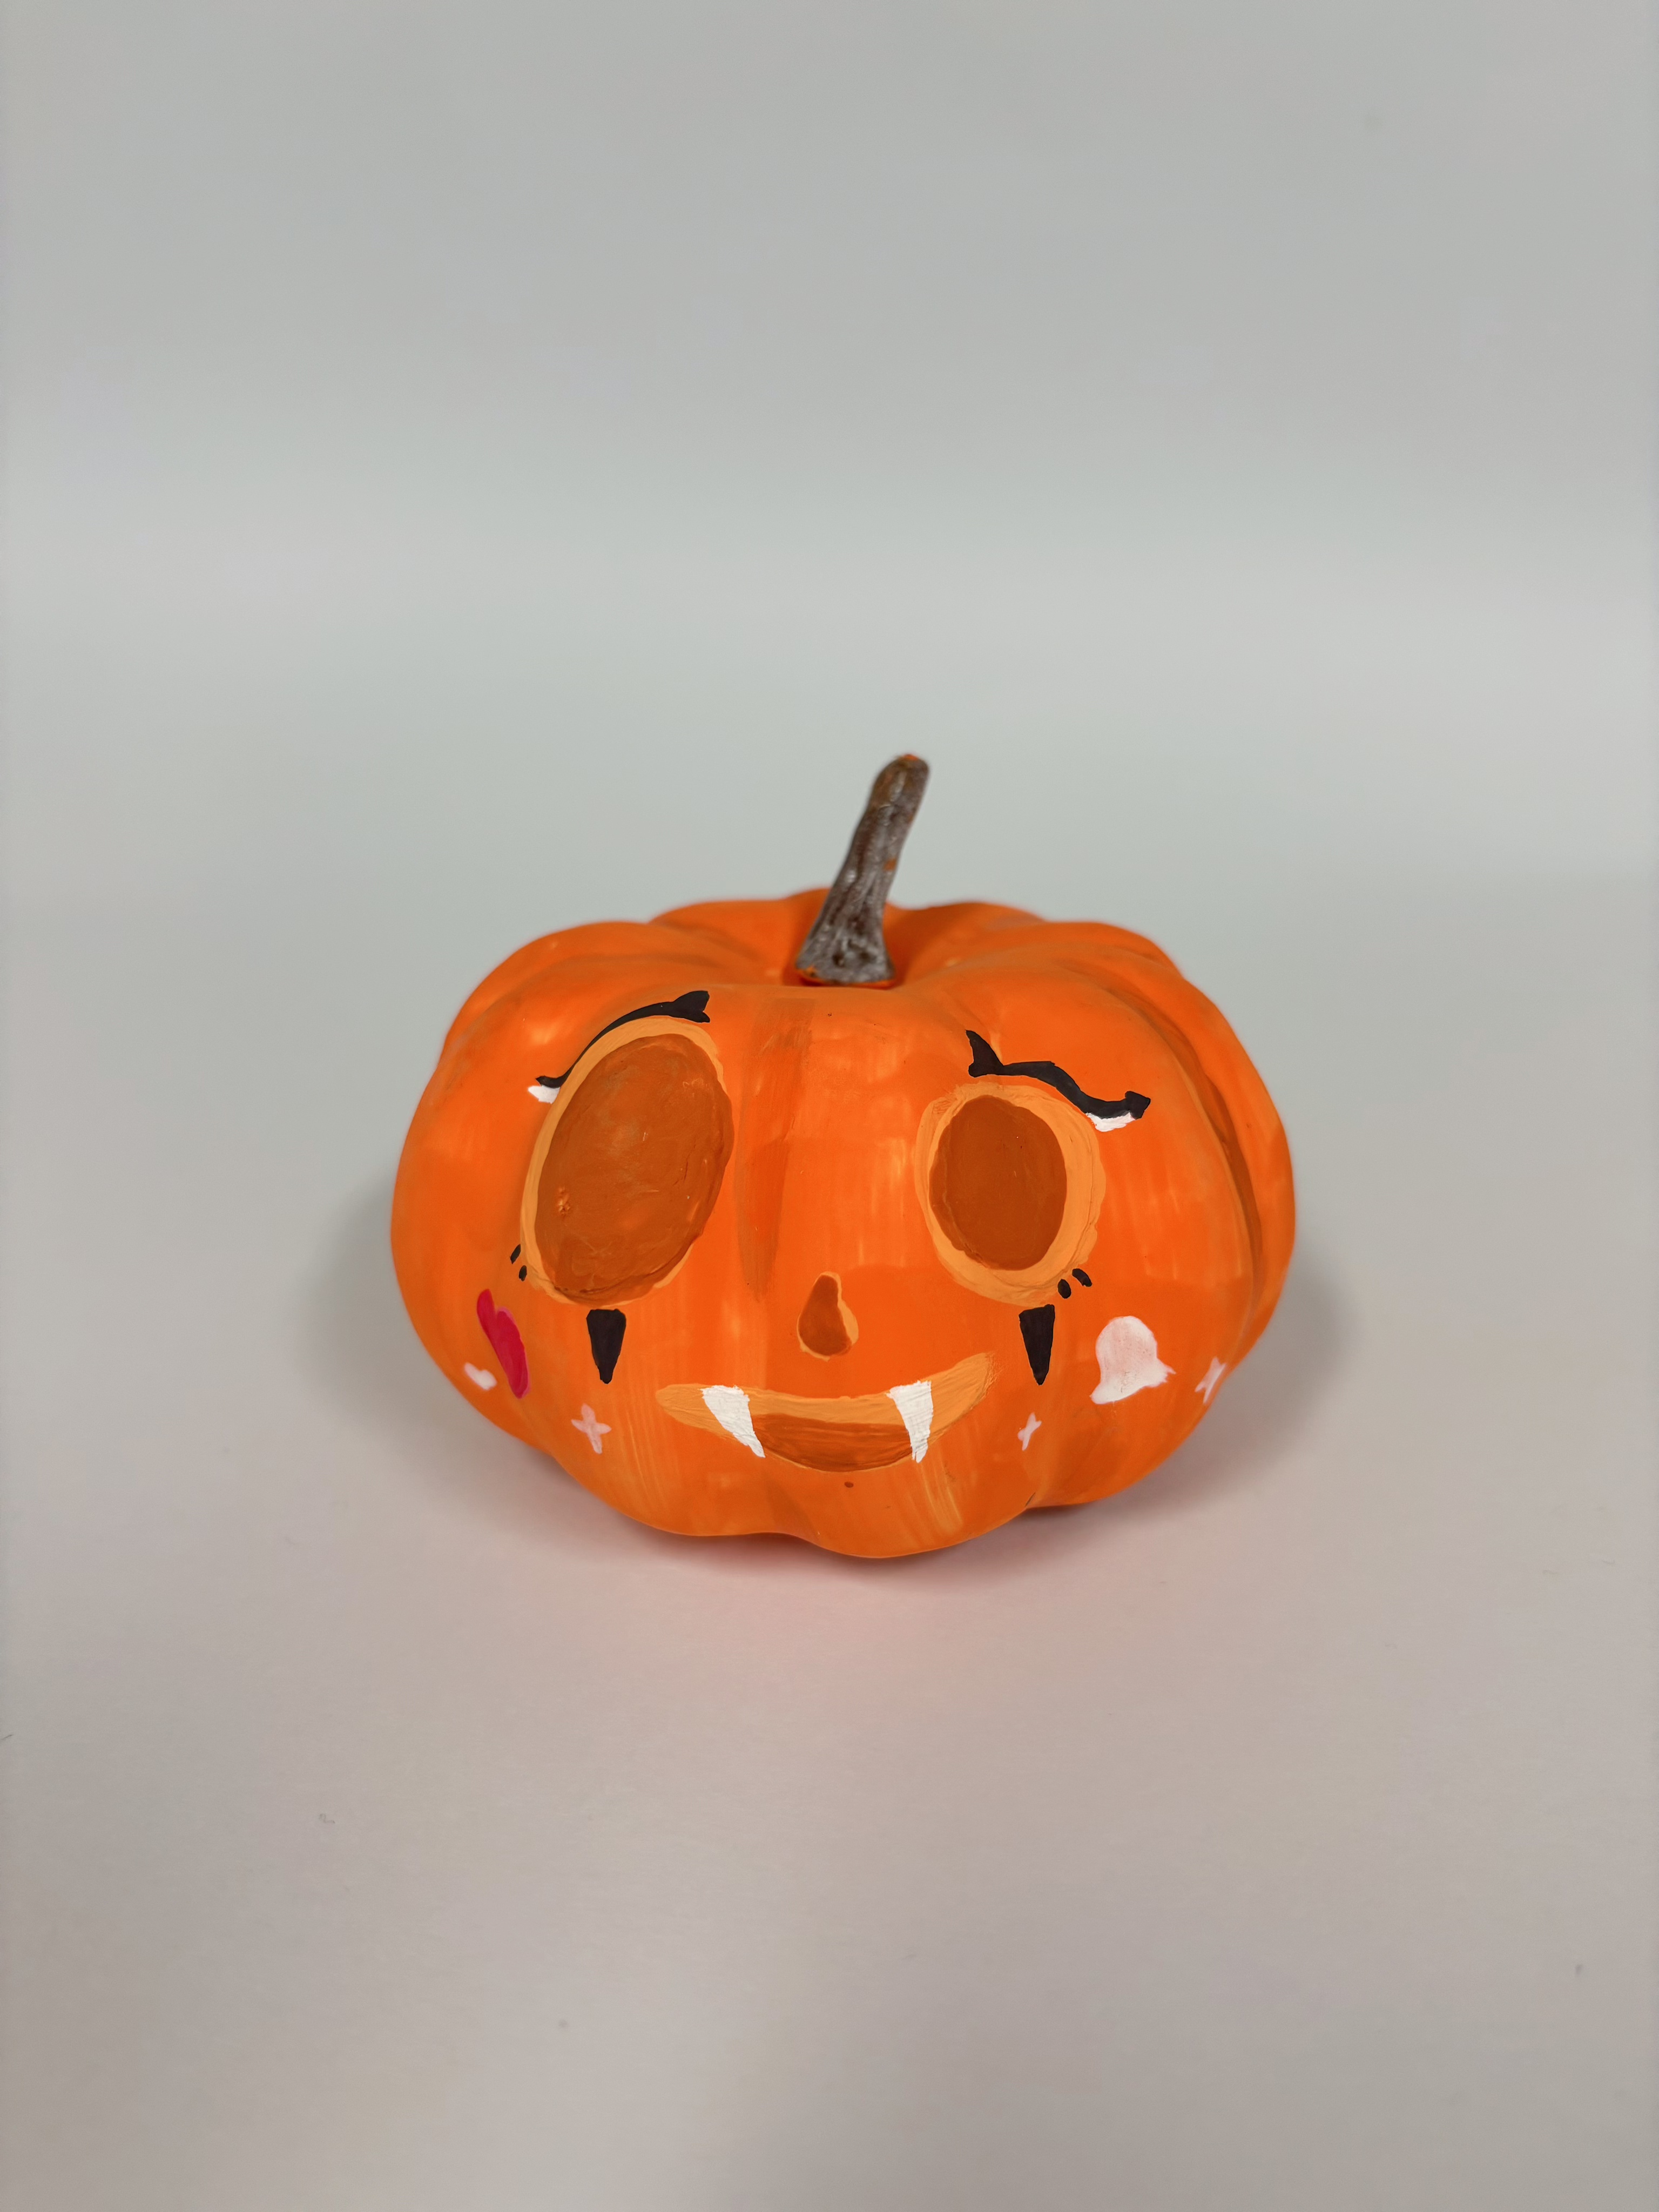
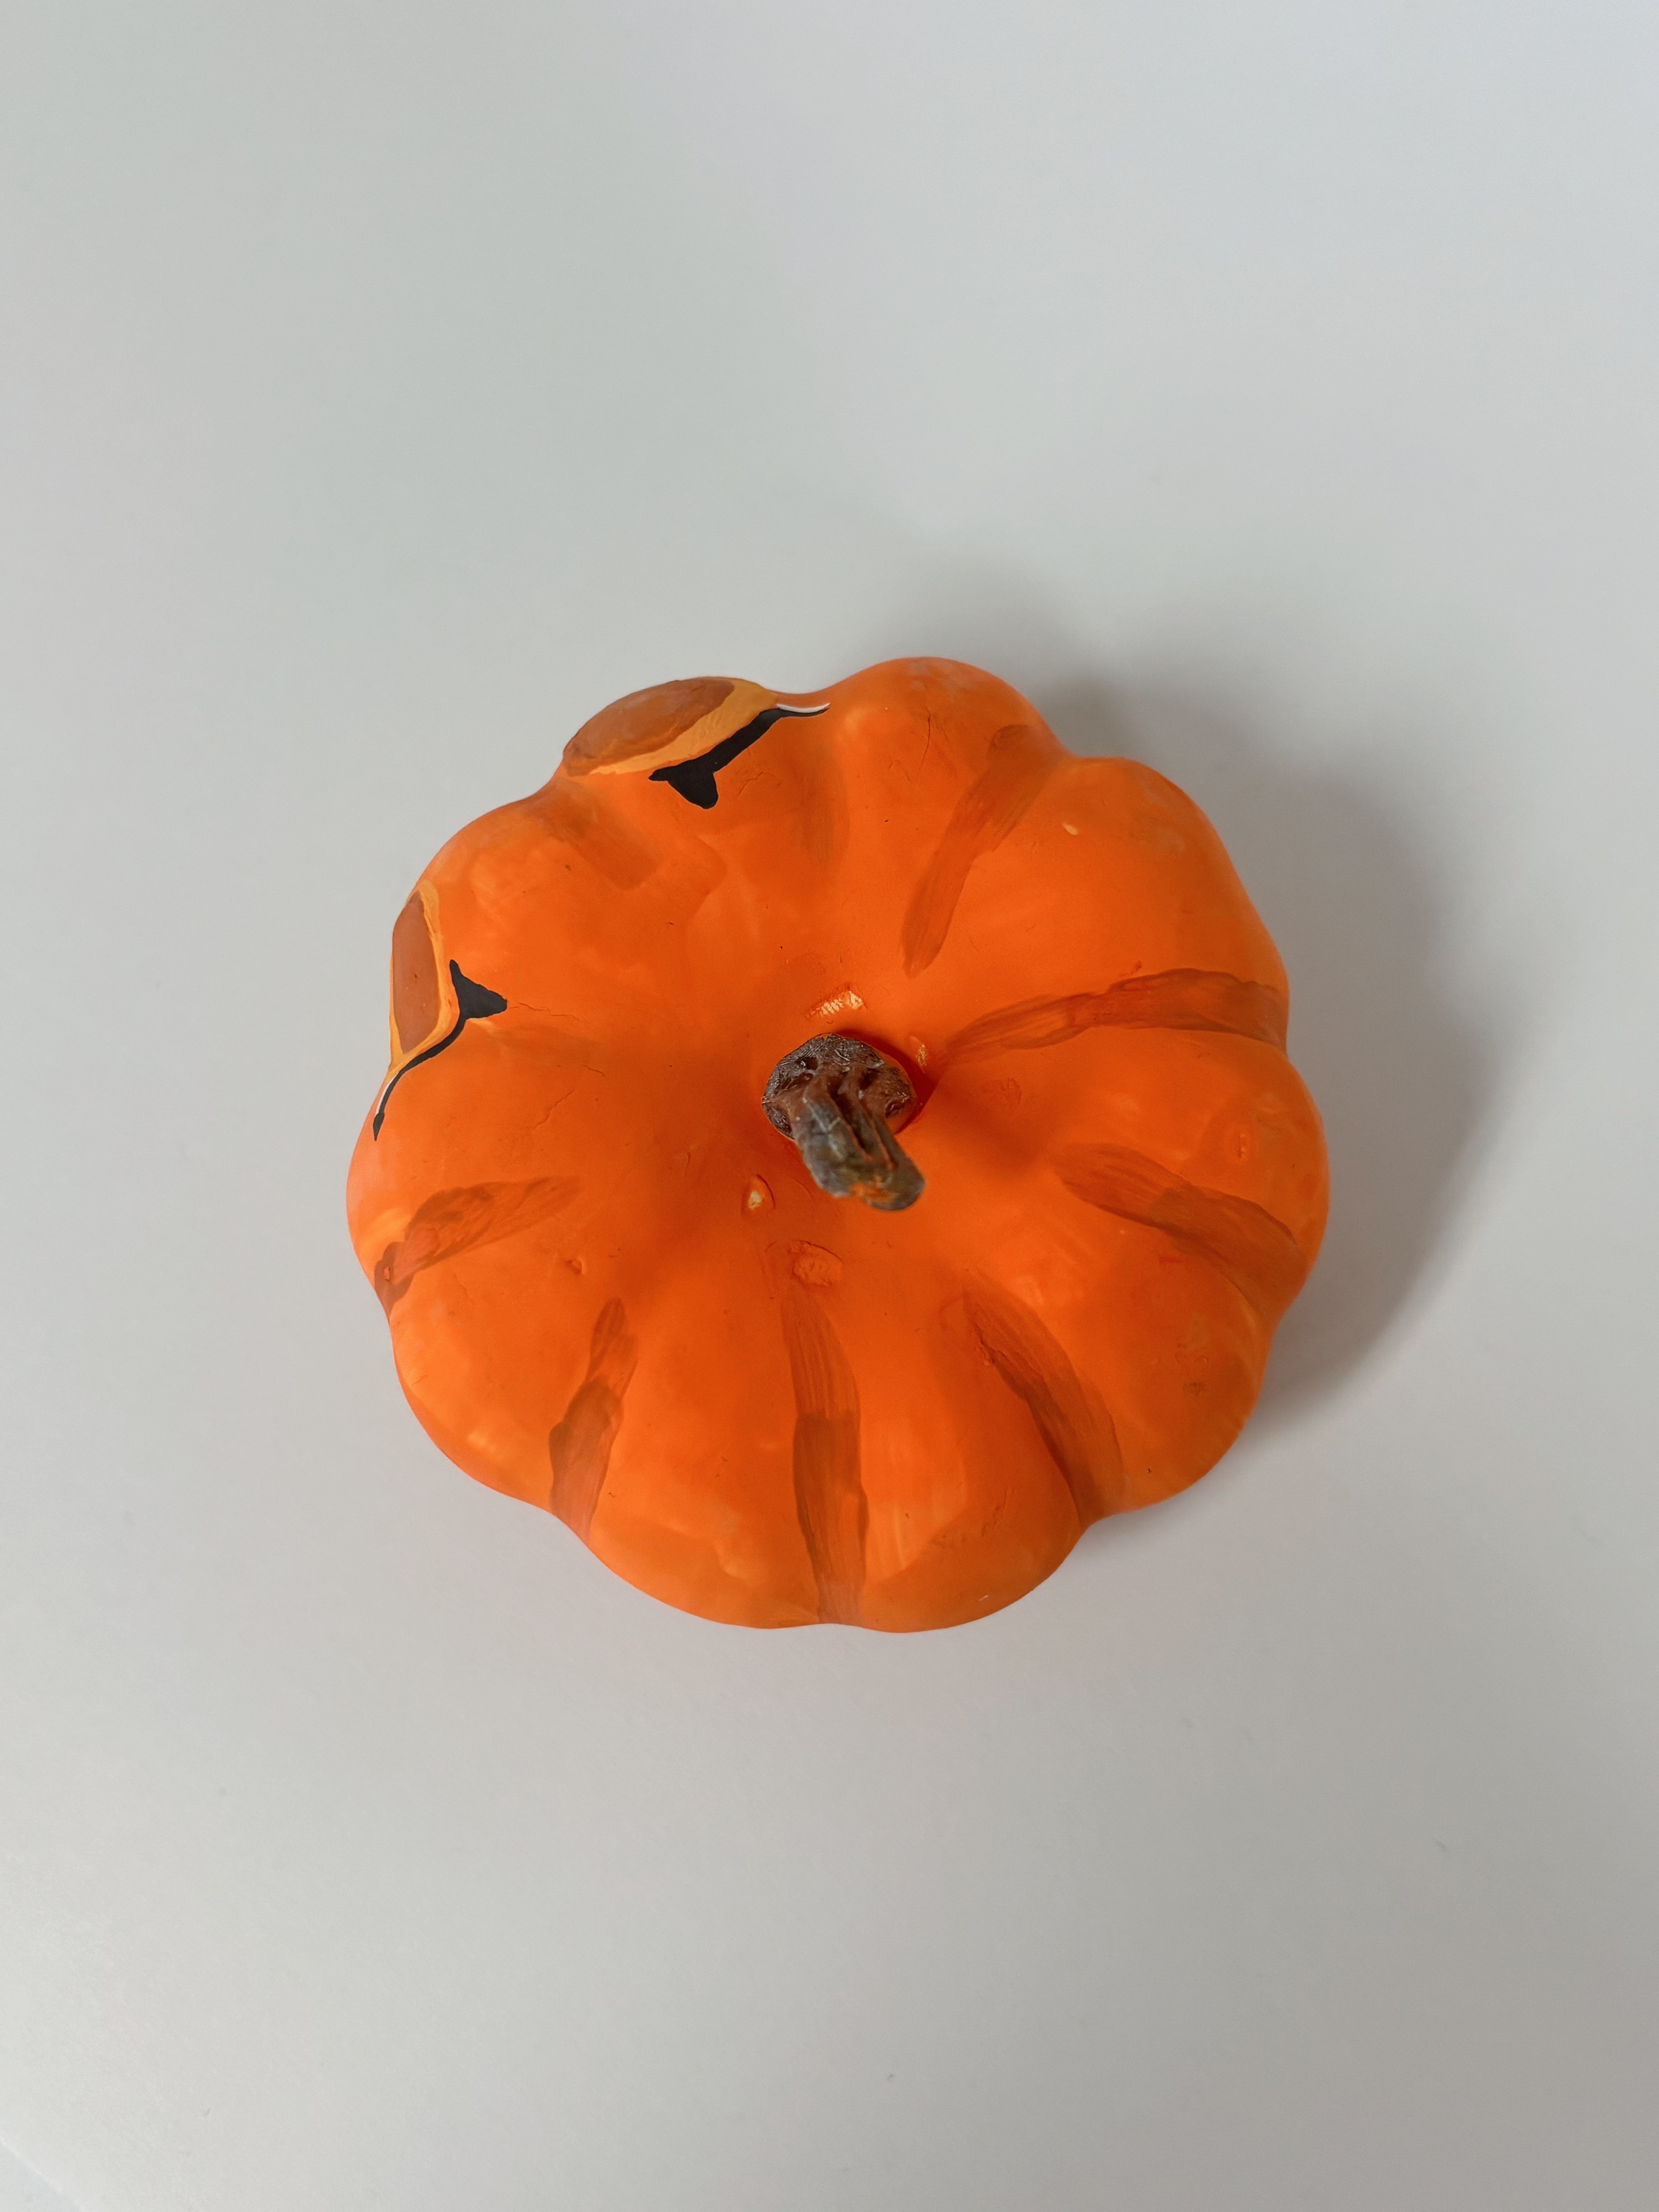
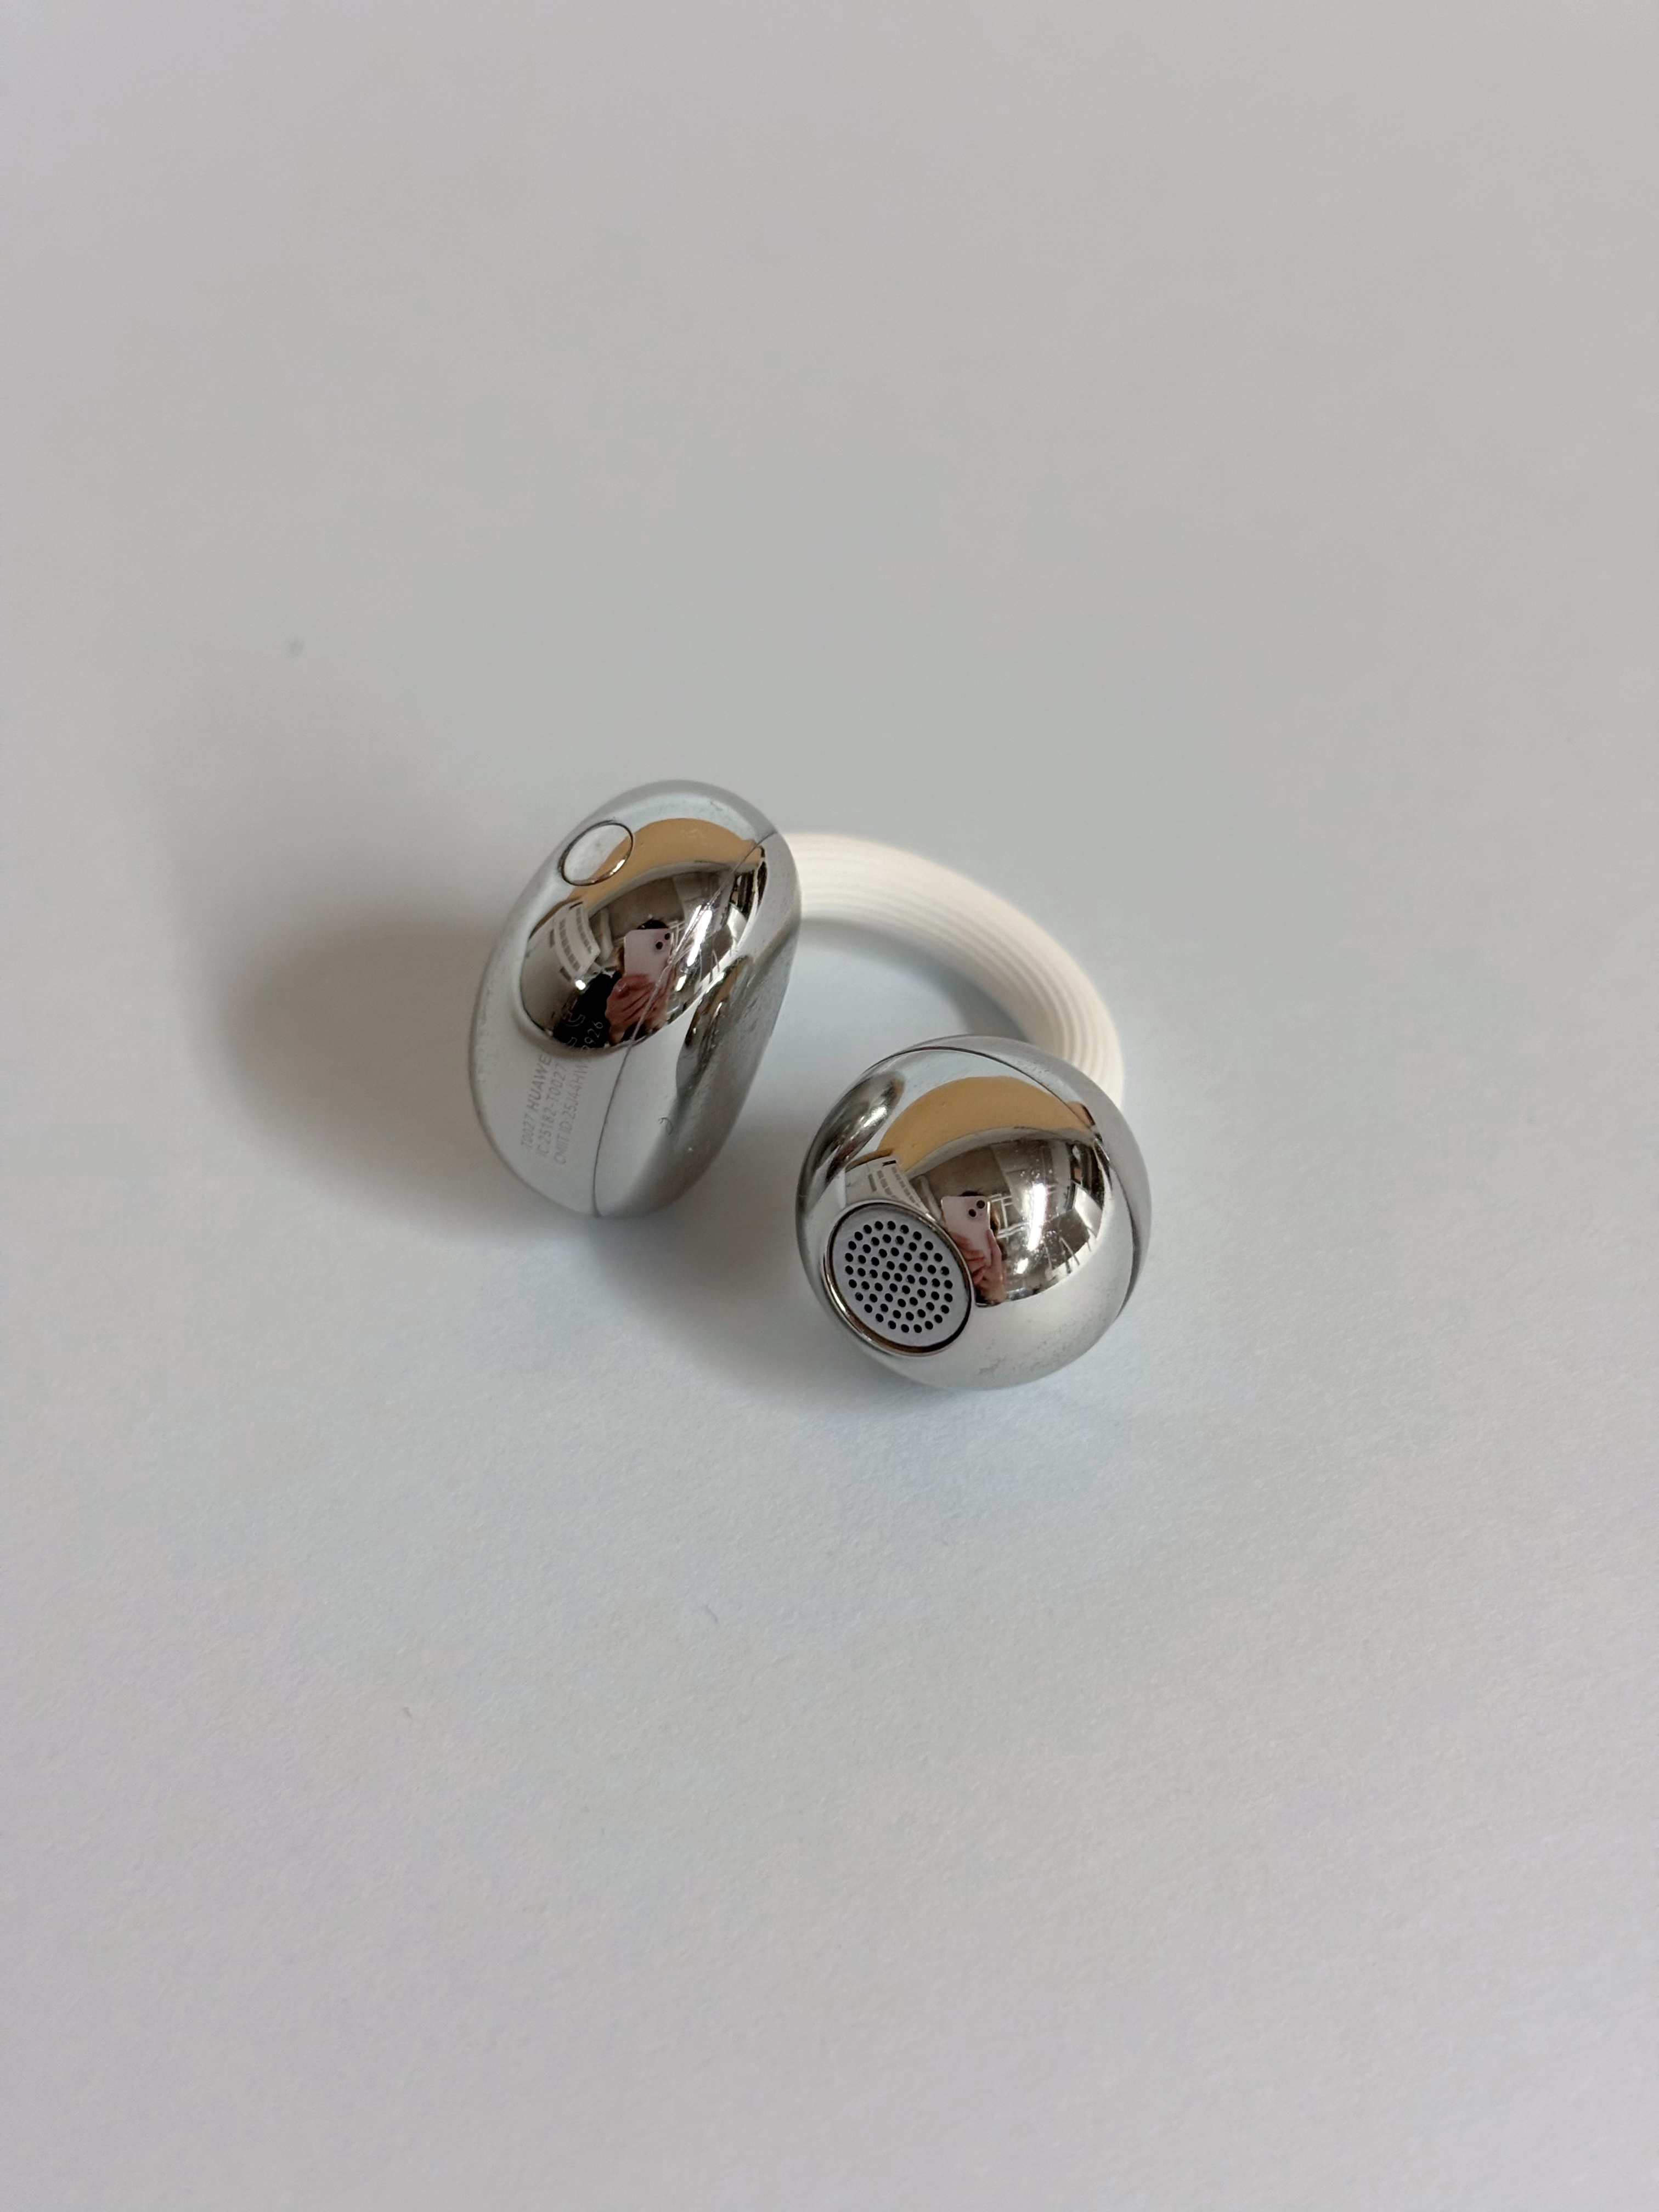
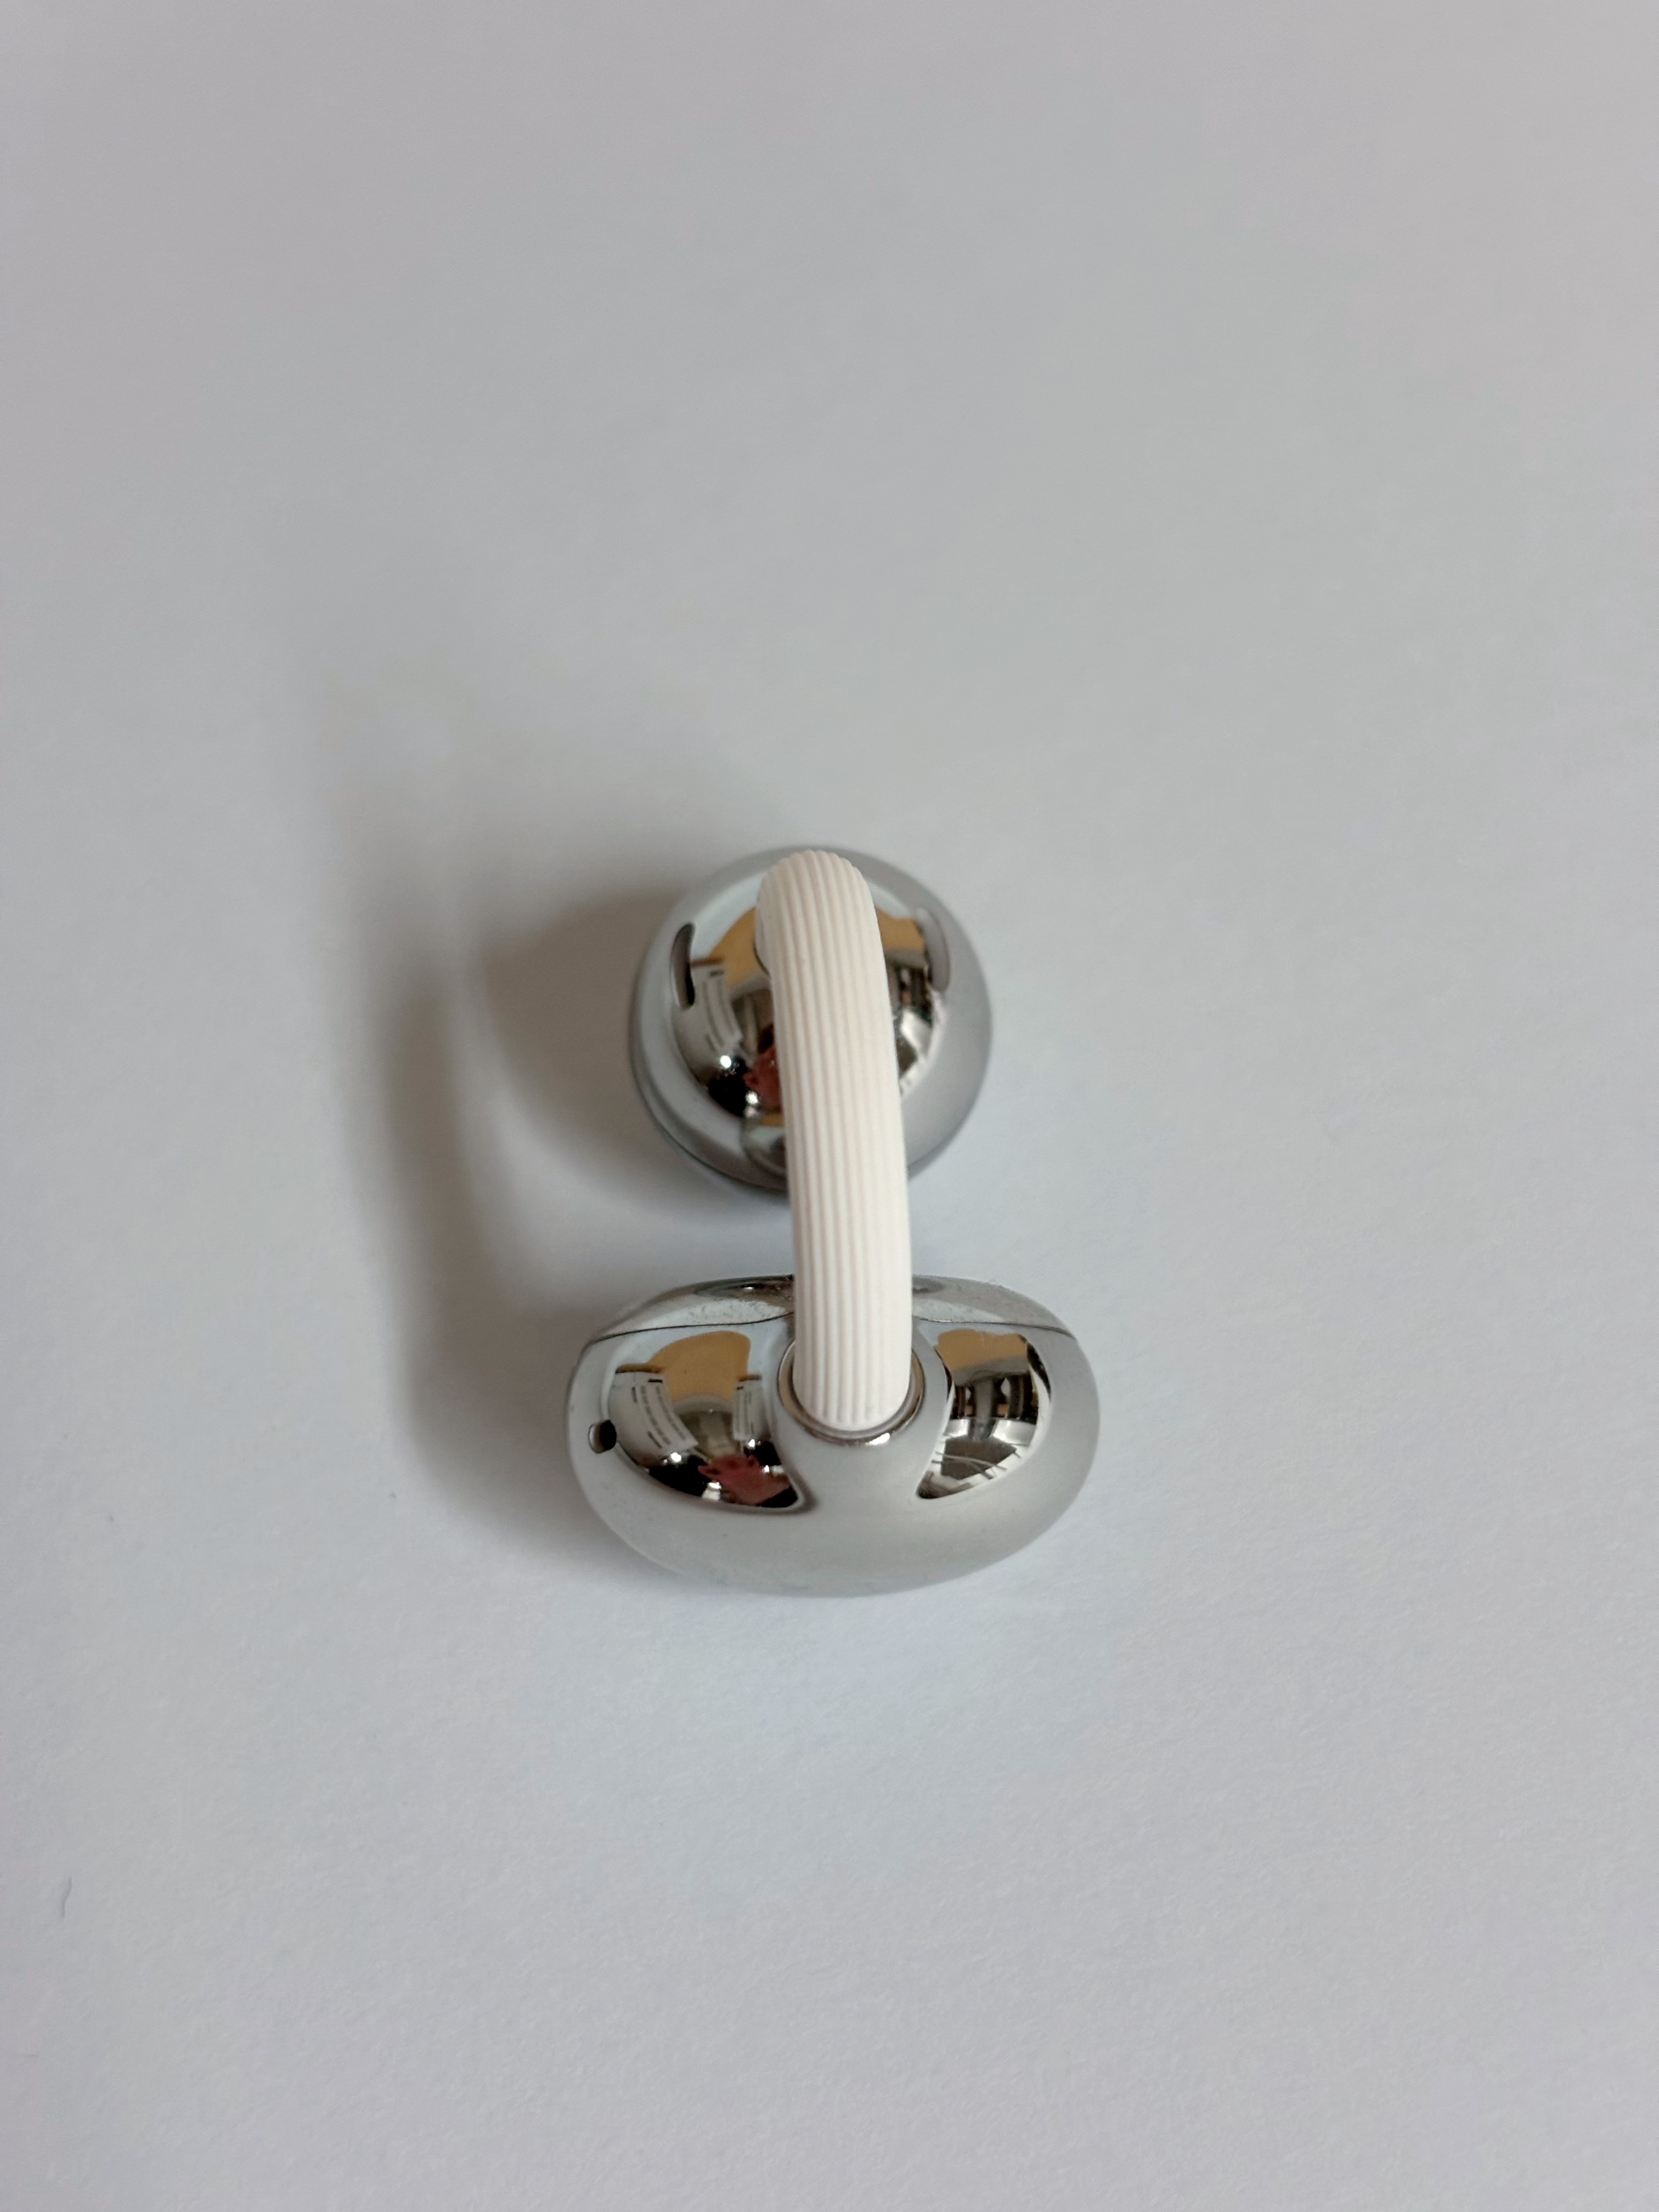
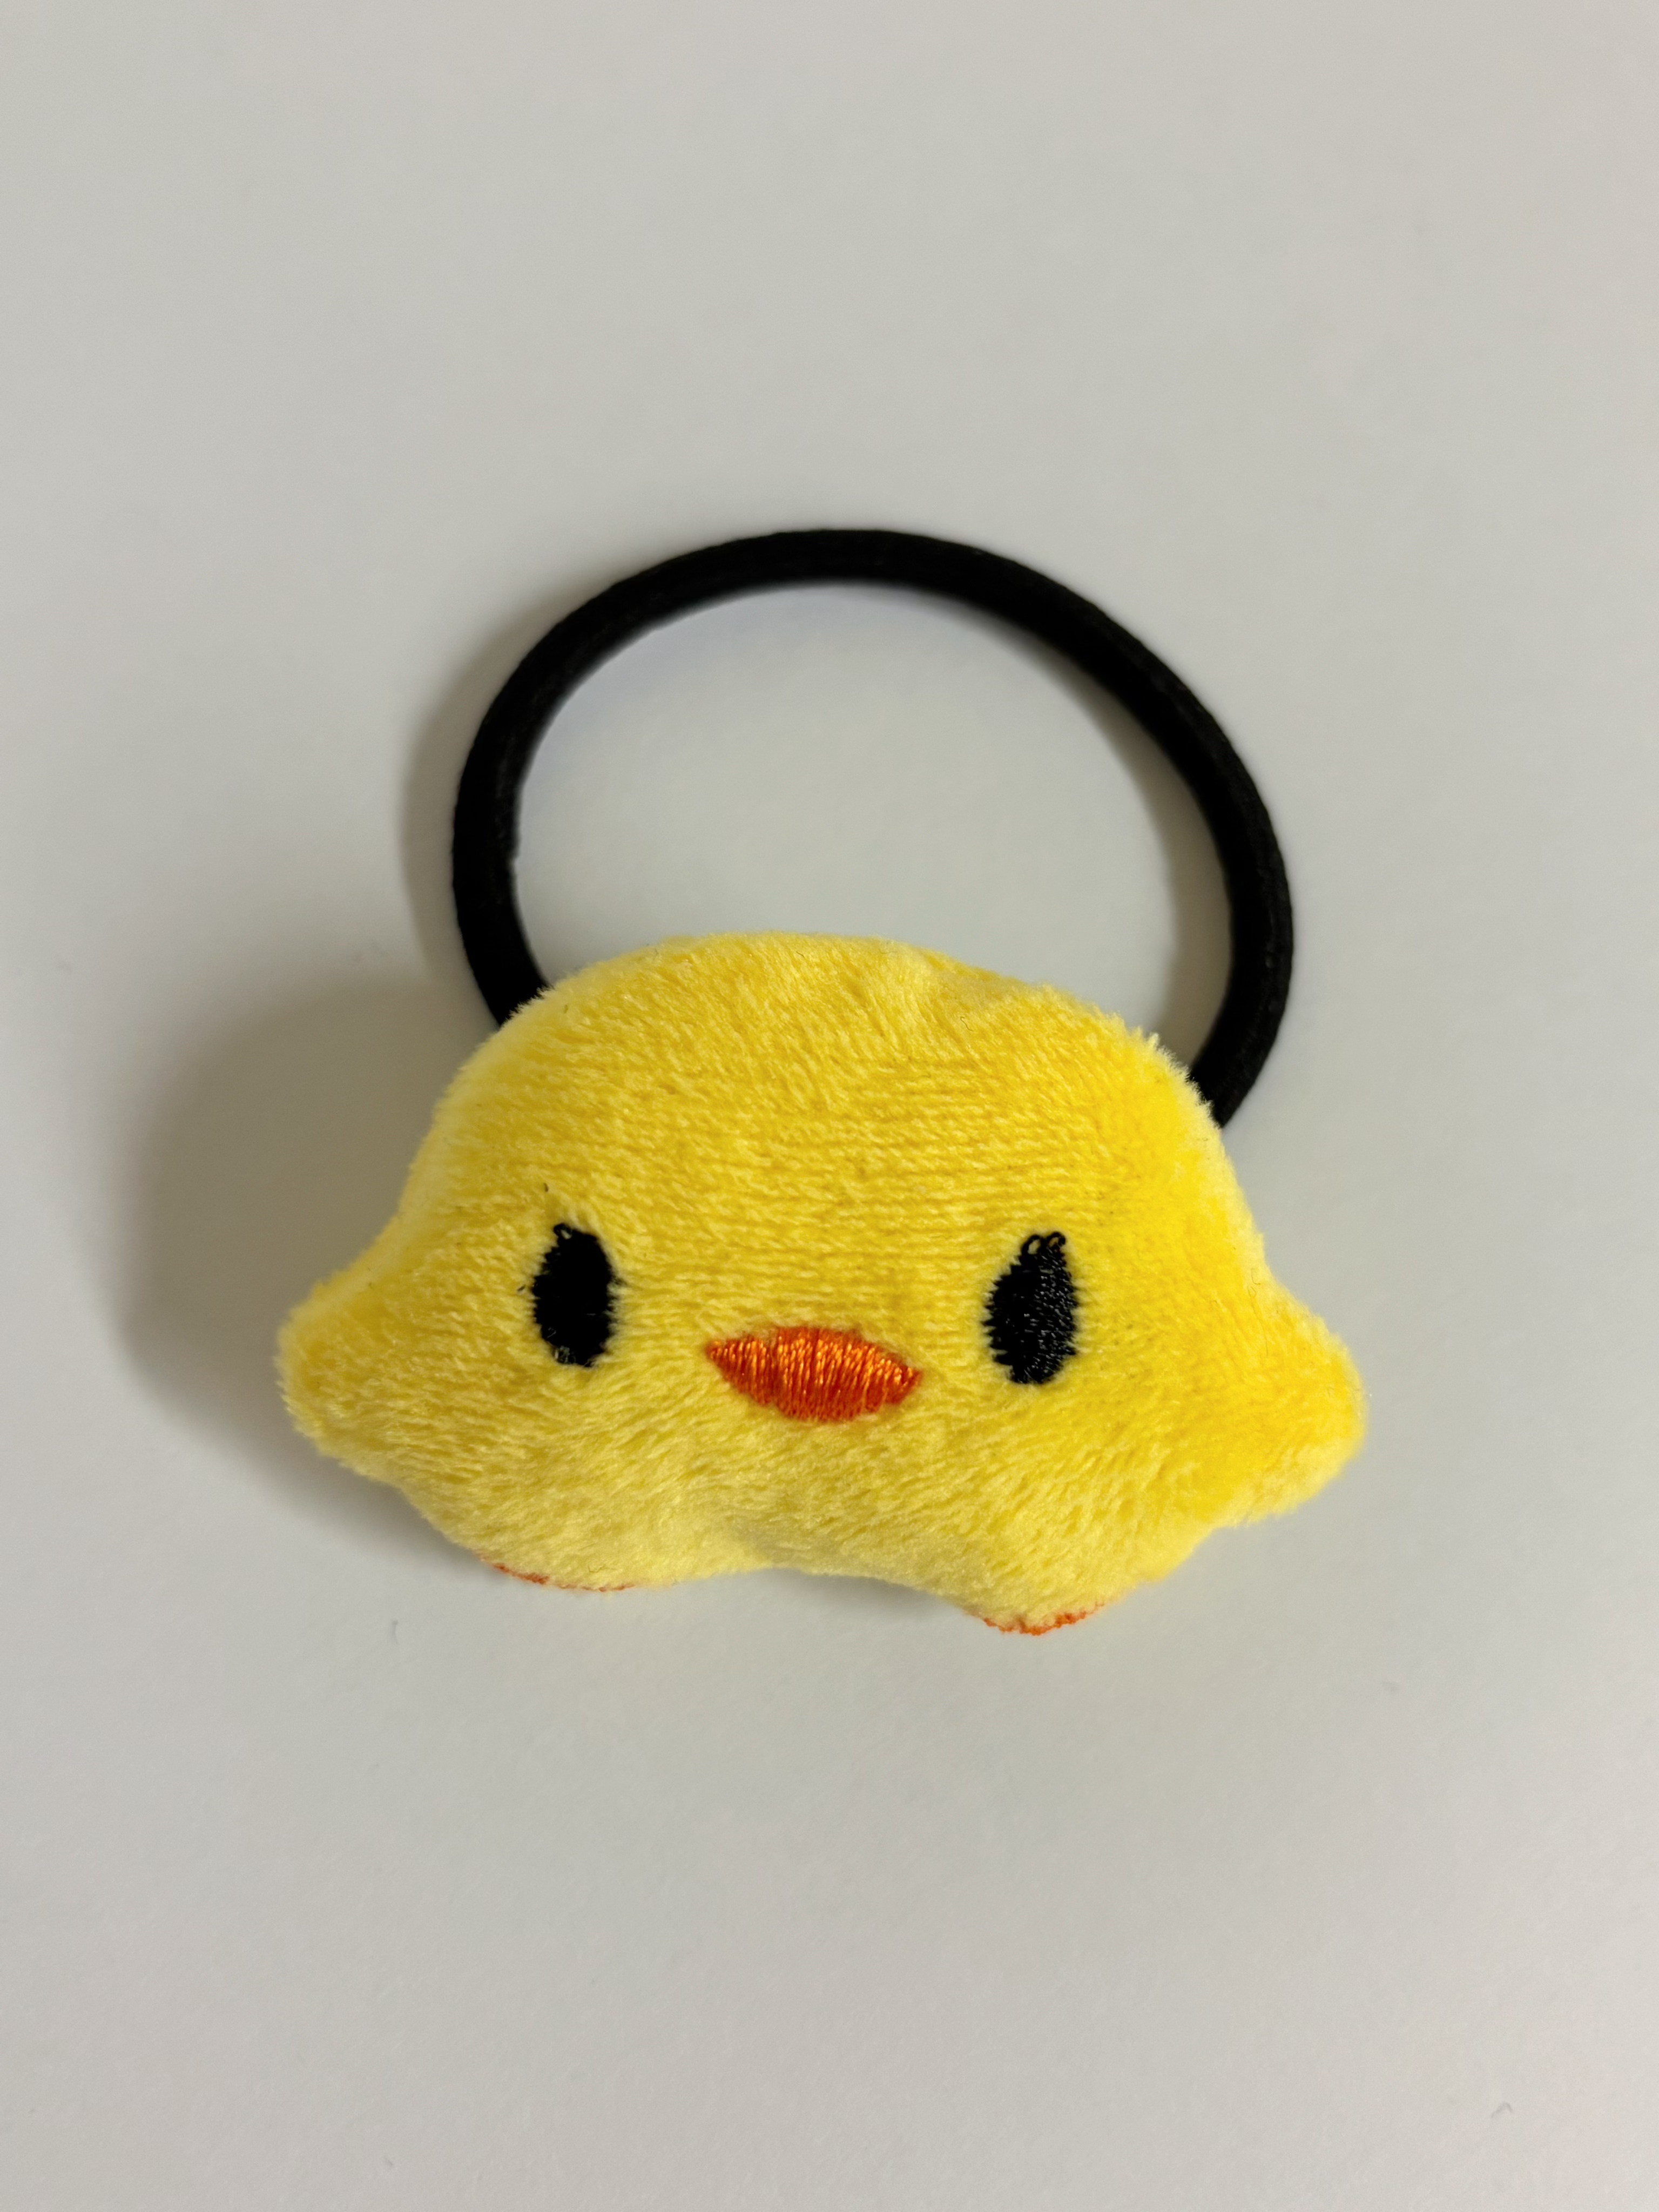
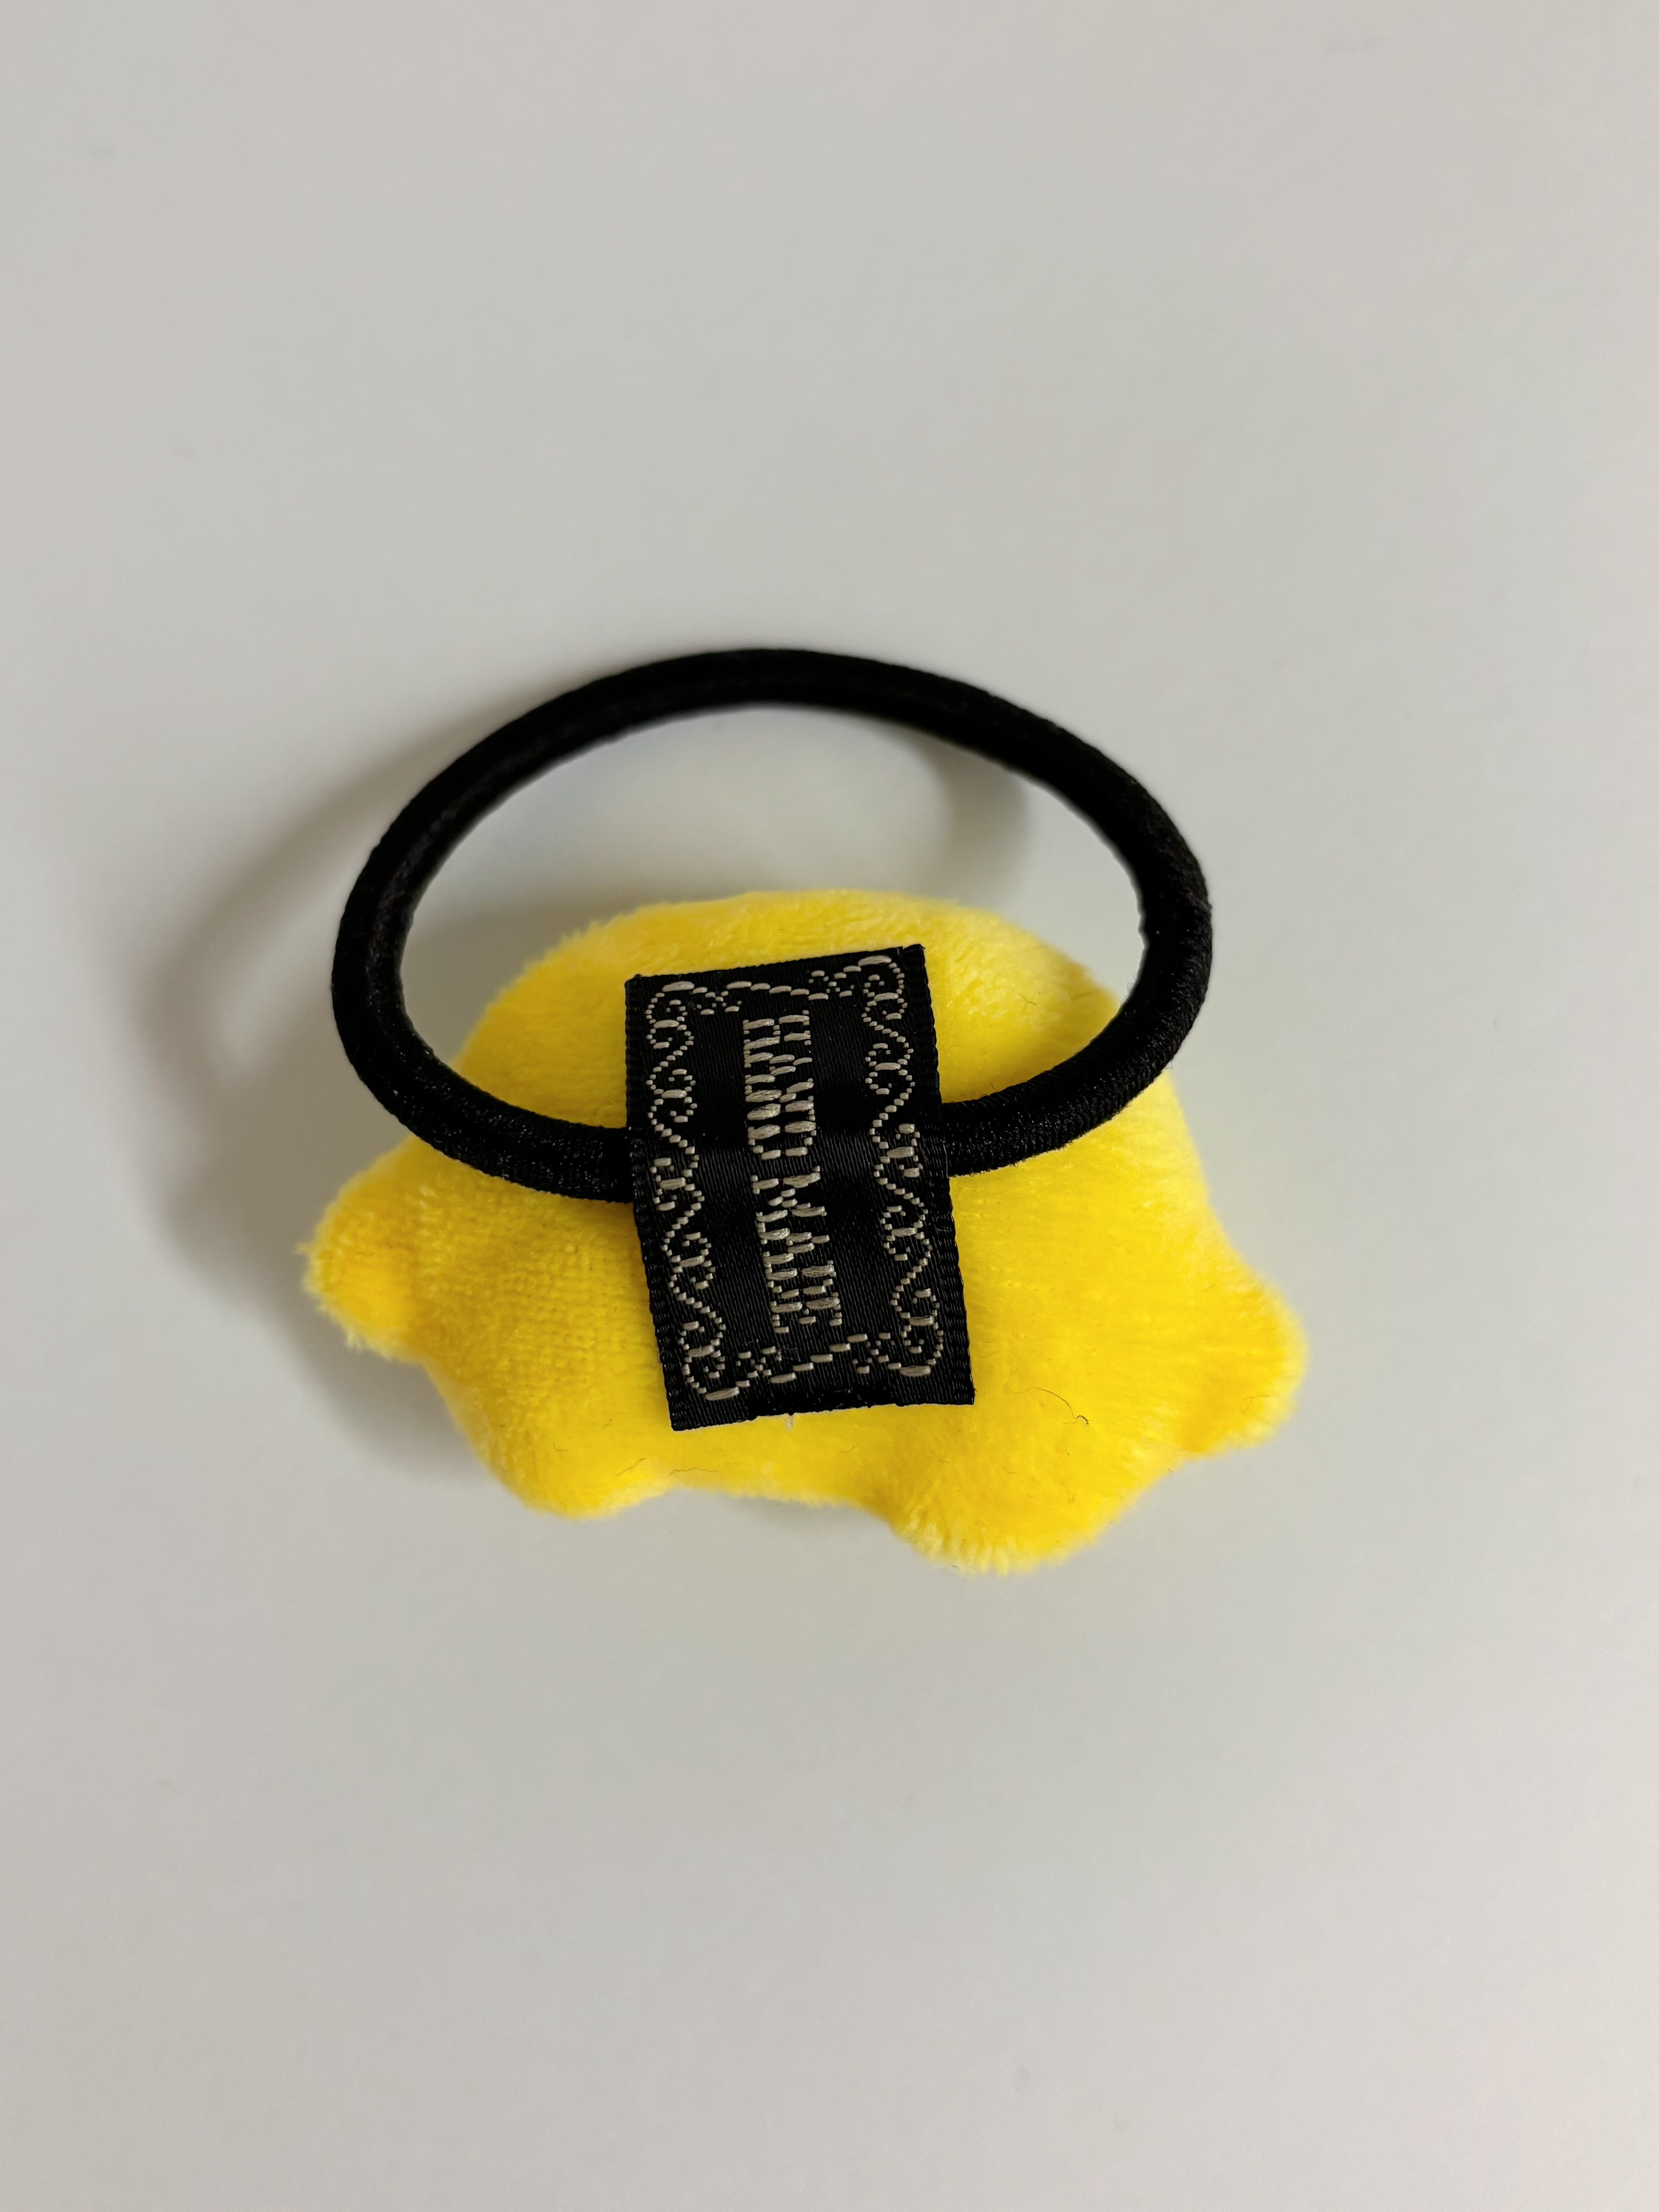
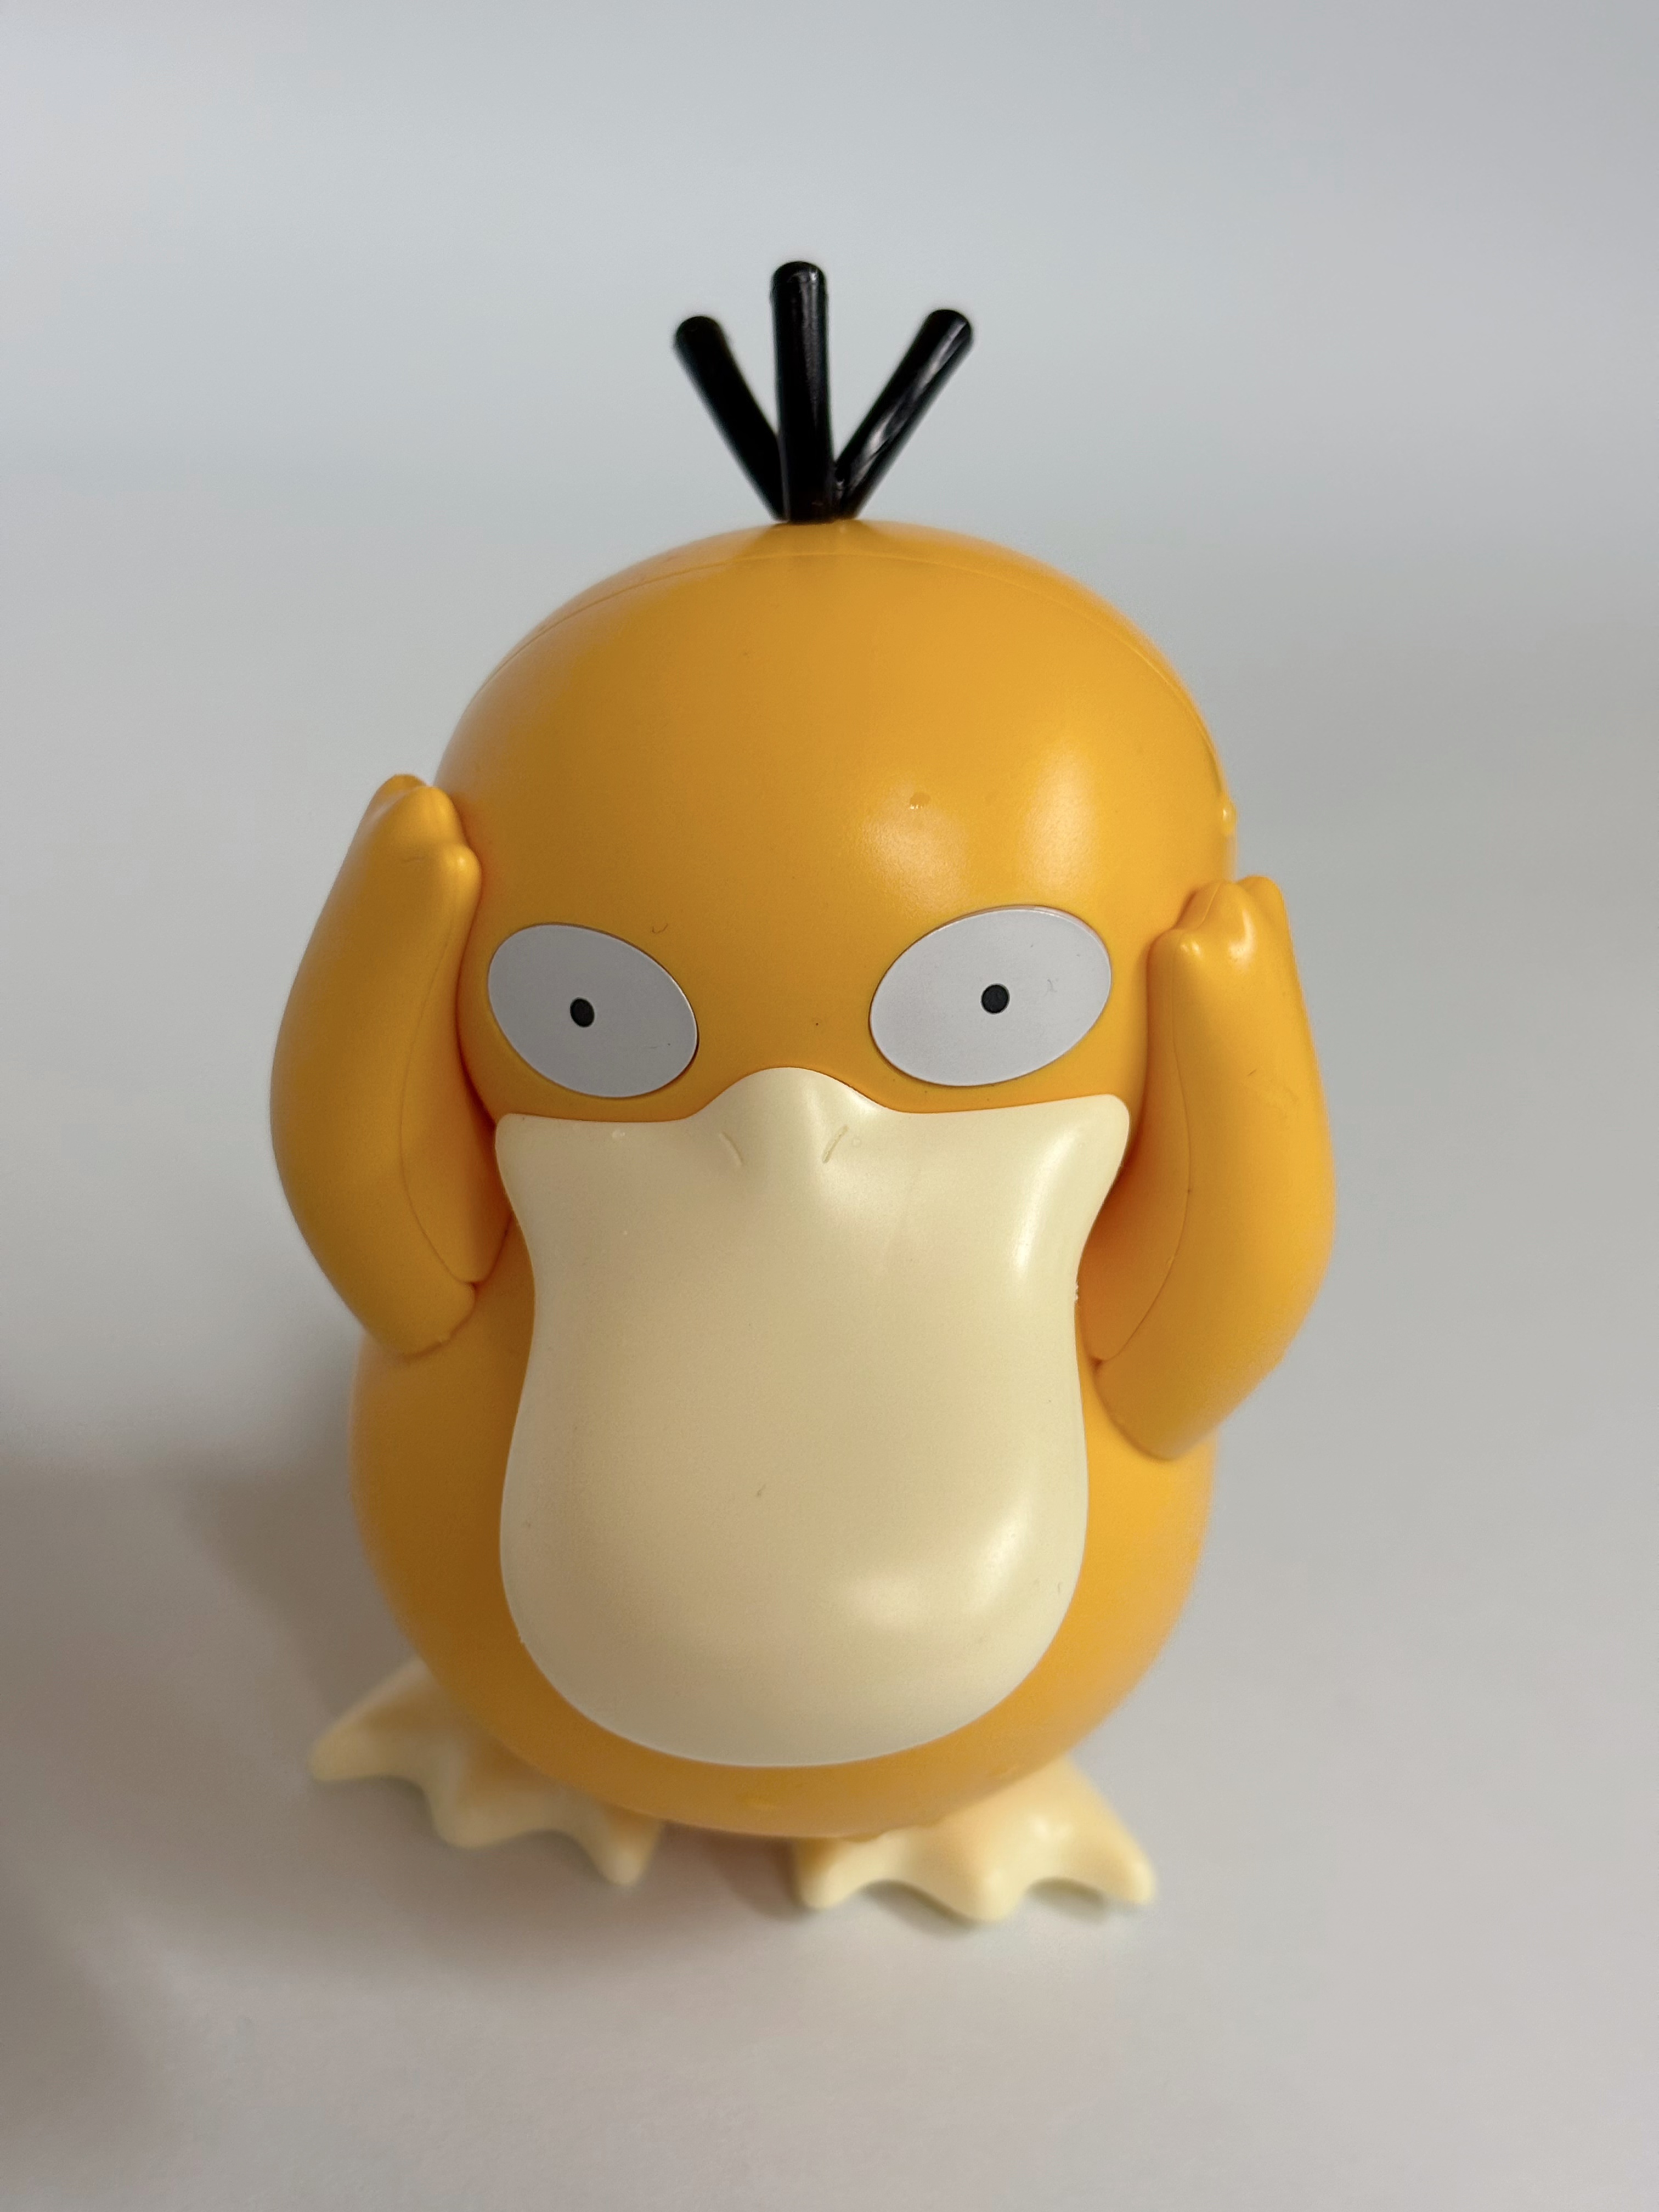
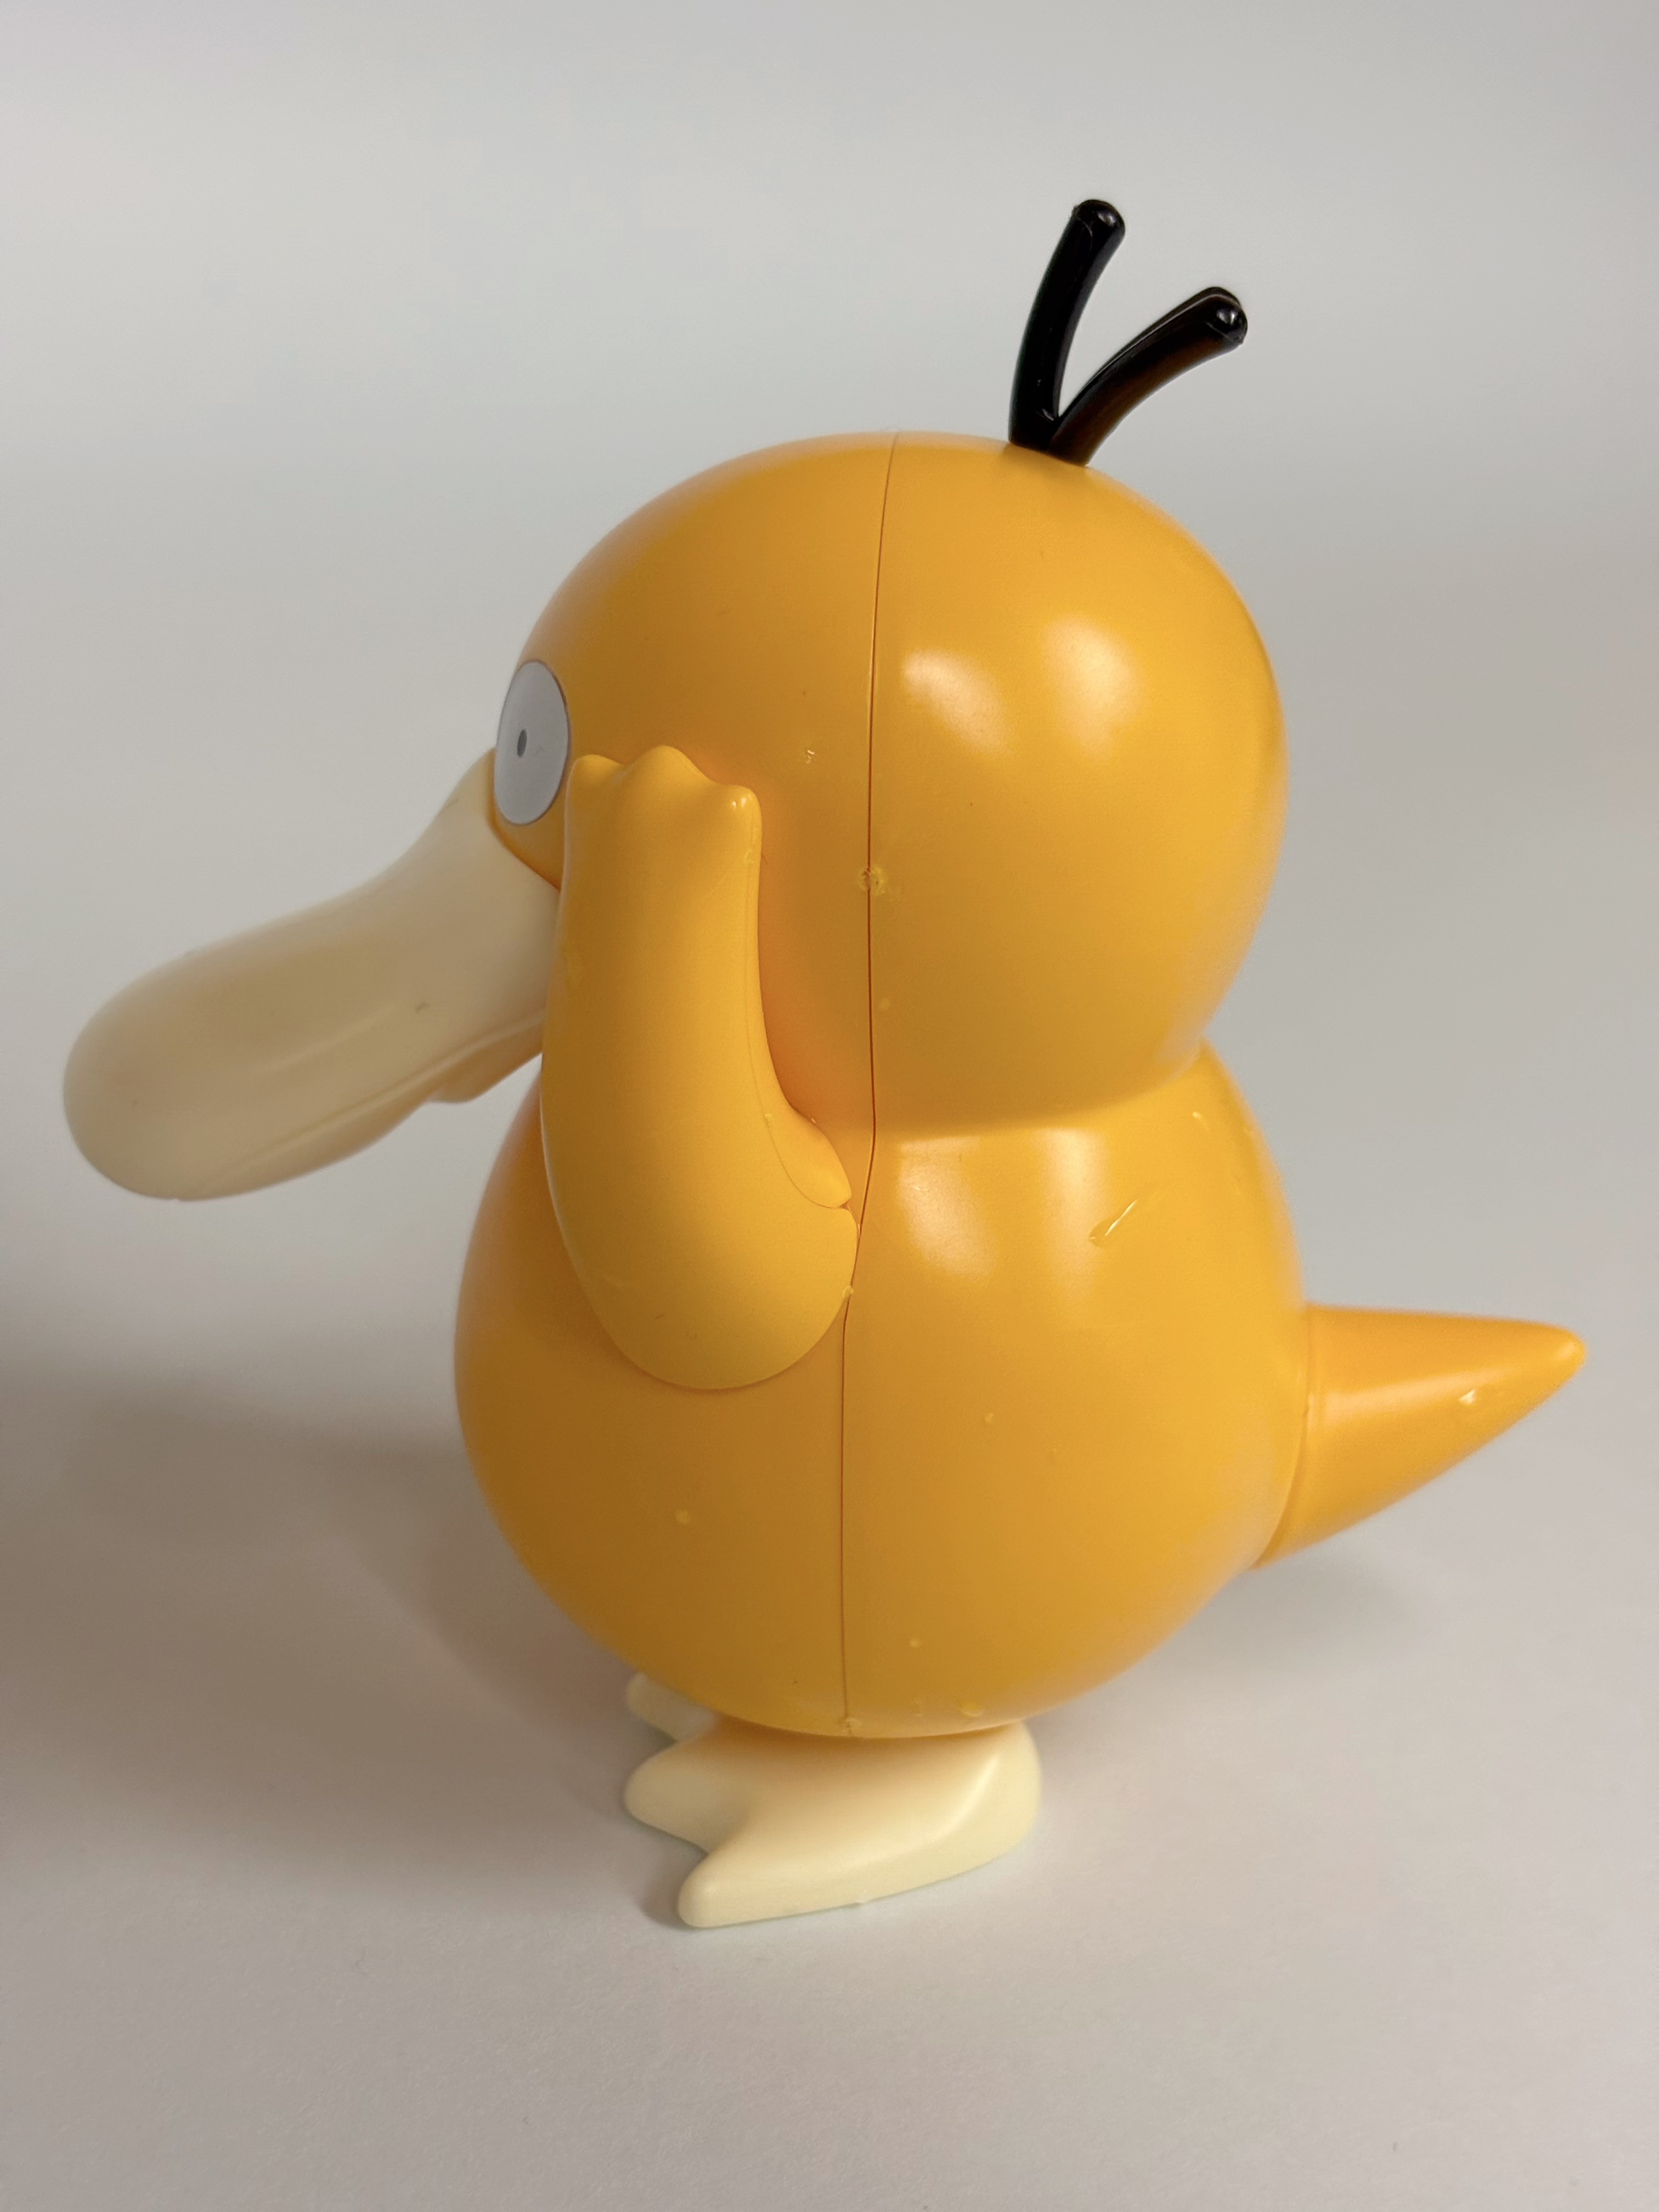
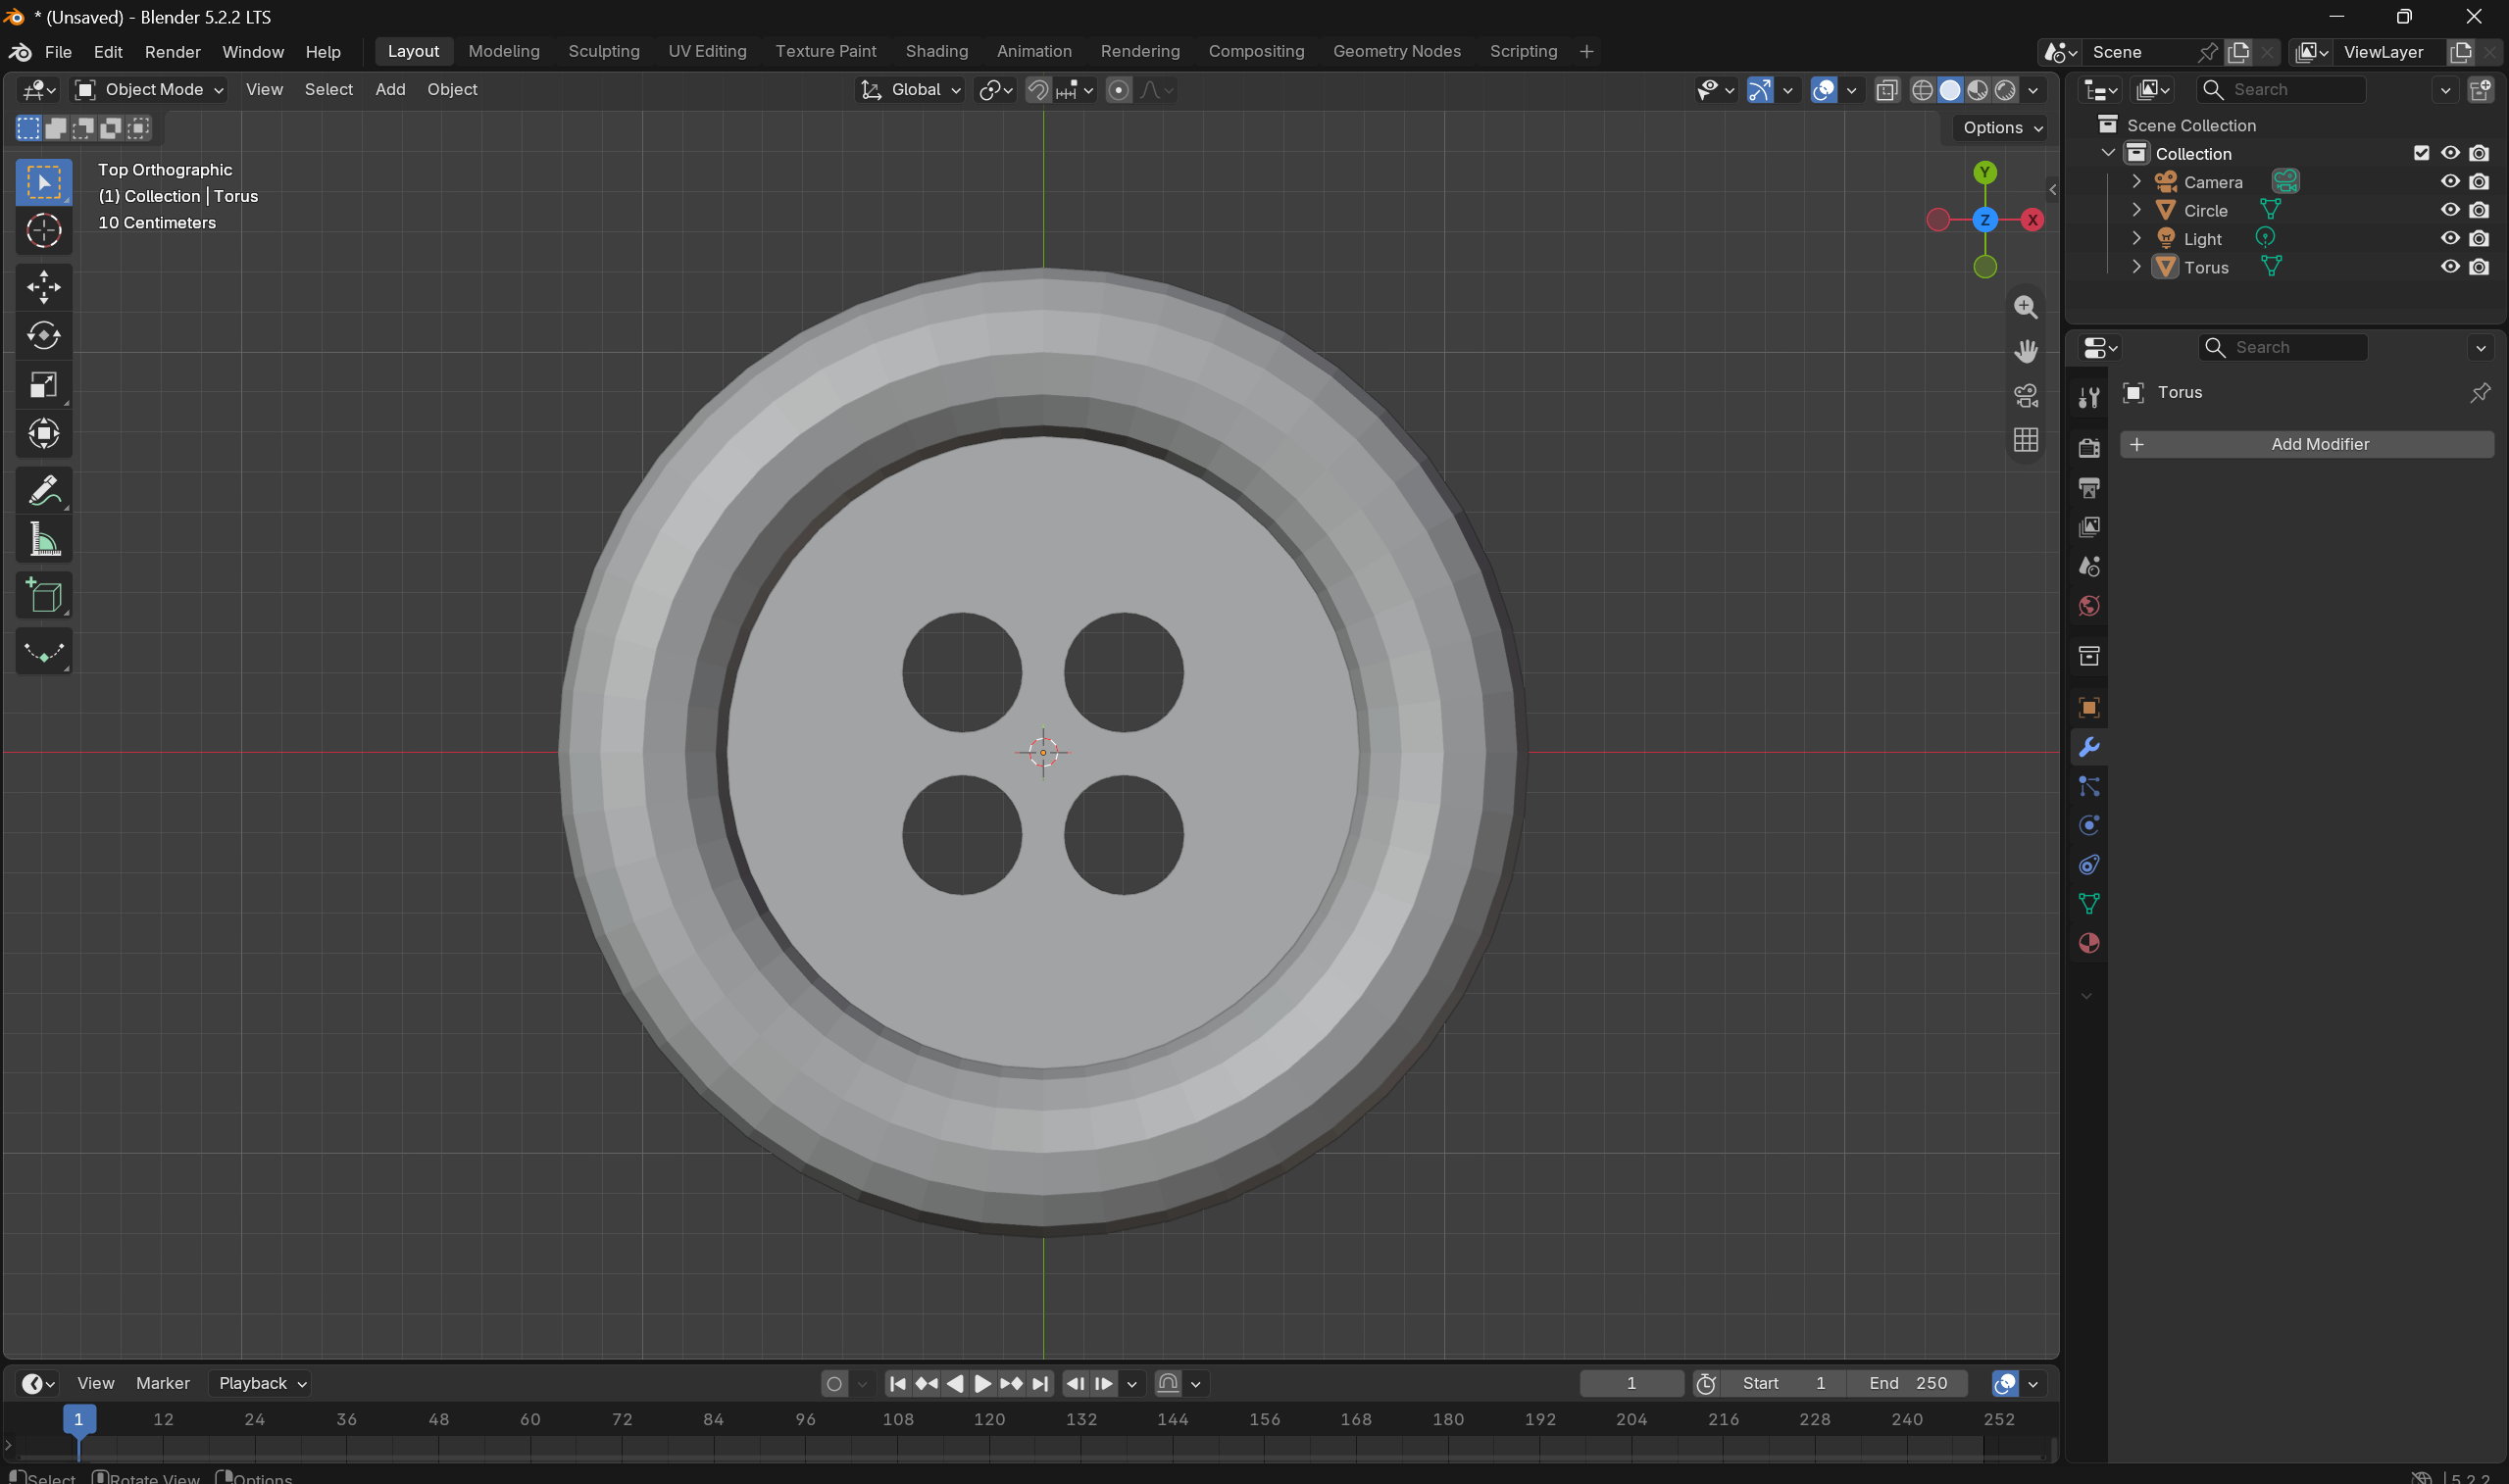
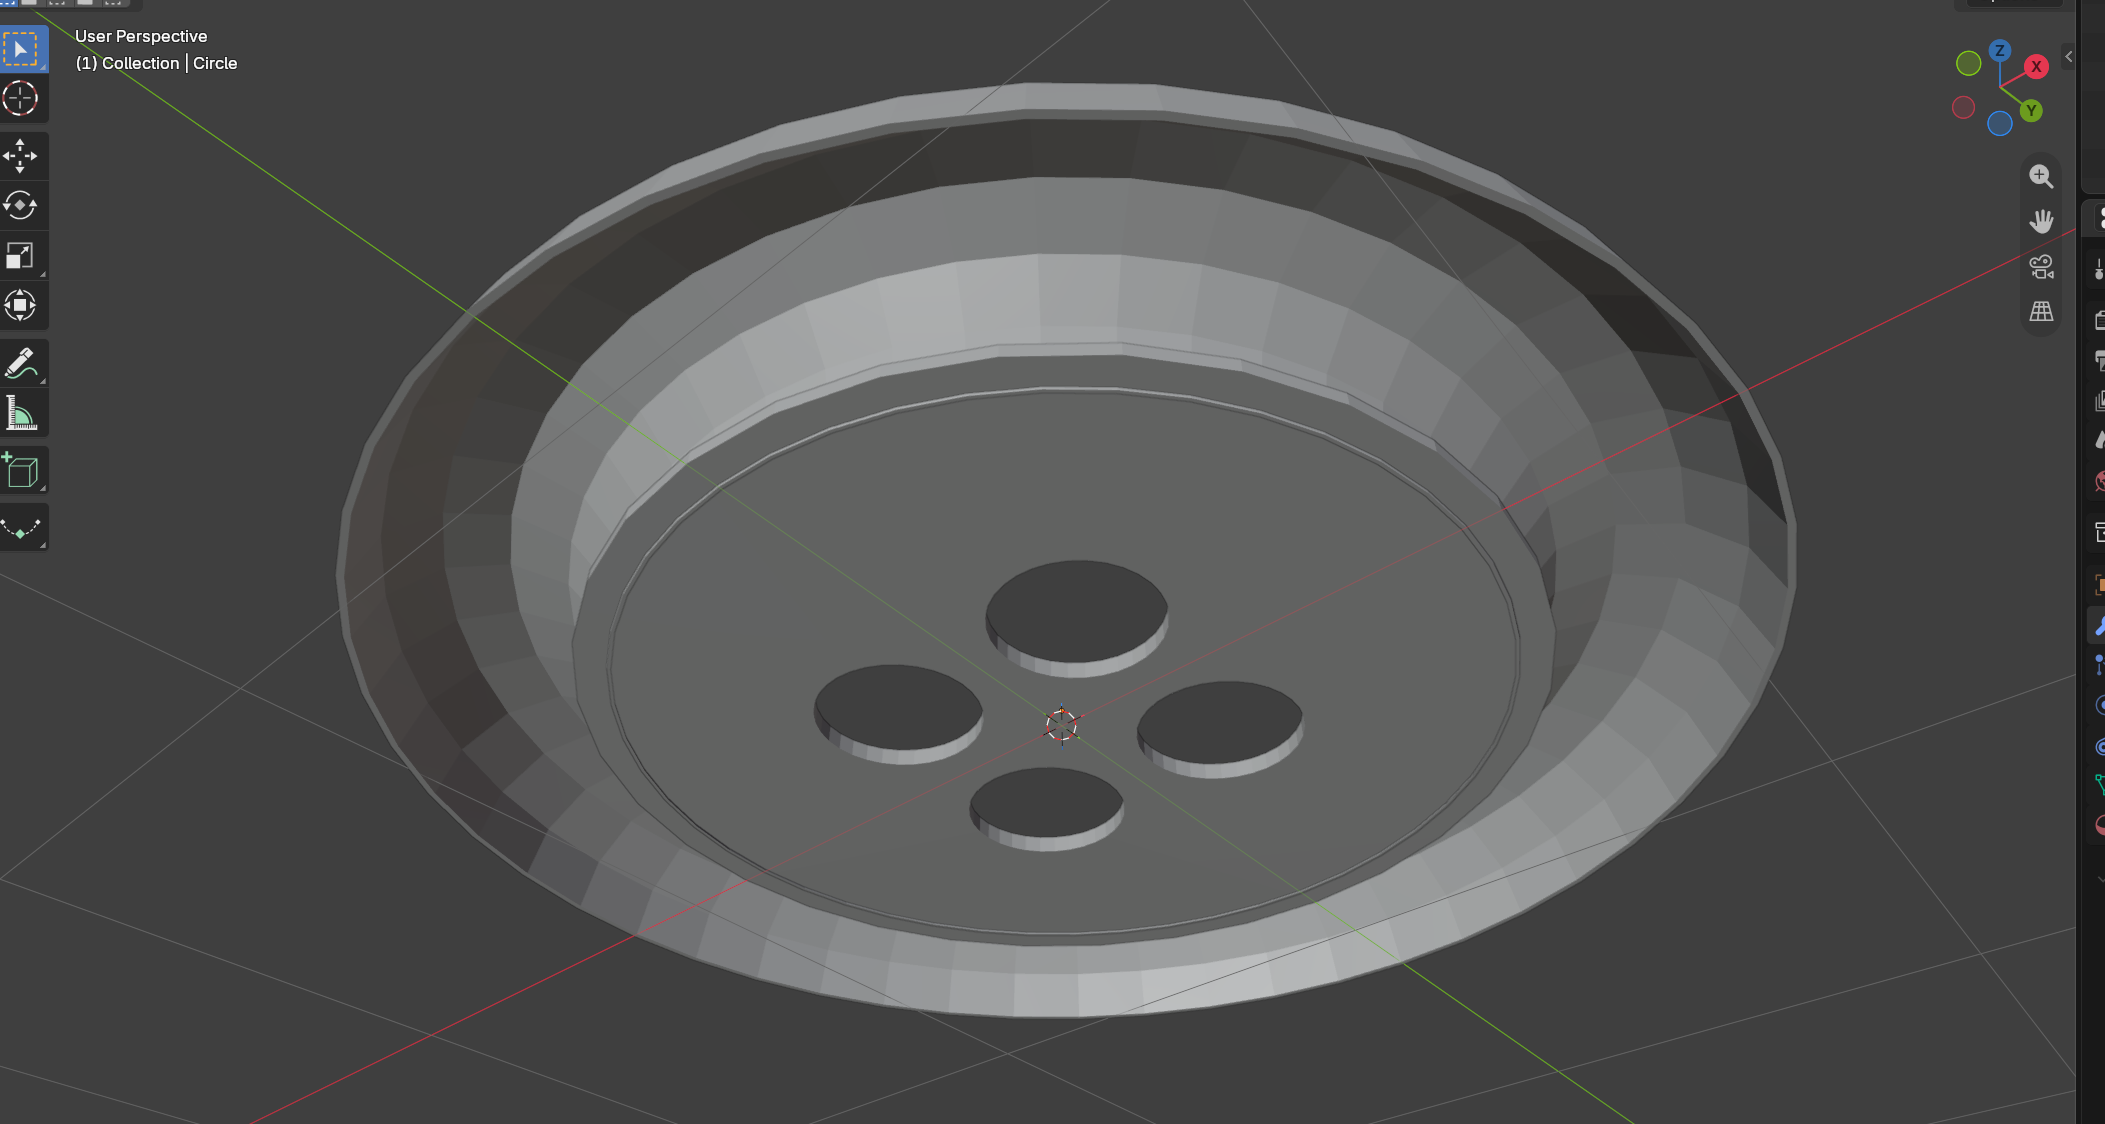
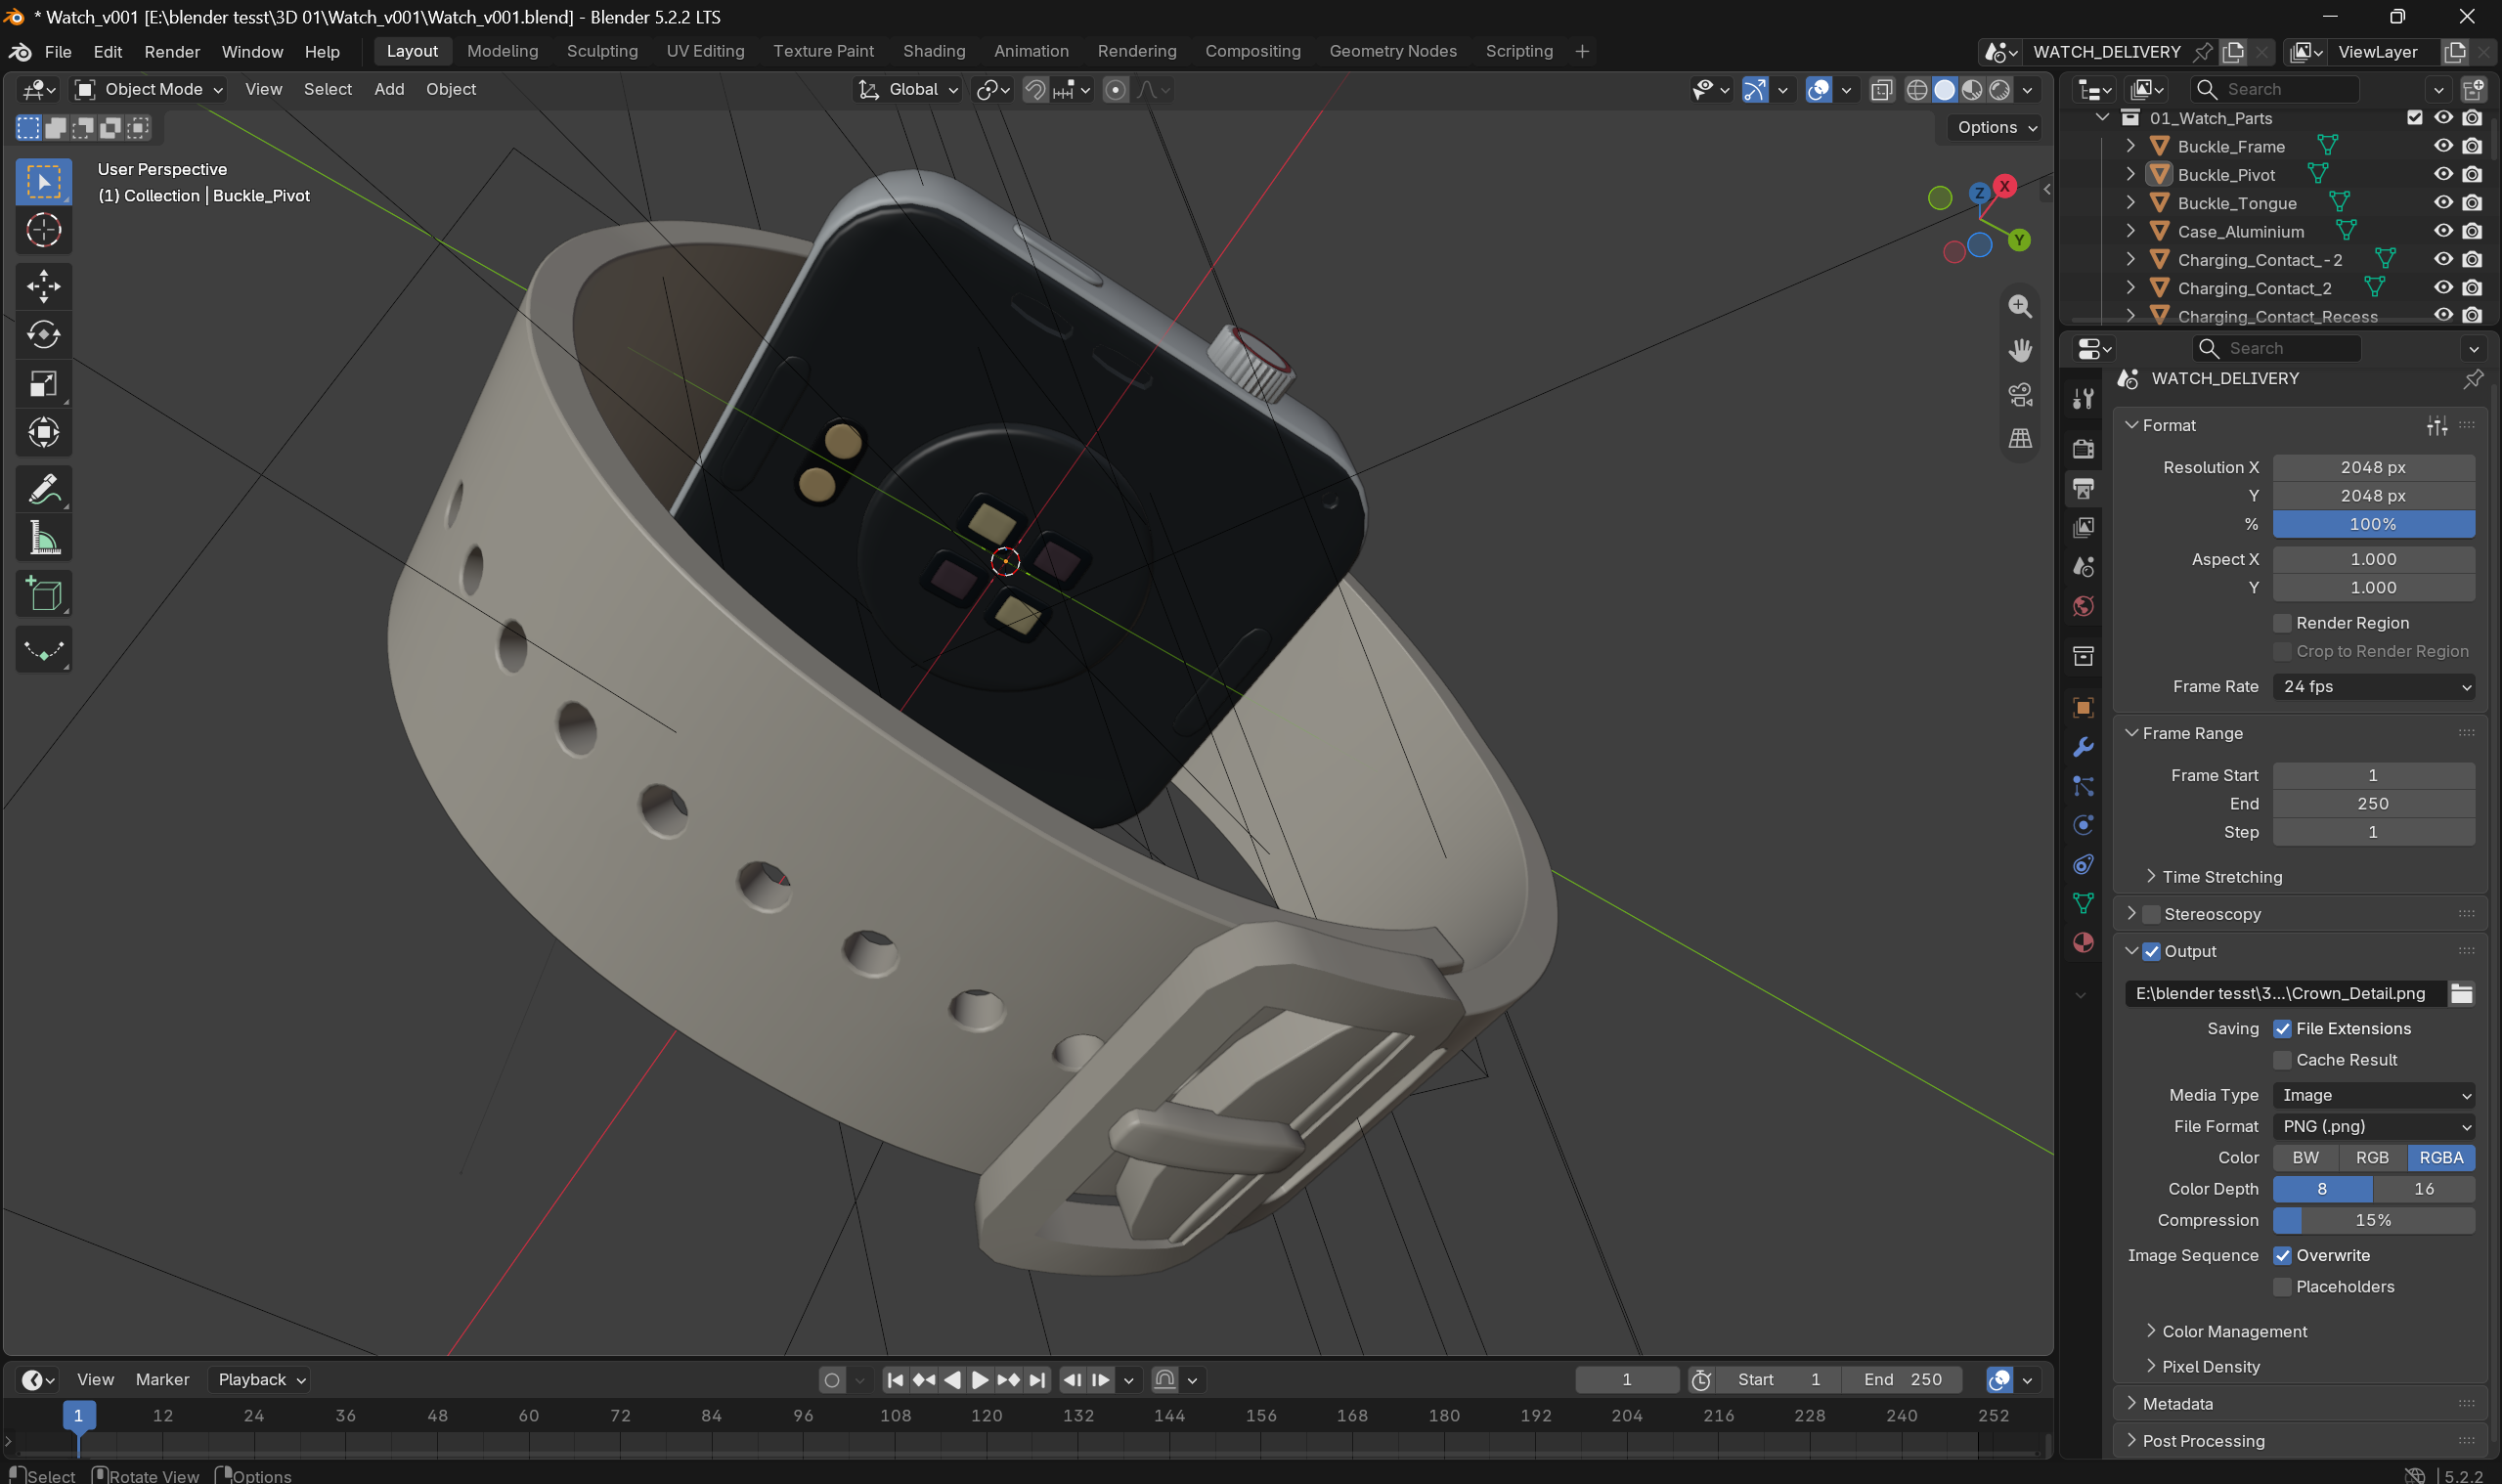
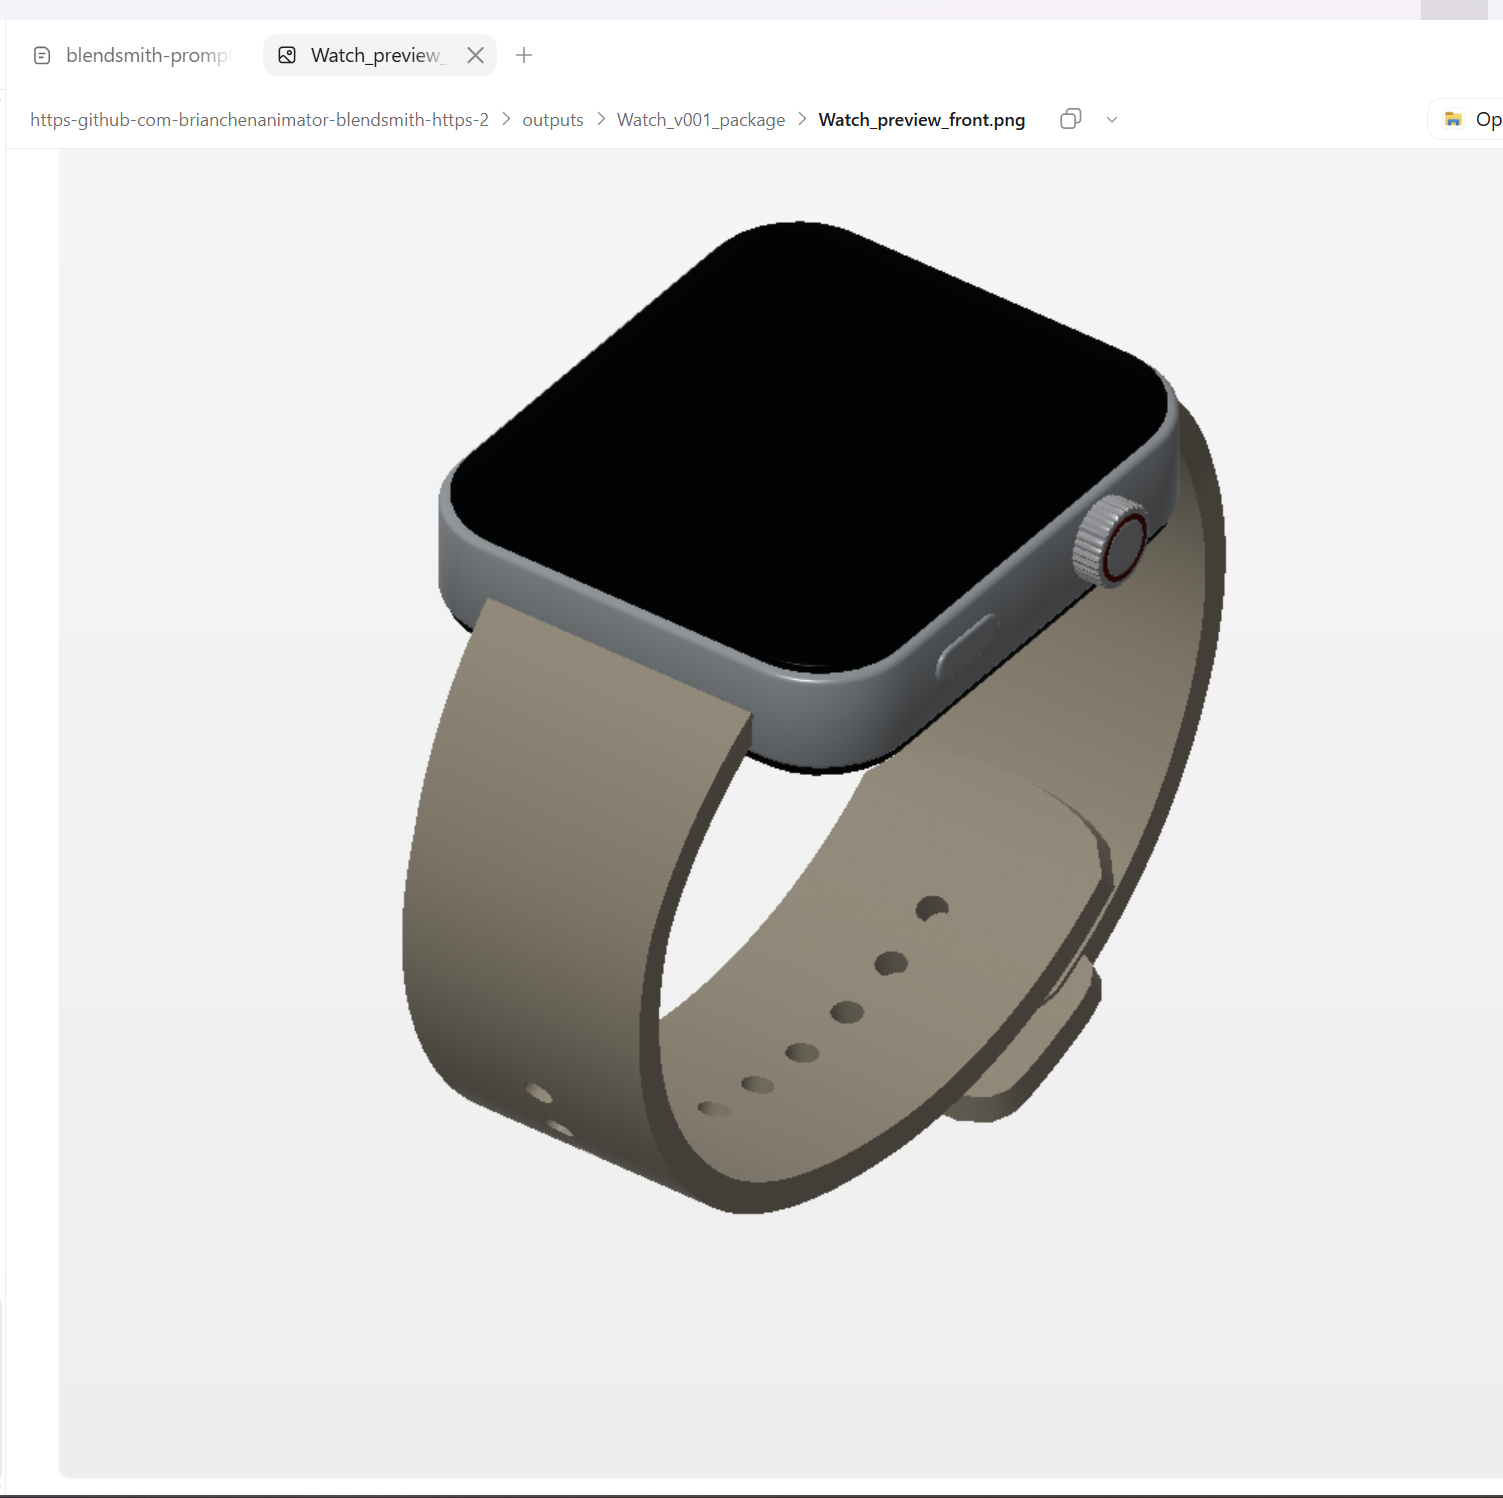
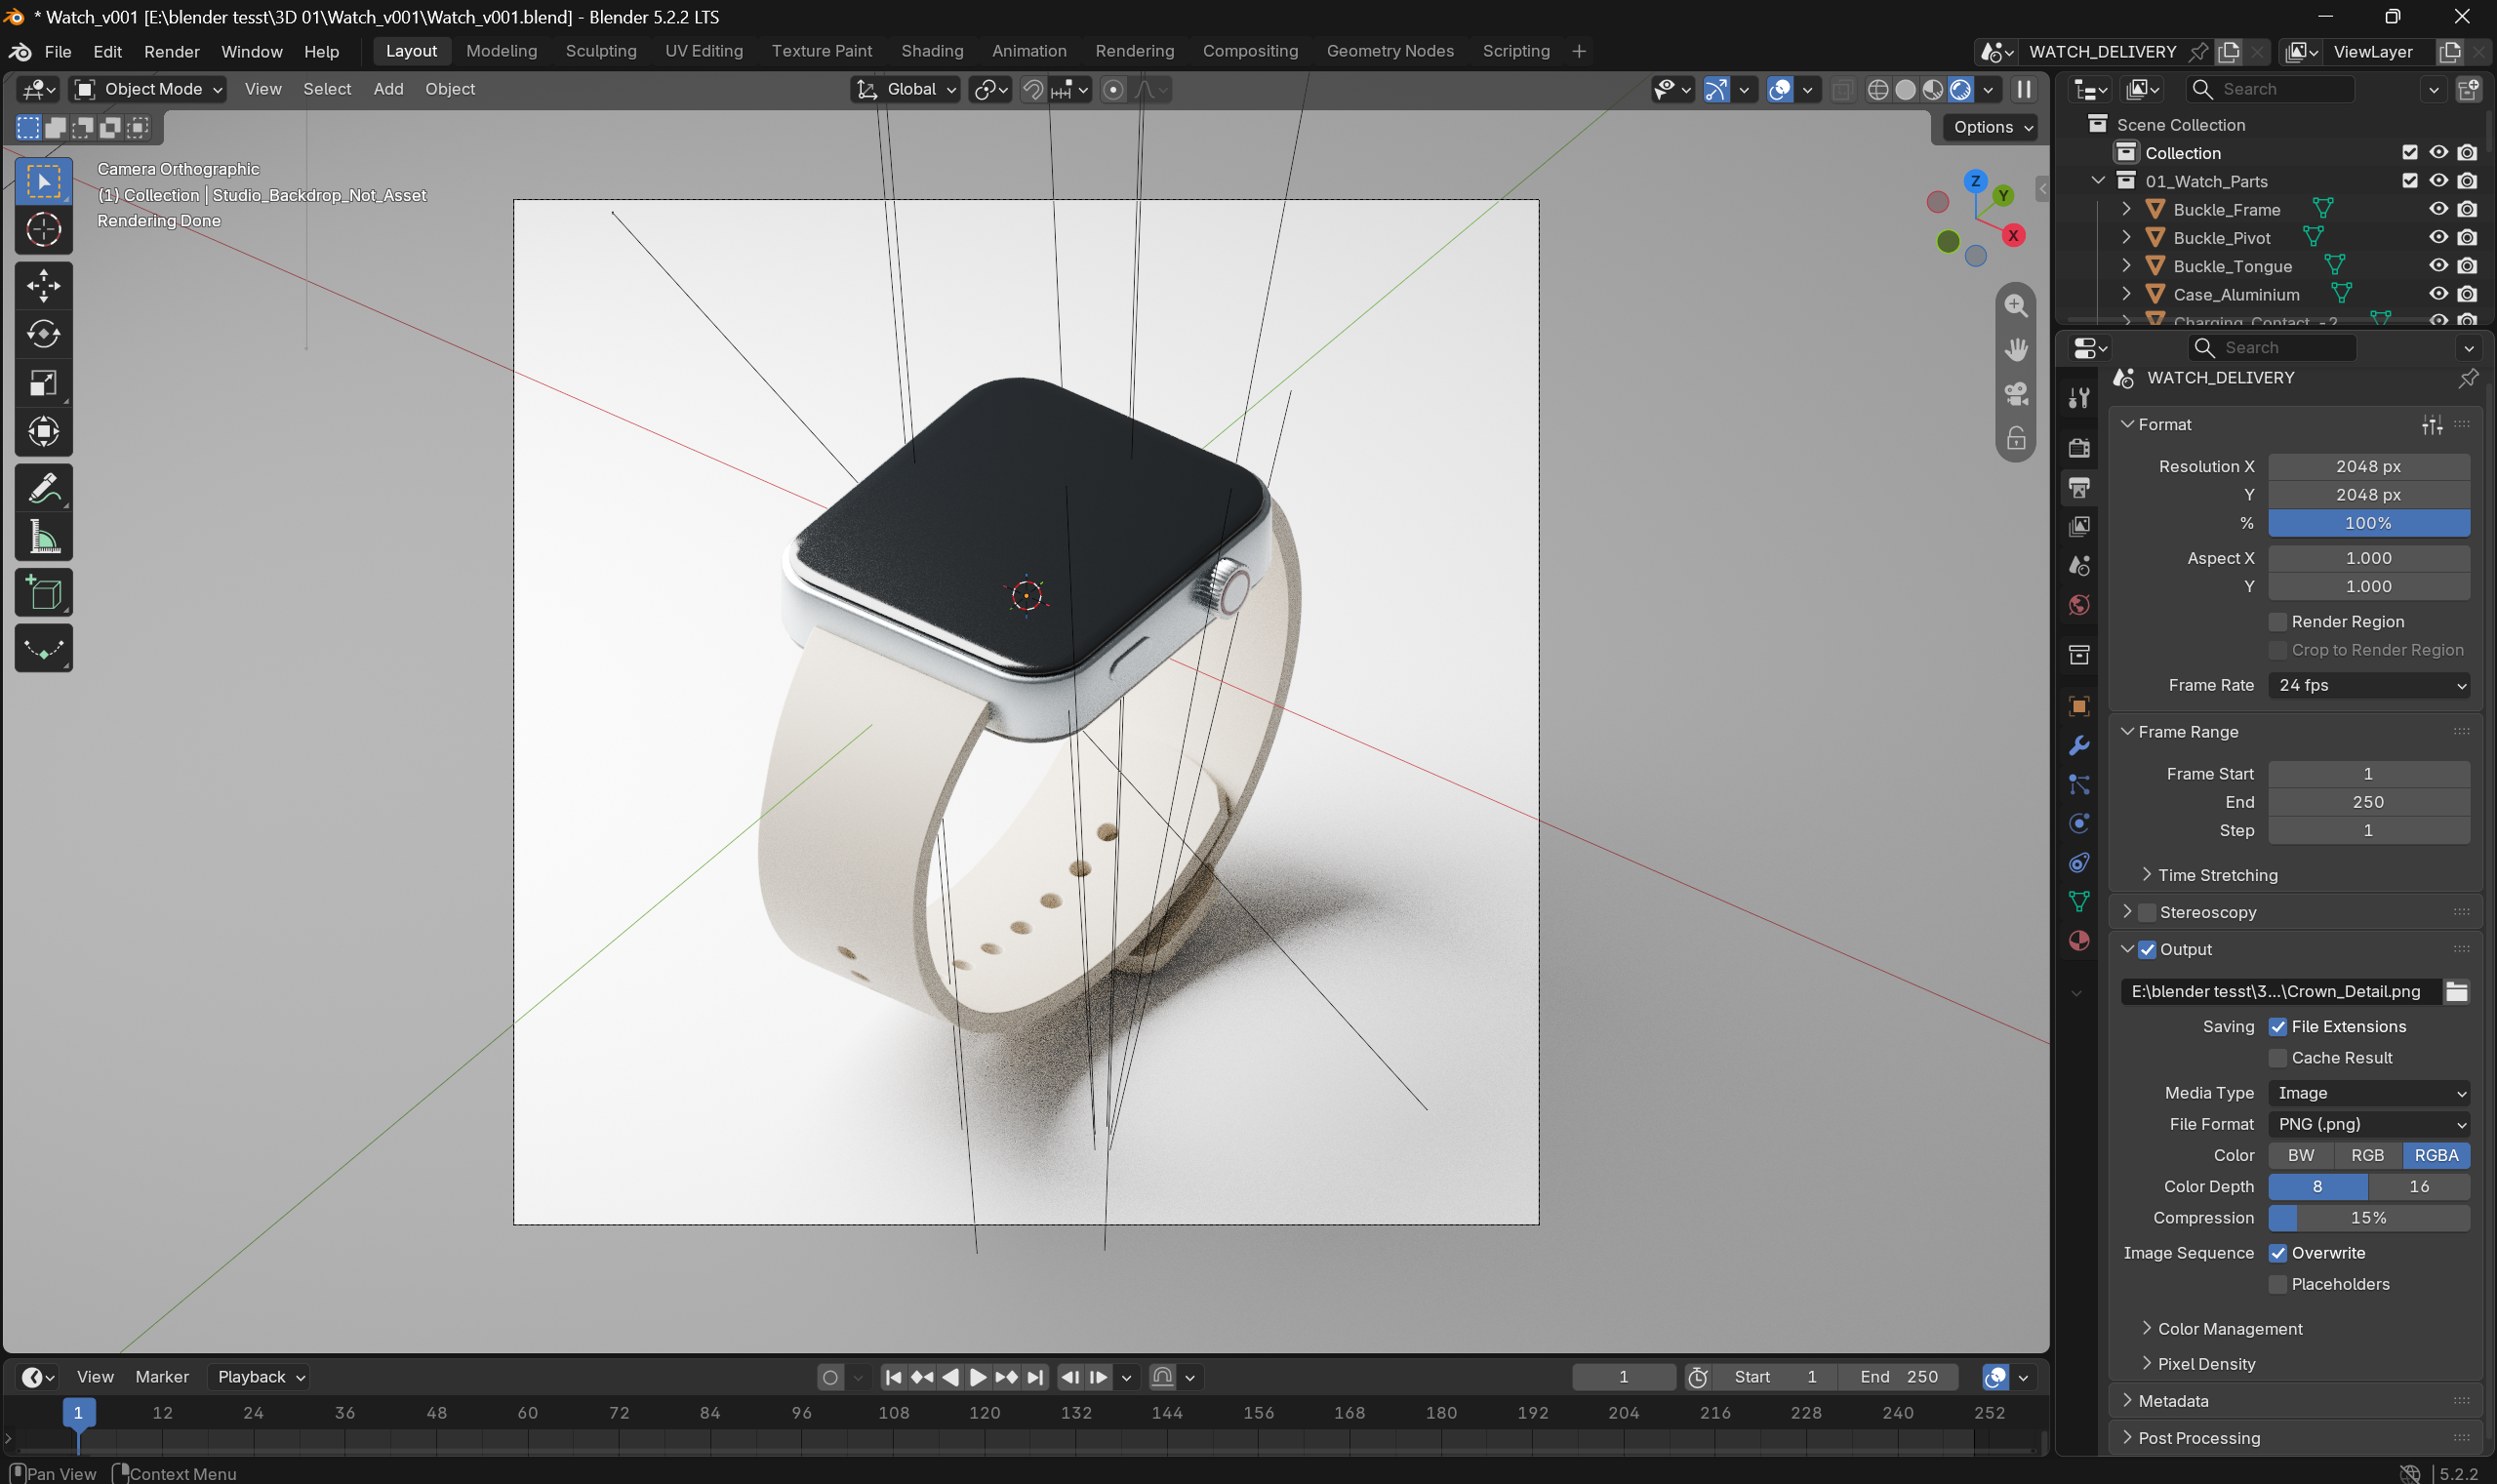
This is my smartwatch. I photographed it from different angles to record the rounded case and curved strap as references for my AI modeling experiment. This is the back of my smartwatch. The circular sensor area and small contact points show details that are not visible from the front. This side view of my smartwatch shows the case thickness, side button and circular crown. These details are useful references for the watch model. I laid my smartwatch flat to show the full strap, buckle and adjustment holes. This view records the proportions of the different parts. This is my USB flash drive with its connector extended. Its rectangular body is a useful example of an everyday object built around a simple box-like shape. This angled view of my USB drive shows the thickness of the casing and its sliding section. It helps me understand the object beyond its flat outline. This is the reverse side of my USB drive. It records the casing divisions and the opening at the end. This is my face cream jar. Its rounded body is close to a cylinder, while the lid and decoration add smaller details. This top view of my face cream jar shows the curved lid and gold-colored heart decoration. These parts could be studied separately when planning a model. This is my large button-shaped hair clip. I used its circular rim and four holes as the reference for my own Blender modeling attempt. This is the back of my button-shaped hair clip. The metal clip shows how the decorative button connects to the fastening part. This side view of my button clip shows the thickness of the button and the space beneath the metal clip. It provides depth information that the front view does not show. This is a small pumpkin that I drew on. Its shape is irregular, and the drawn face is surface decoration rather than part of the geometry. This top view shows the uneven grooves and lobes of my small pumpkin. It is not a perfect sphere, which makes it an interesting natural form to study. This is my ear-hook earphone, which sits around the ear. It combines rounded ends with a curved connecting section. This is another angle of my ear-hook earphone. It shows the connecting curve and the spacing between its rounded ends more clearly. This is my hair tie with a small plush chick attached. The black elastic loop and the soft yellow chick combine a simple ring shape with an irregular fabric form. This is the back of my chick hair tie. It shows the fabric label and how the plush chick sits against the elastic loop. This is my small duck figure, which appears to be Psyduck. The bill, arms and feet make it more complex than a single basic shape. This side view of my duck figure shows the projecting bill and tail. It helps document the depth and proportions that are harder to see from the front. I tried modeling this button myself in Blender. This top view shows my attempt at the circular body, raised rim and four holes. This angled view shows the thickness of my Blender button model. The edges still look faceted, so making the circular form smoother is a possible next step. I wrote prompts for AI to generate this smartwatch model; I did not model it manually. This Blender view shows the back of the generated watch, including the sensor area, strap holes and buckle. This is a front preview of the smartwatch model generated by AI from my prompts. It shows the case, screen, side controls and curved strap together. This rendered Blender view shows the AI-generated smartwatch with materials, lighting and a ground shadow. My contribution to the model was writing the prompts.

Design Challenge 2
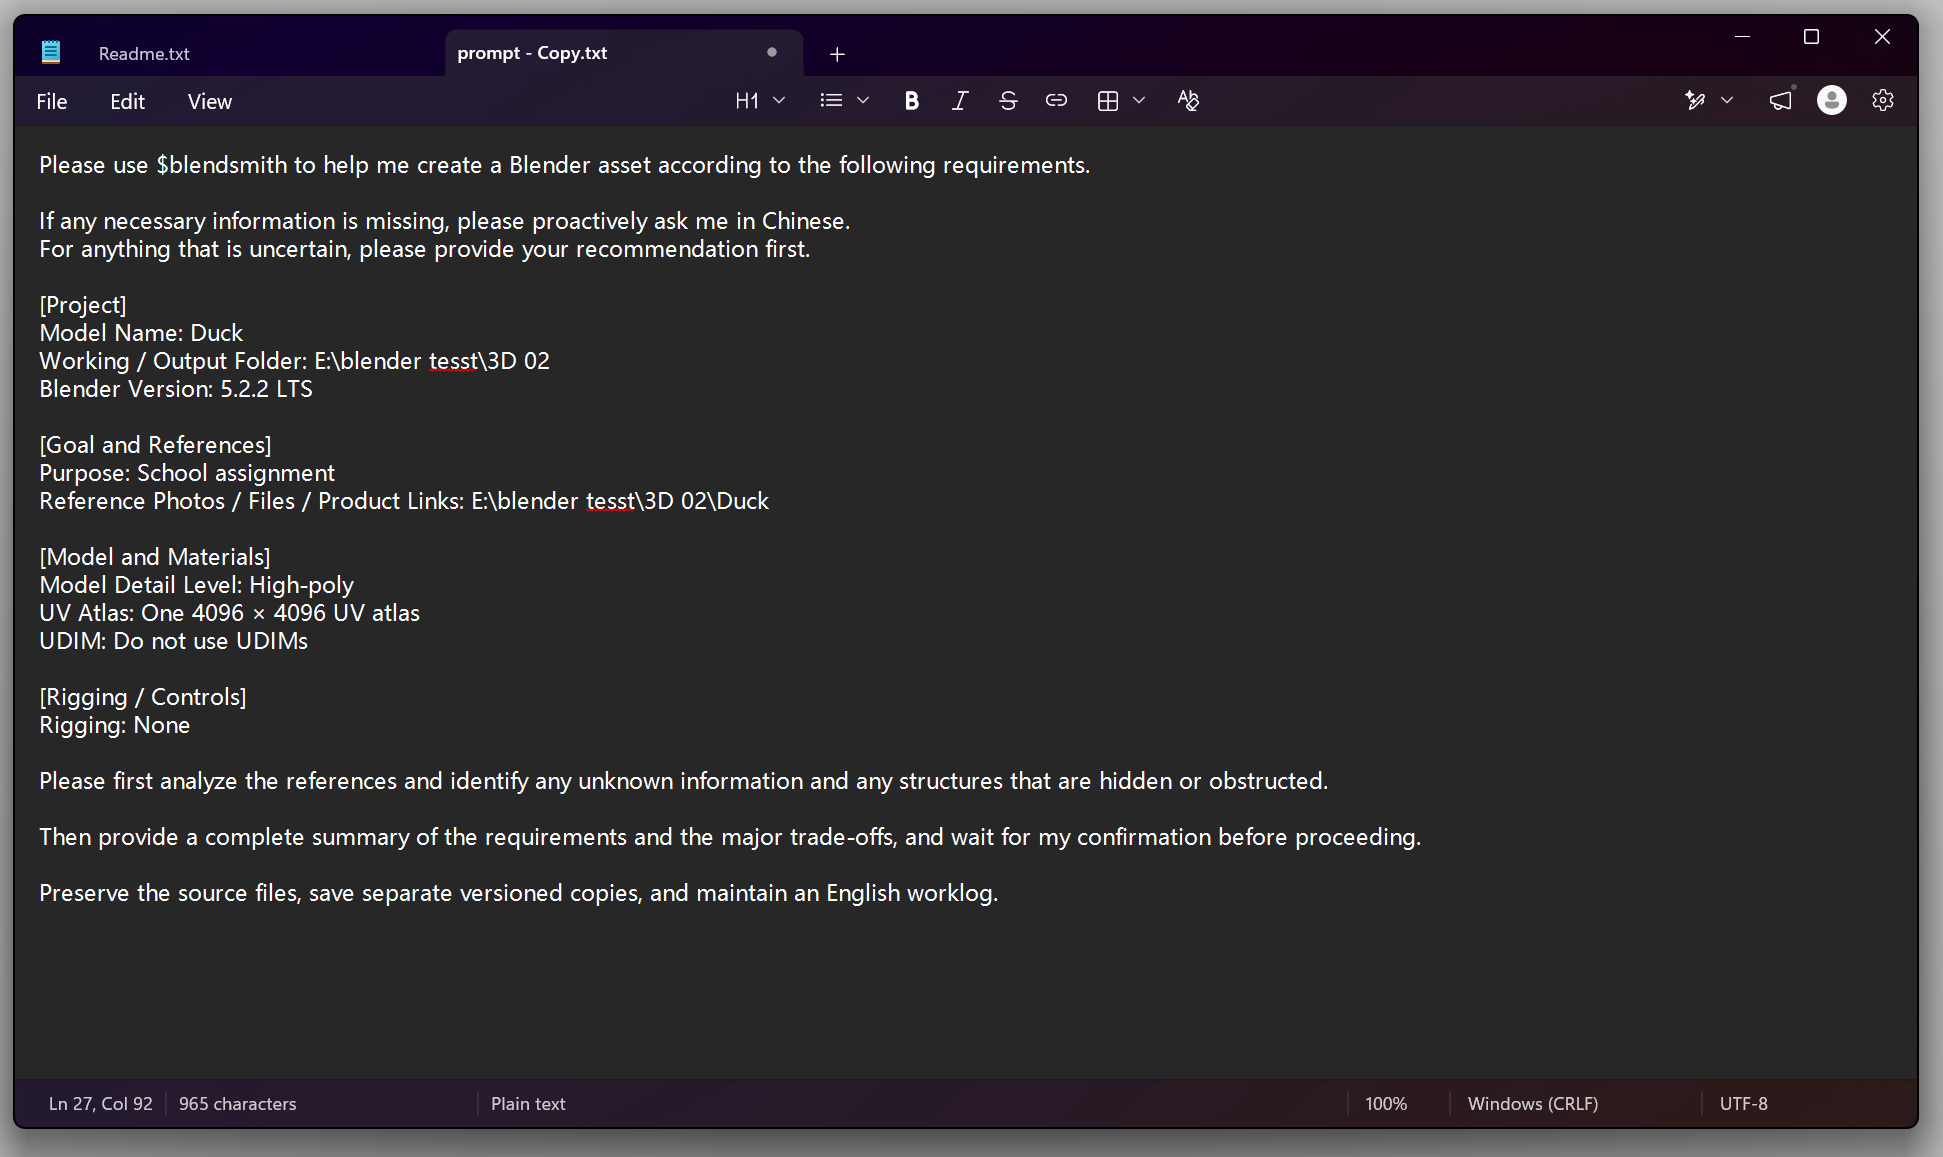
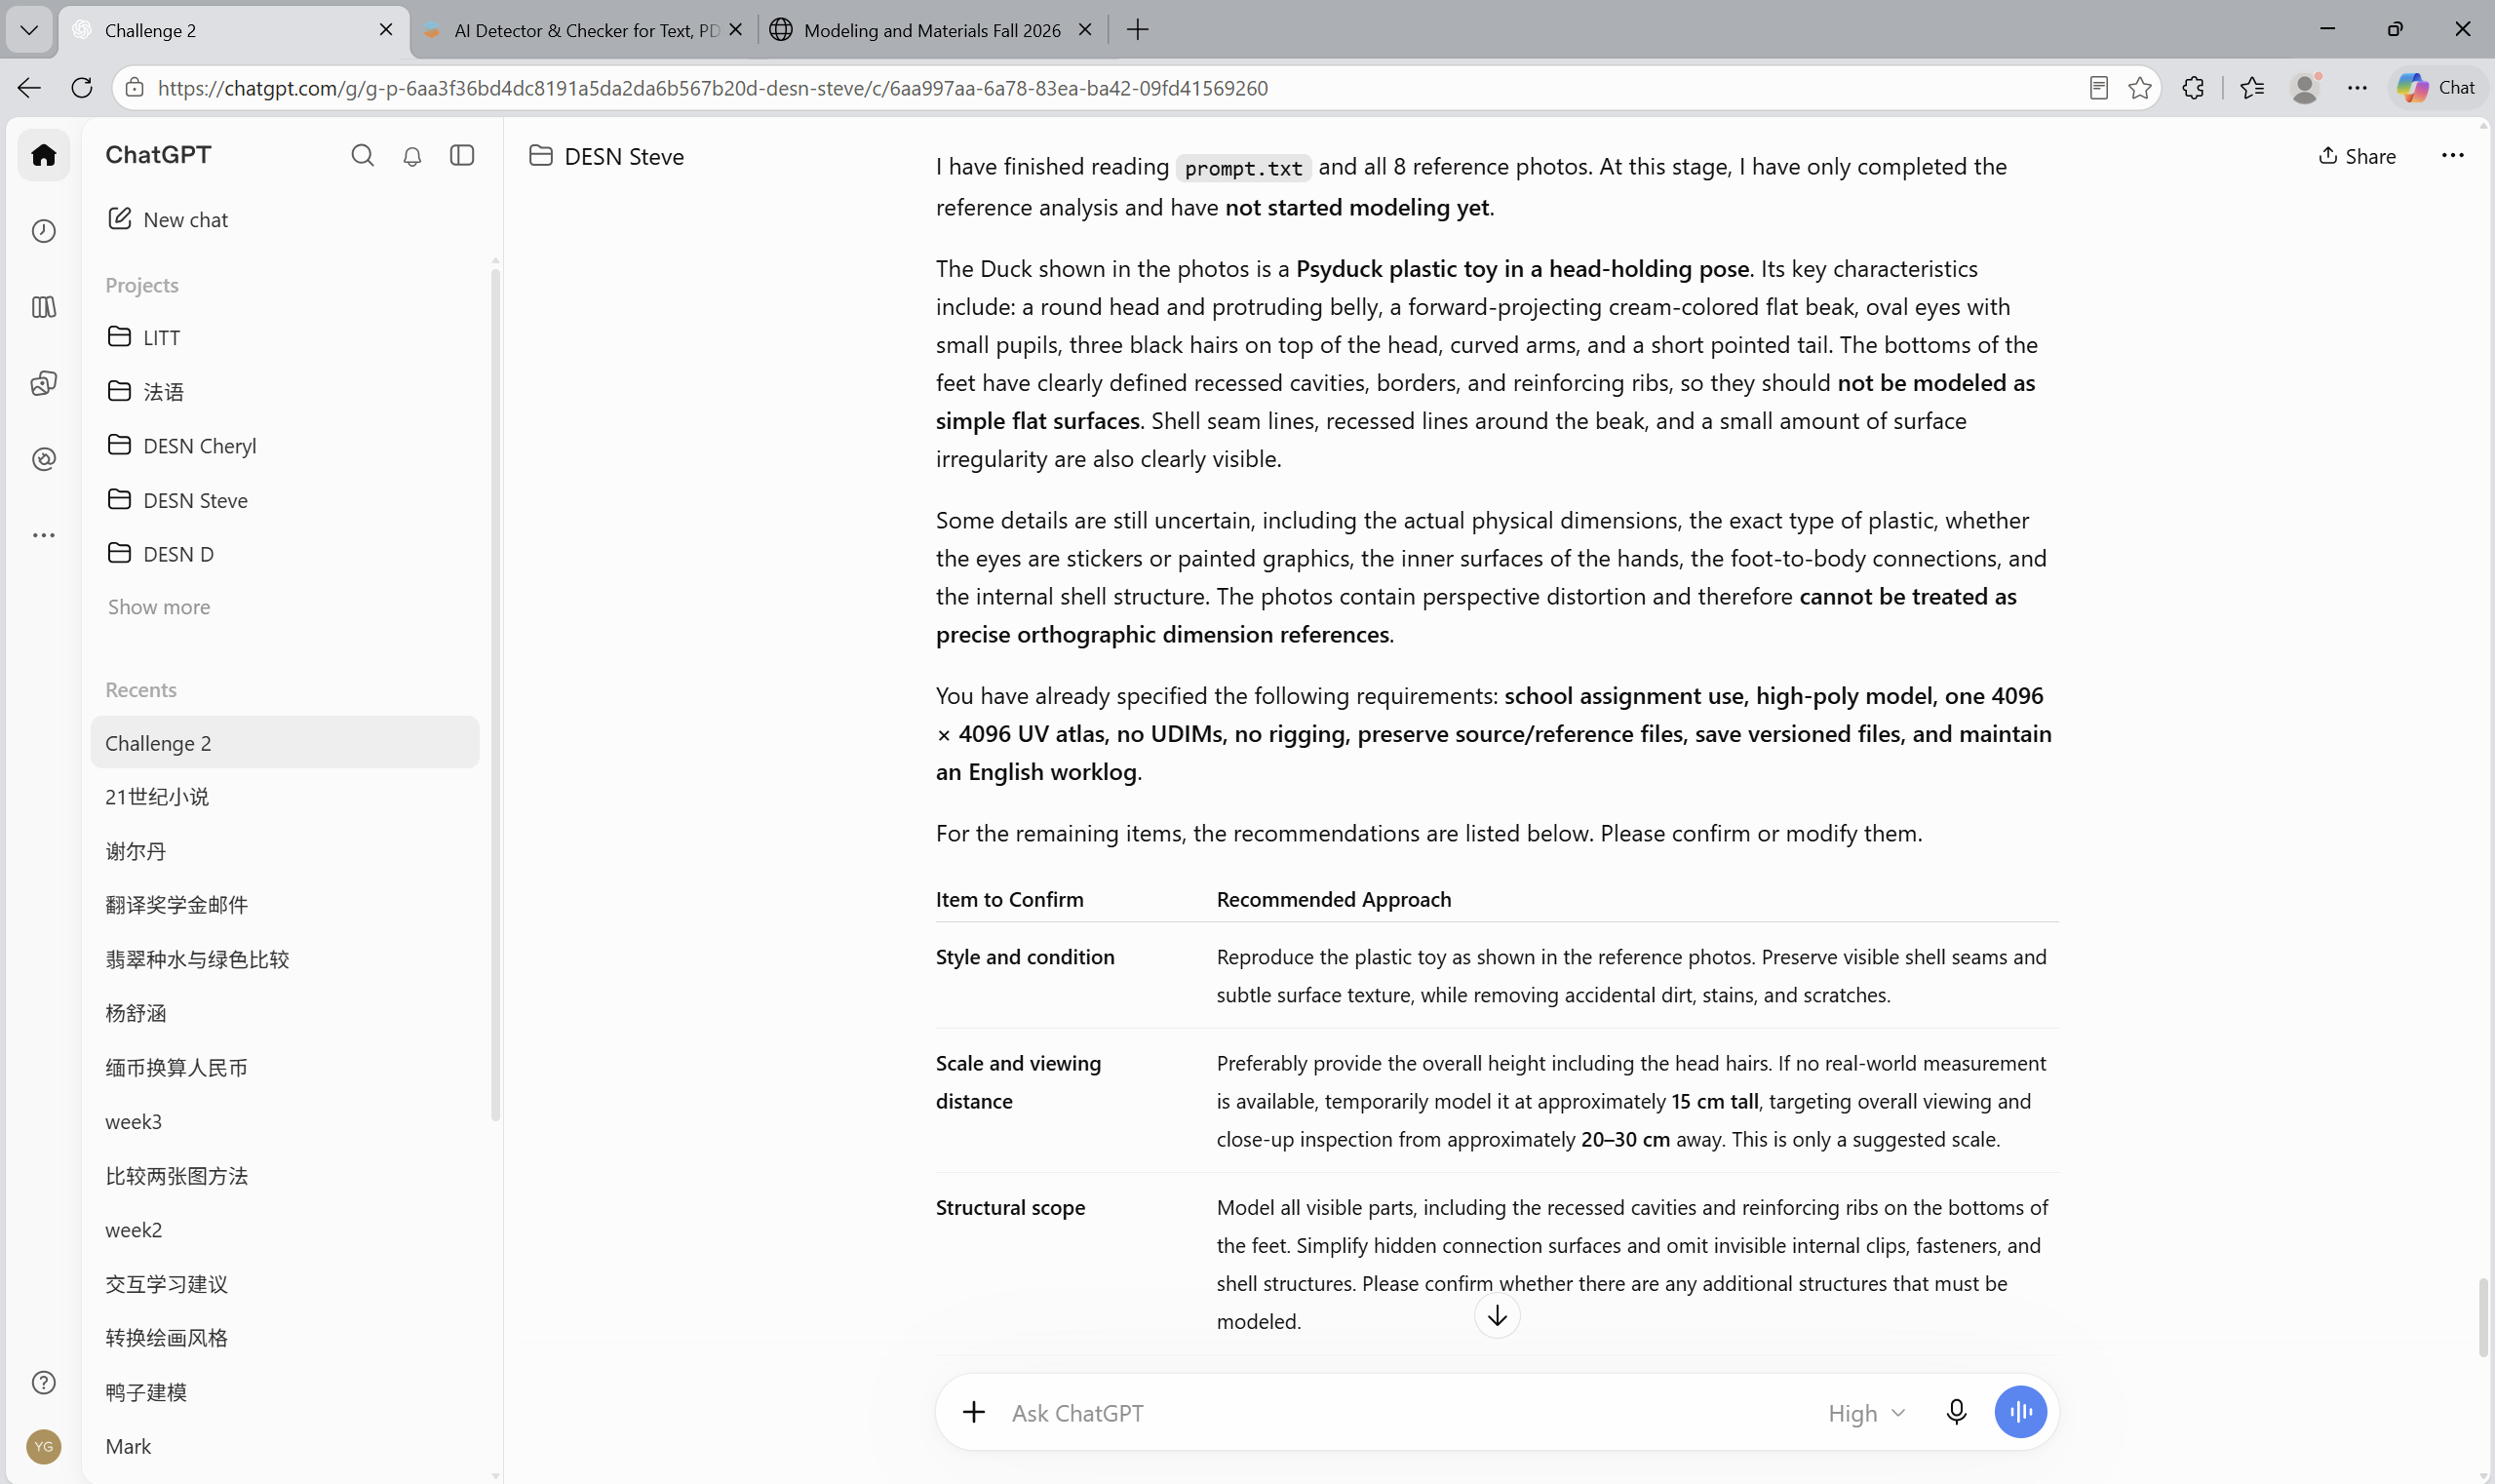
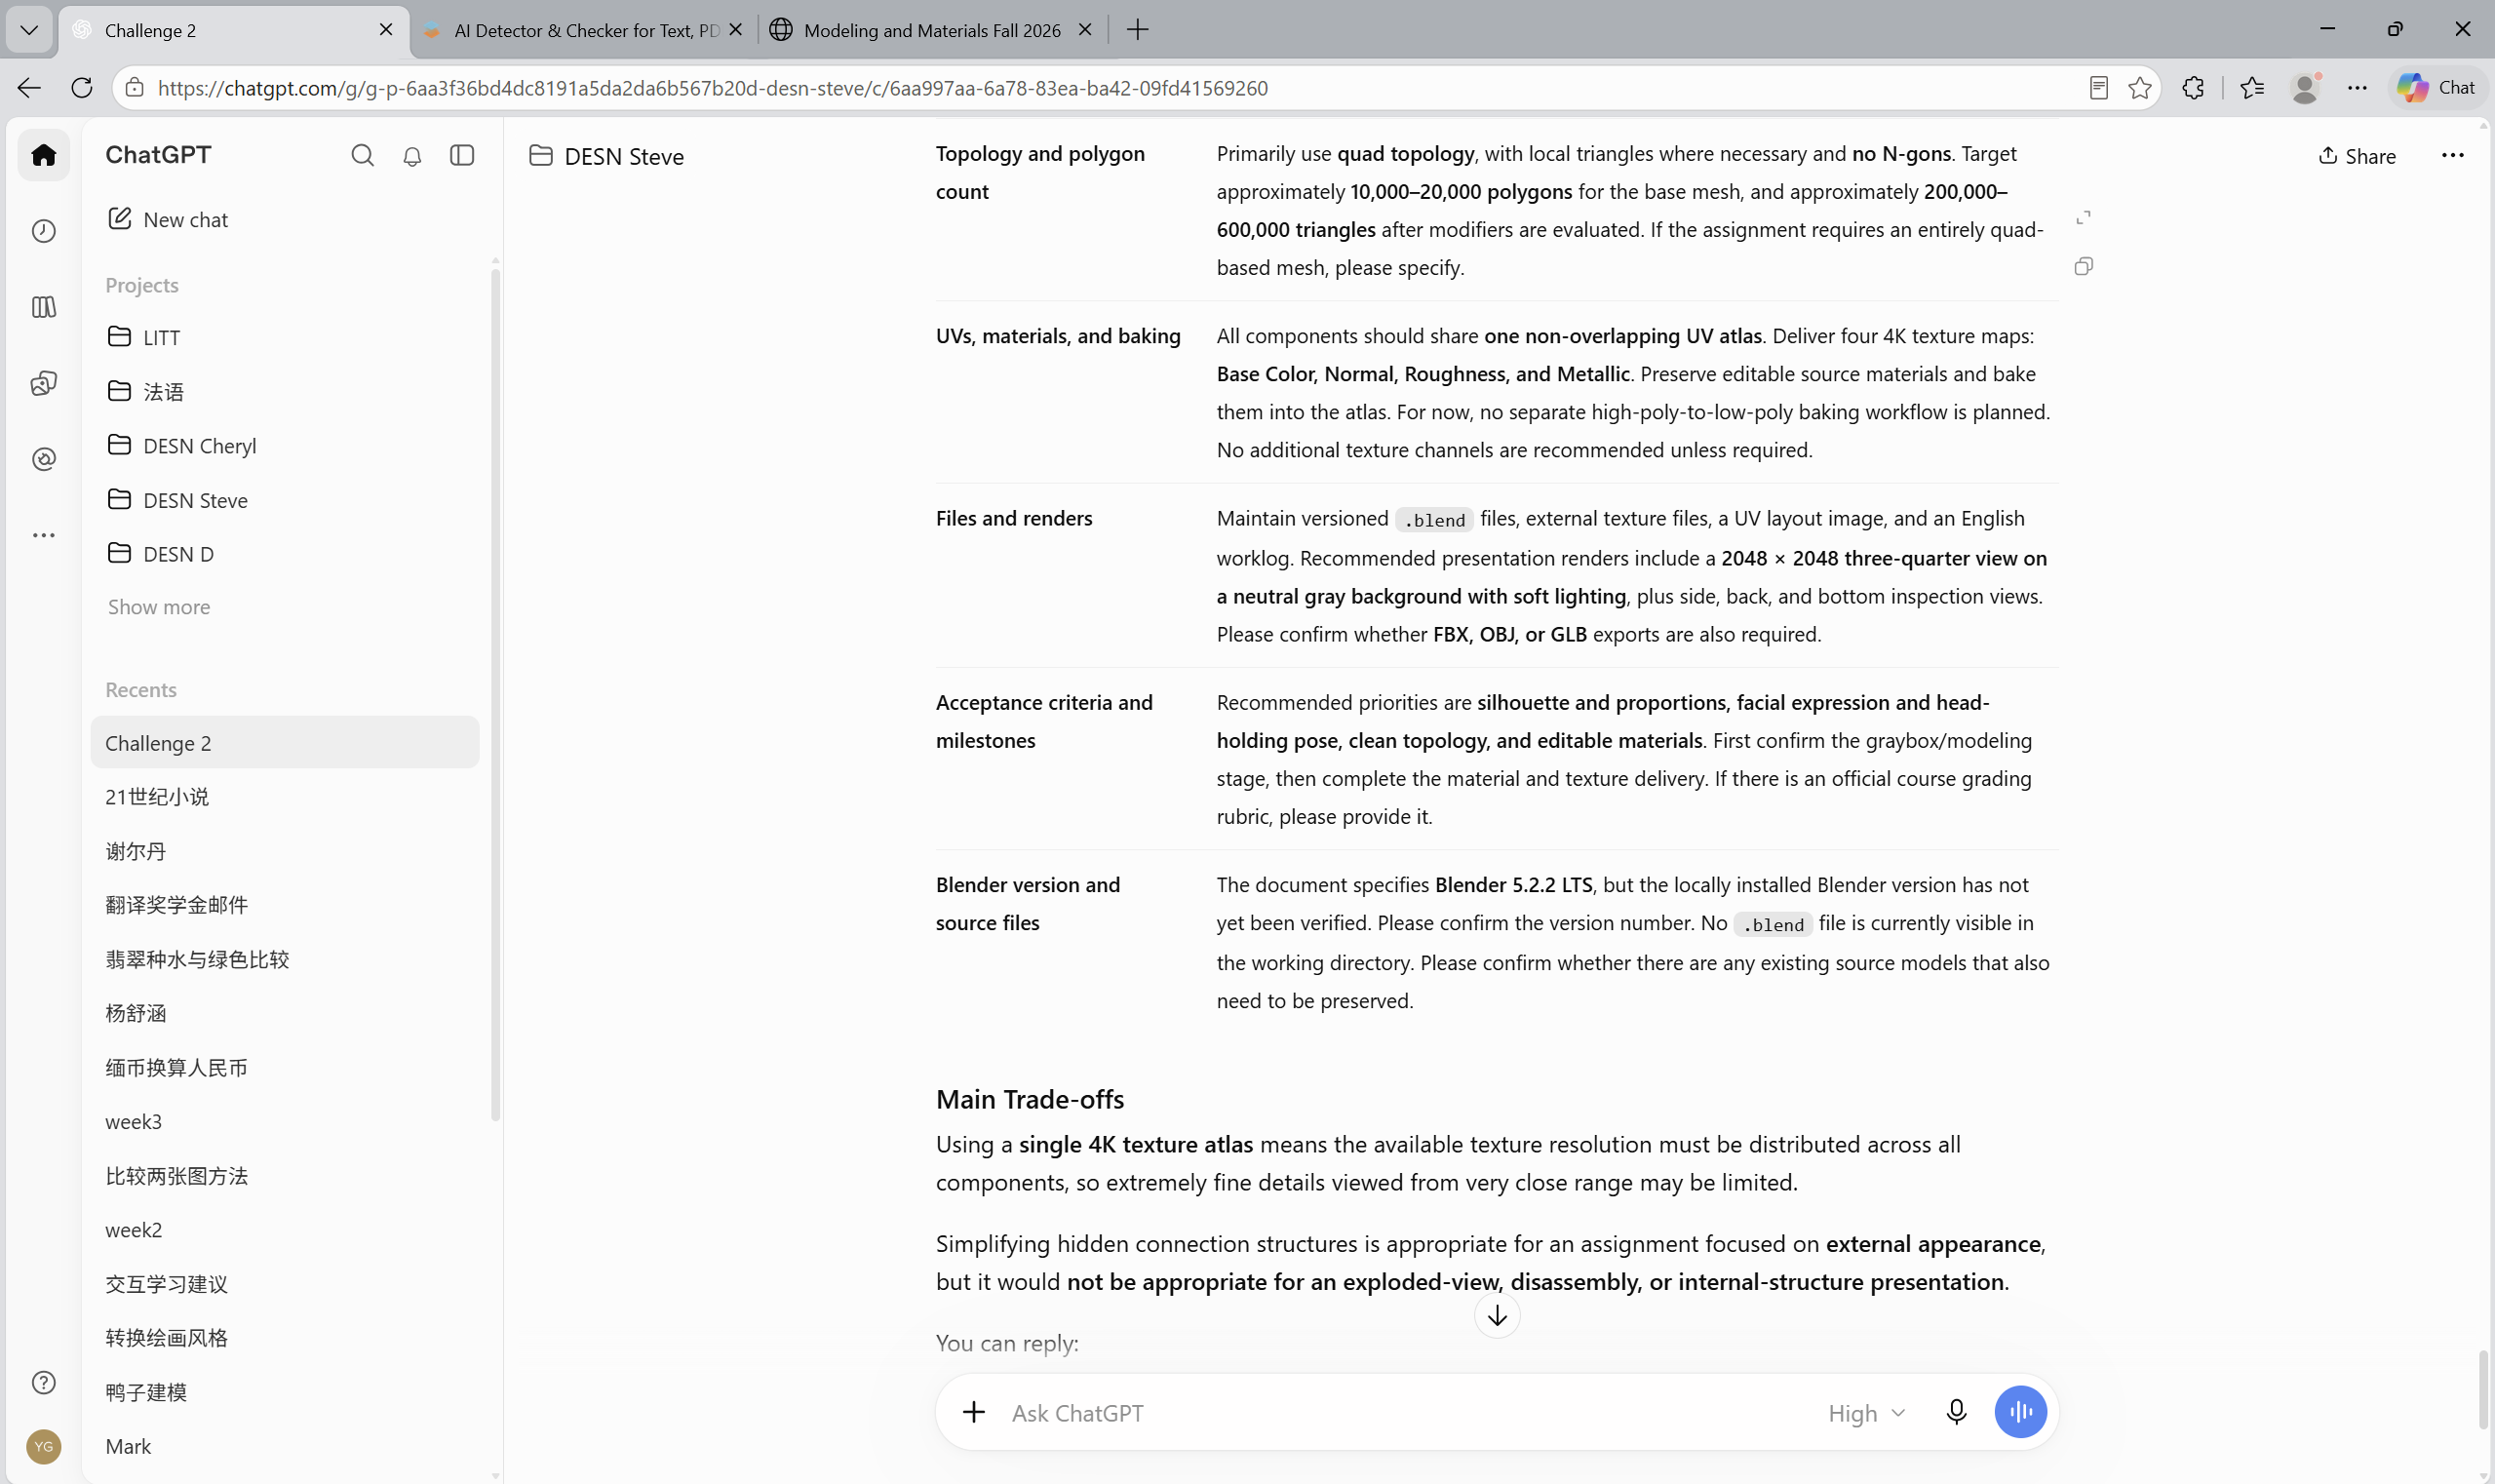
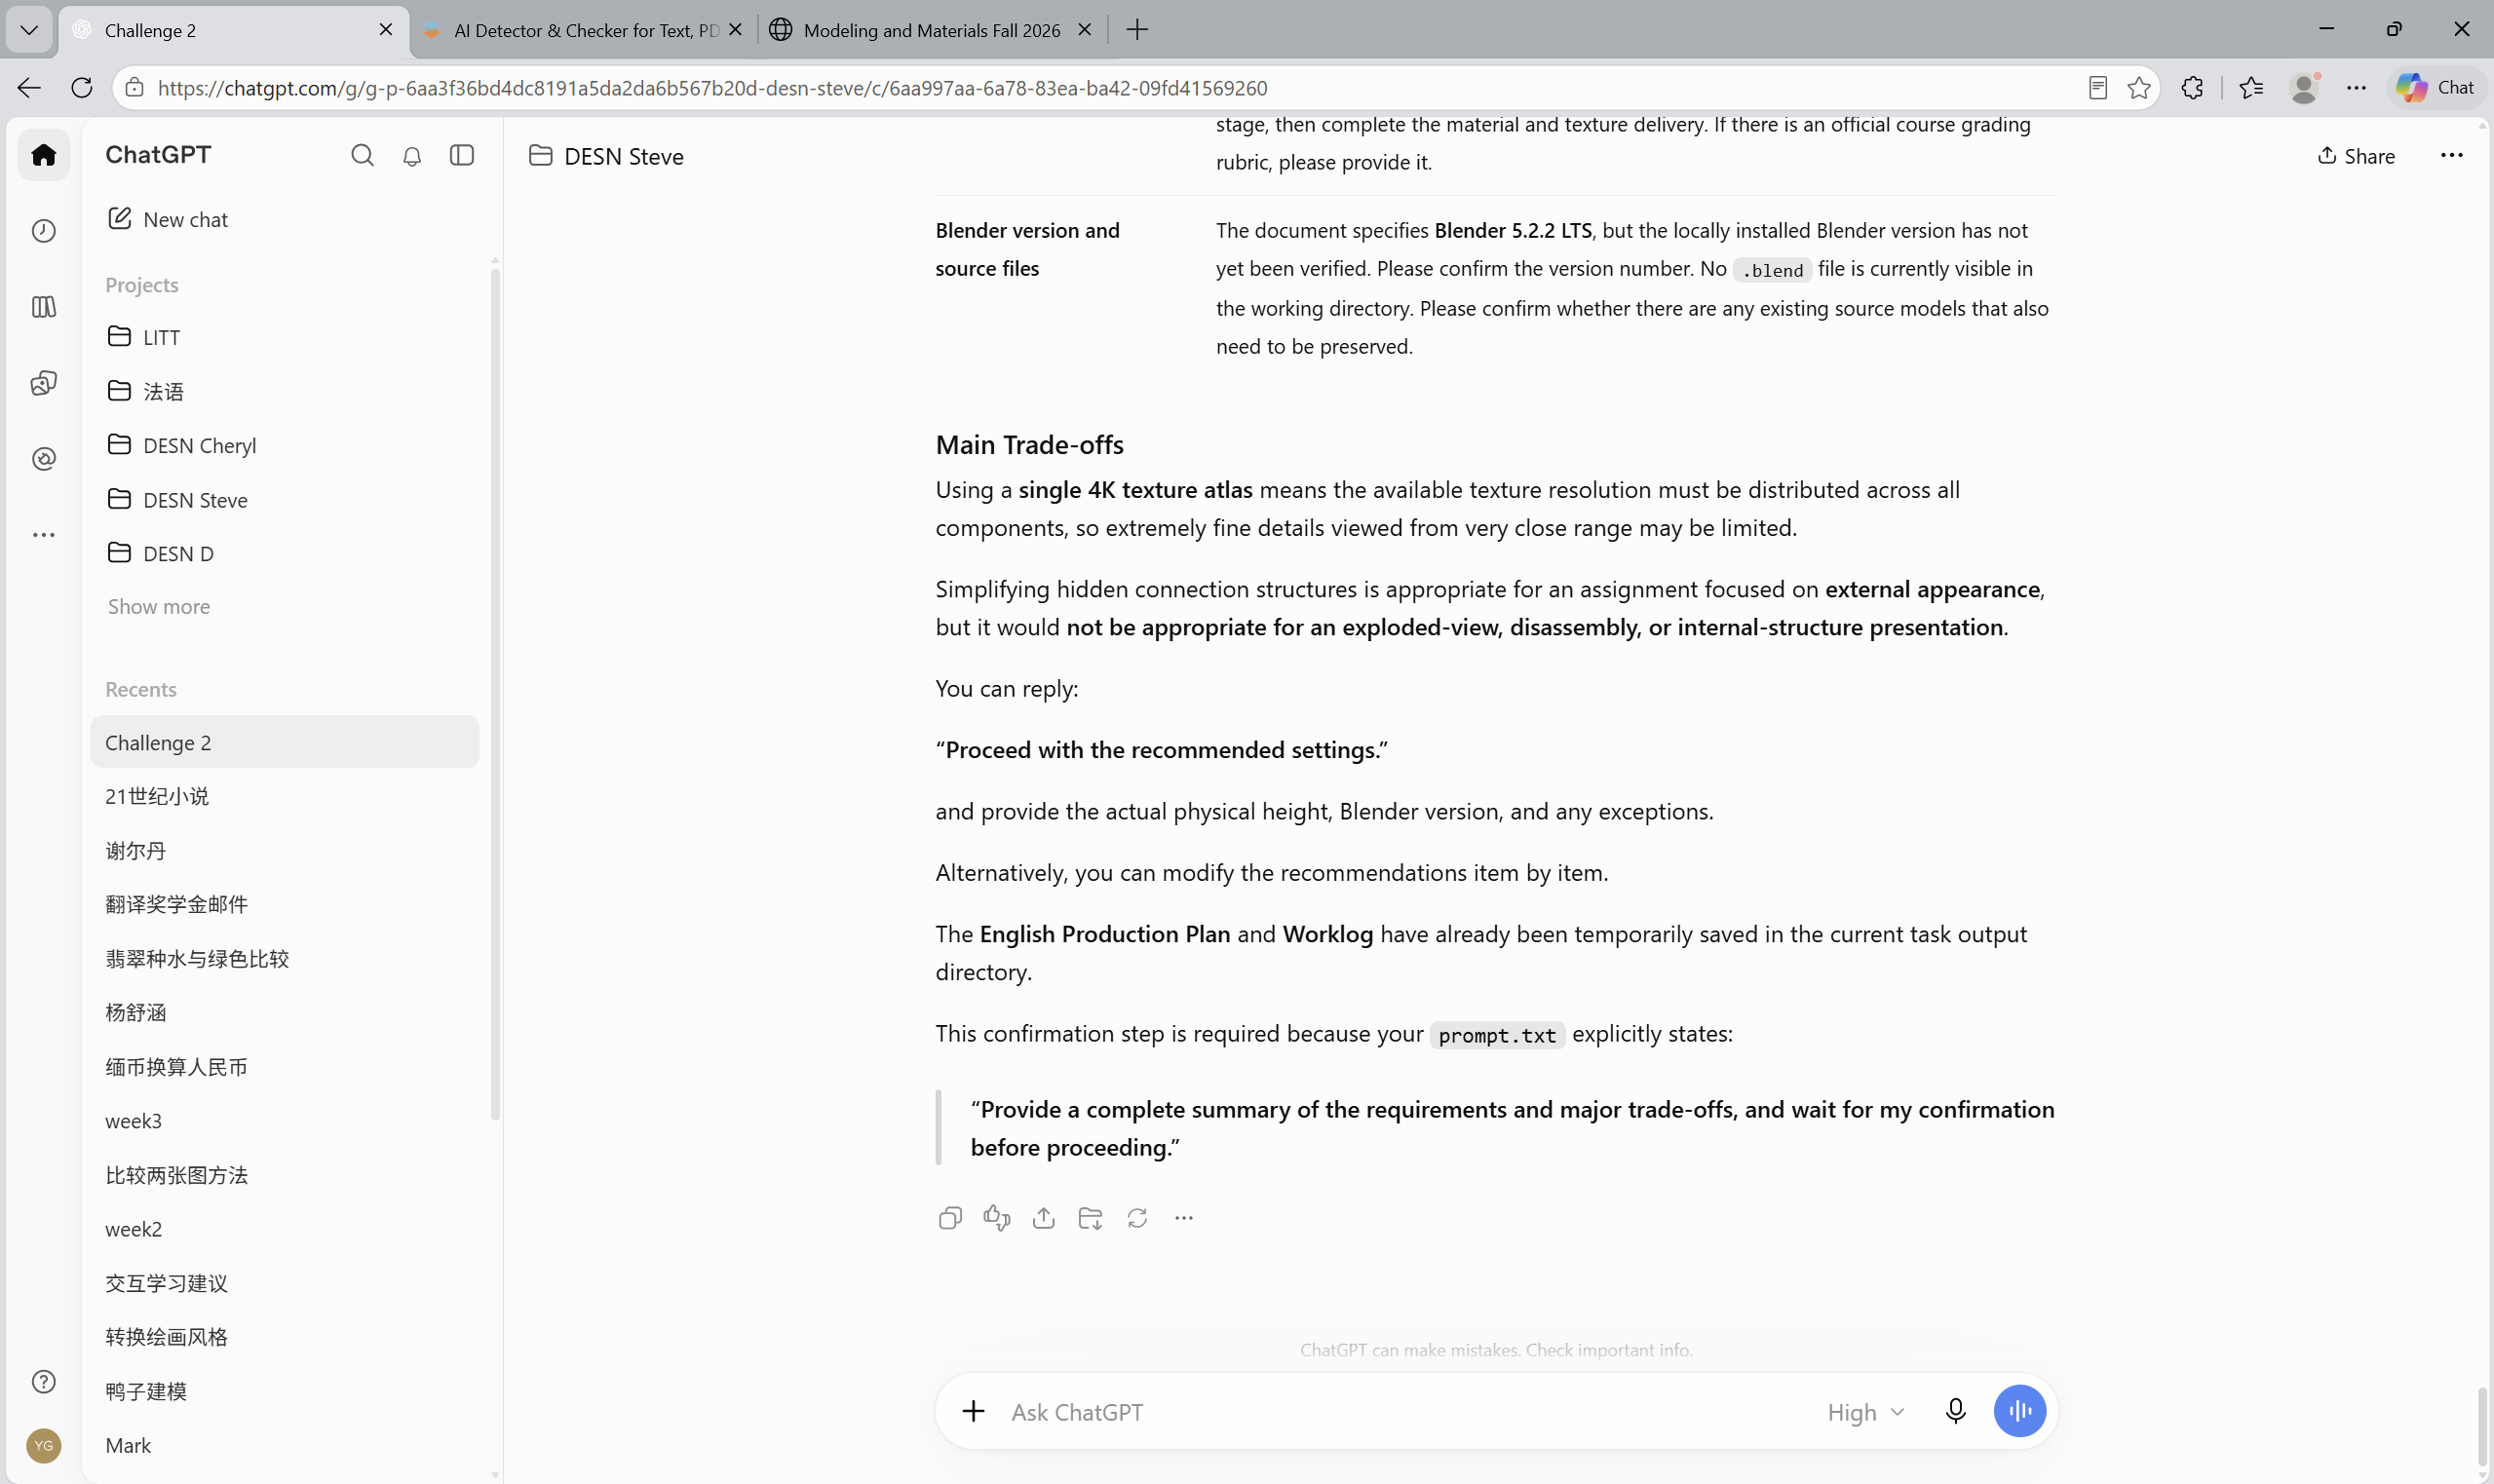
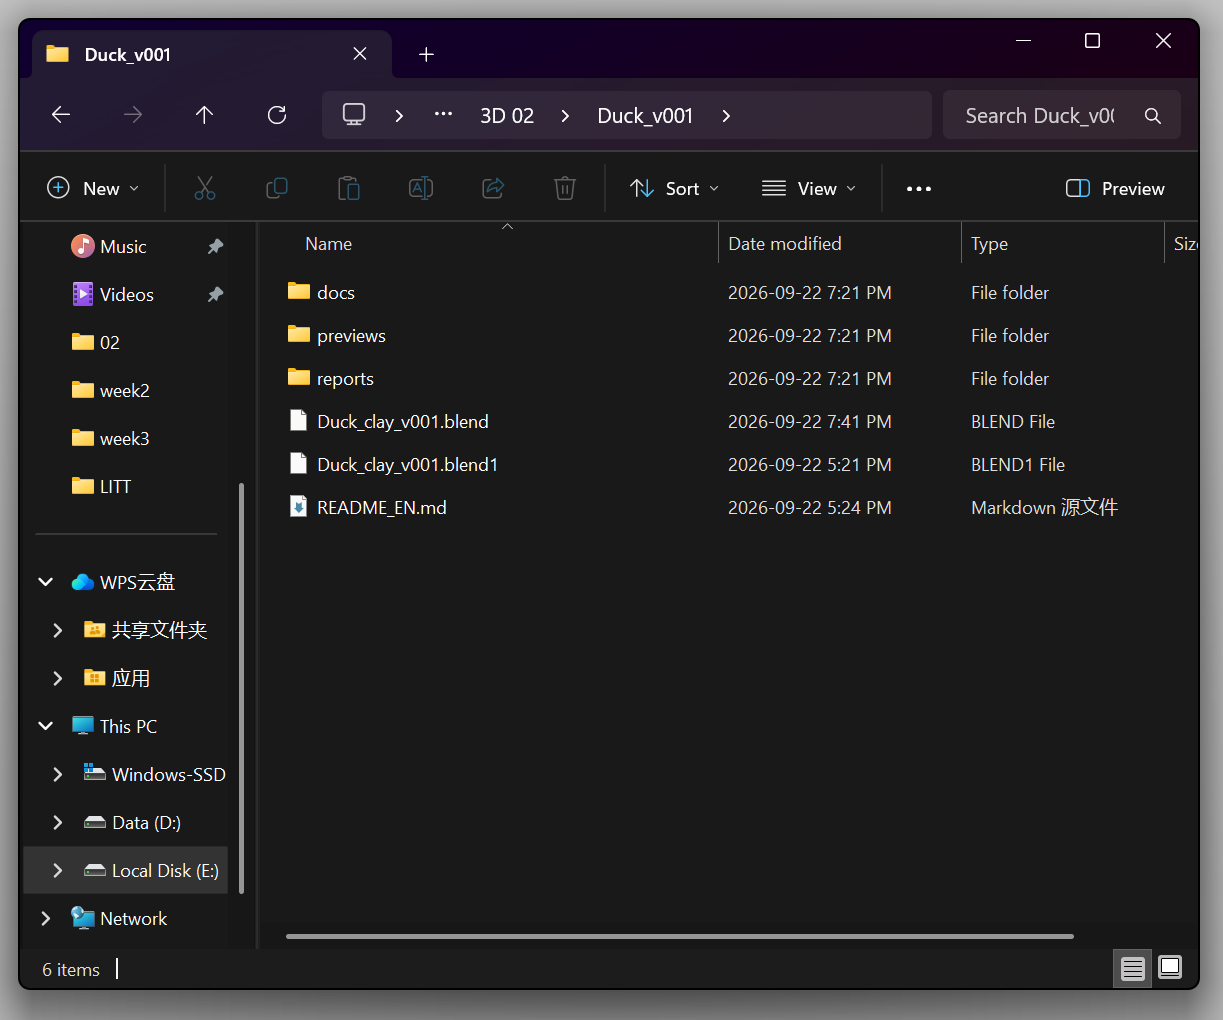
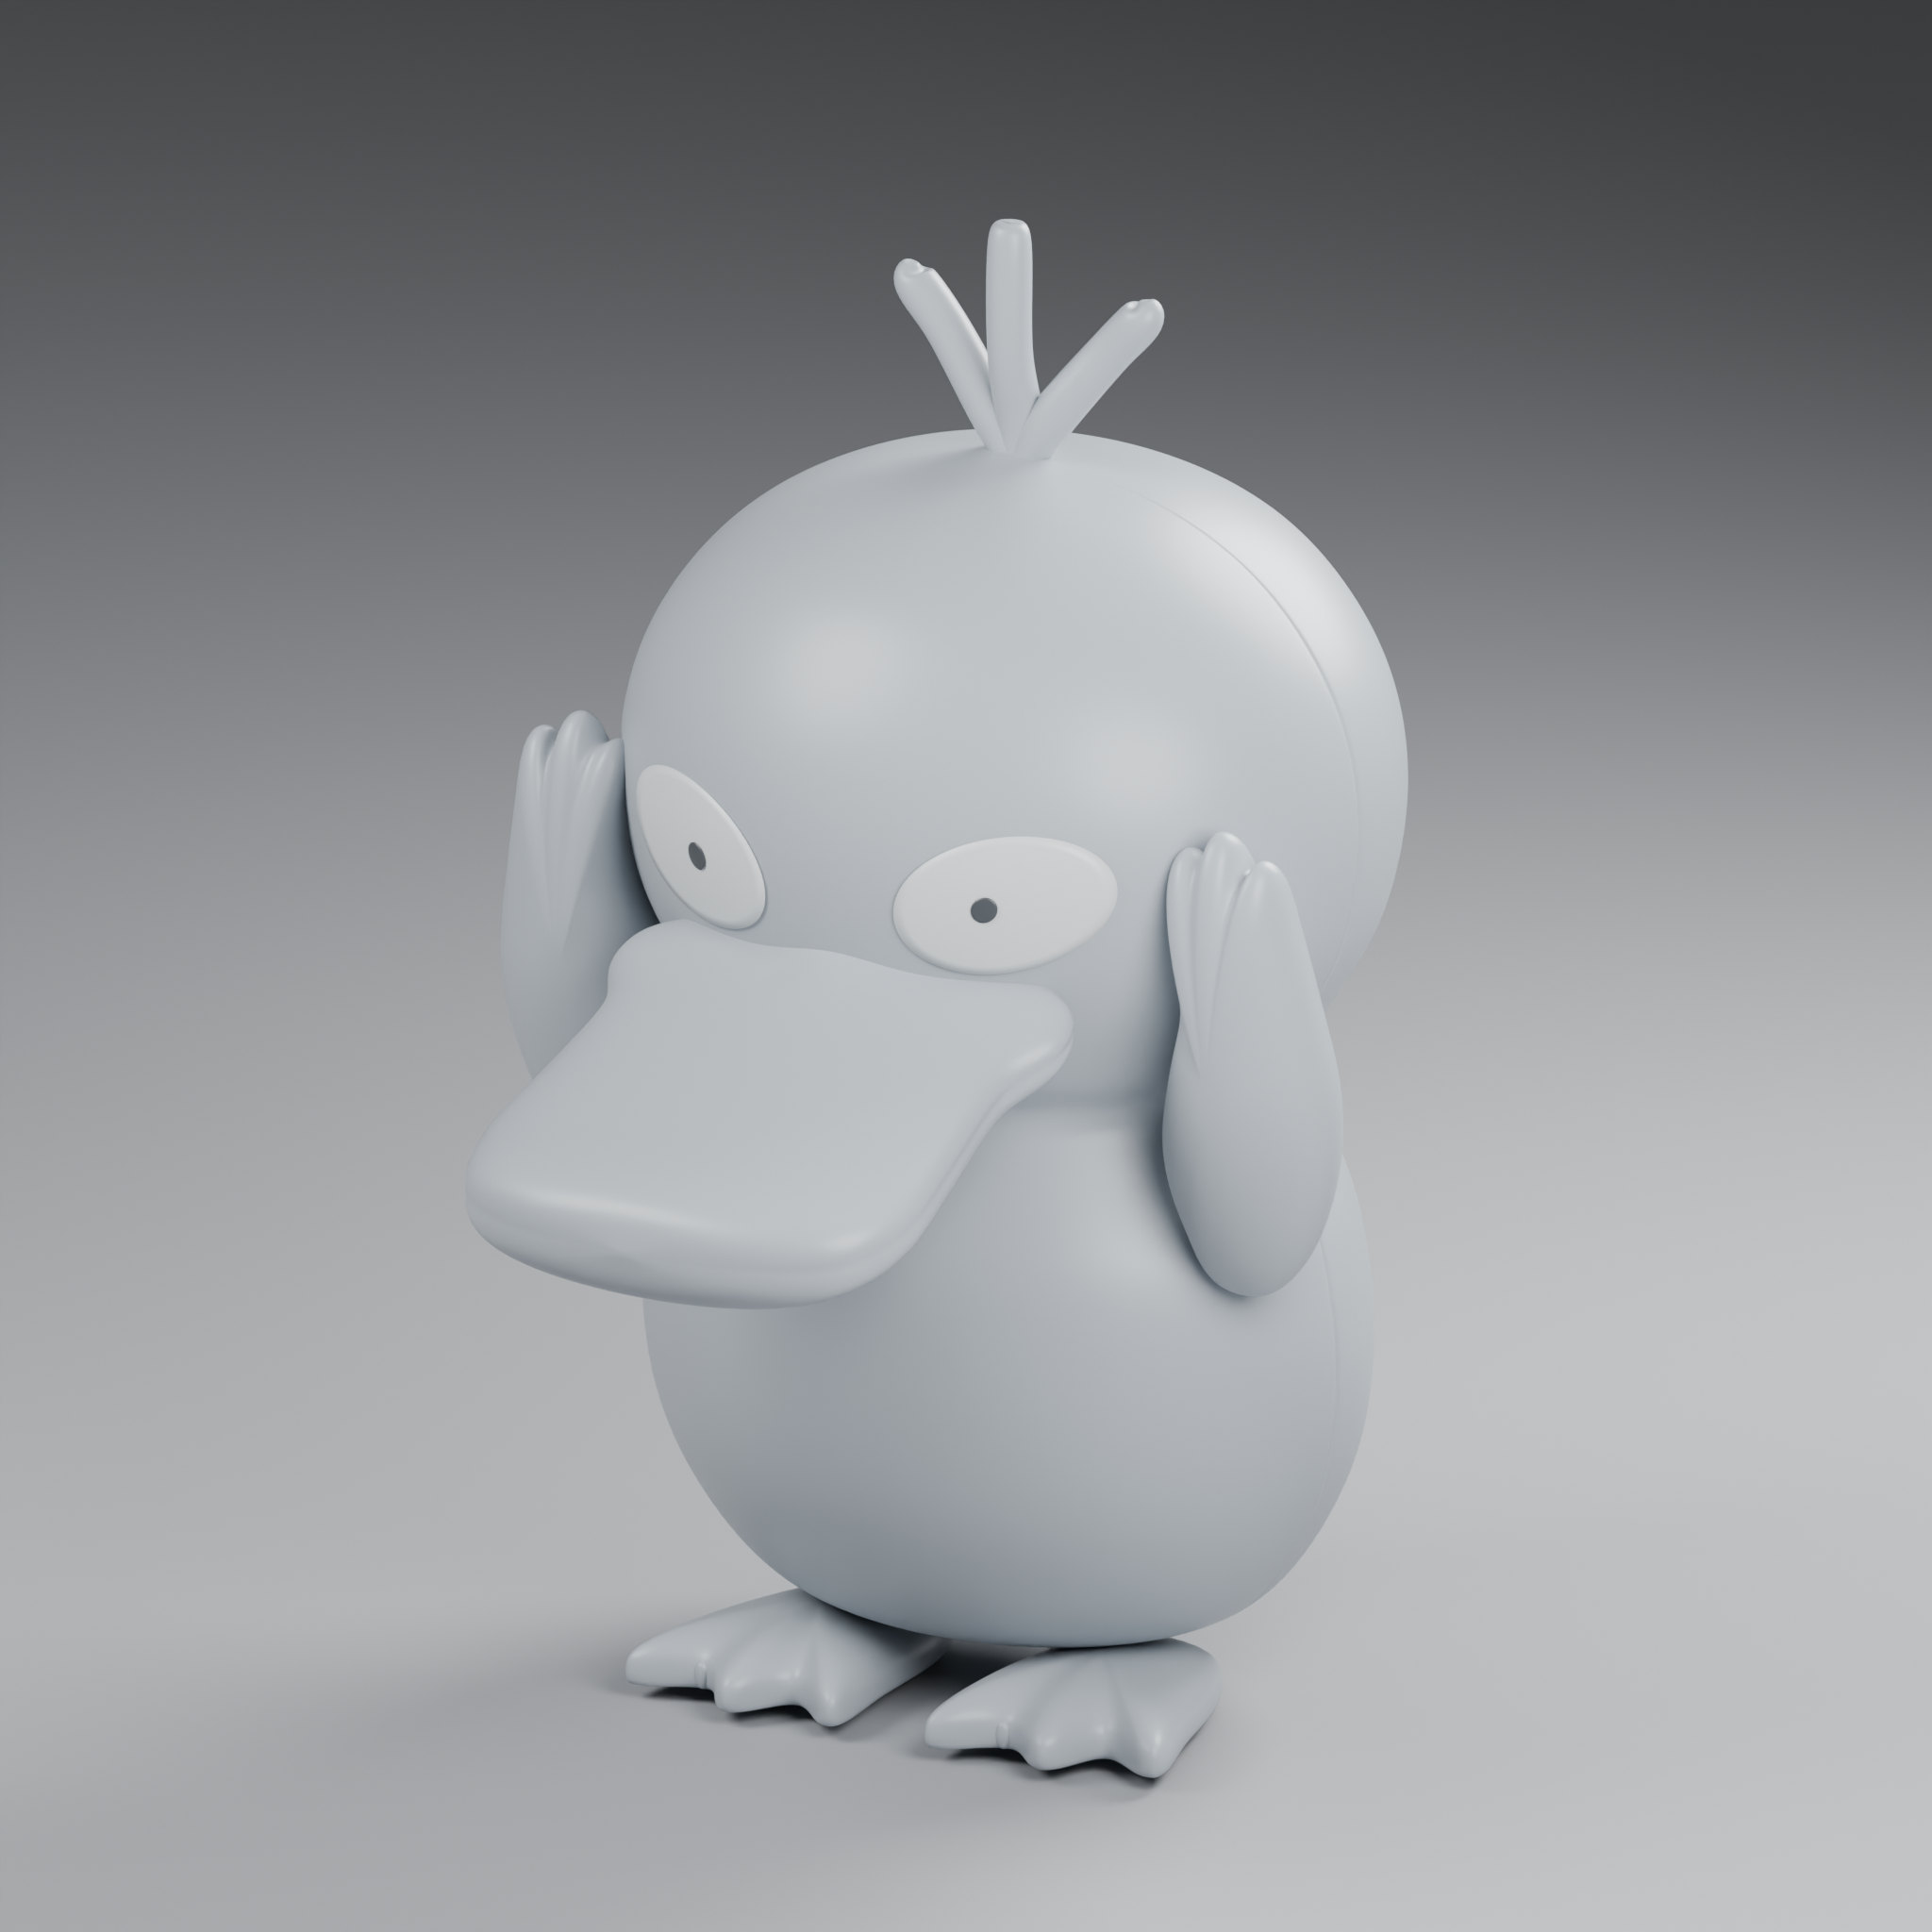
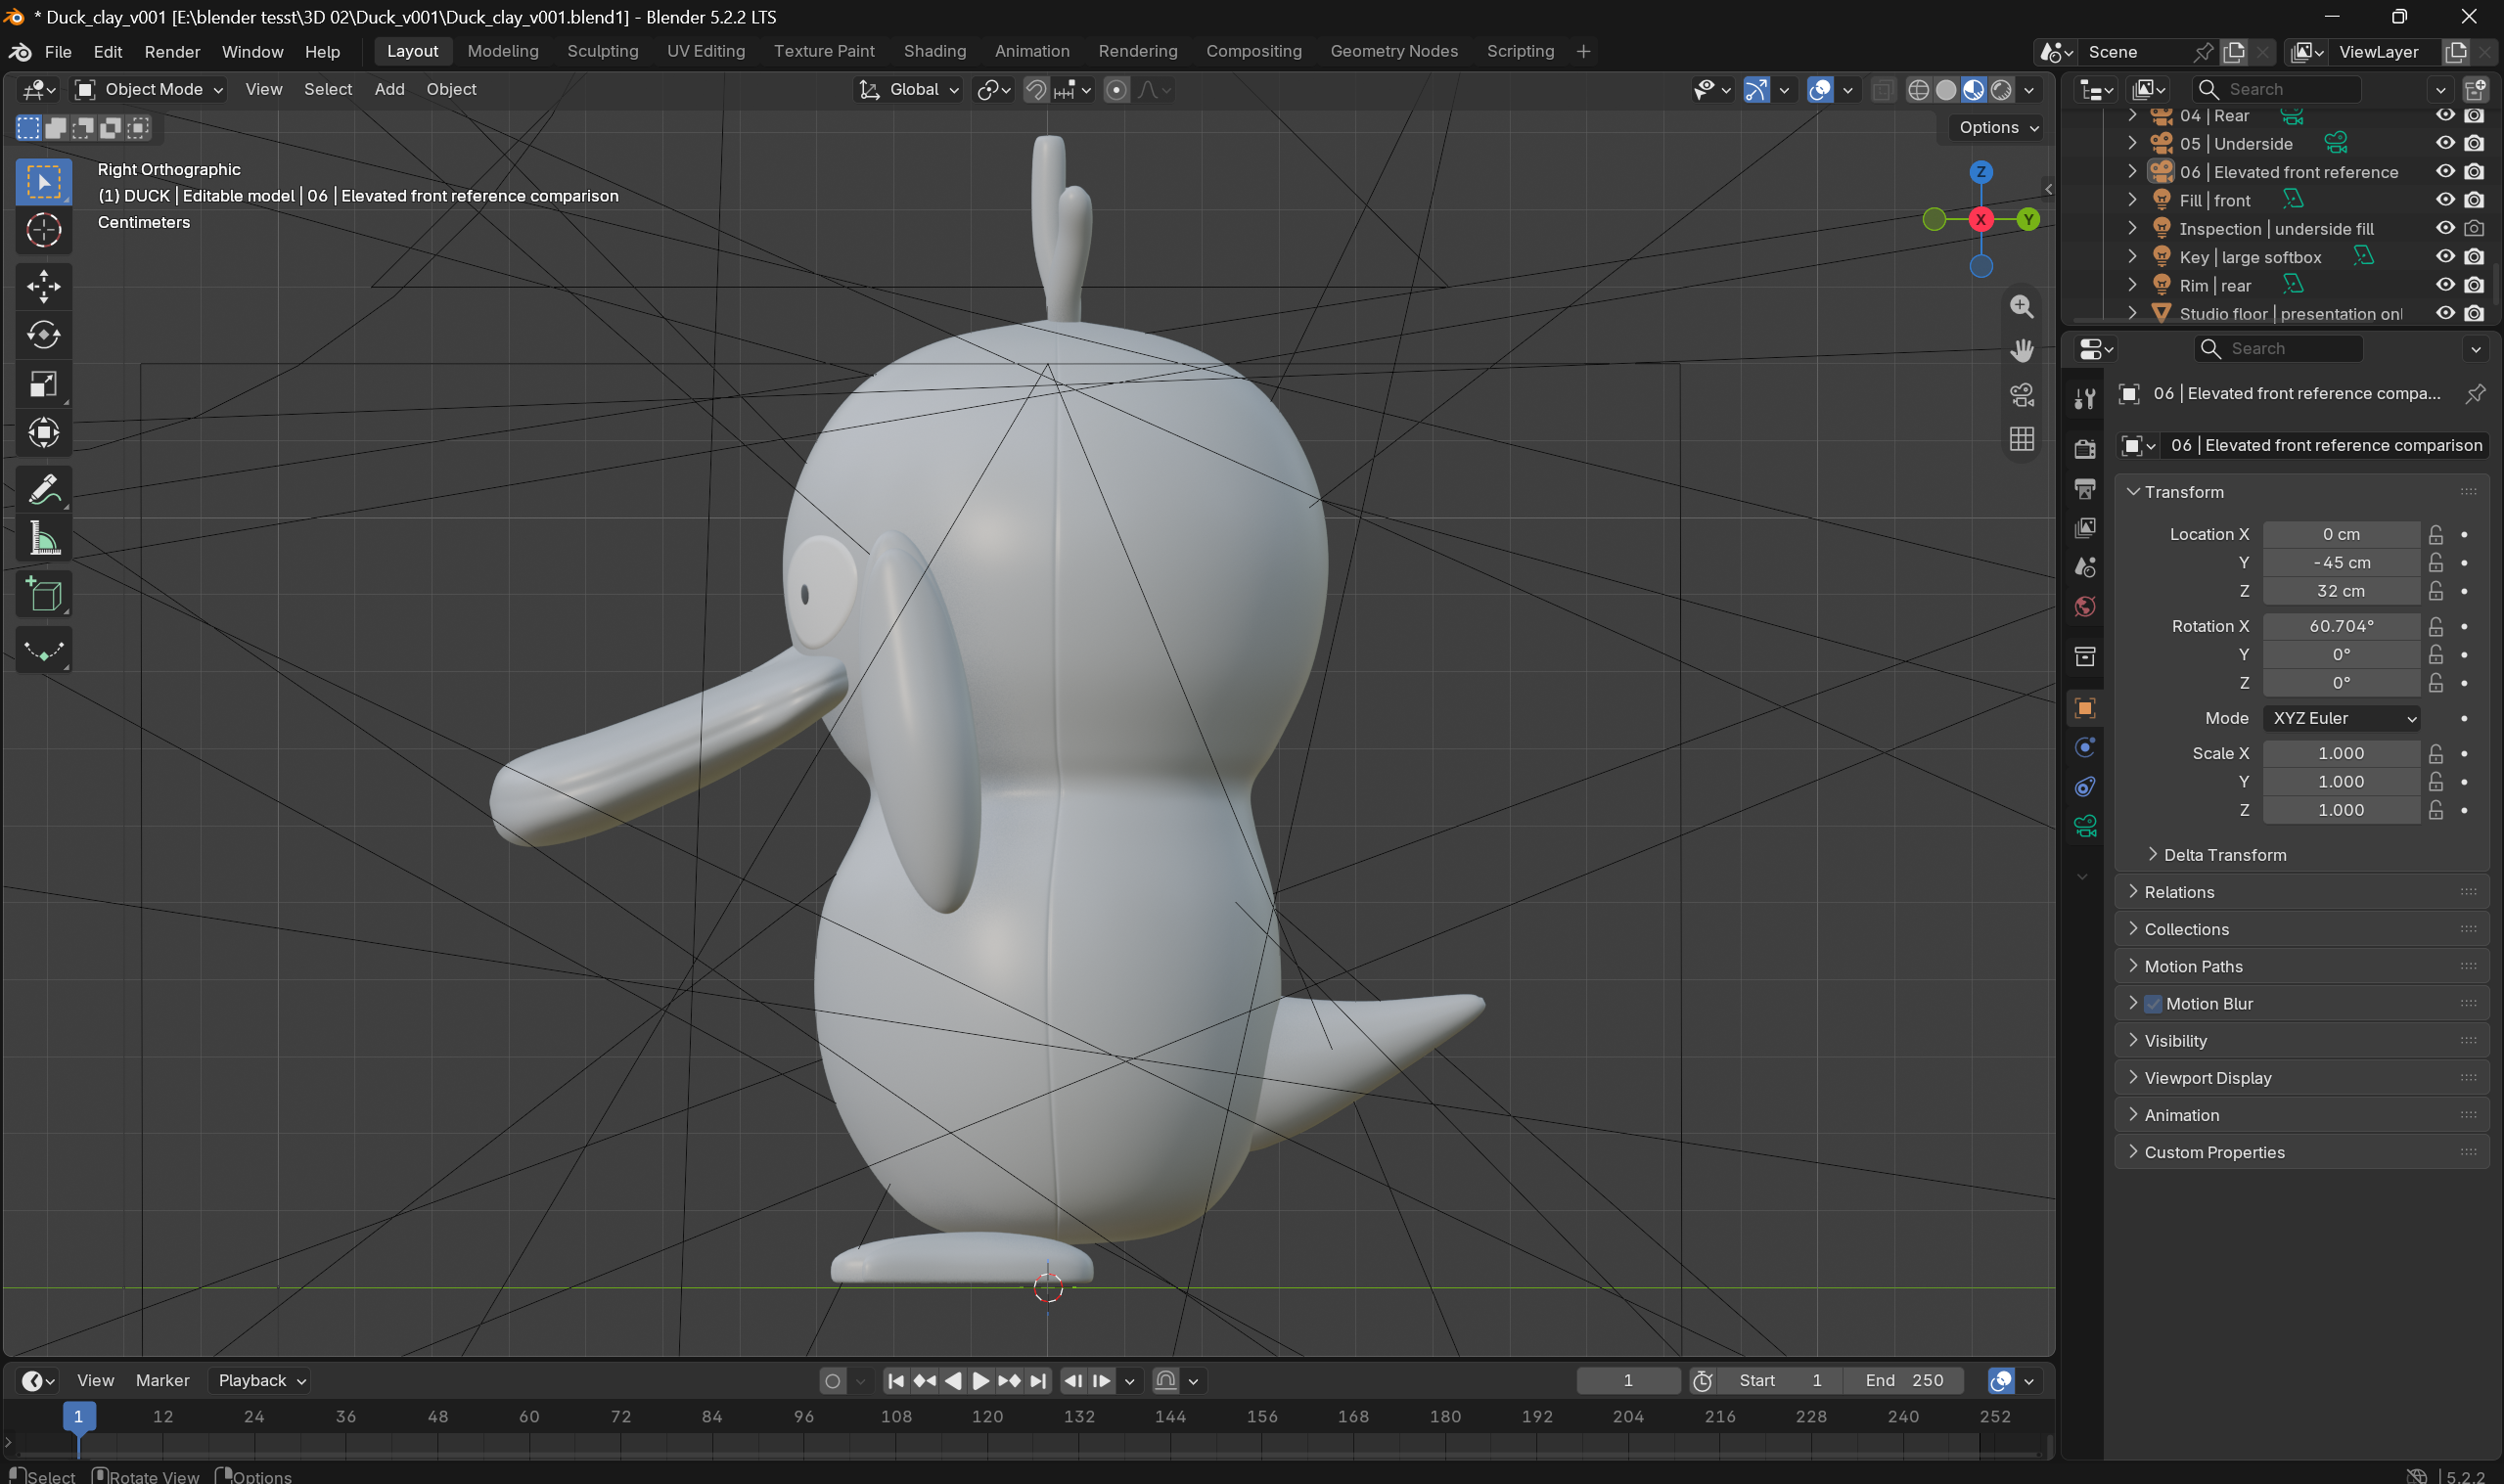
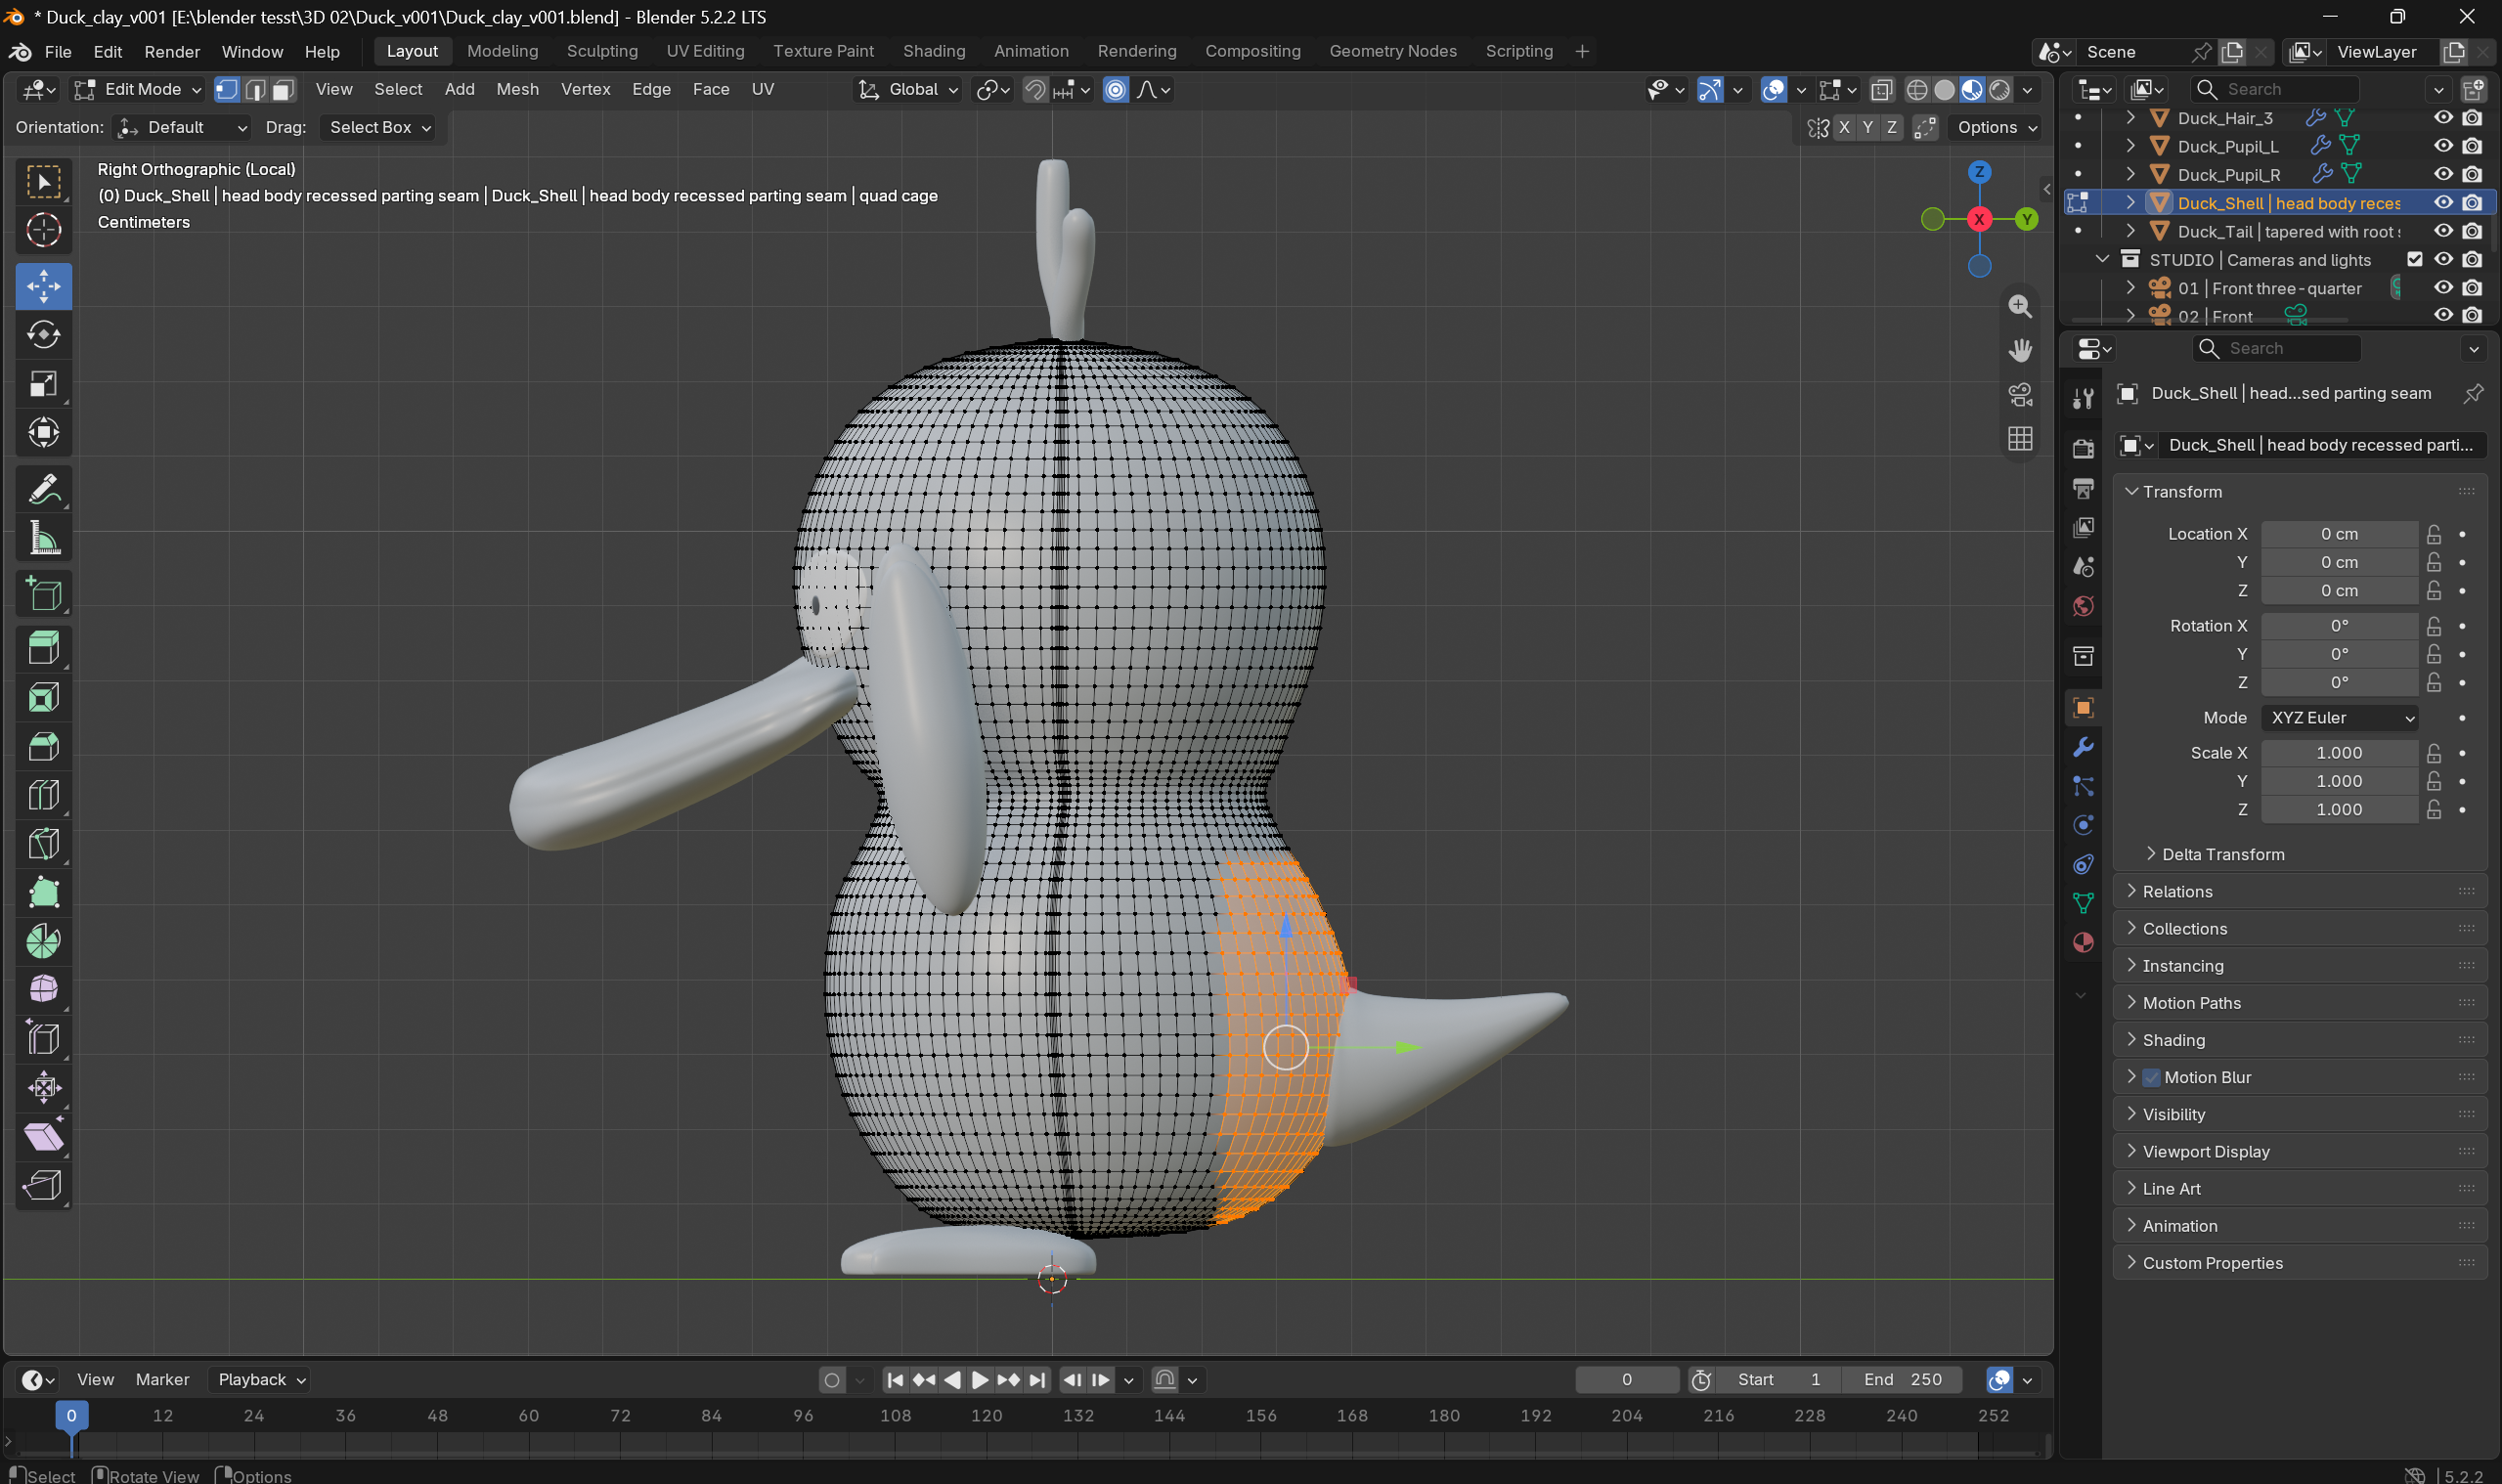
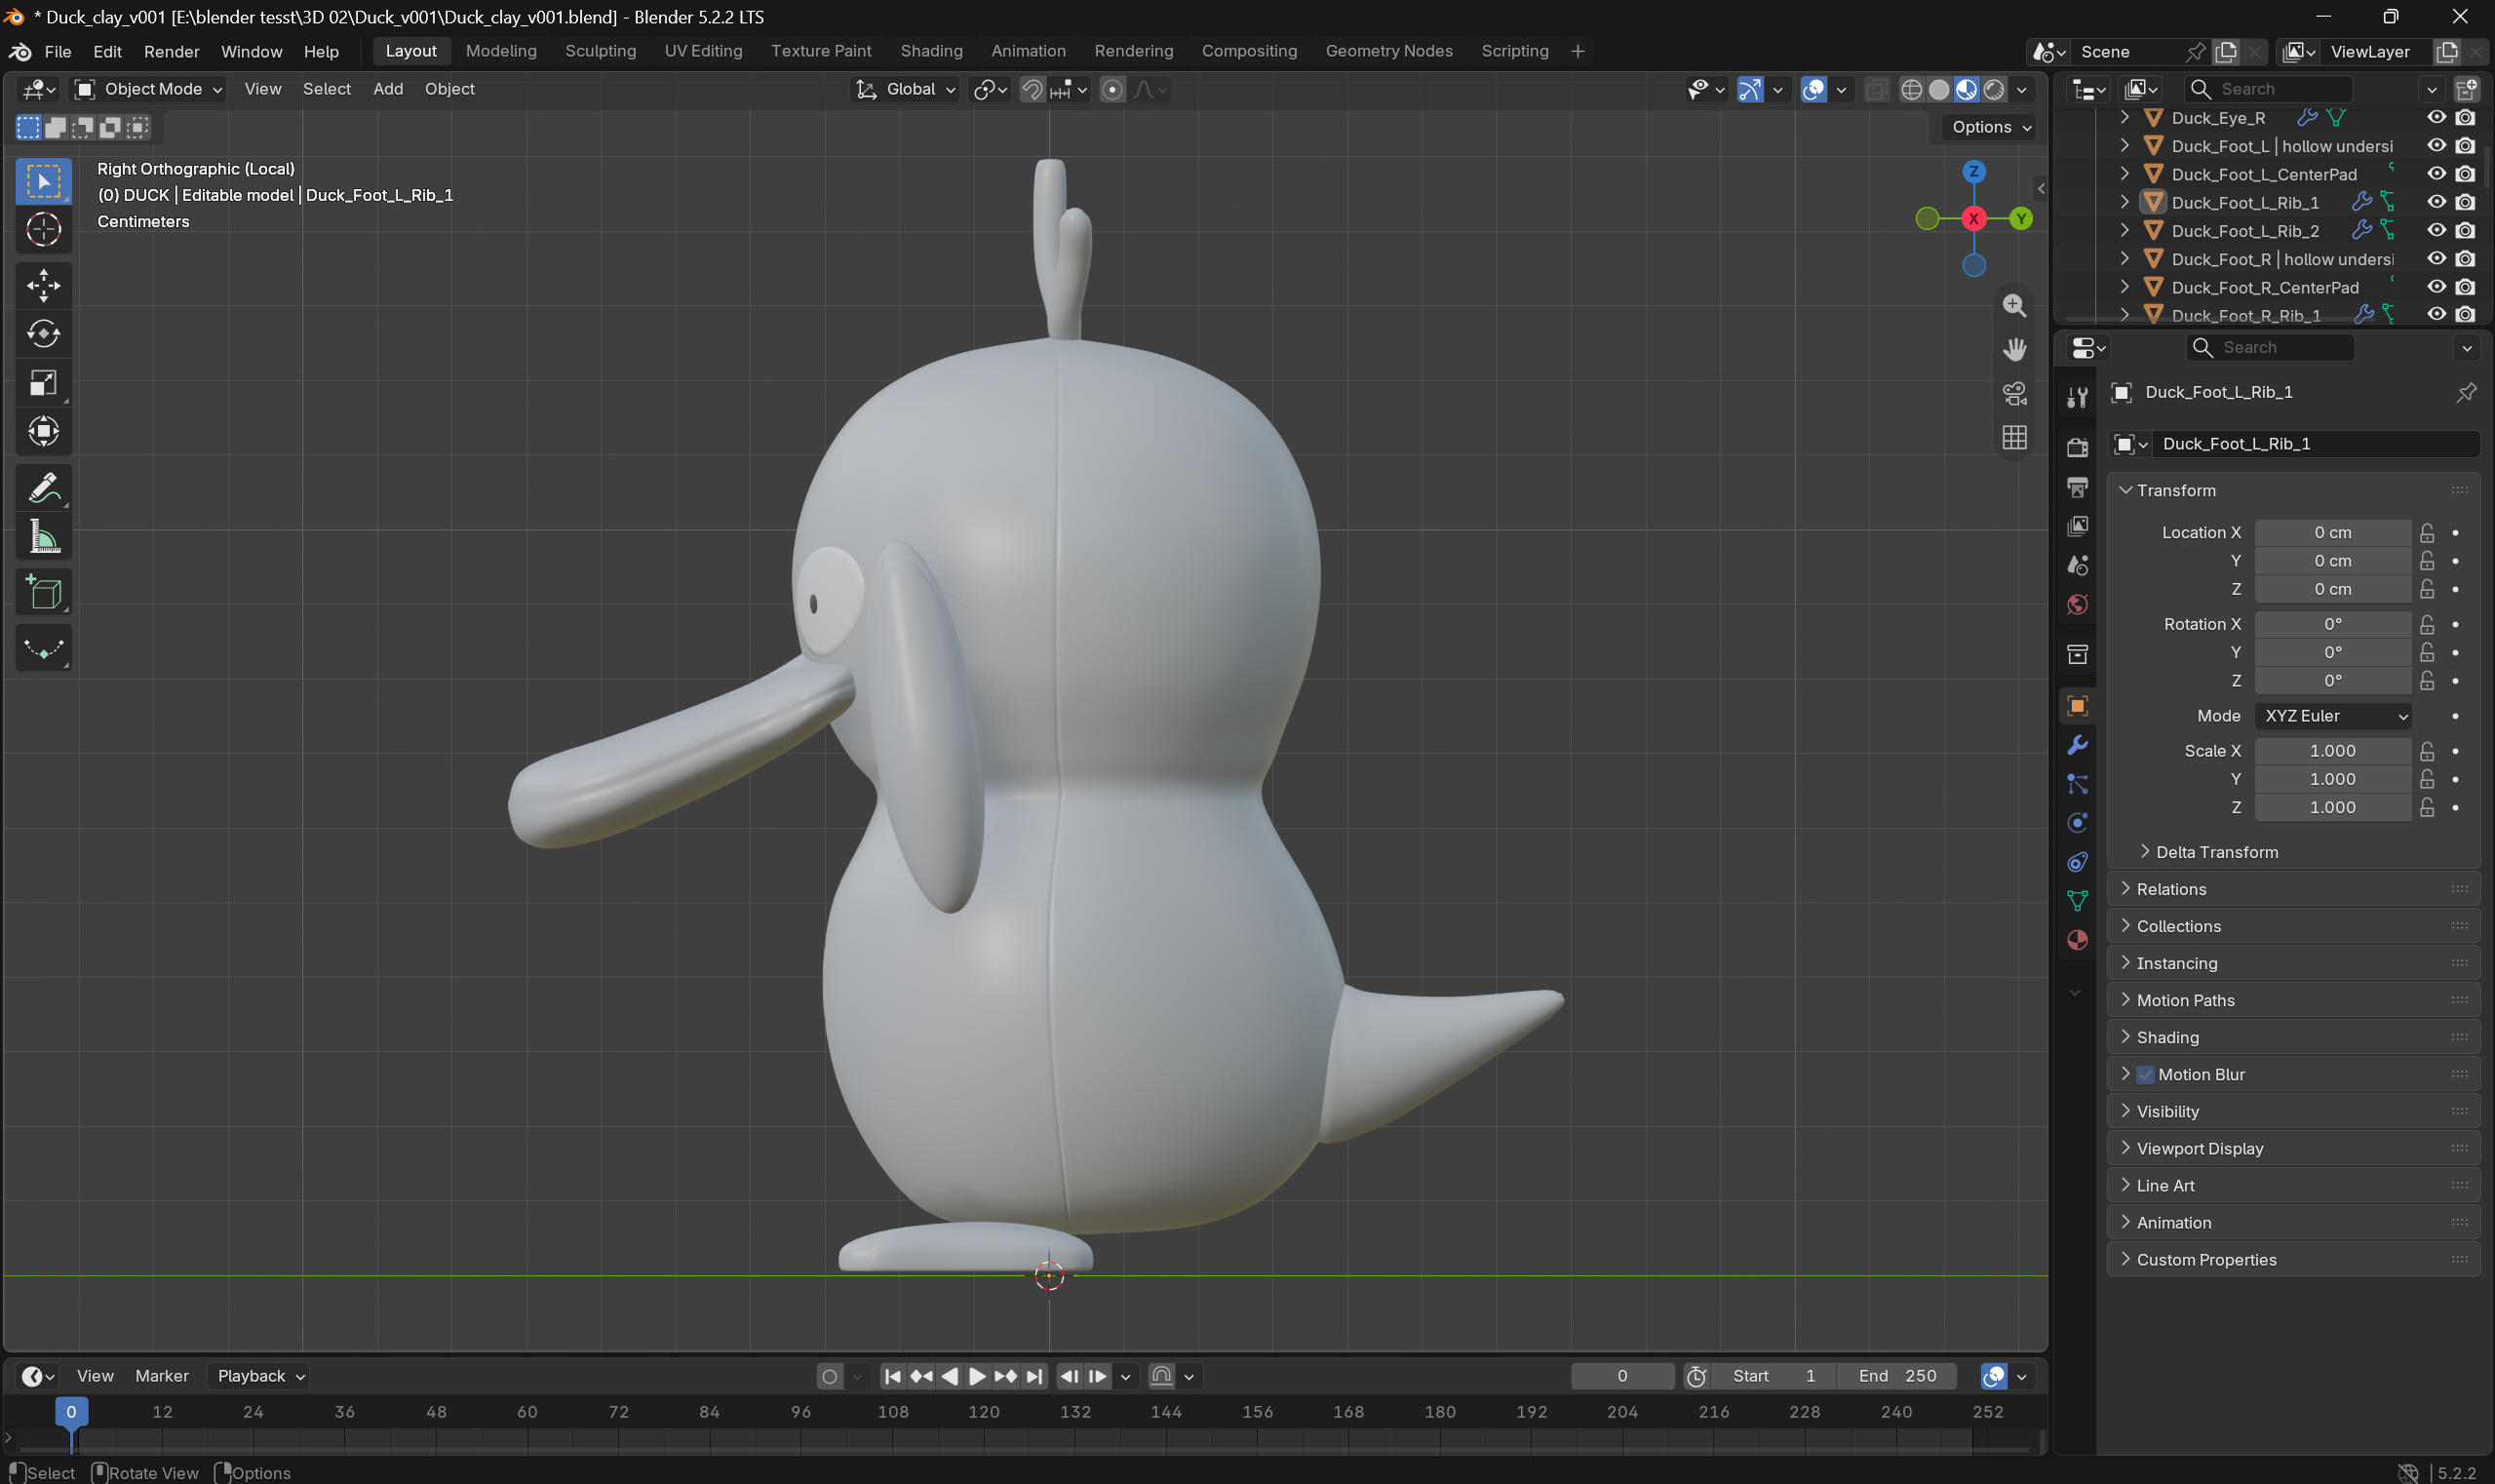
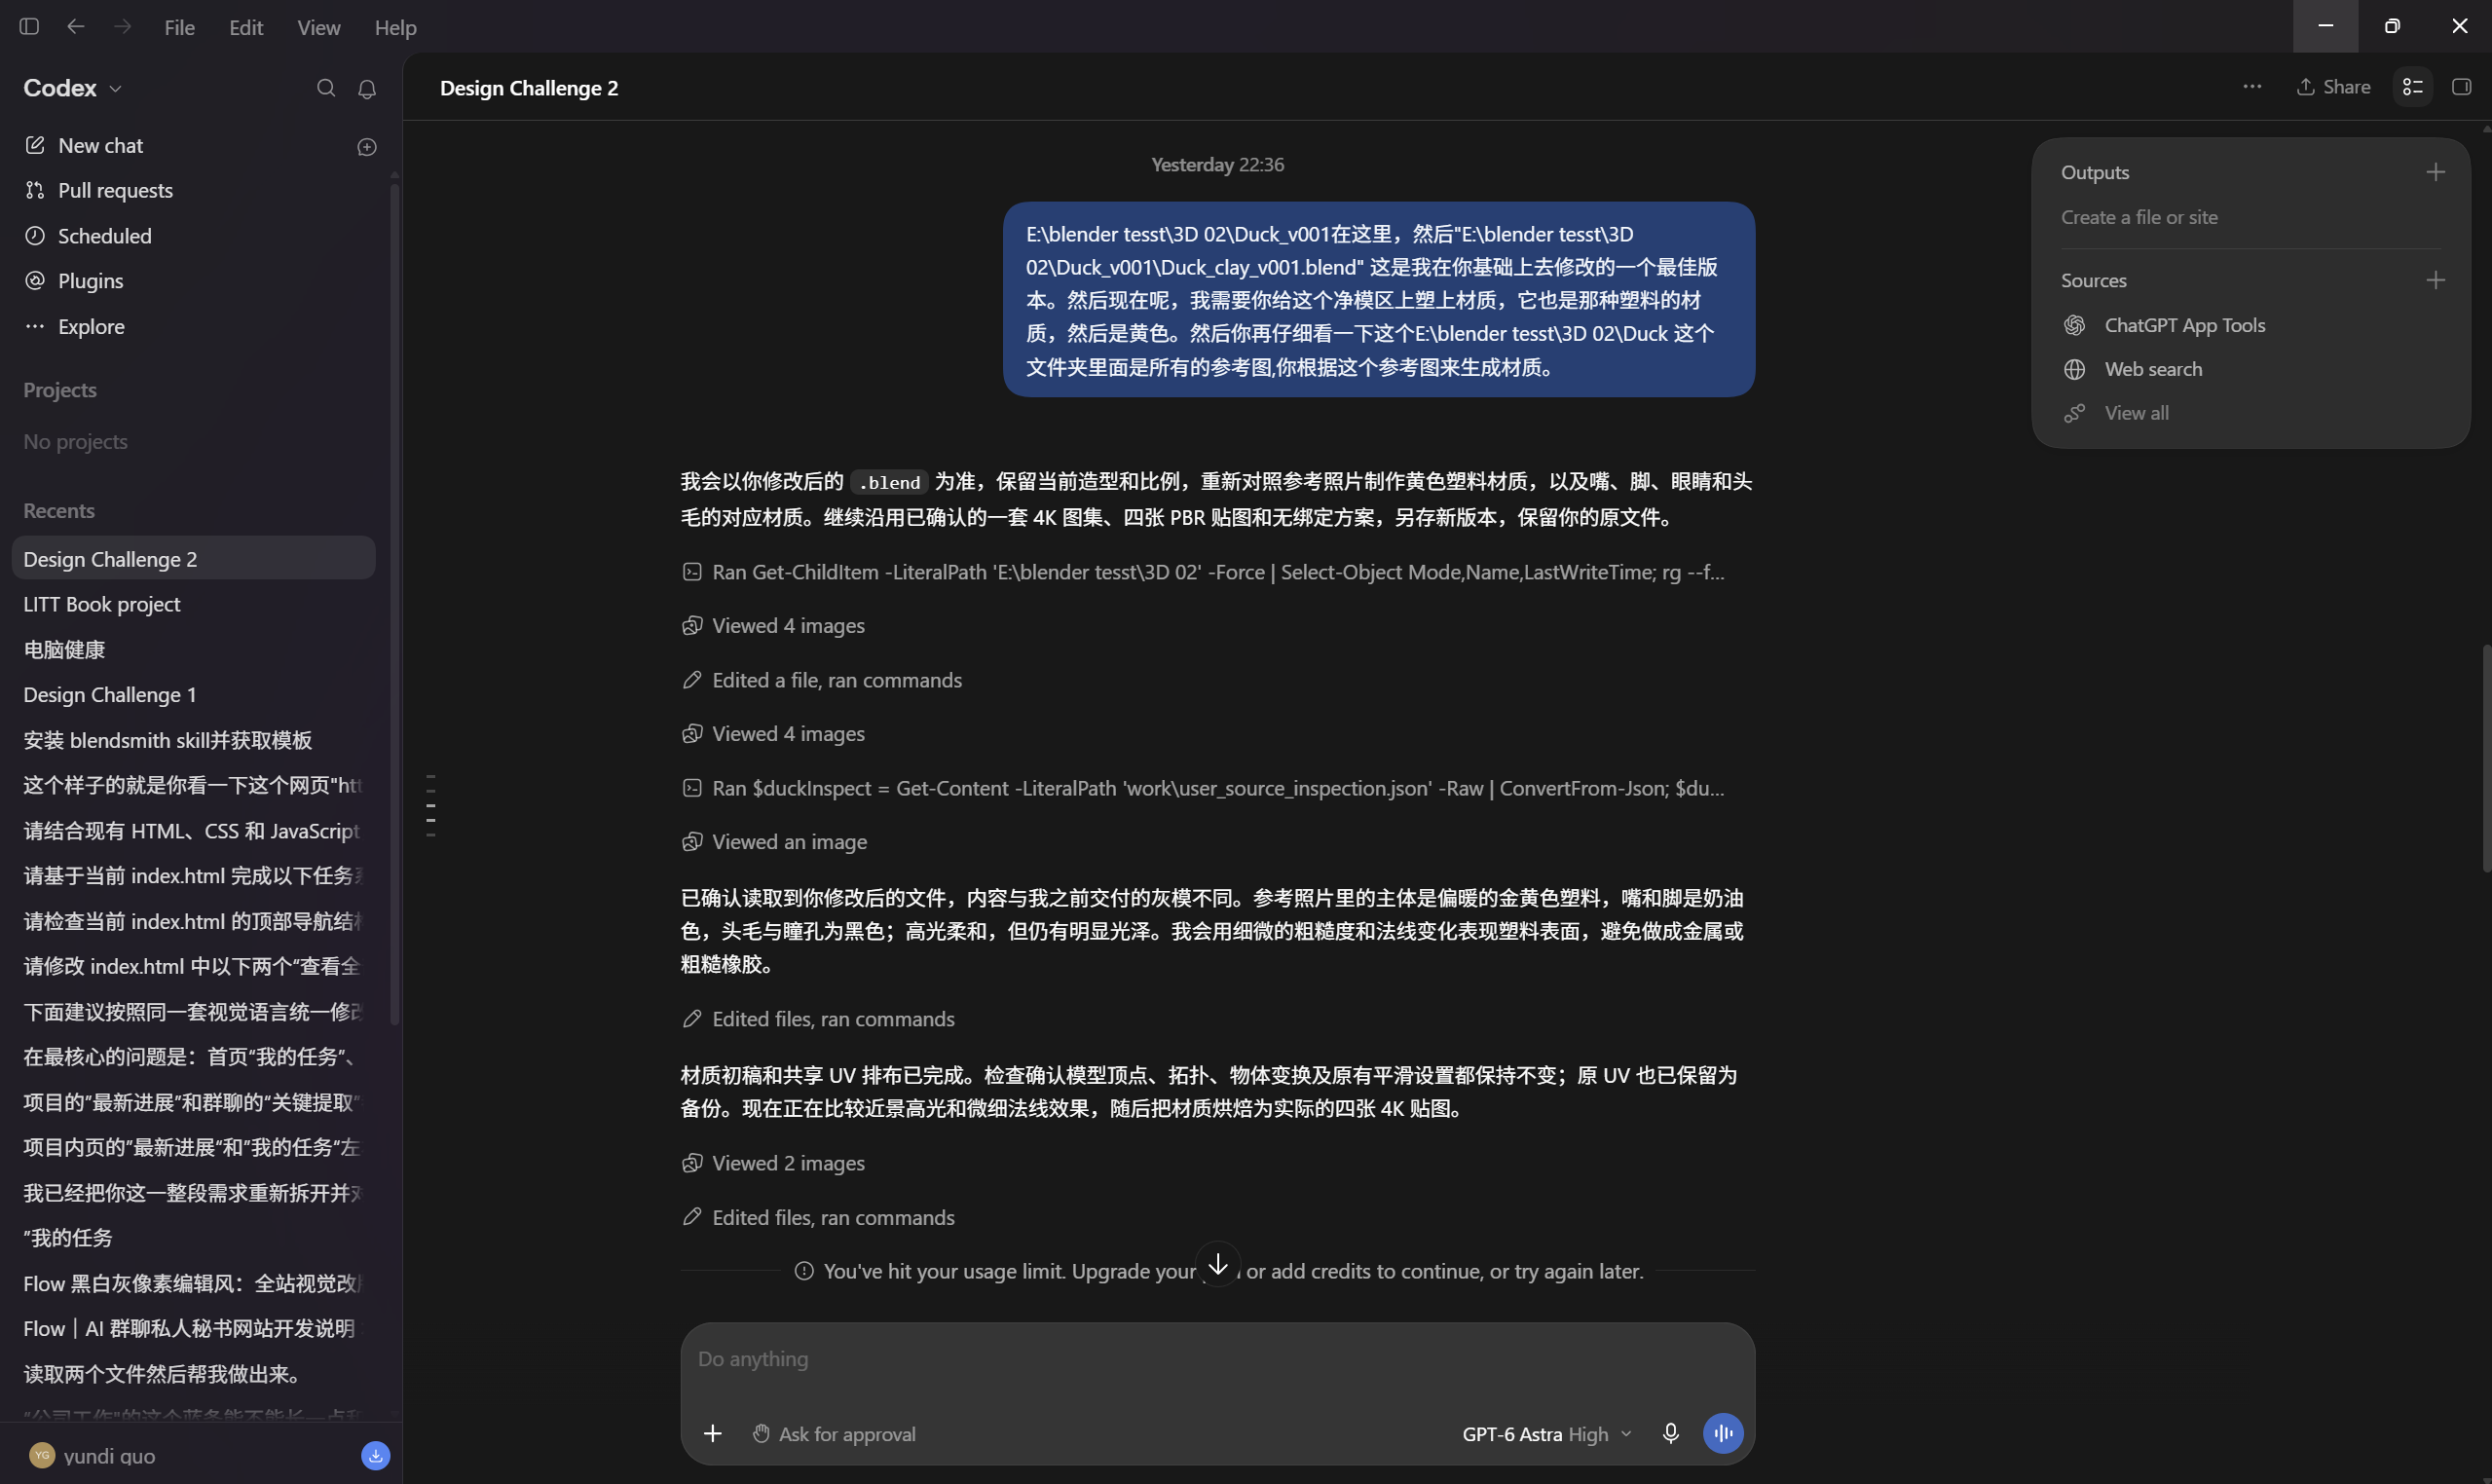
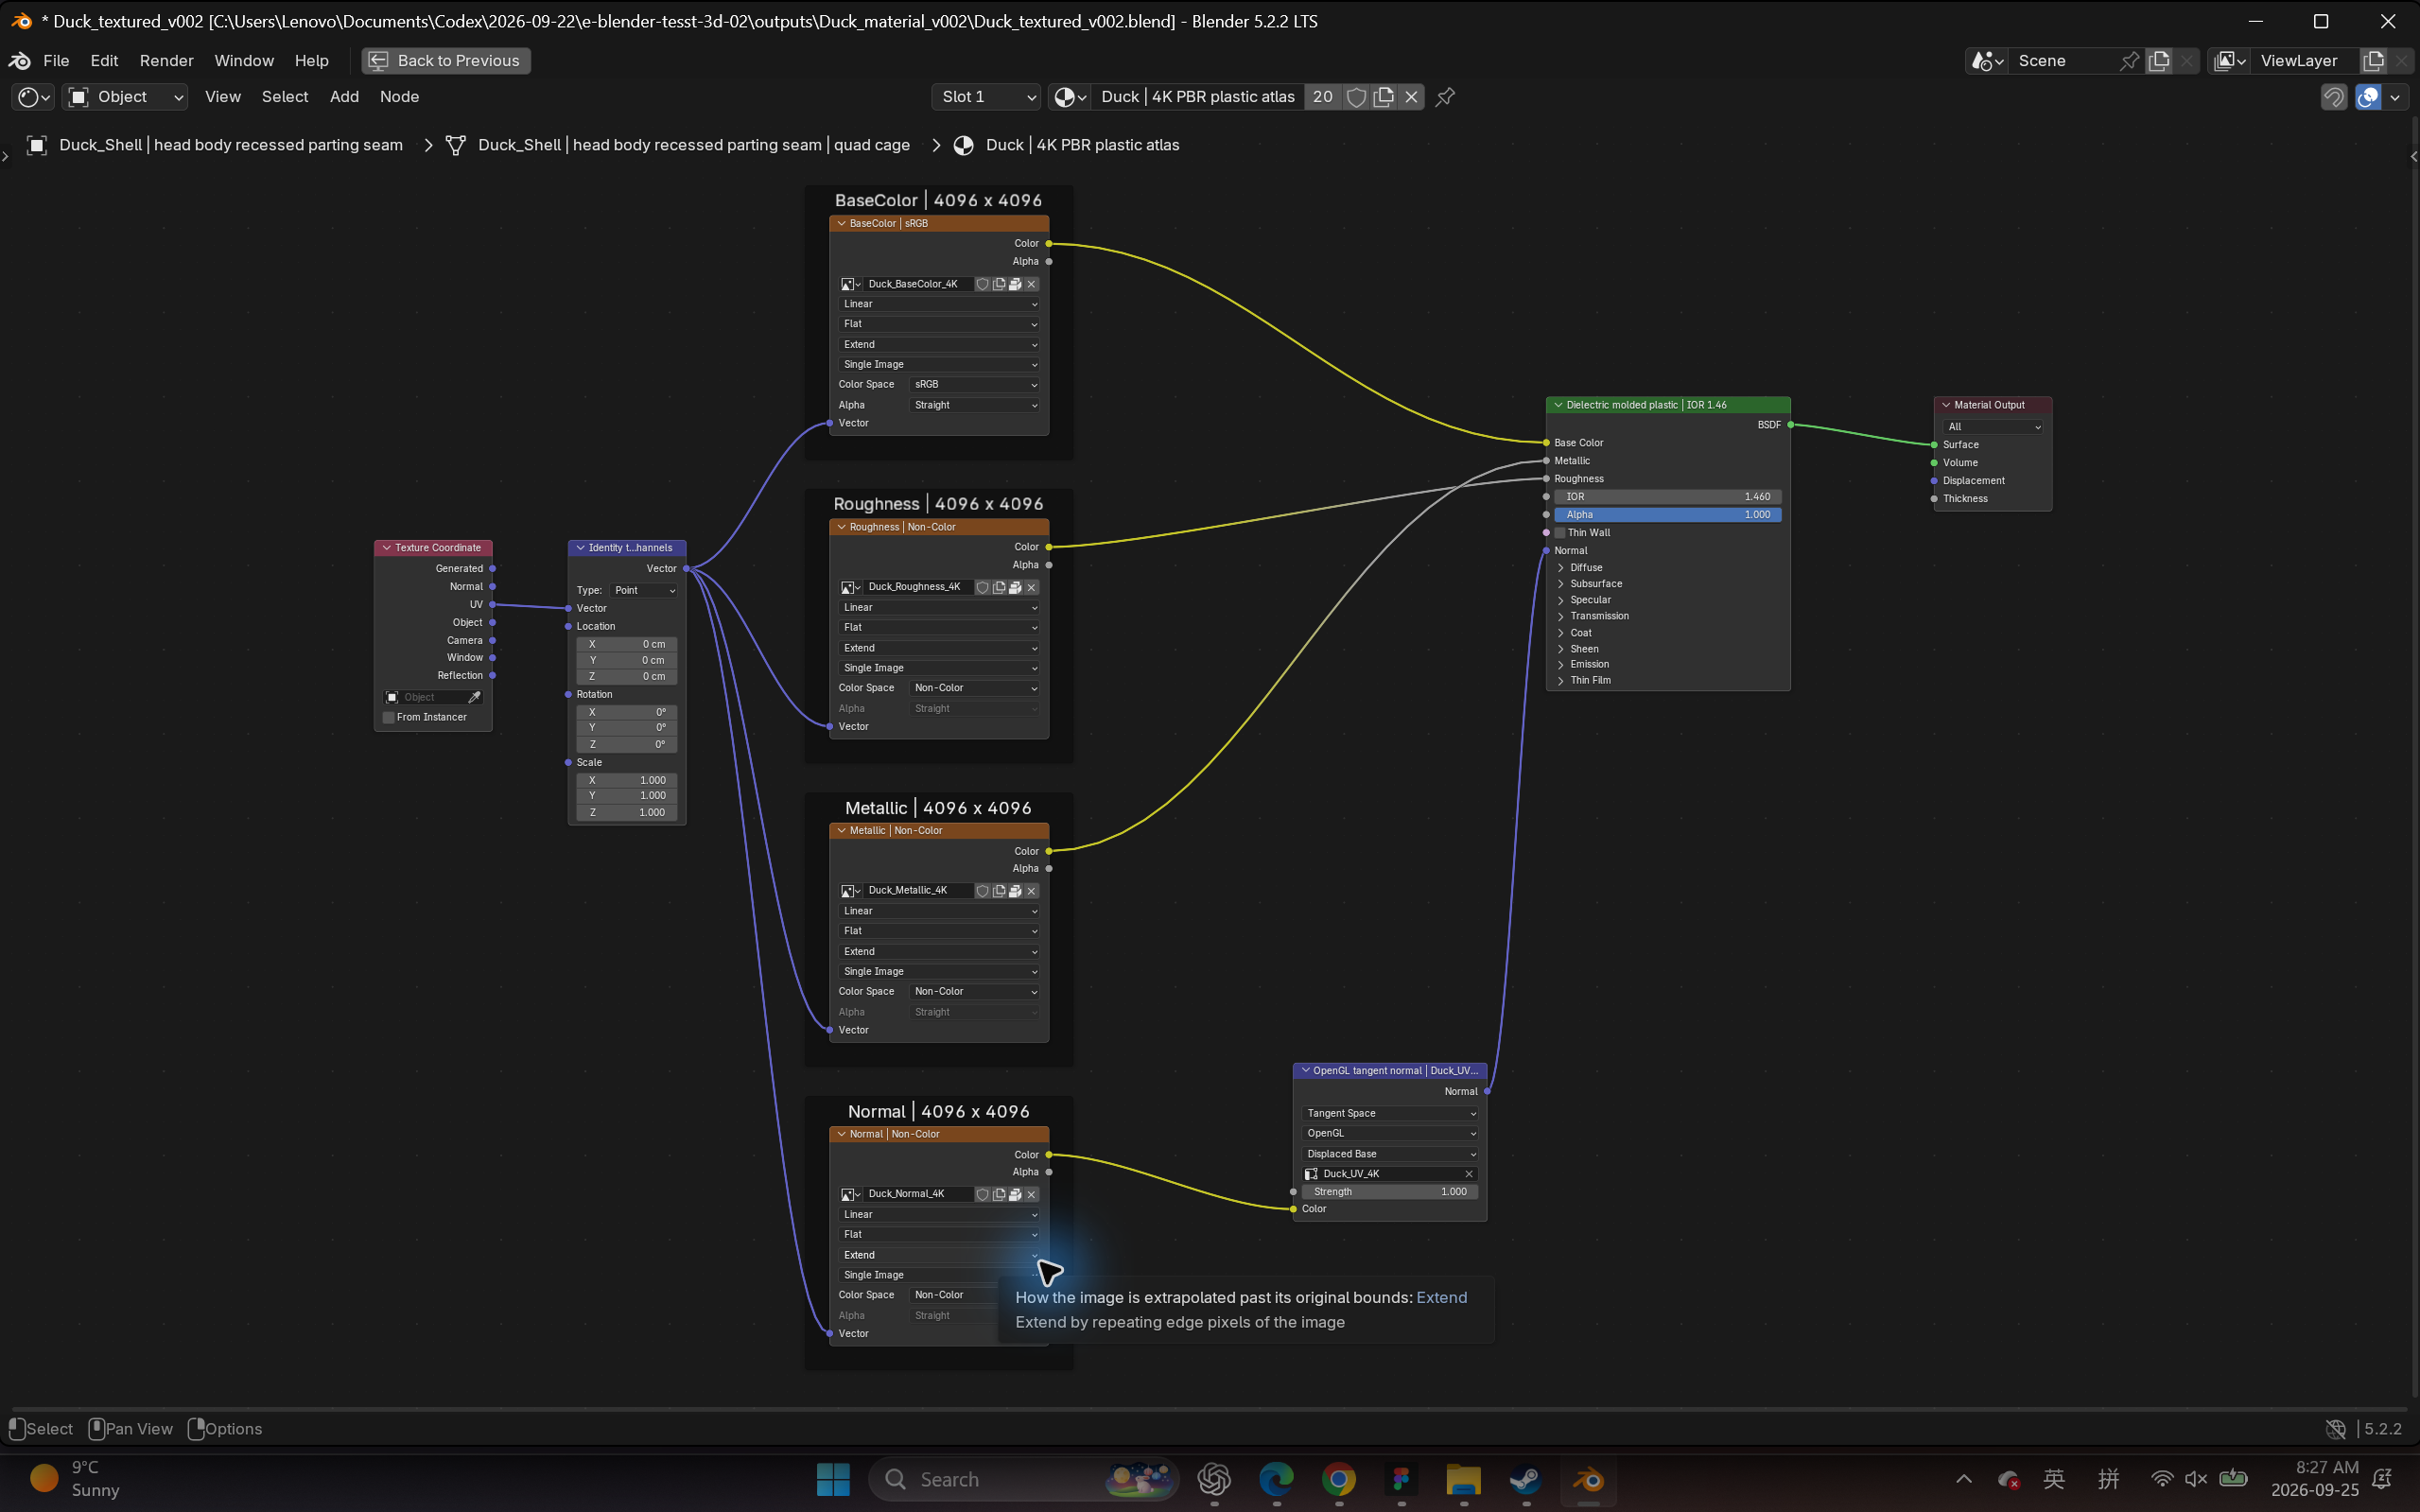
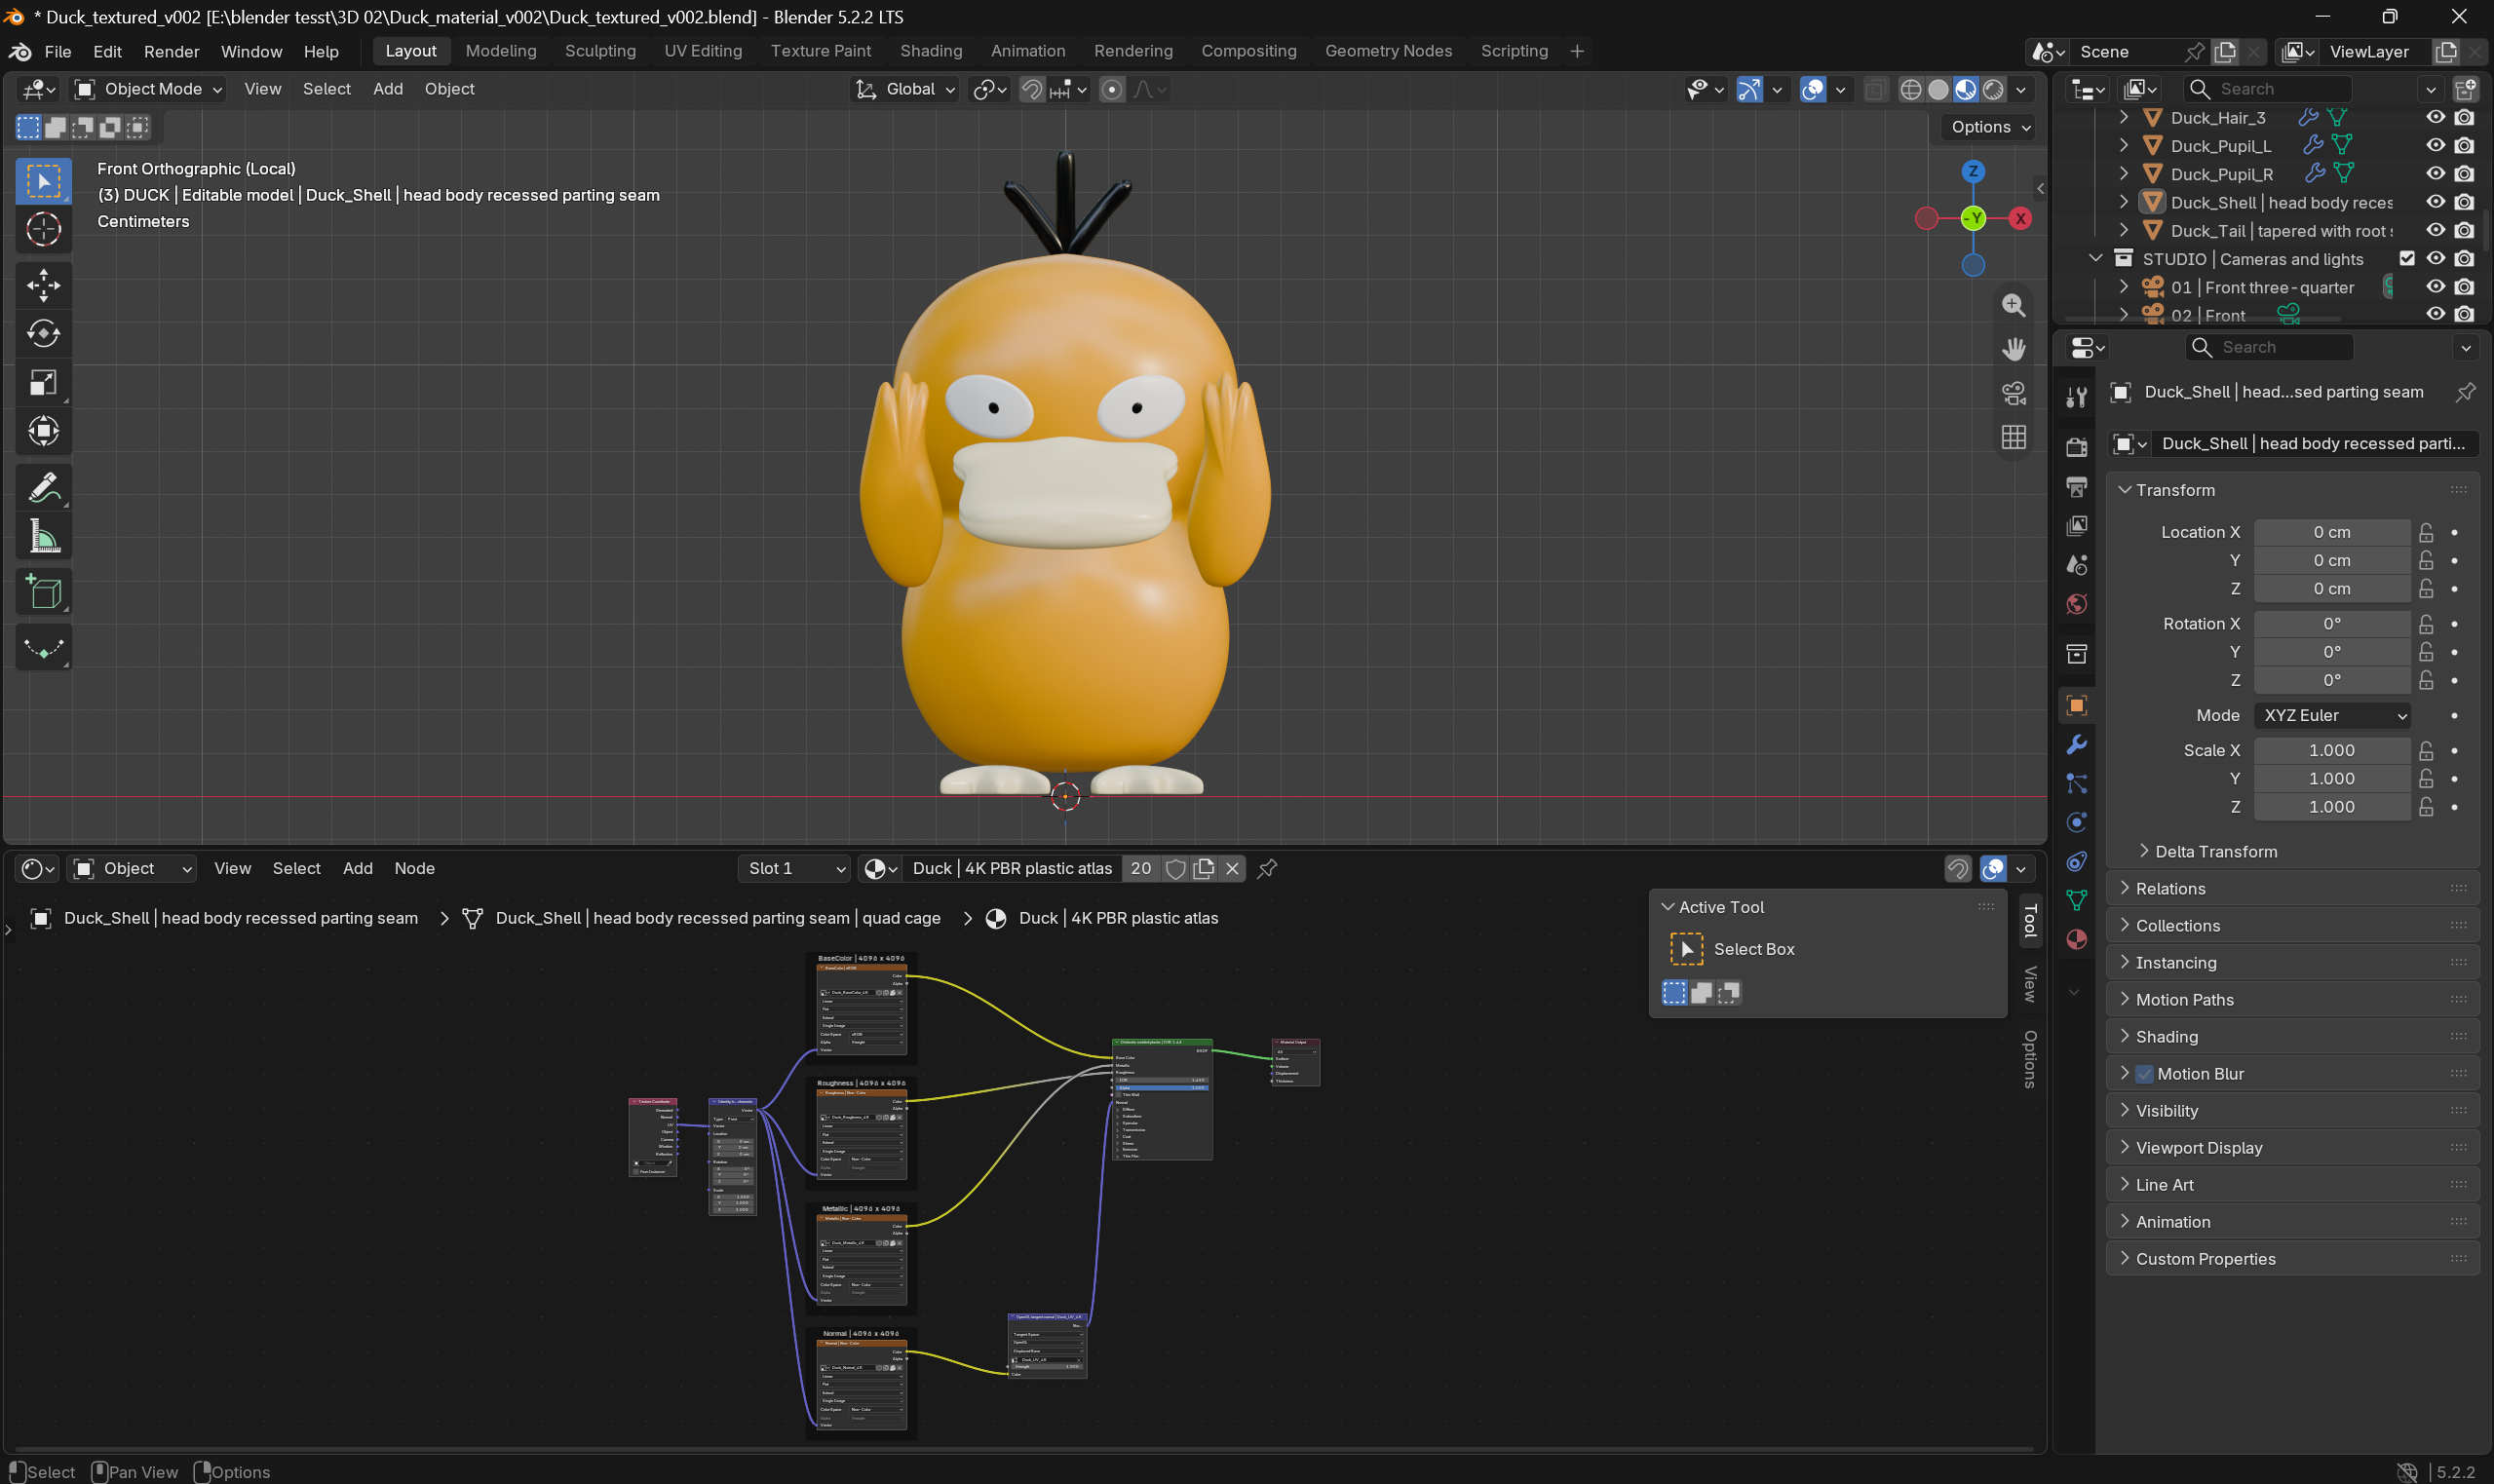
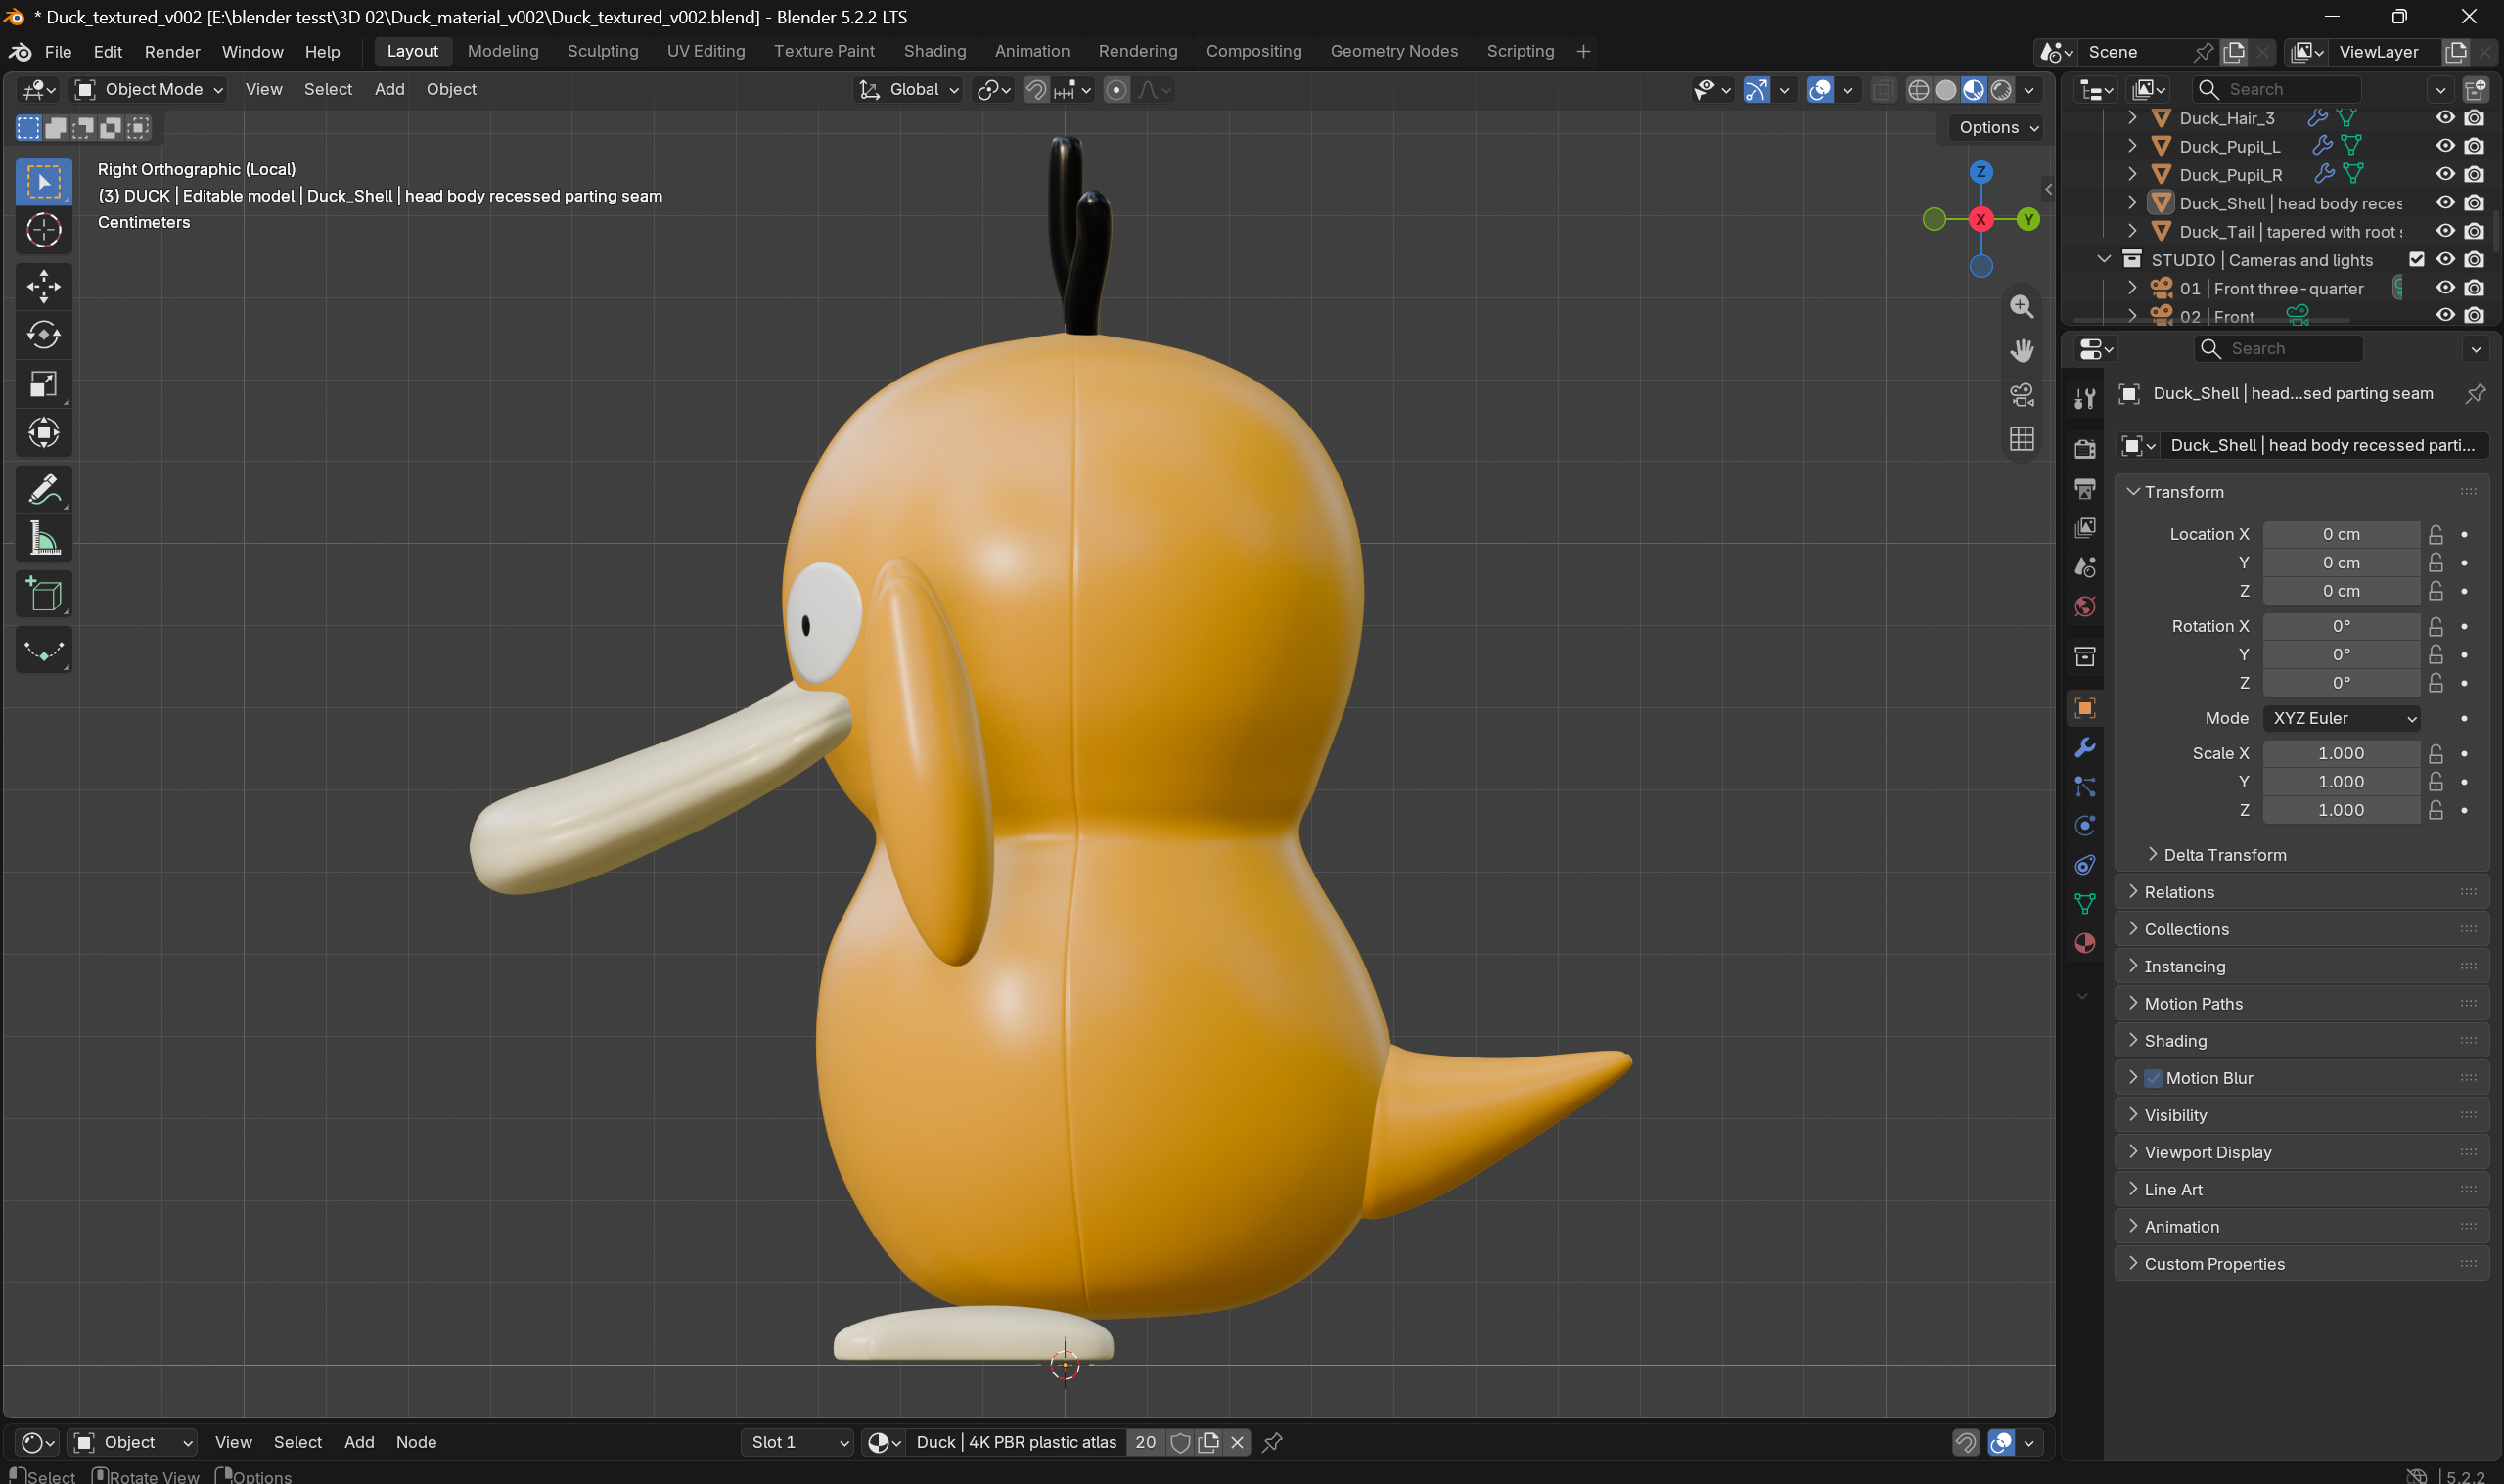
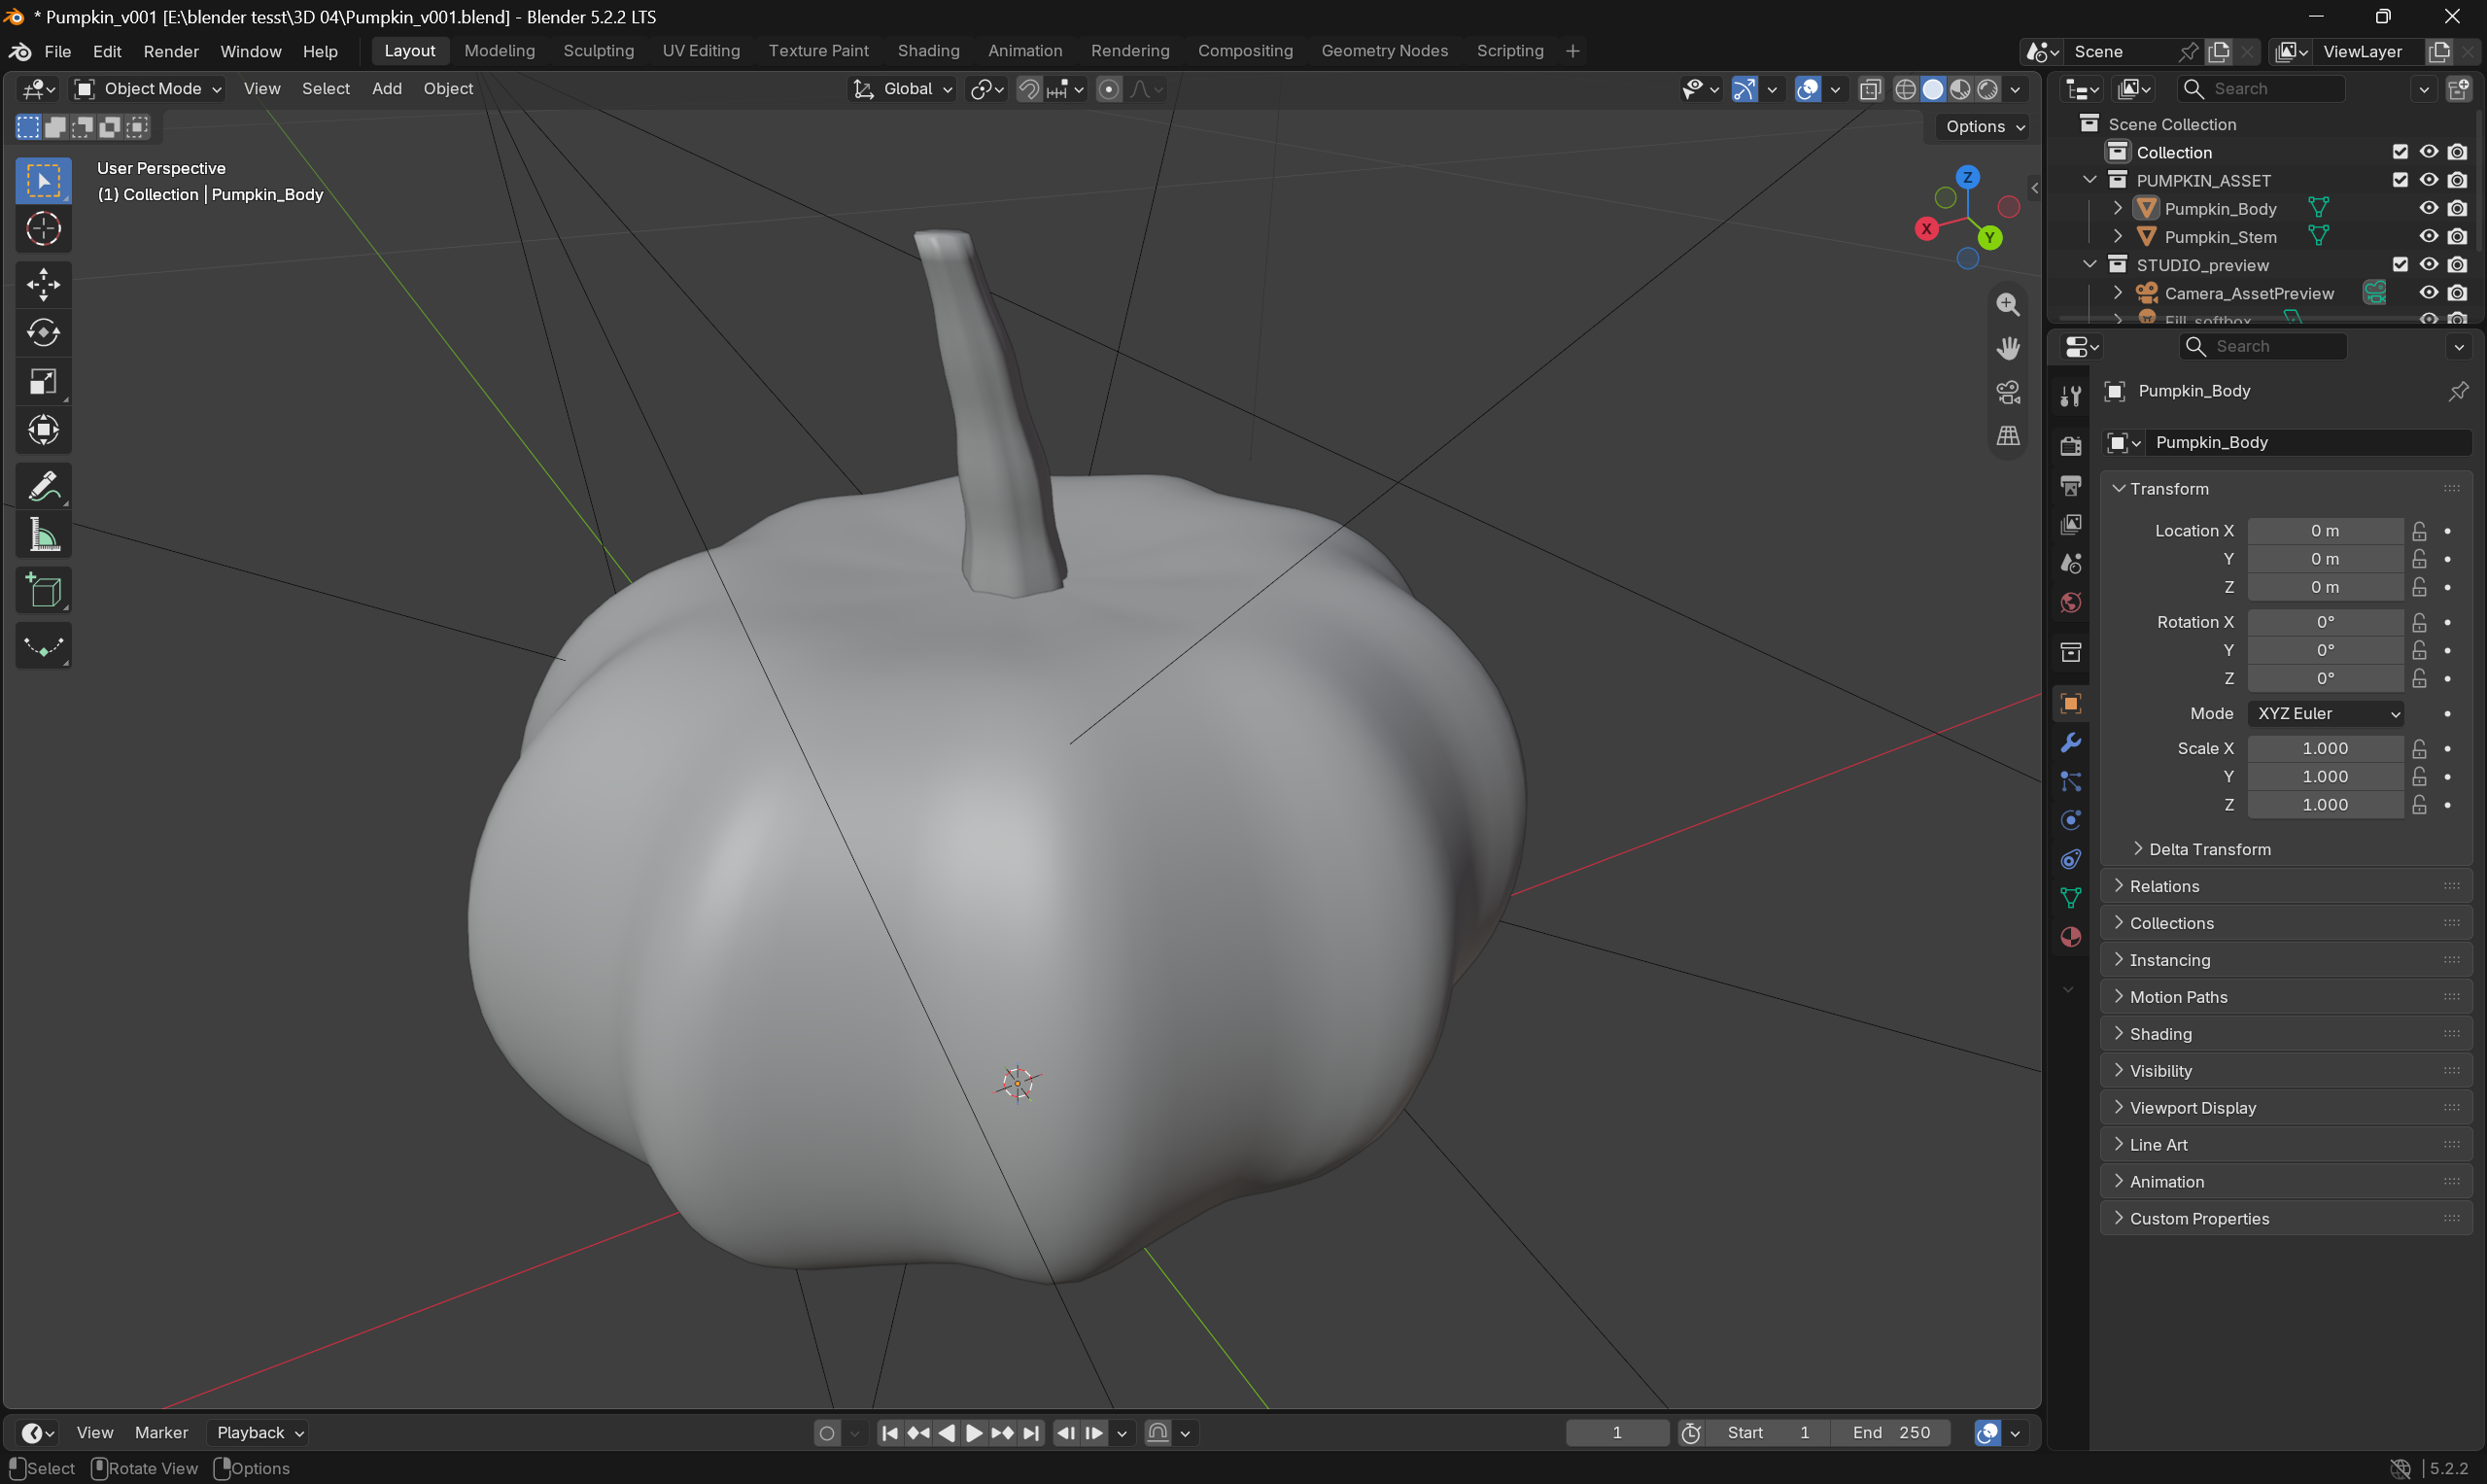
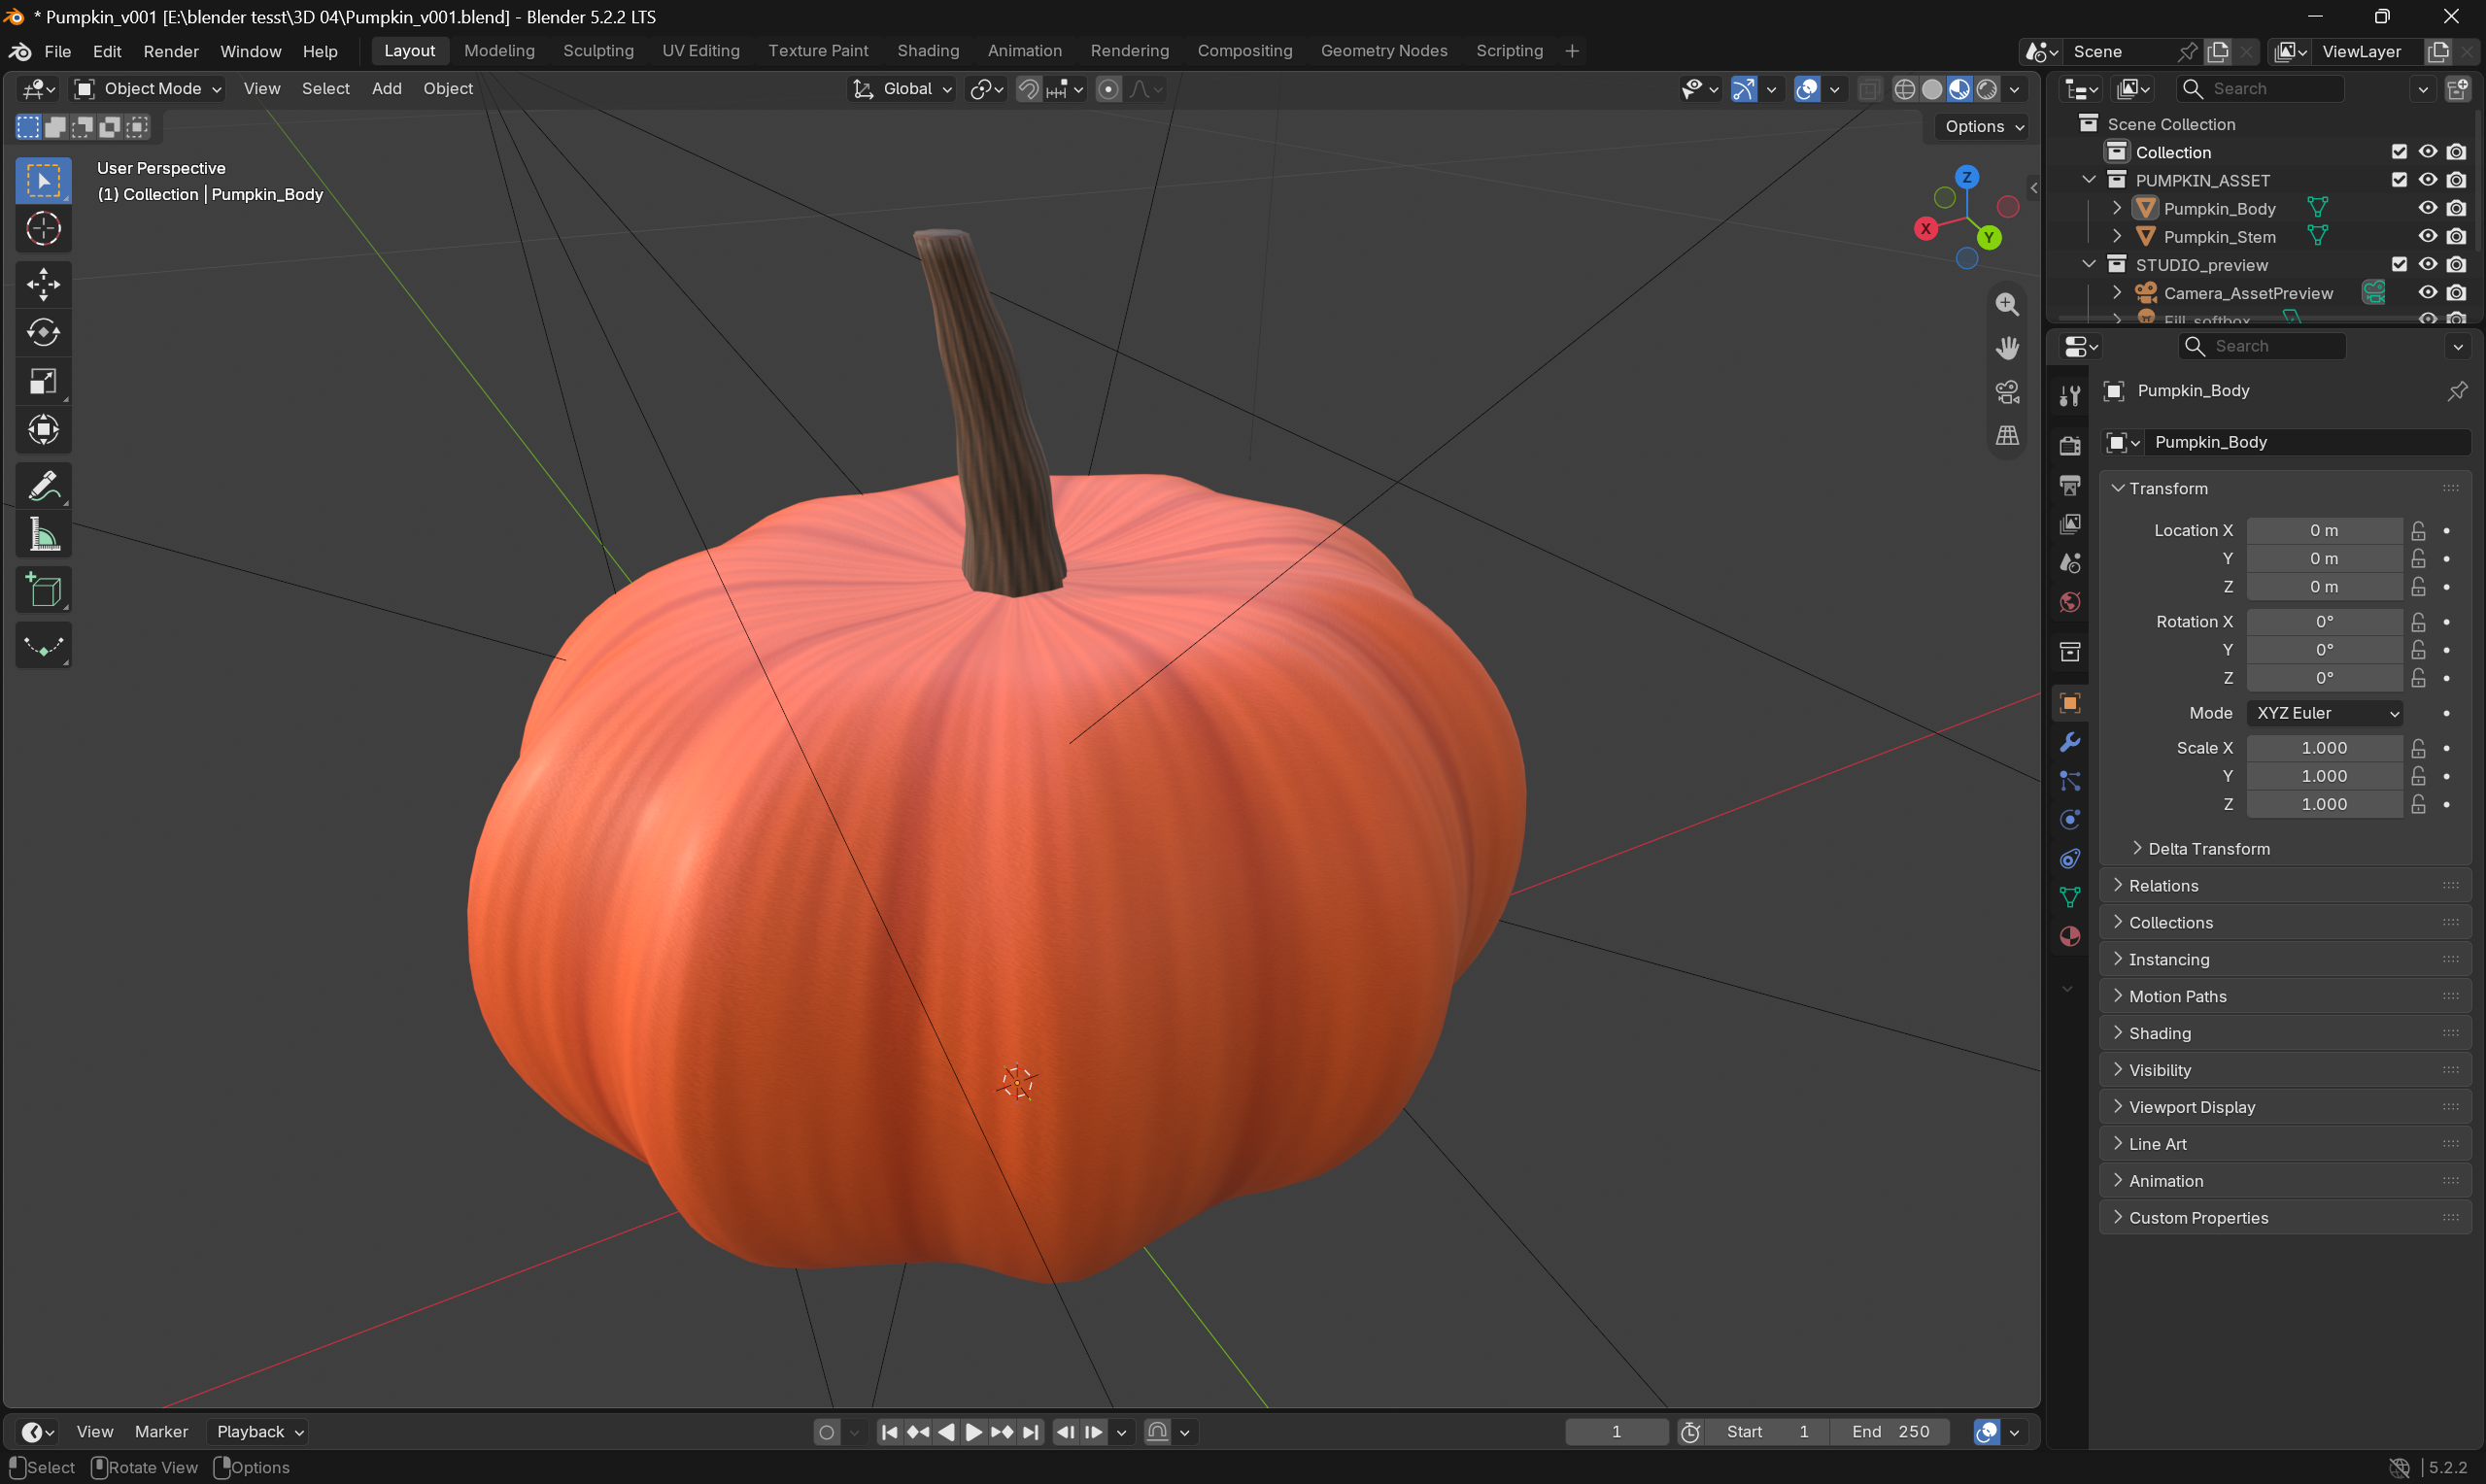
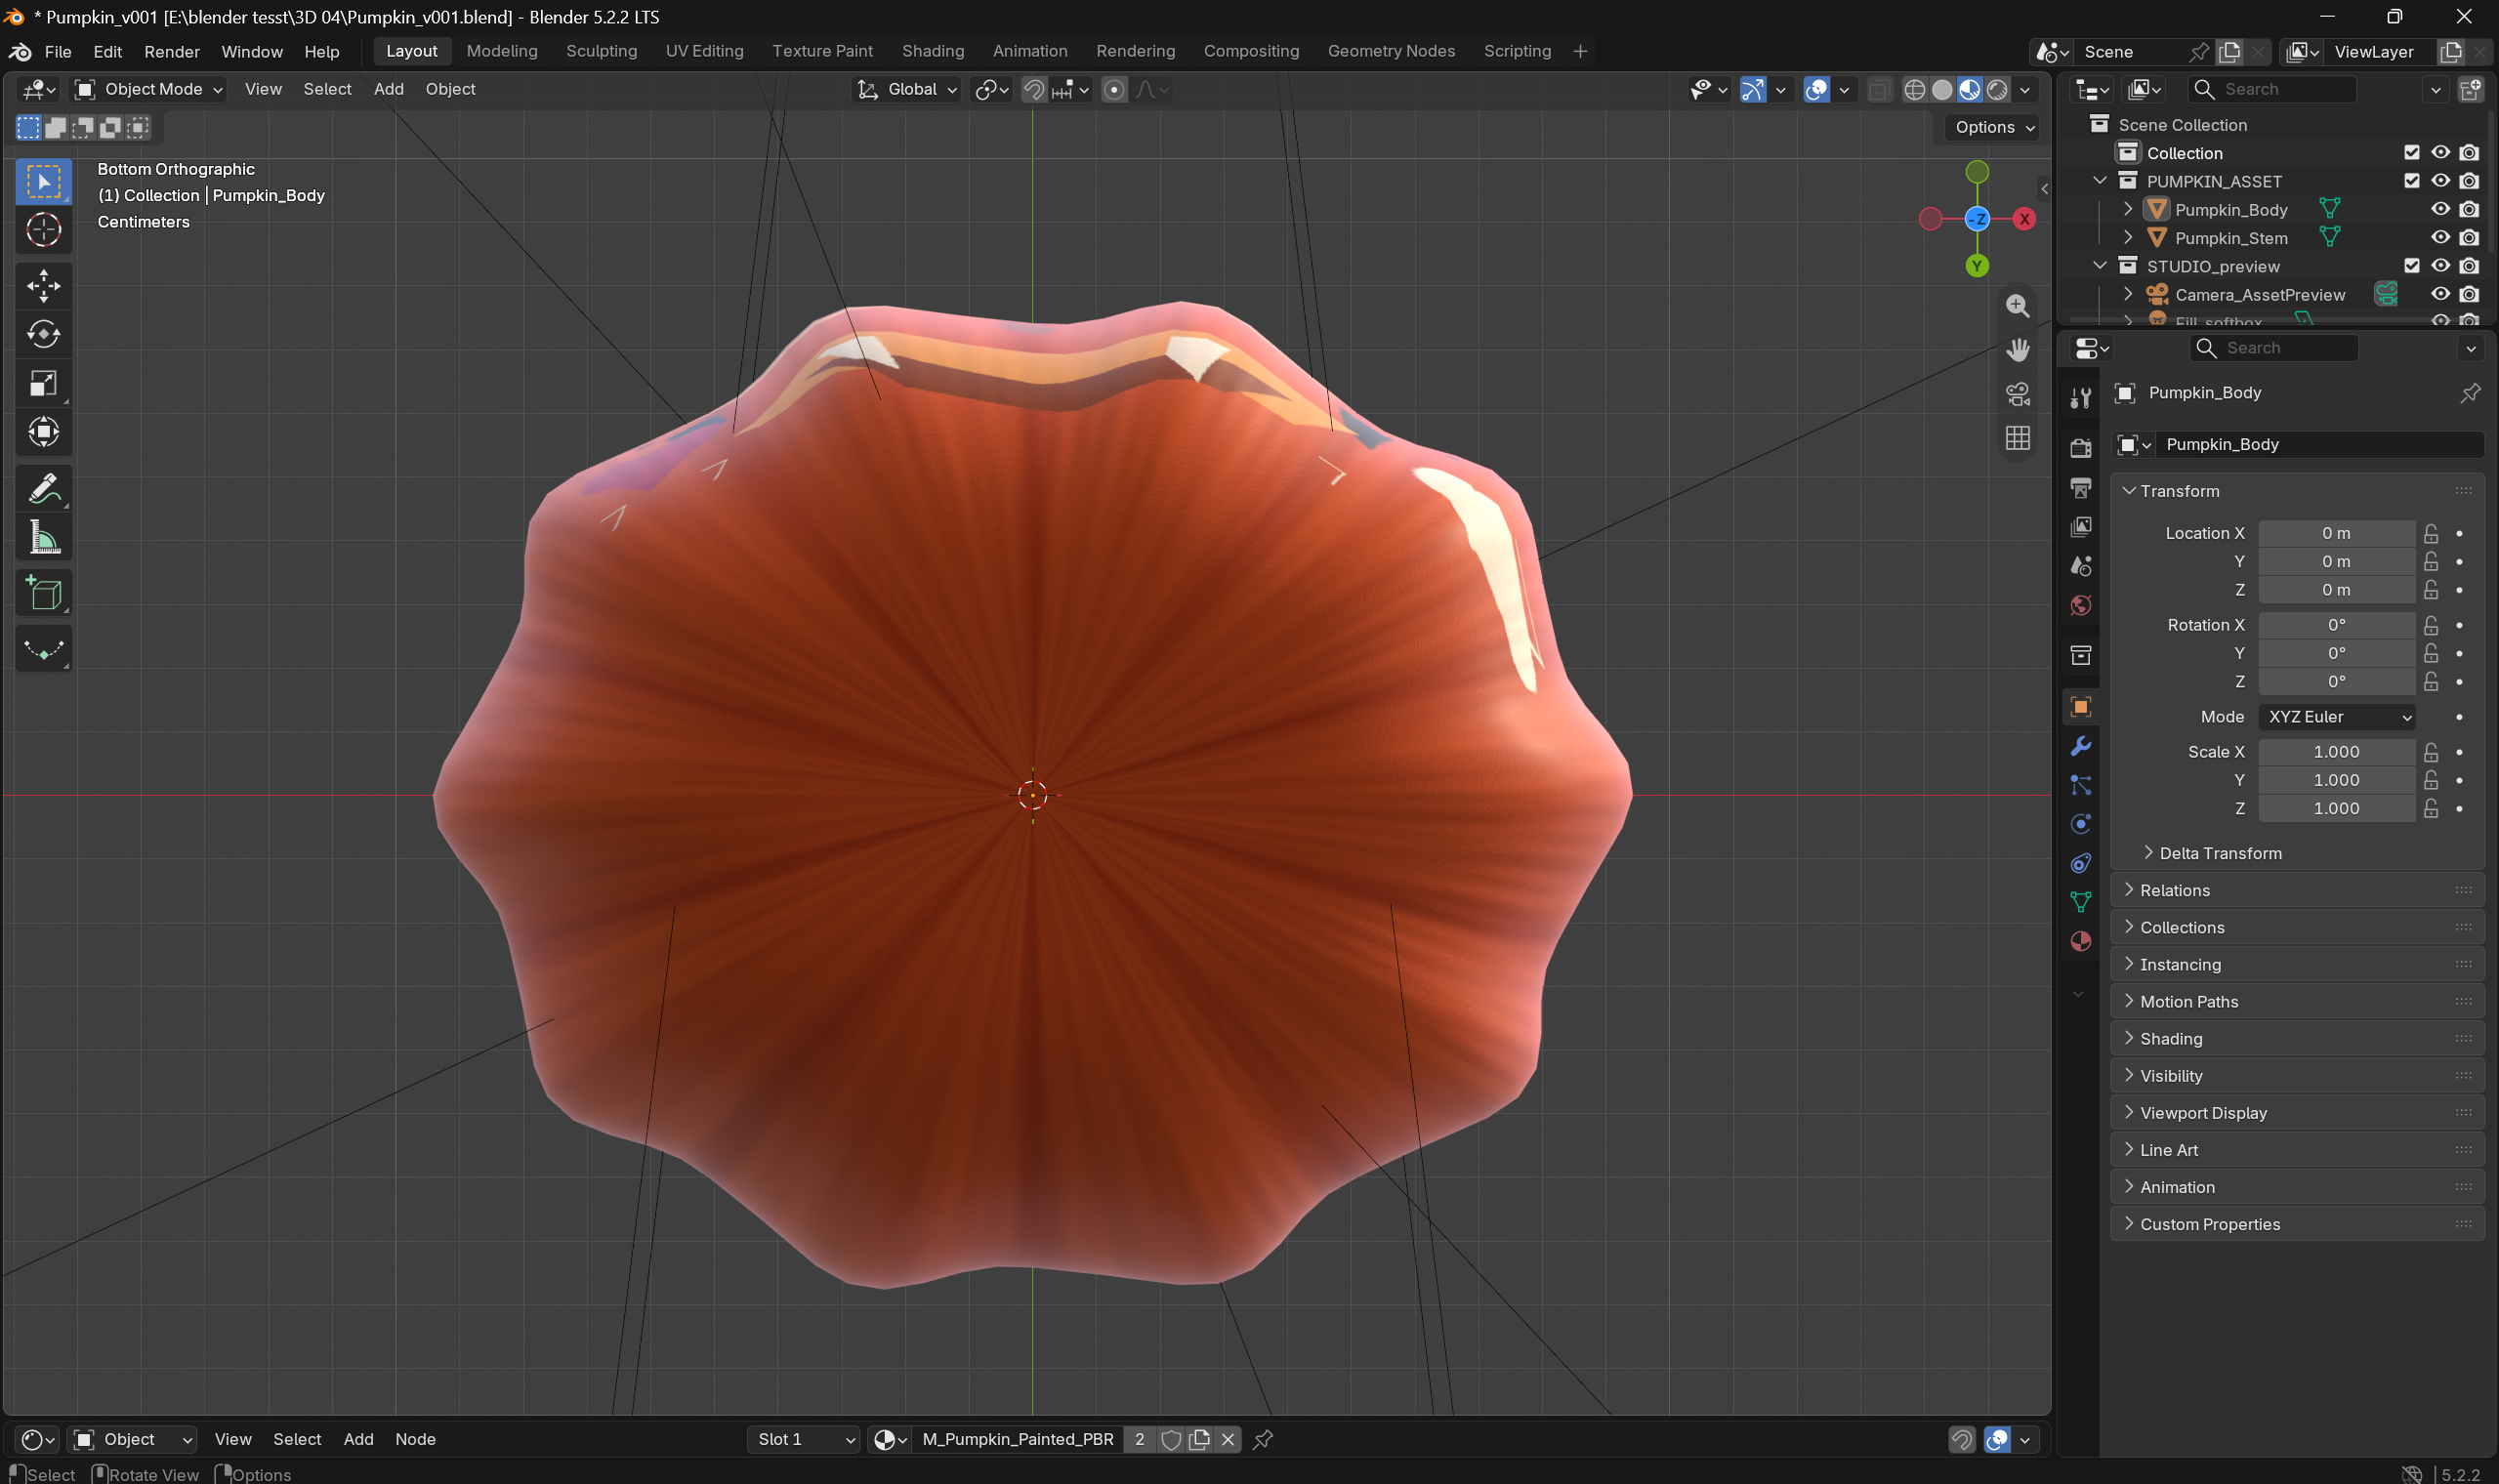
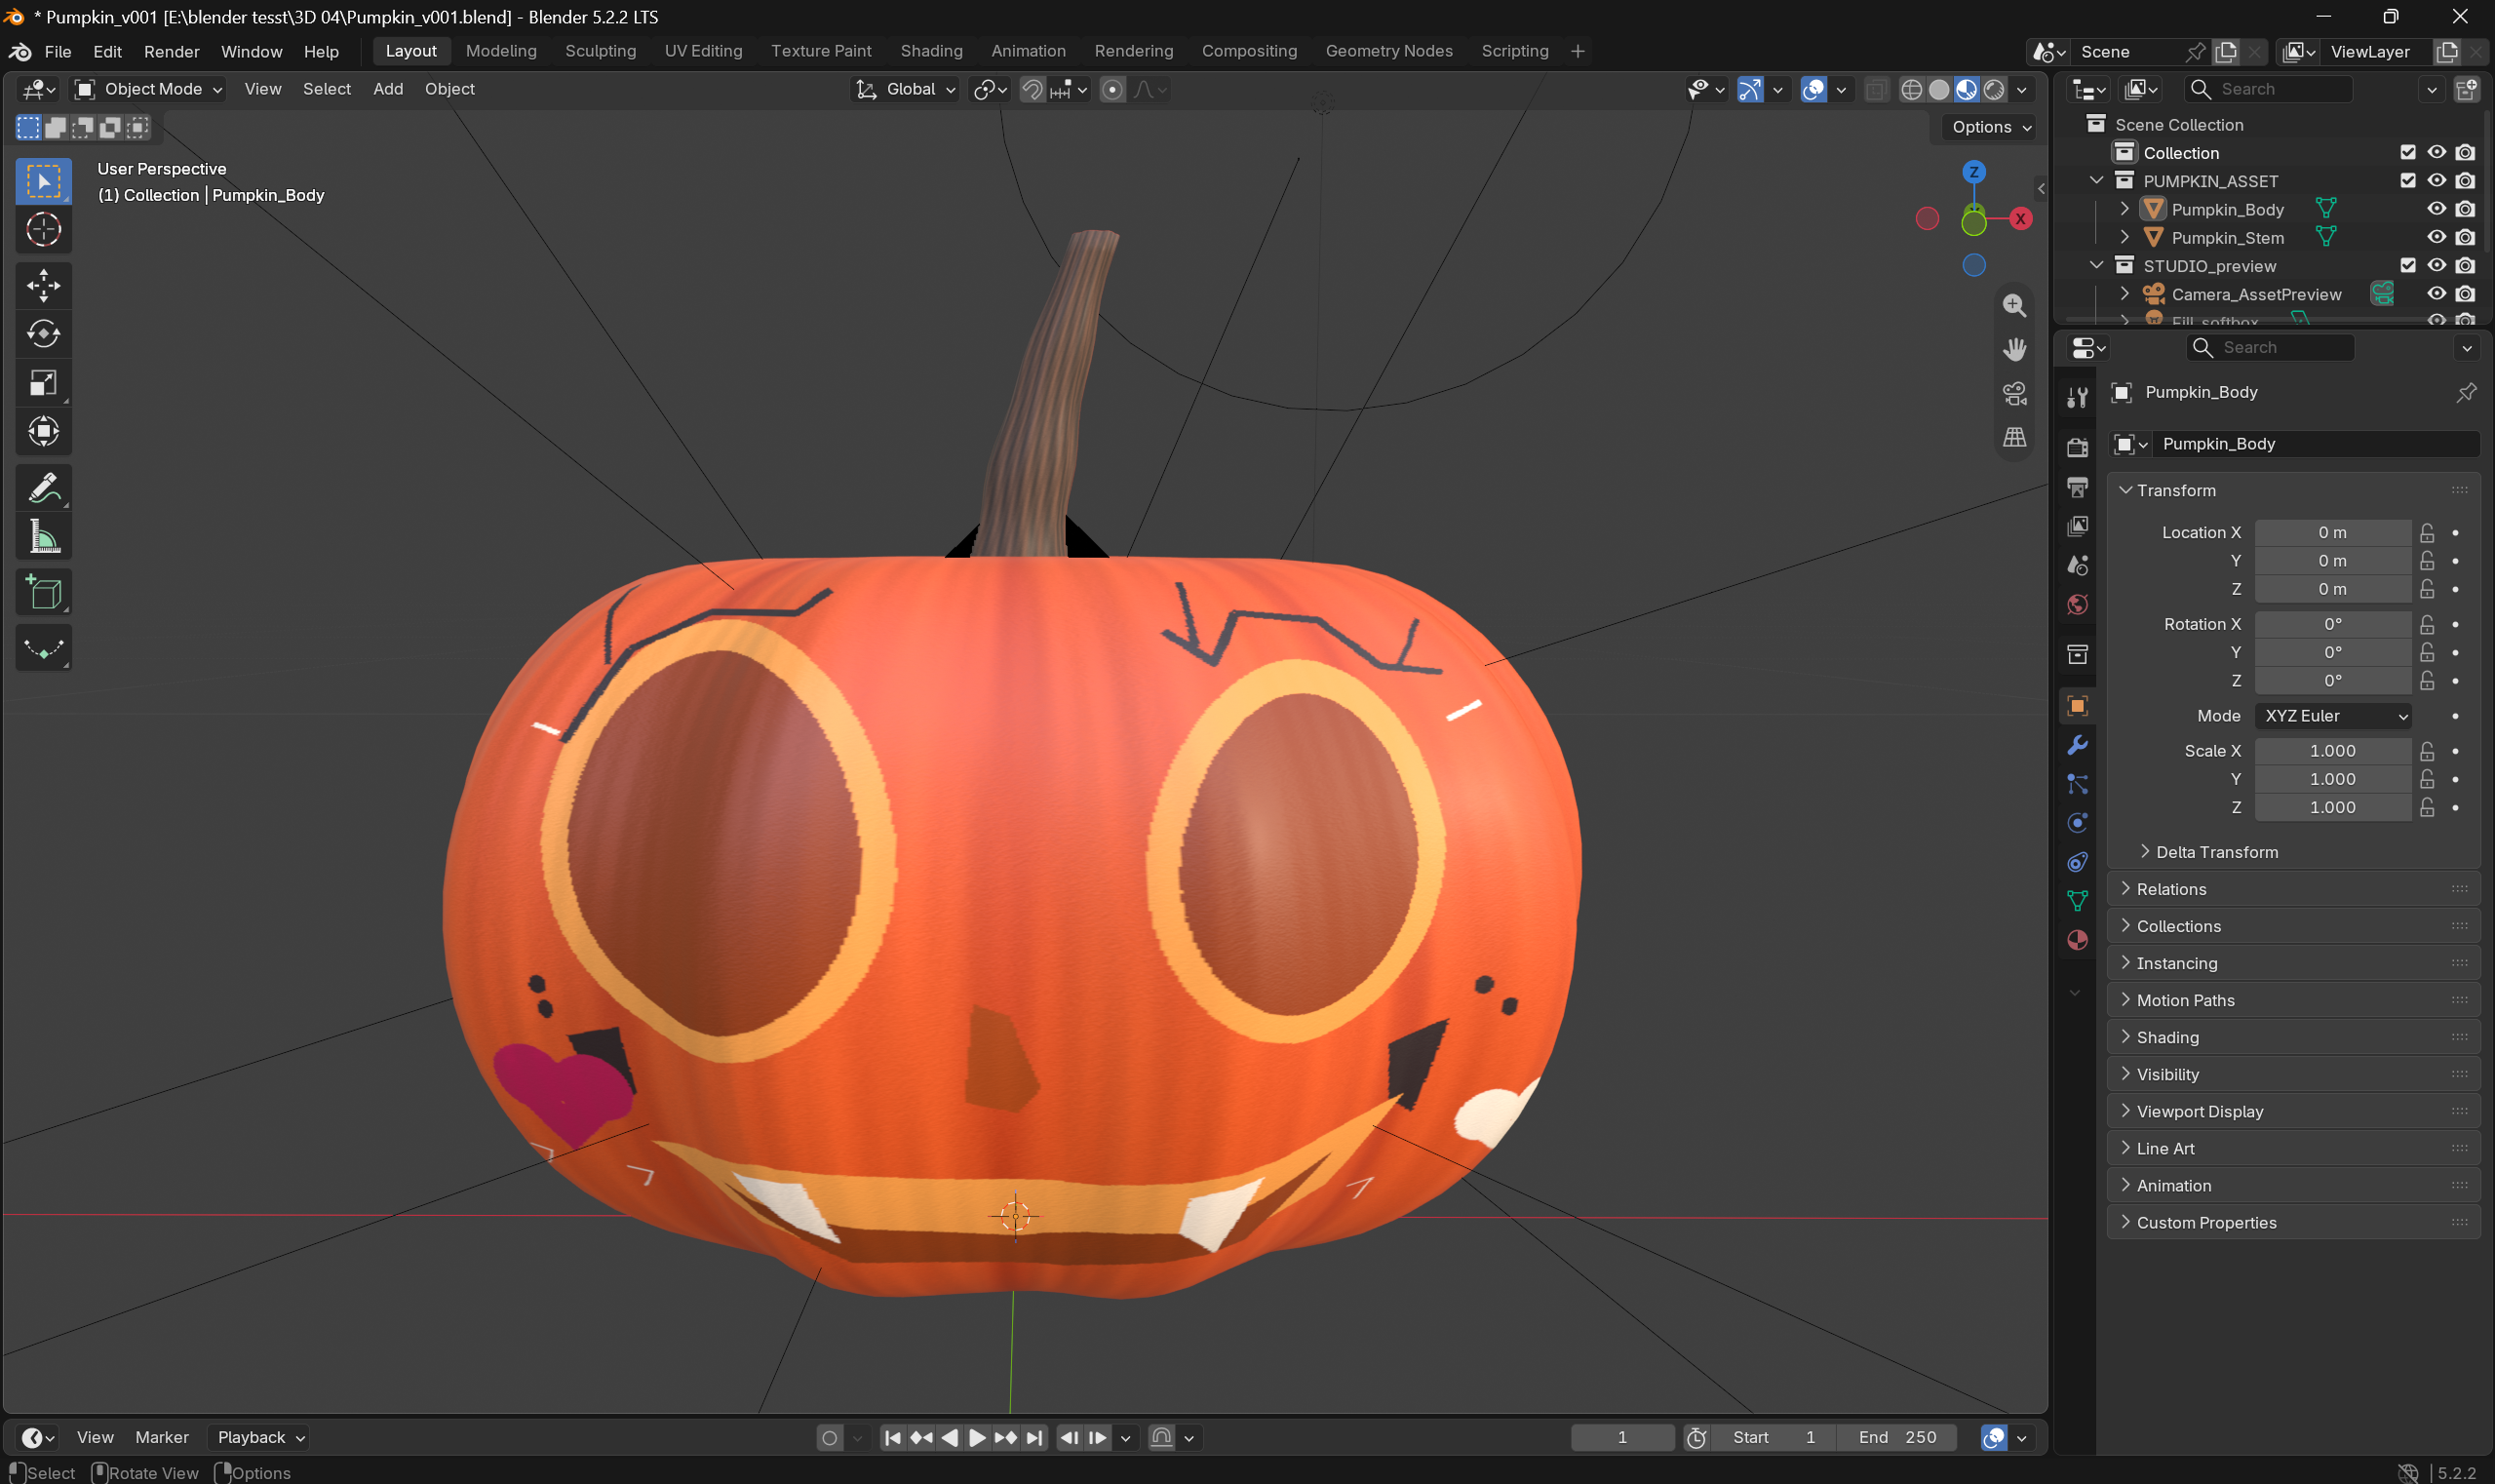
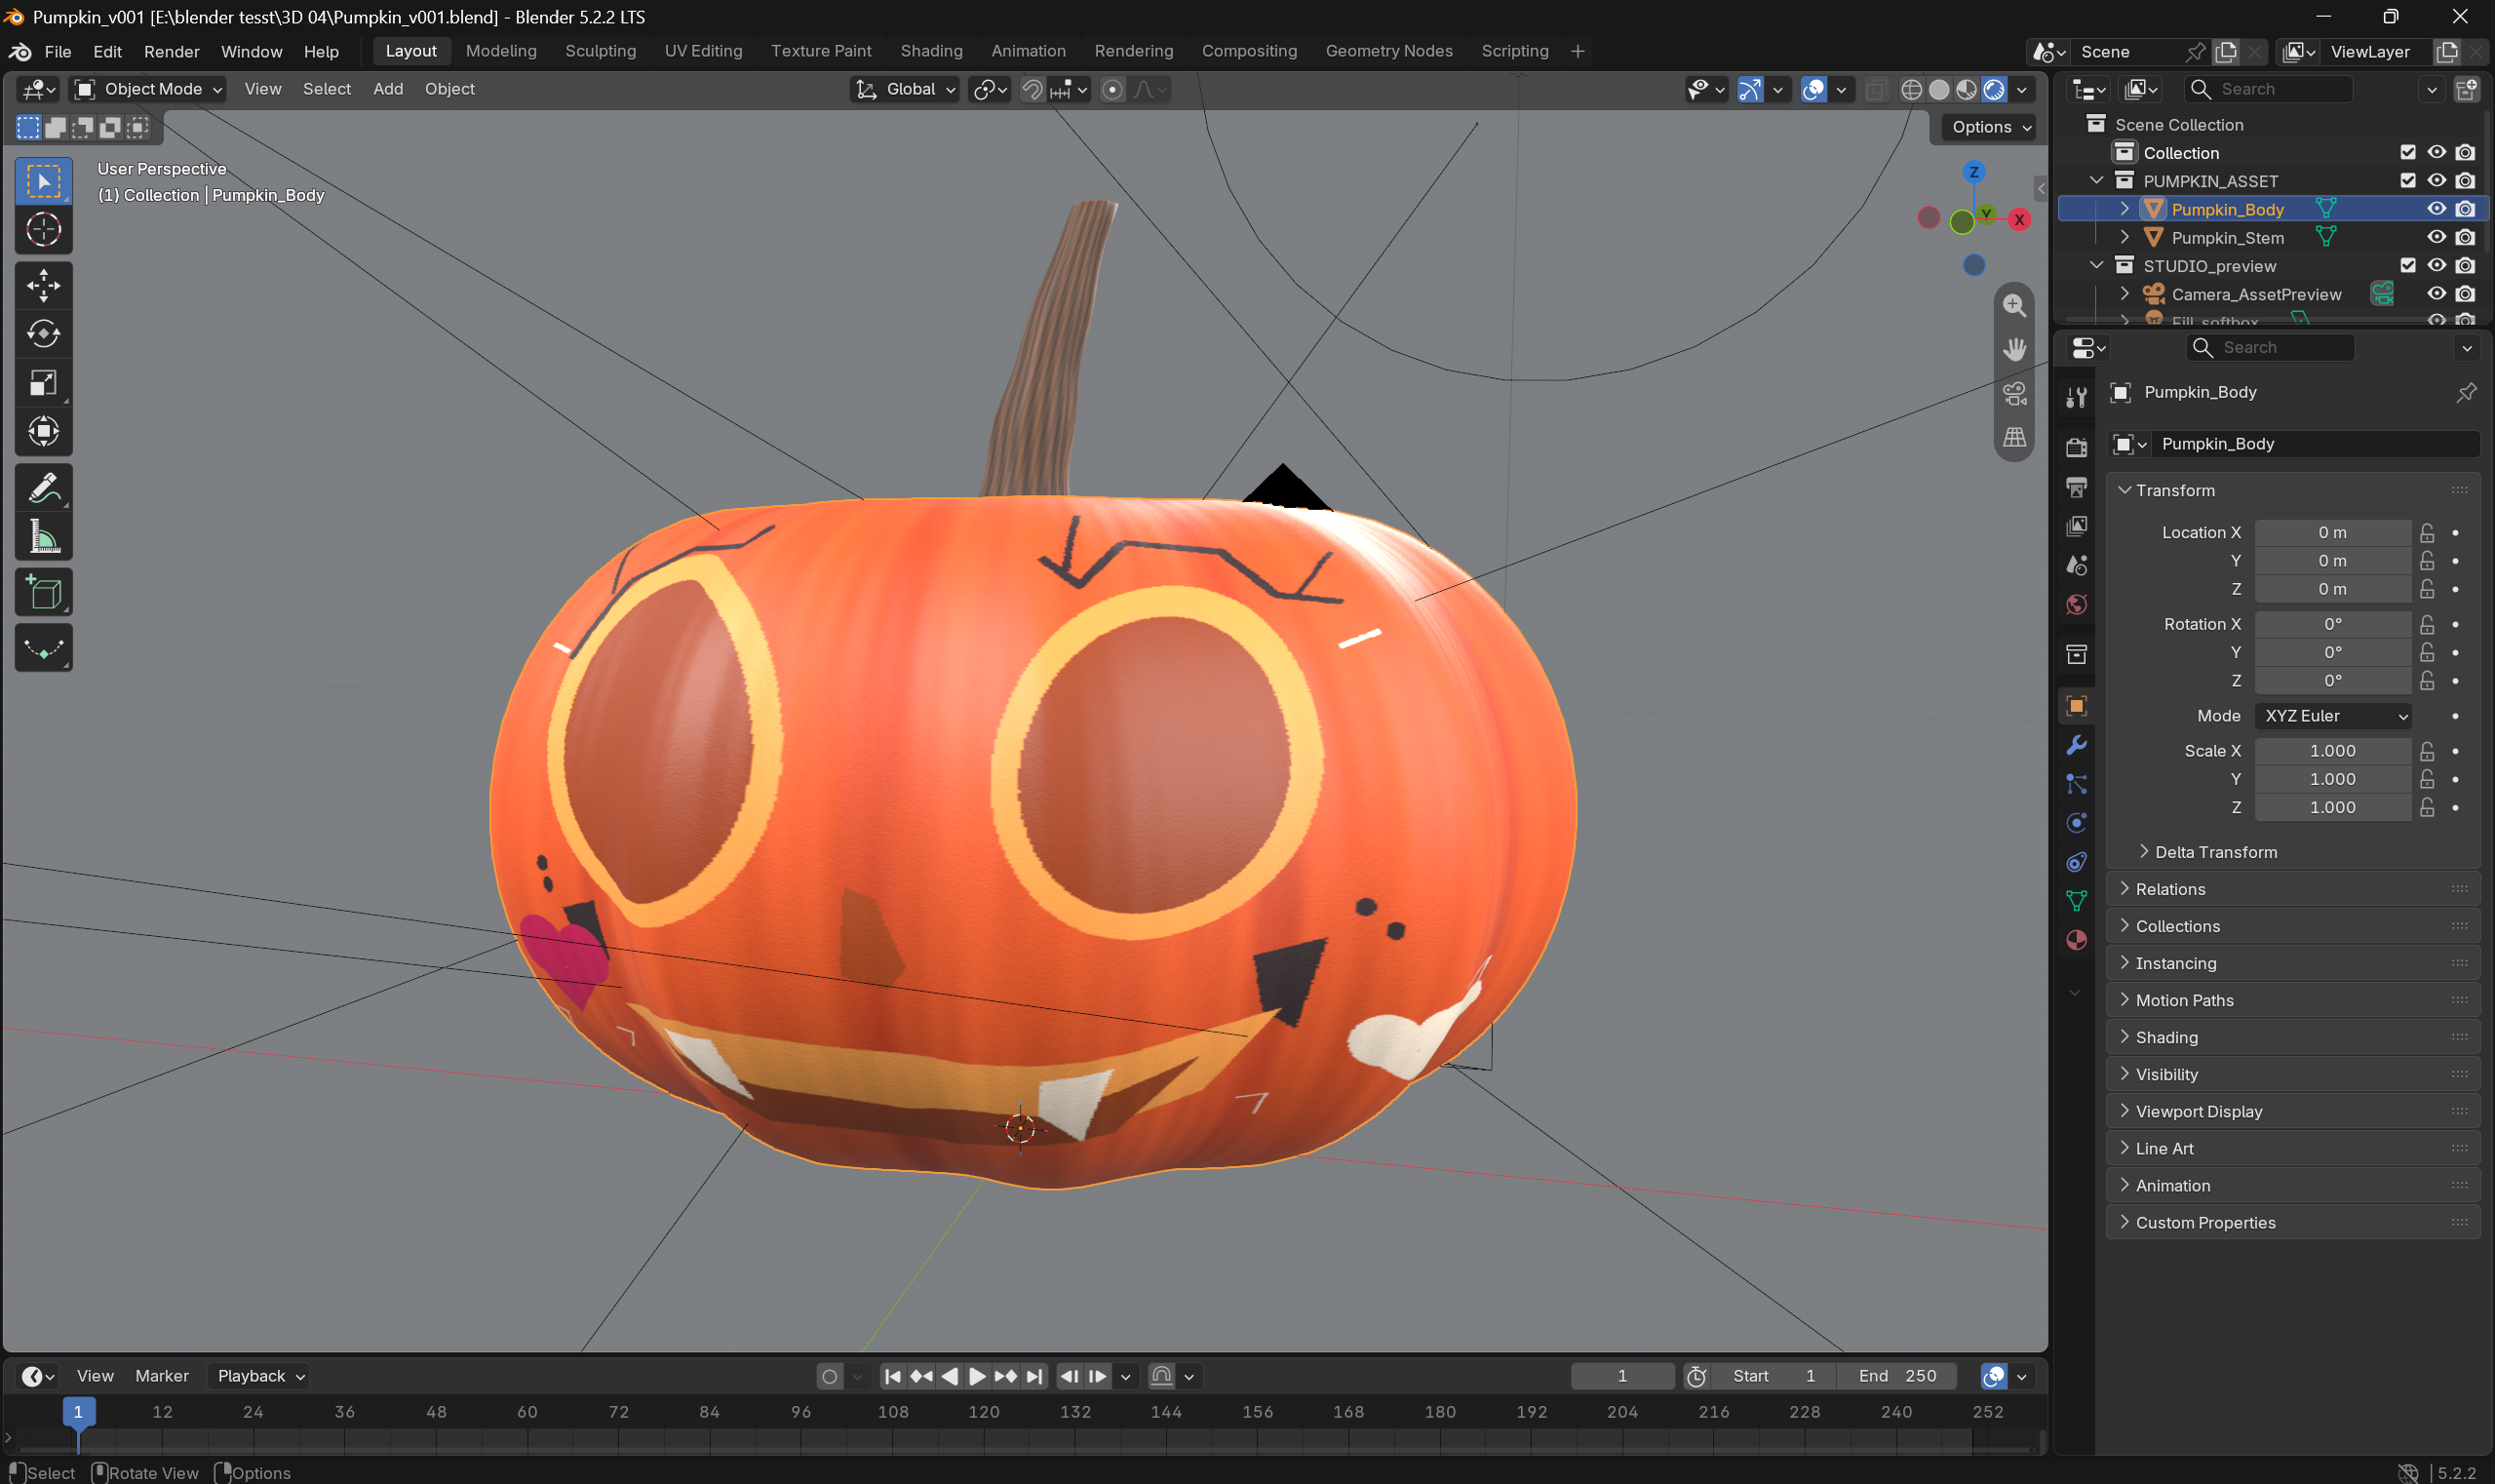
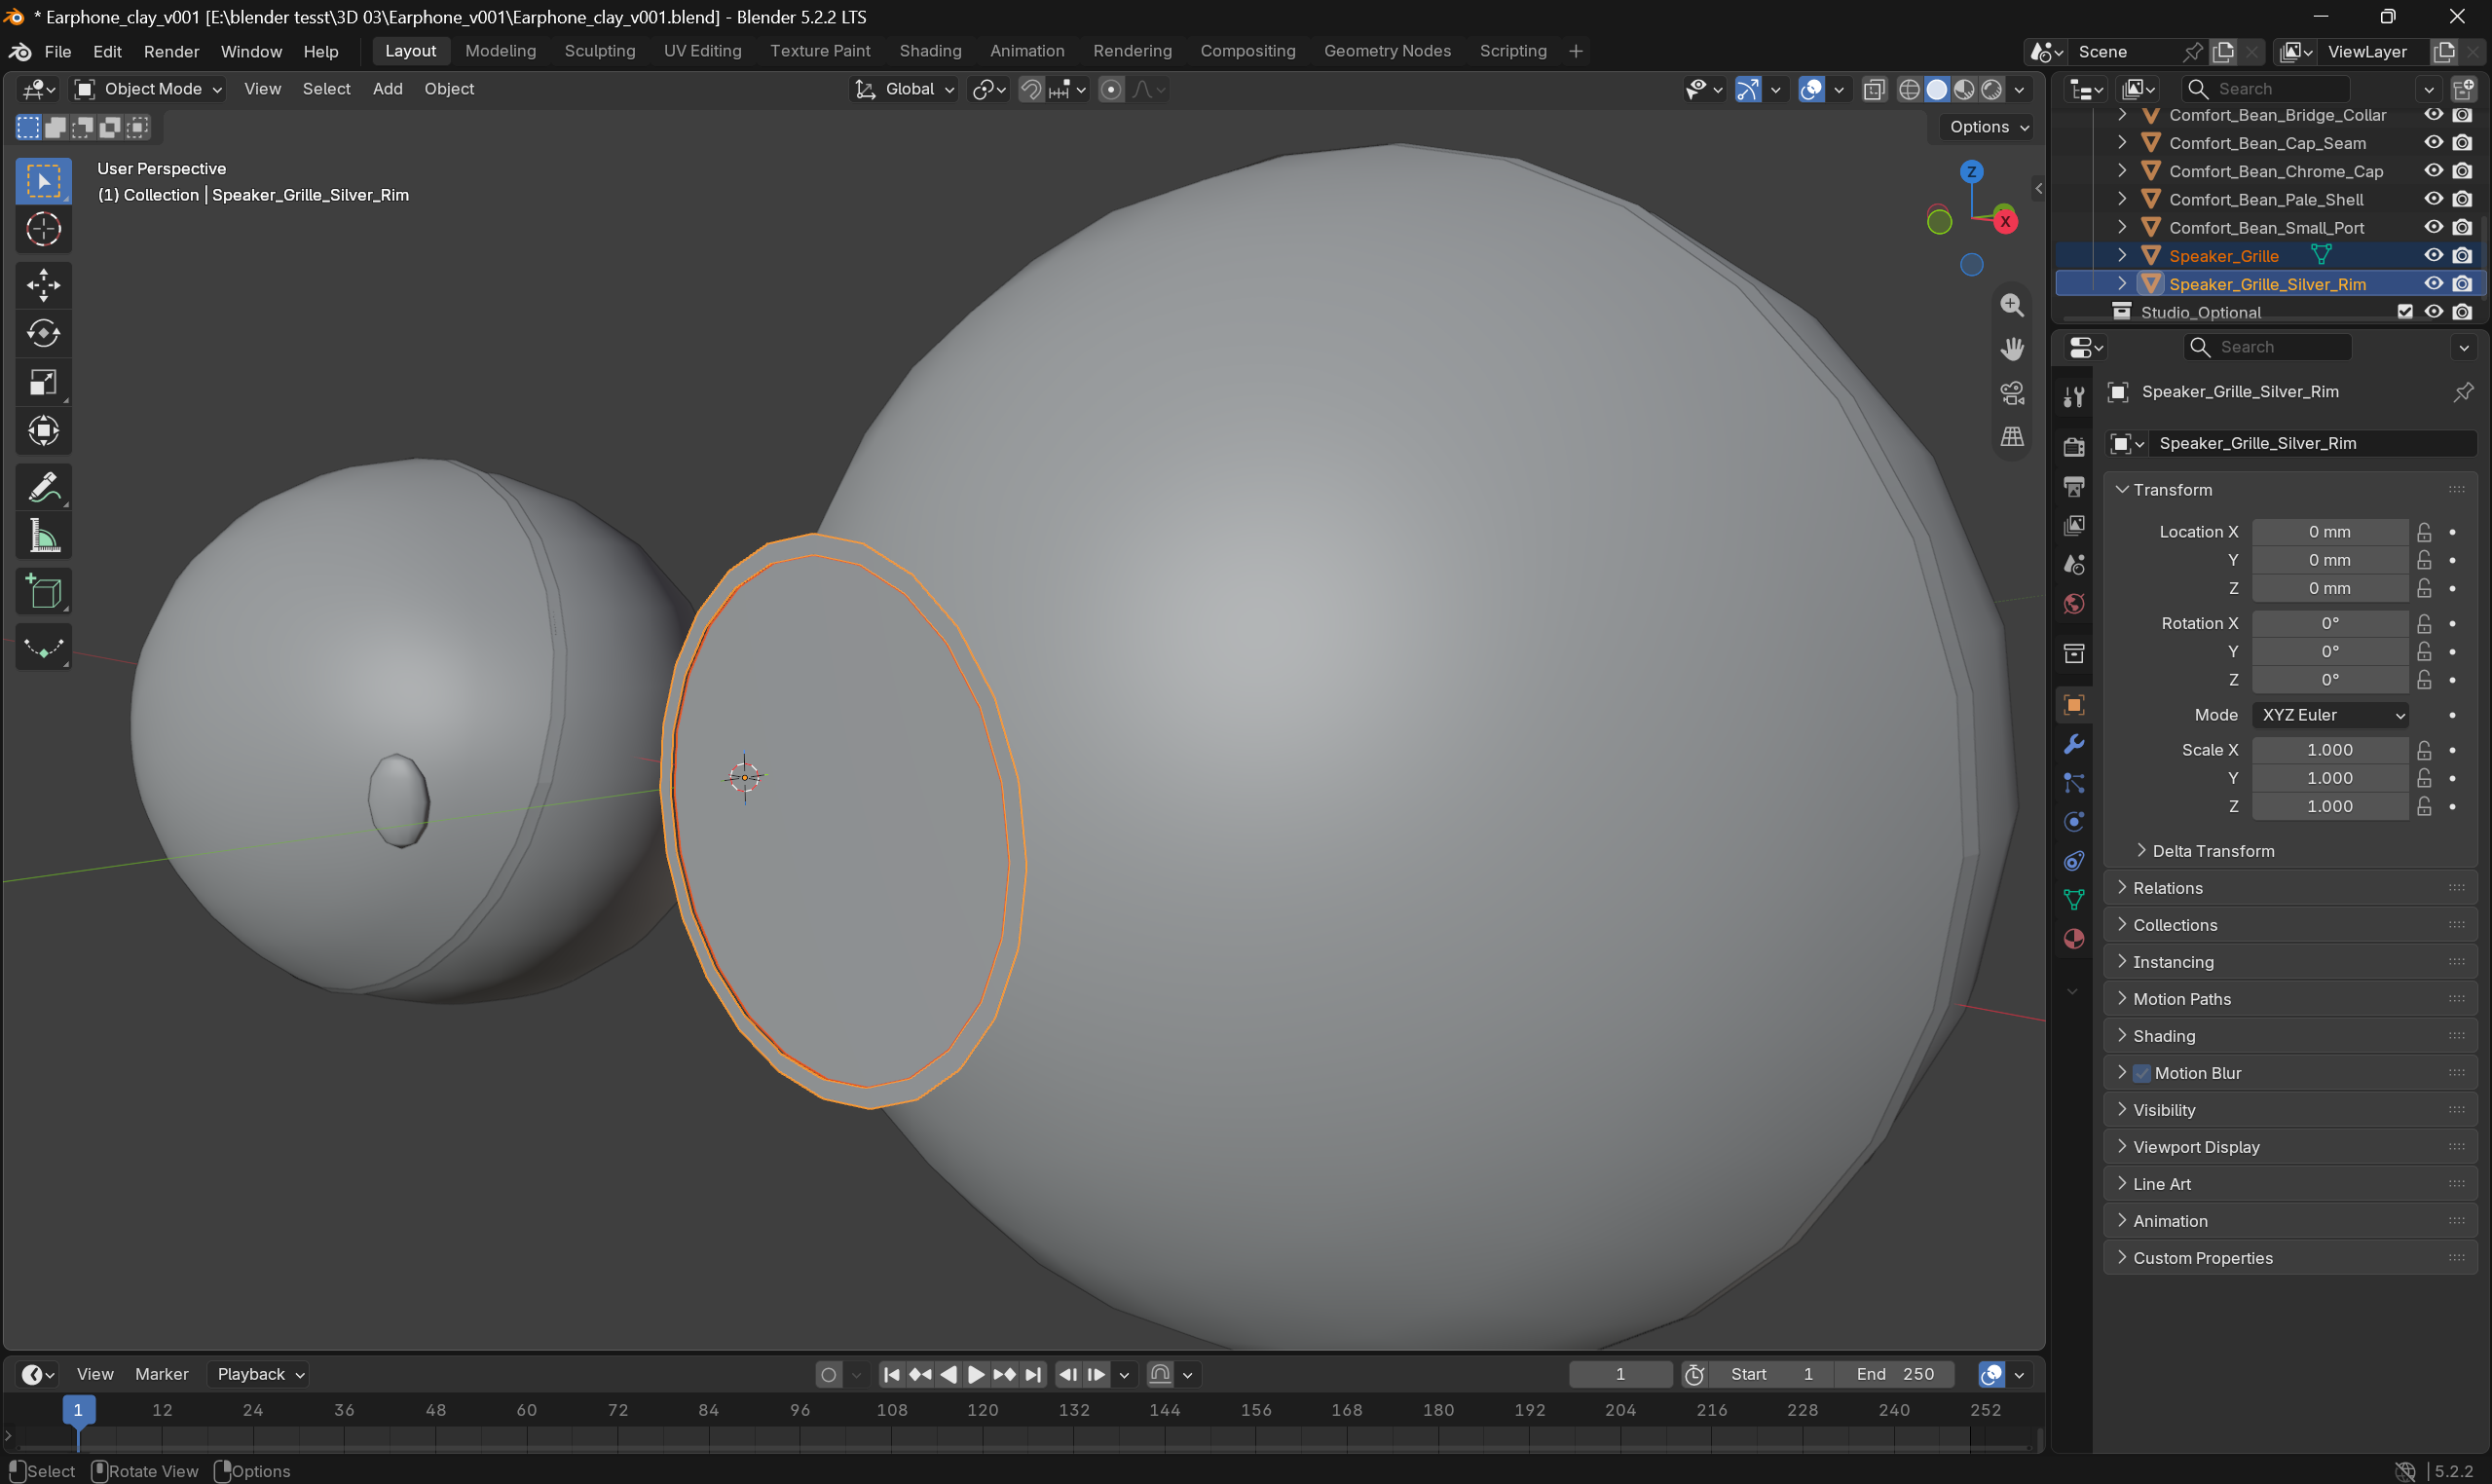
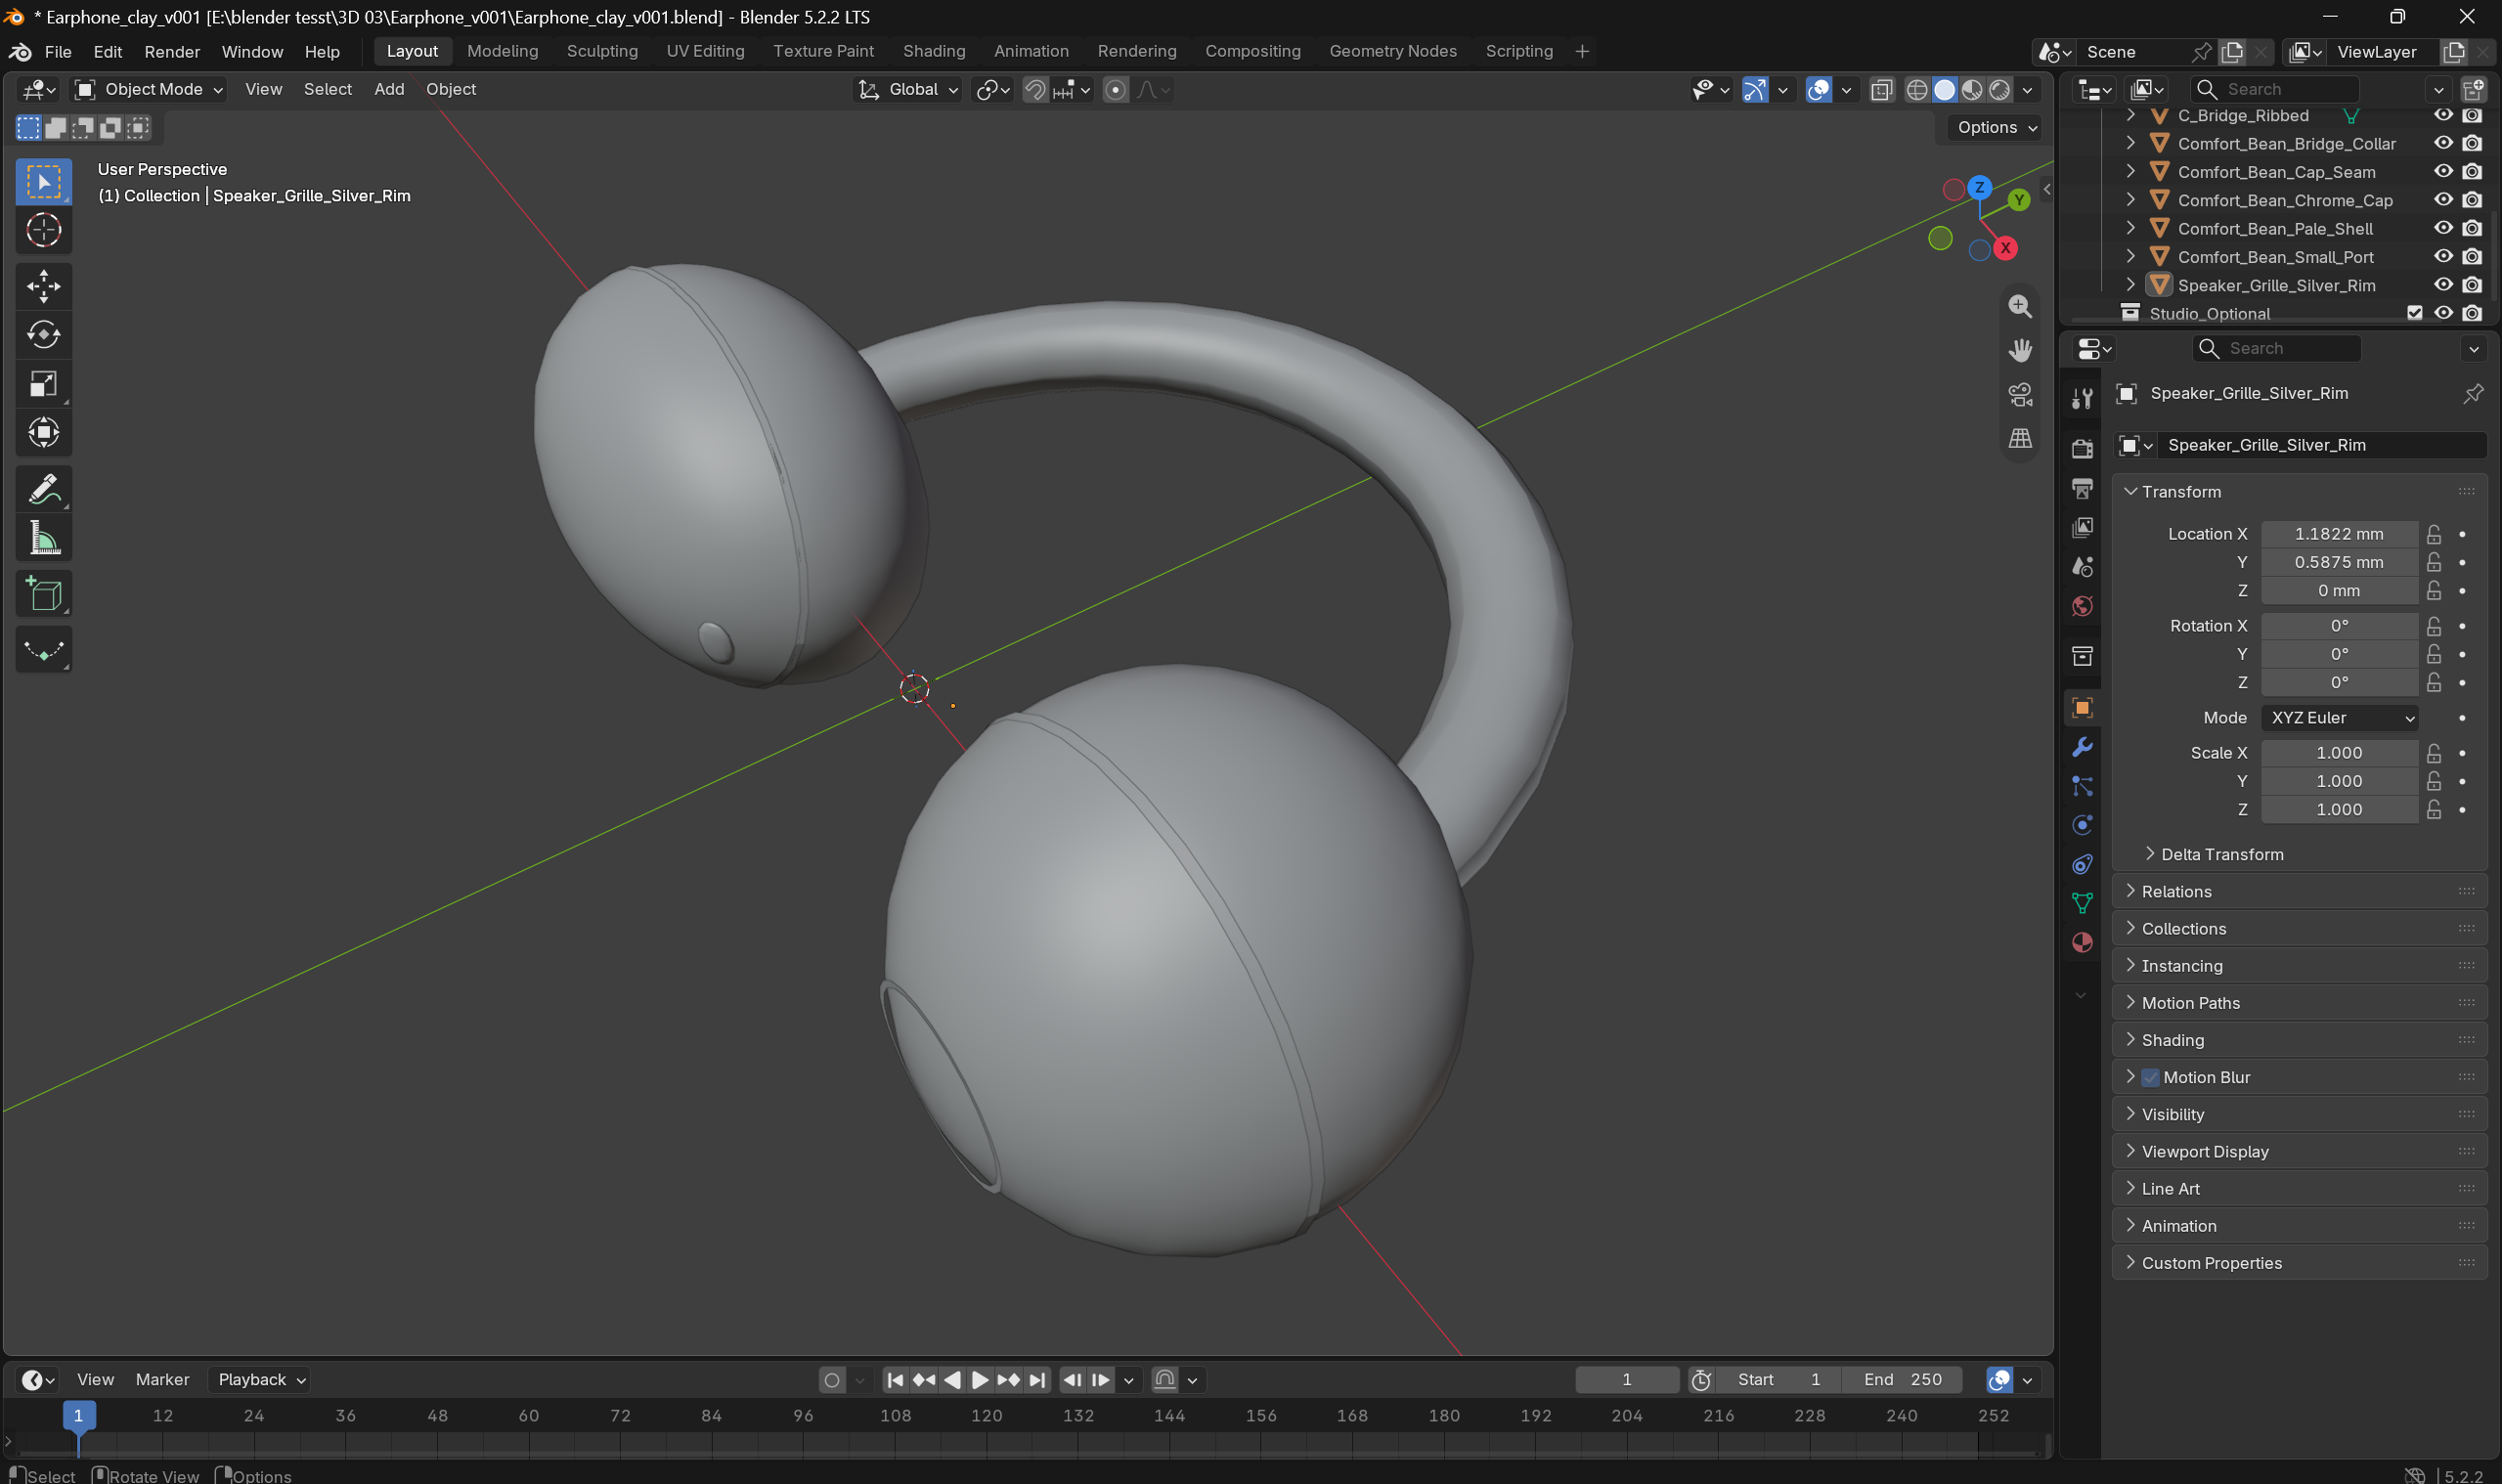
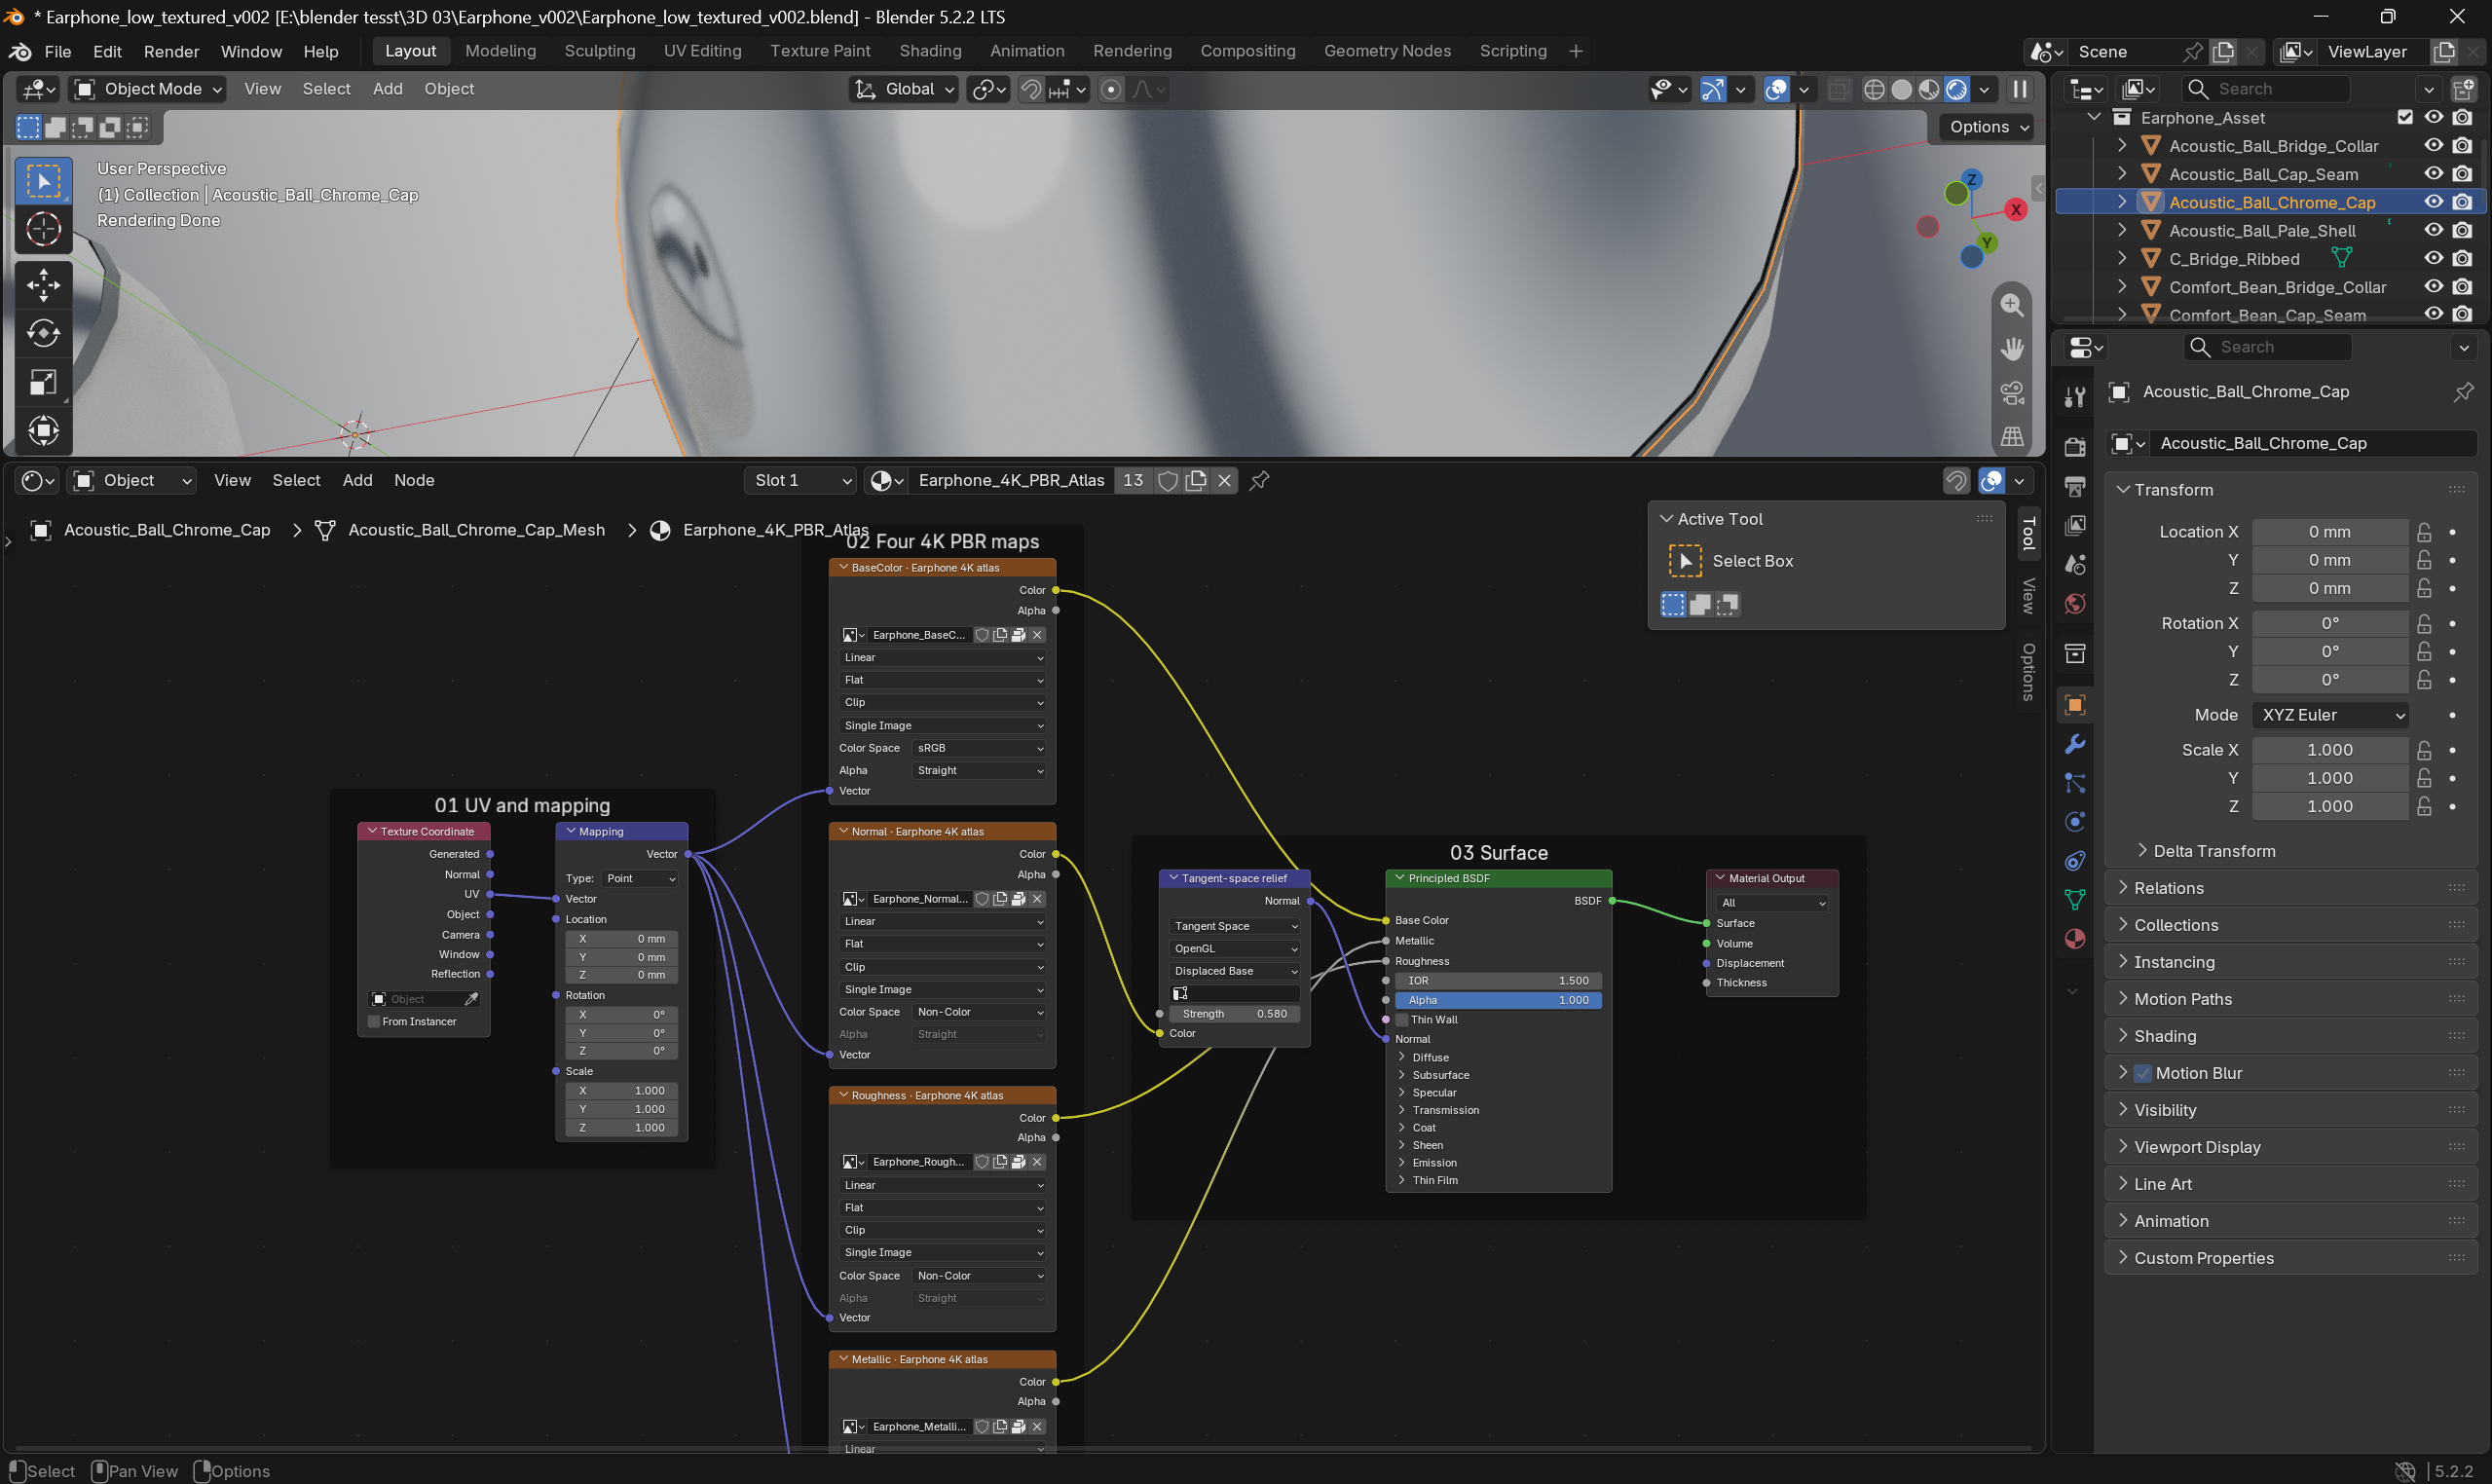
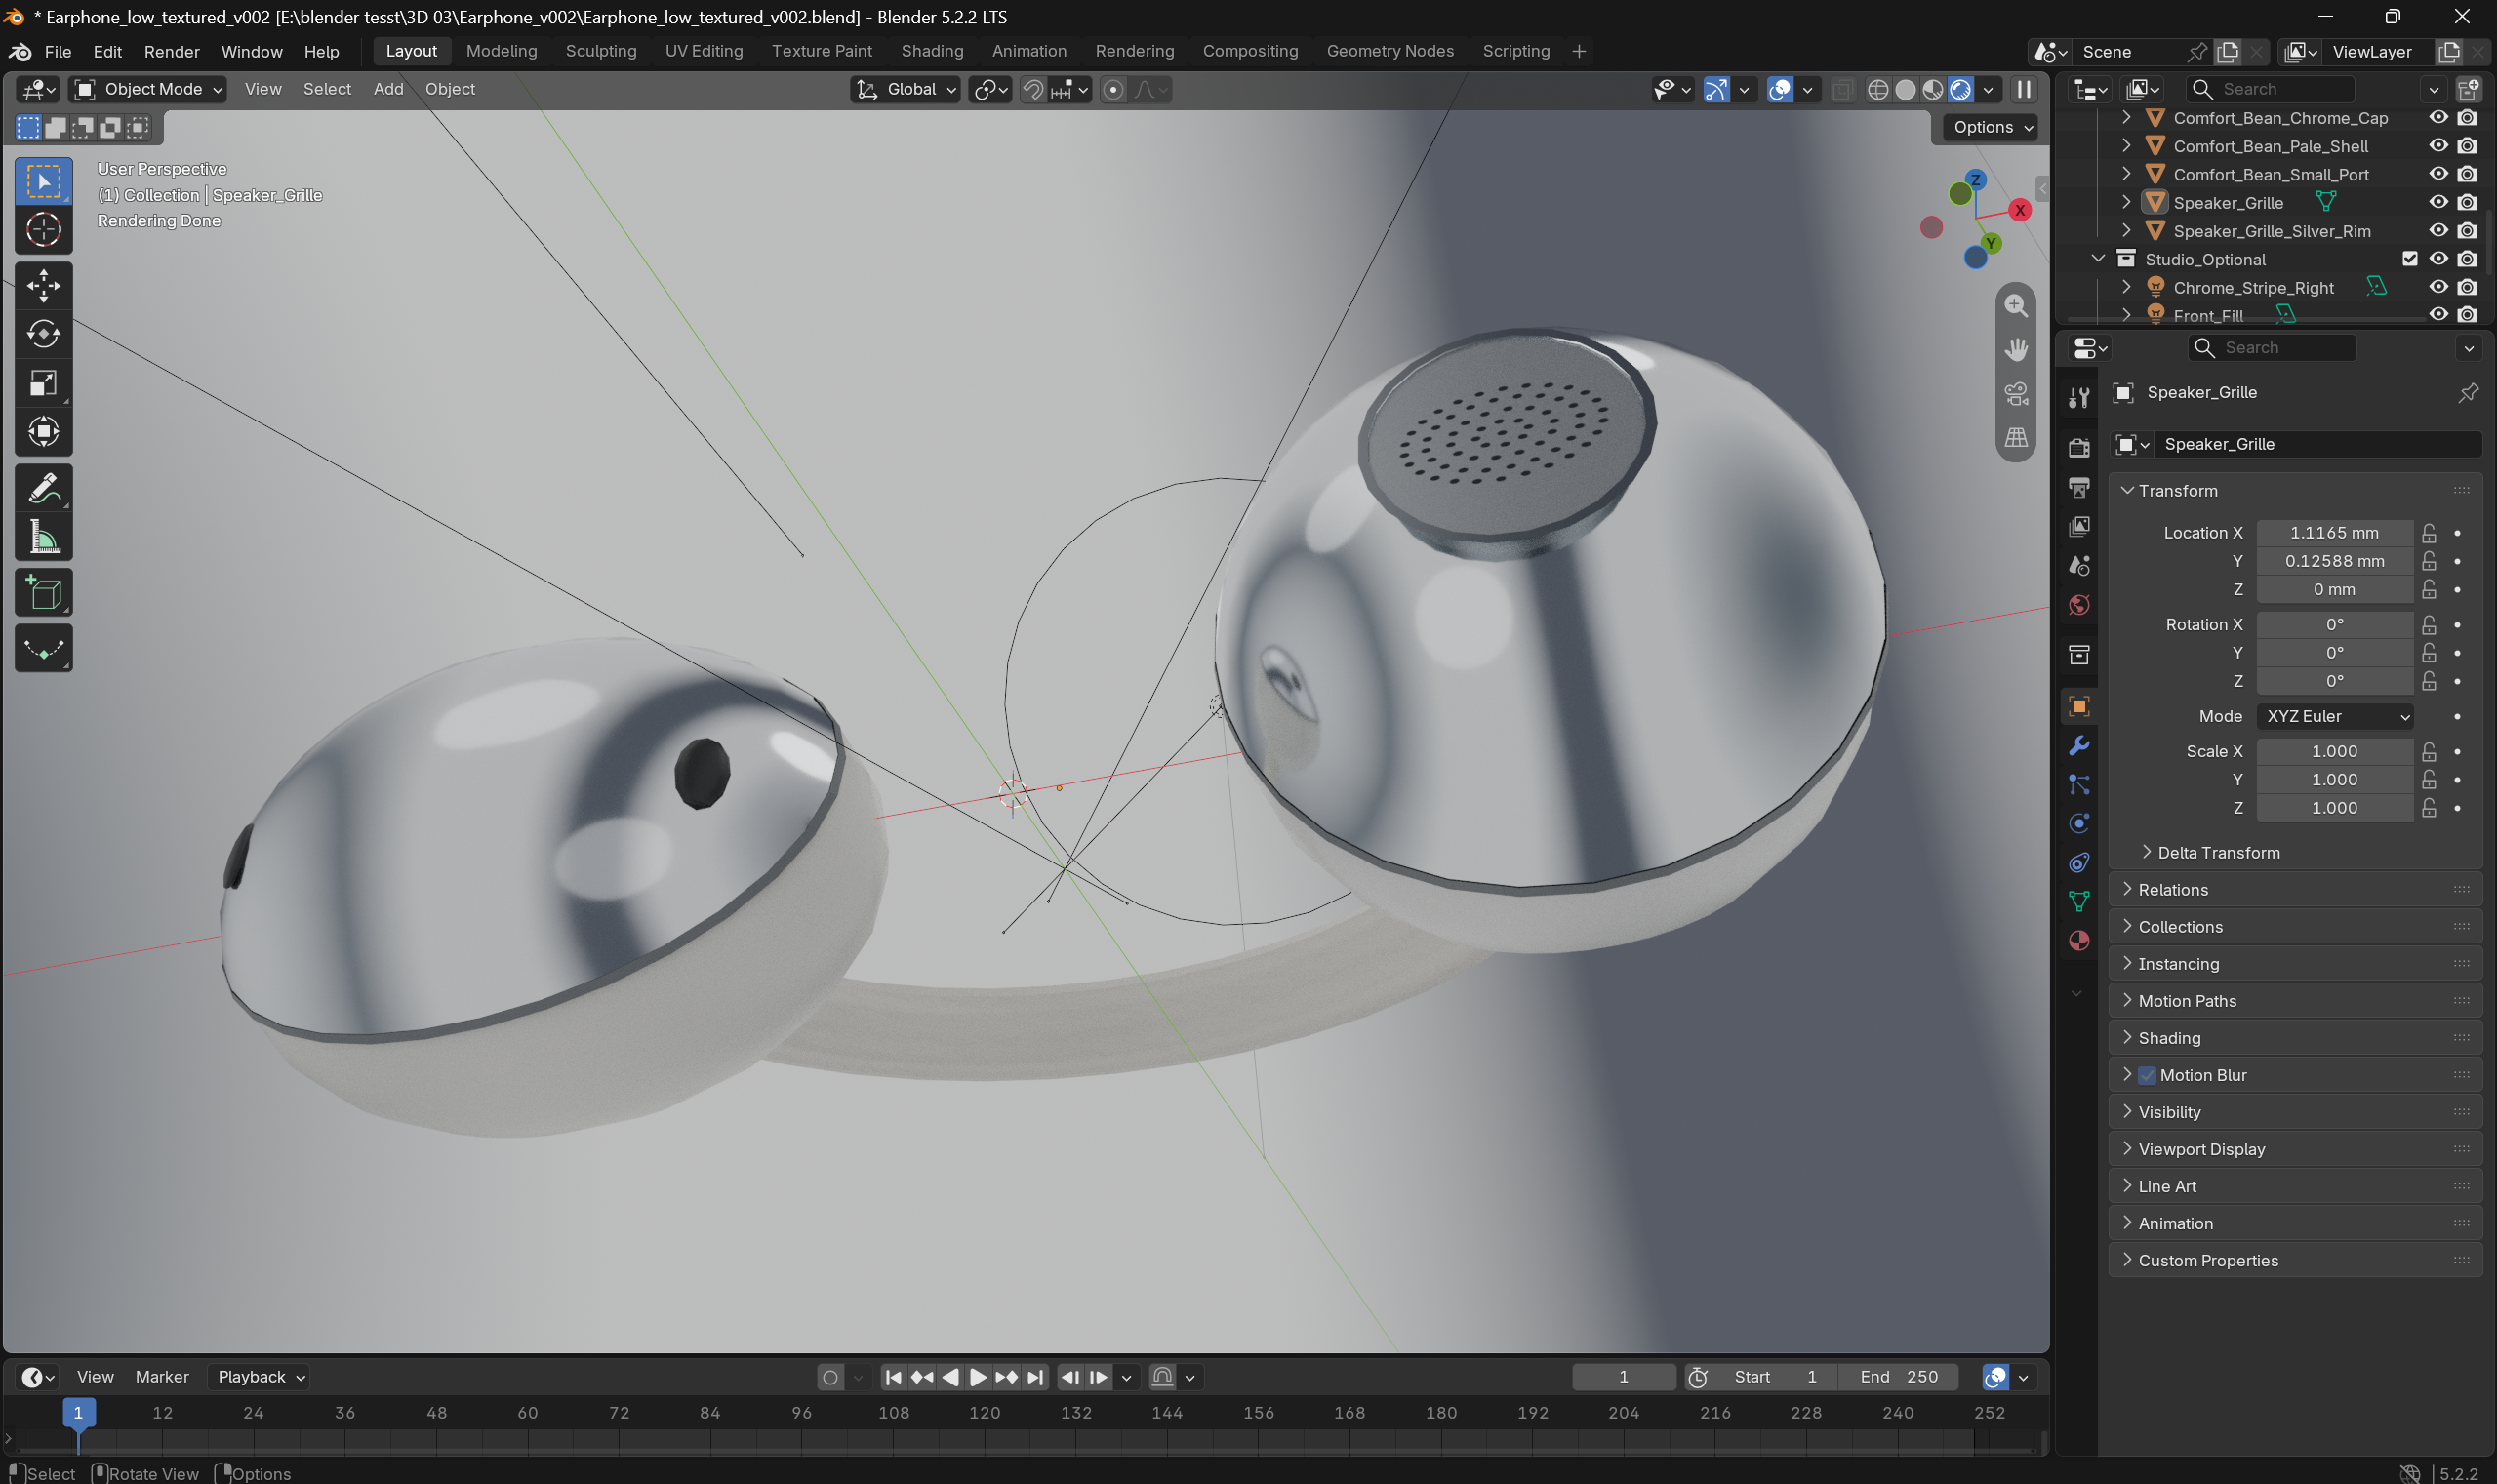
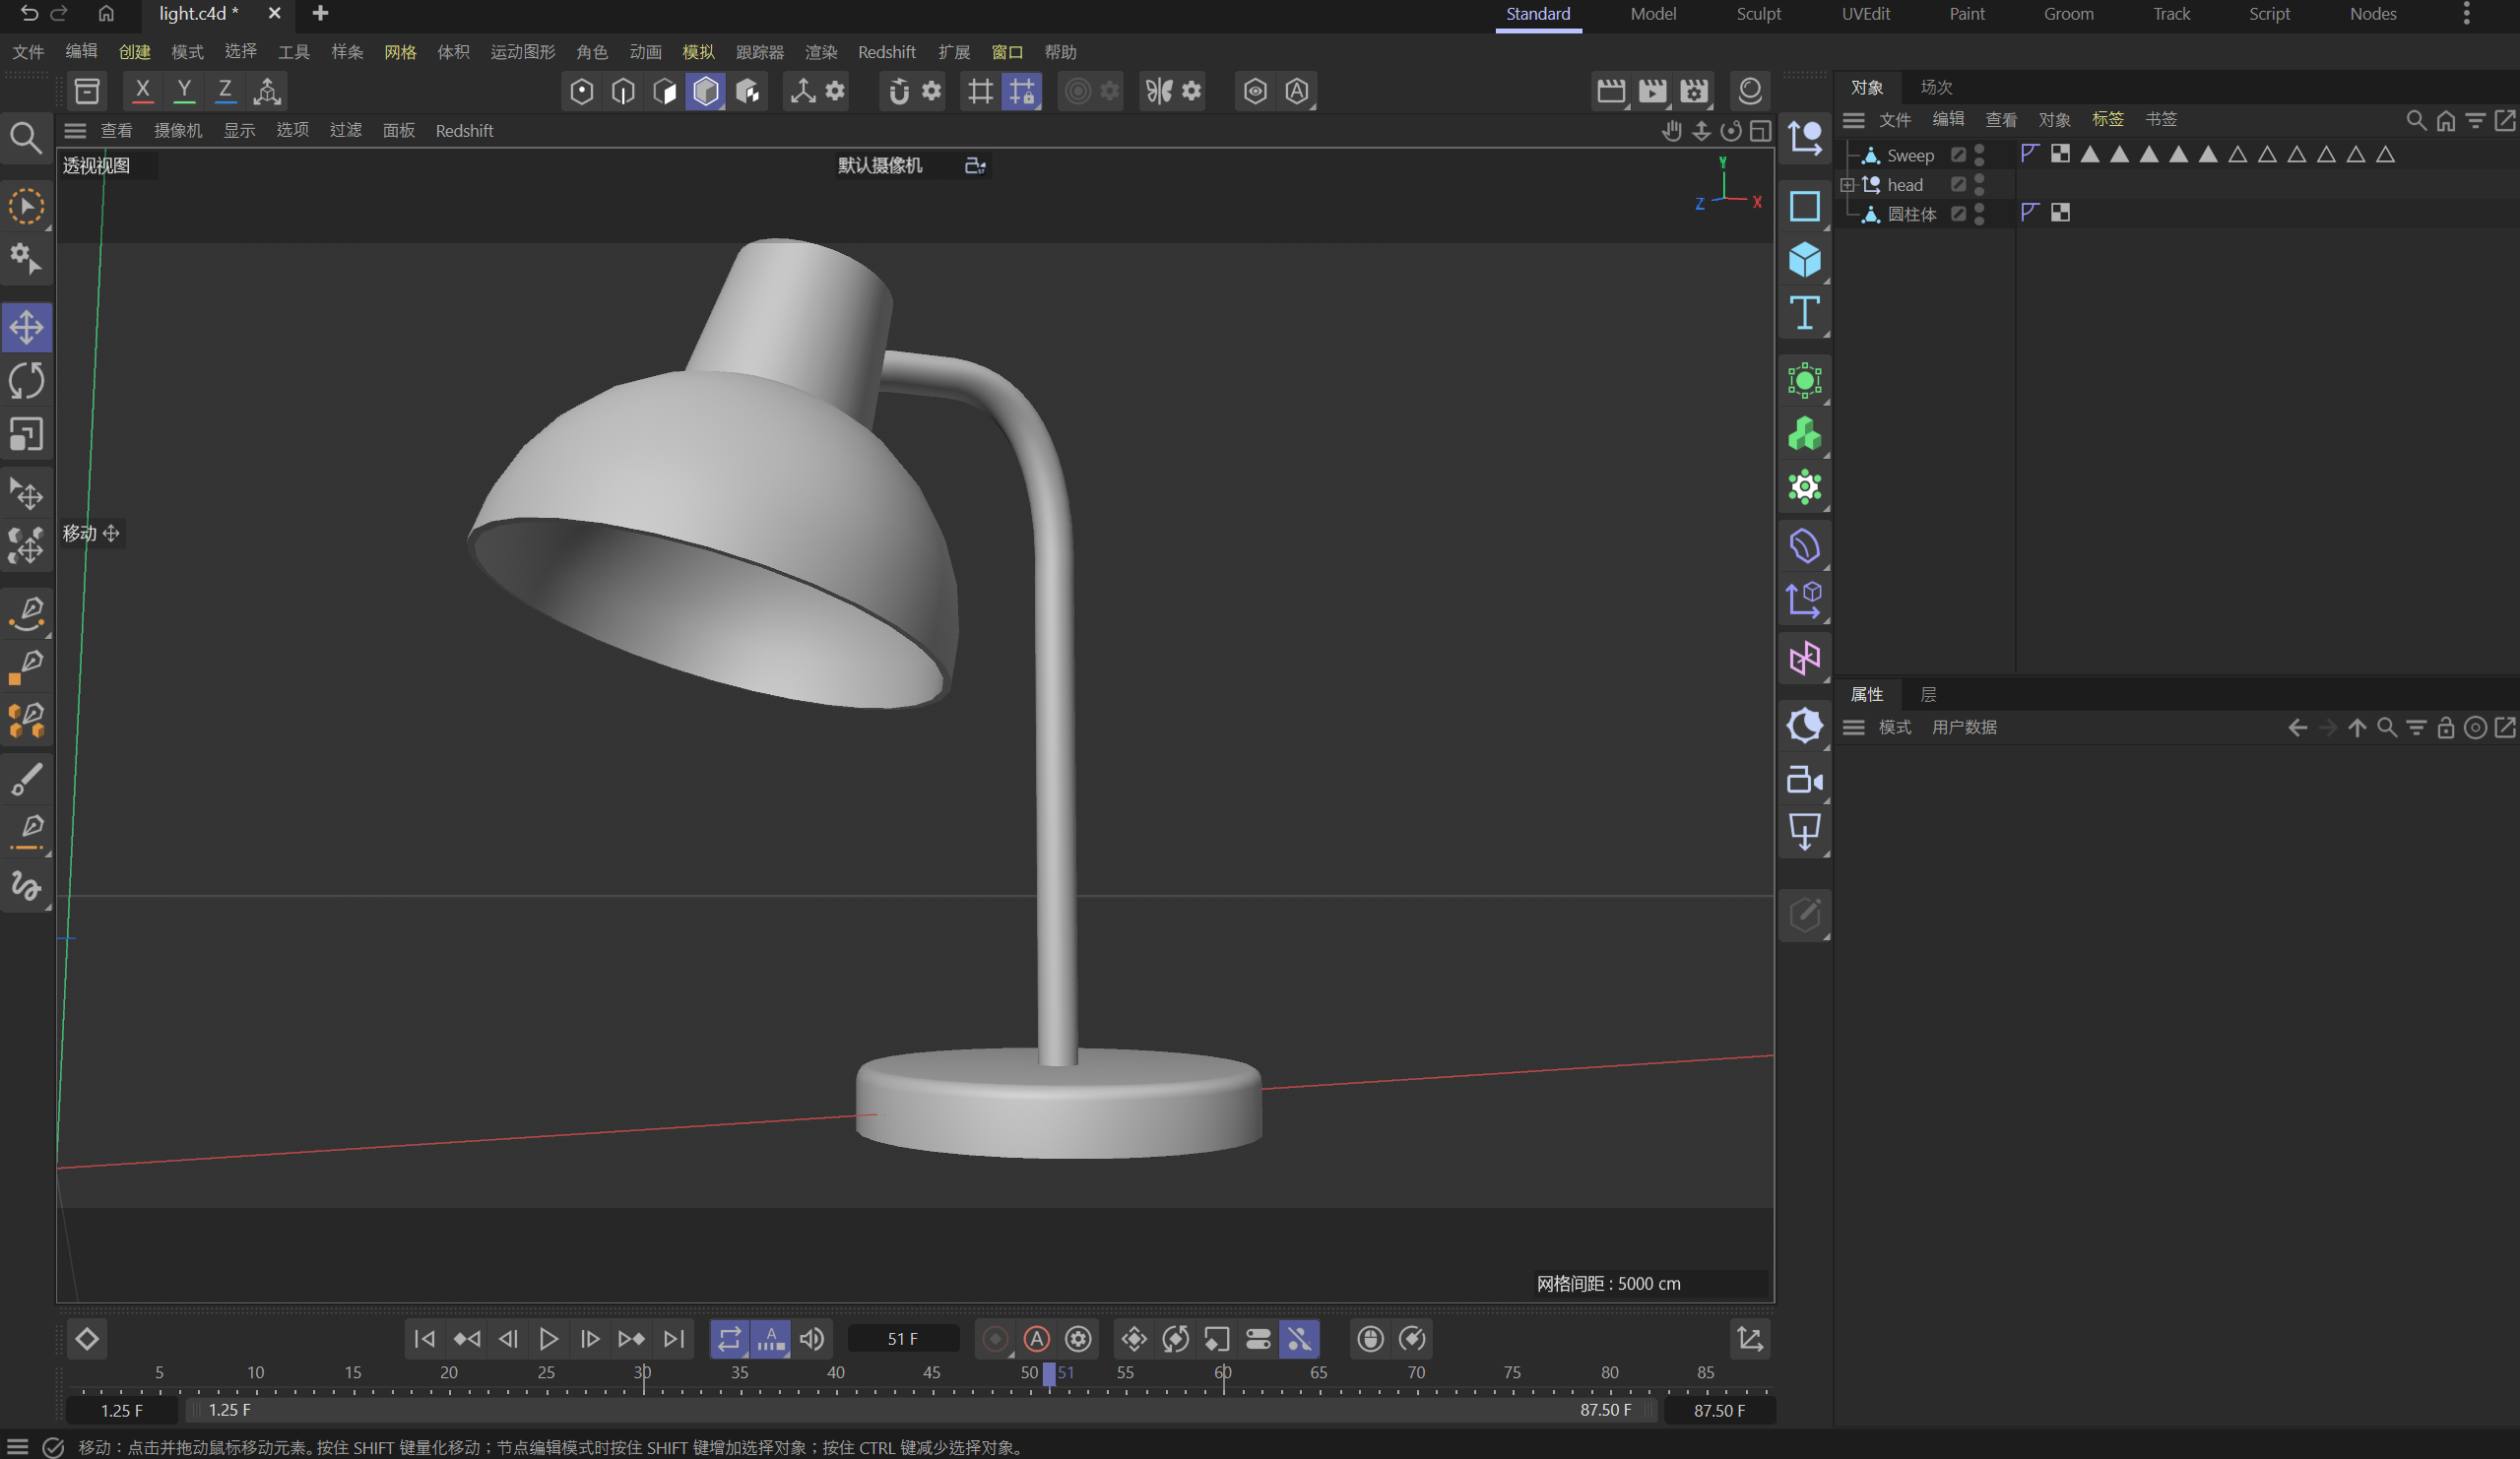
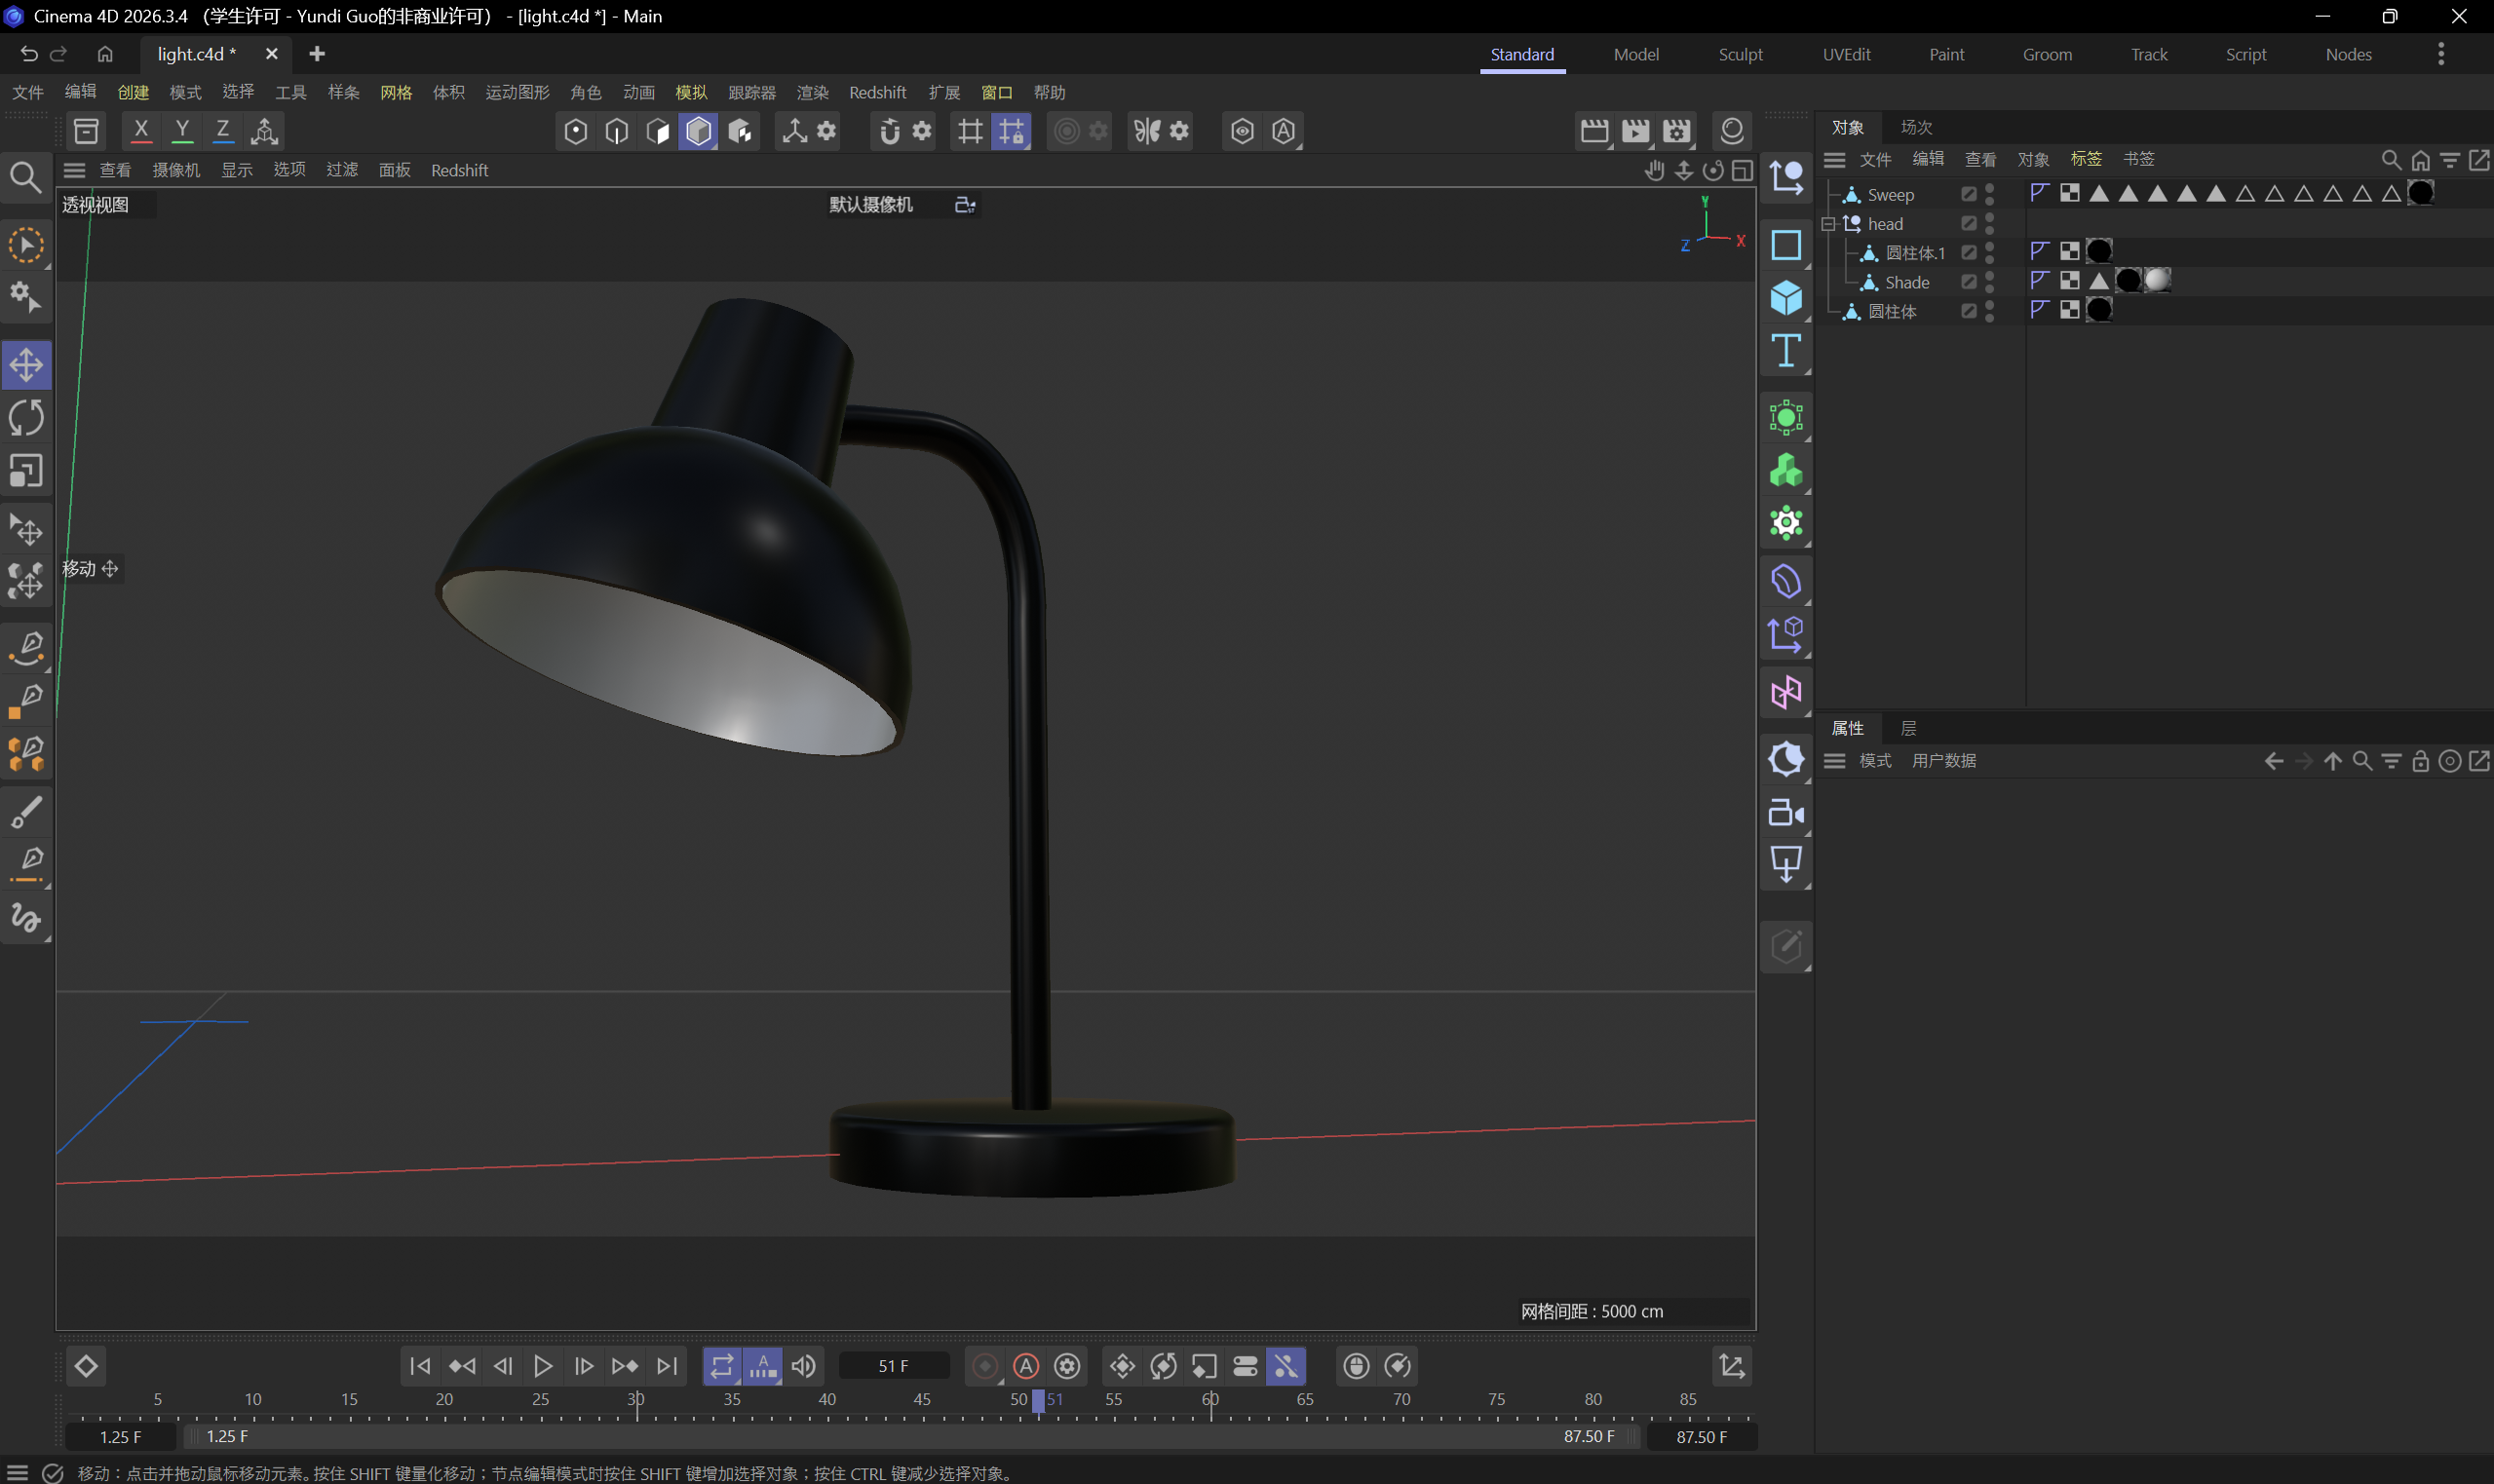
I wrote a prompt describing the duck references and what I wanted ChatGPT to model. ChatGPT studied my duck photos and identified the main shapes and missing details. ChatGPT suggested how to build the mesh, UVs, materials, and renders. I reviewed ChatGPT's plan and trade-offs before starting the model. ChatGPT delivered an editable clay model and supporting files. This first clay render let me check the duck's overall shape. In Blender's side view, I noticed the duck's backside looked too flat. I turned on Proportional Editing and pulled selected vertices outward to round the backside. The adjusted side view shows a fuller, smoother backside. I asked ChatGPT to turn the white clay duck into a yellow plastic toy. ChatGPT set up color, roughness, metallic, and normal textures in Blender. The first material render shows a glossy yellow plastic duck close to my reference. I checked the duck's front view and its material setup. I checked the side view to see how the finish worked across the whole body. I started modeling a pumpkin based on one I painted myself. I added orange paint and a brown stem while keeping the pumpkin's uneven grooves. I checked how the paint and face texture wrapped onto the pumpkin's underside. Because I painted the face by hand, I put its irregular eyes, smile, and heart into a texture image instead of raised geometry. I checked the pumpkin's painted face under Blender's rendered lighting. Fitting the thin speaker rim onto the earphone's curved shell was a tricky part of the model. This clay view shows the full earphone shape and its curved connecting band. I added a metallic material and adjusted its texture maps for a reflective finish. In rendered view, I checked the chrome reflections and speaker grille. Following my teacher's Cinema 4D tutorial, I modeled the desk lamp's shade, arm, and base. I finished the tutorial lamp with a dark exterior and a light interior.

Material Workshop 1
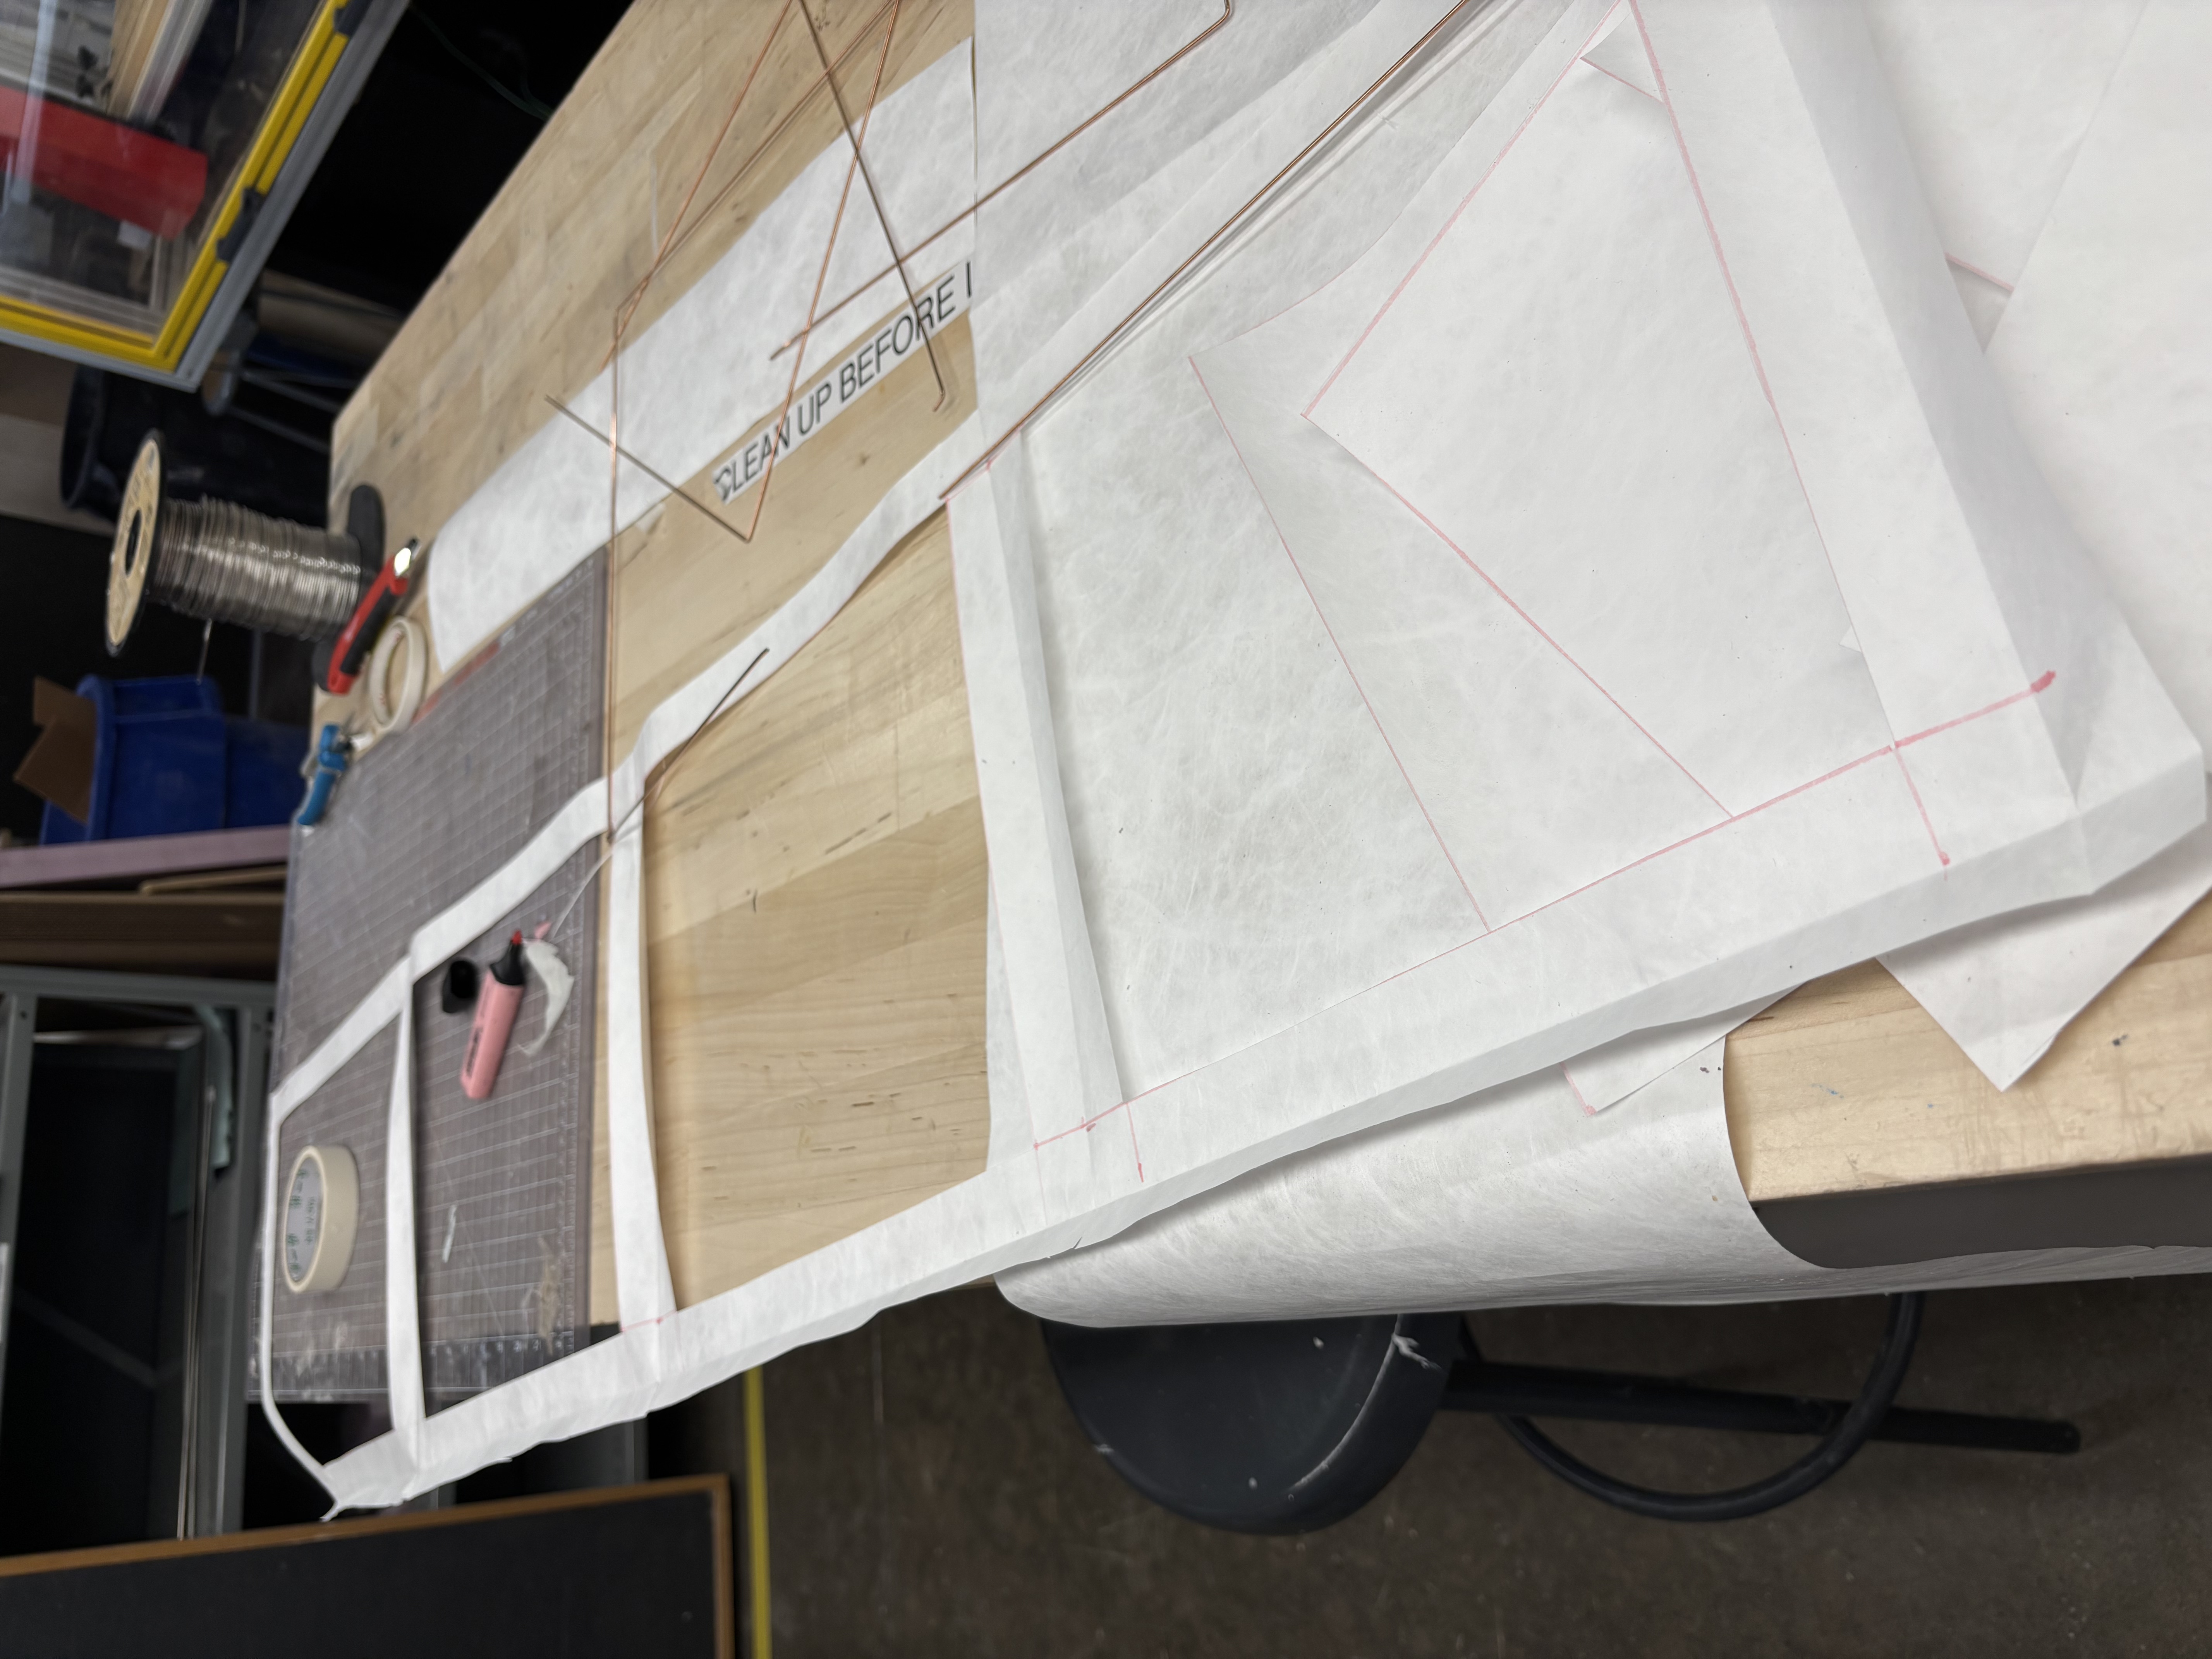
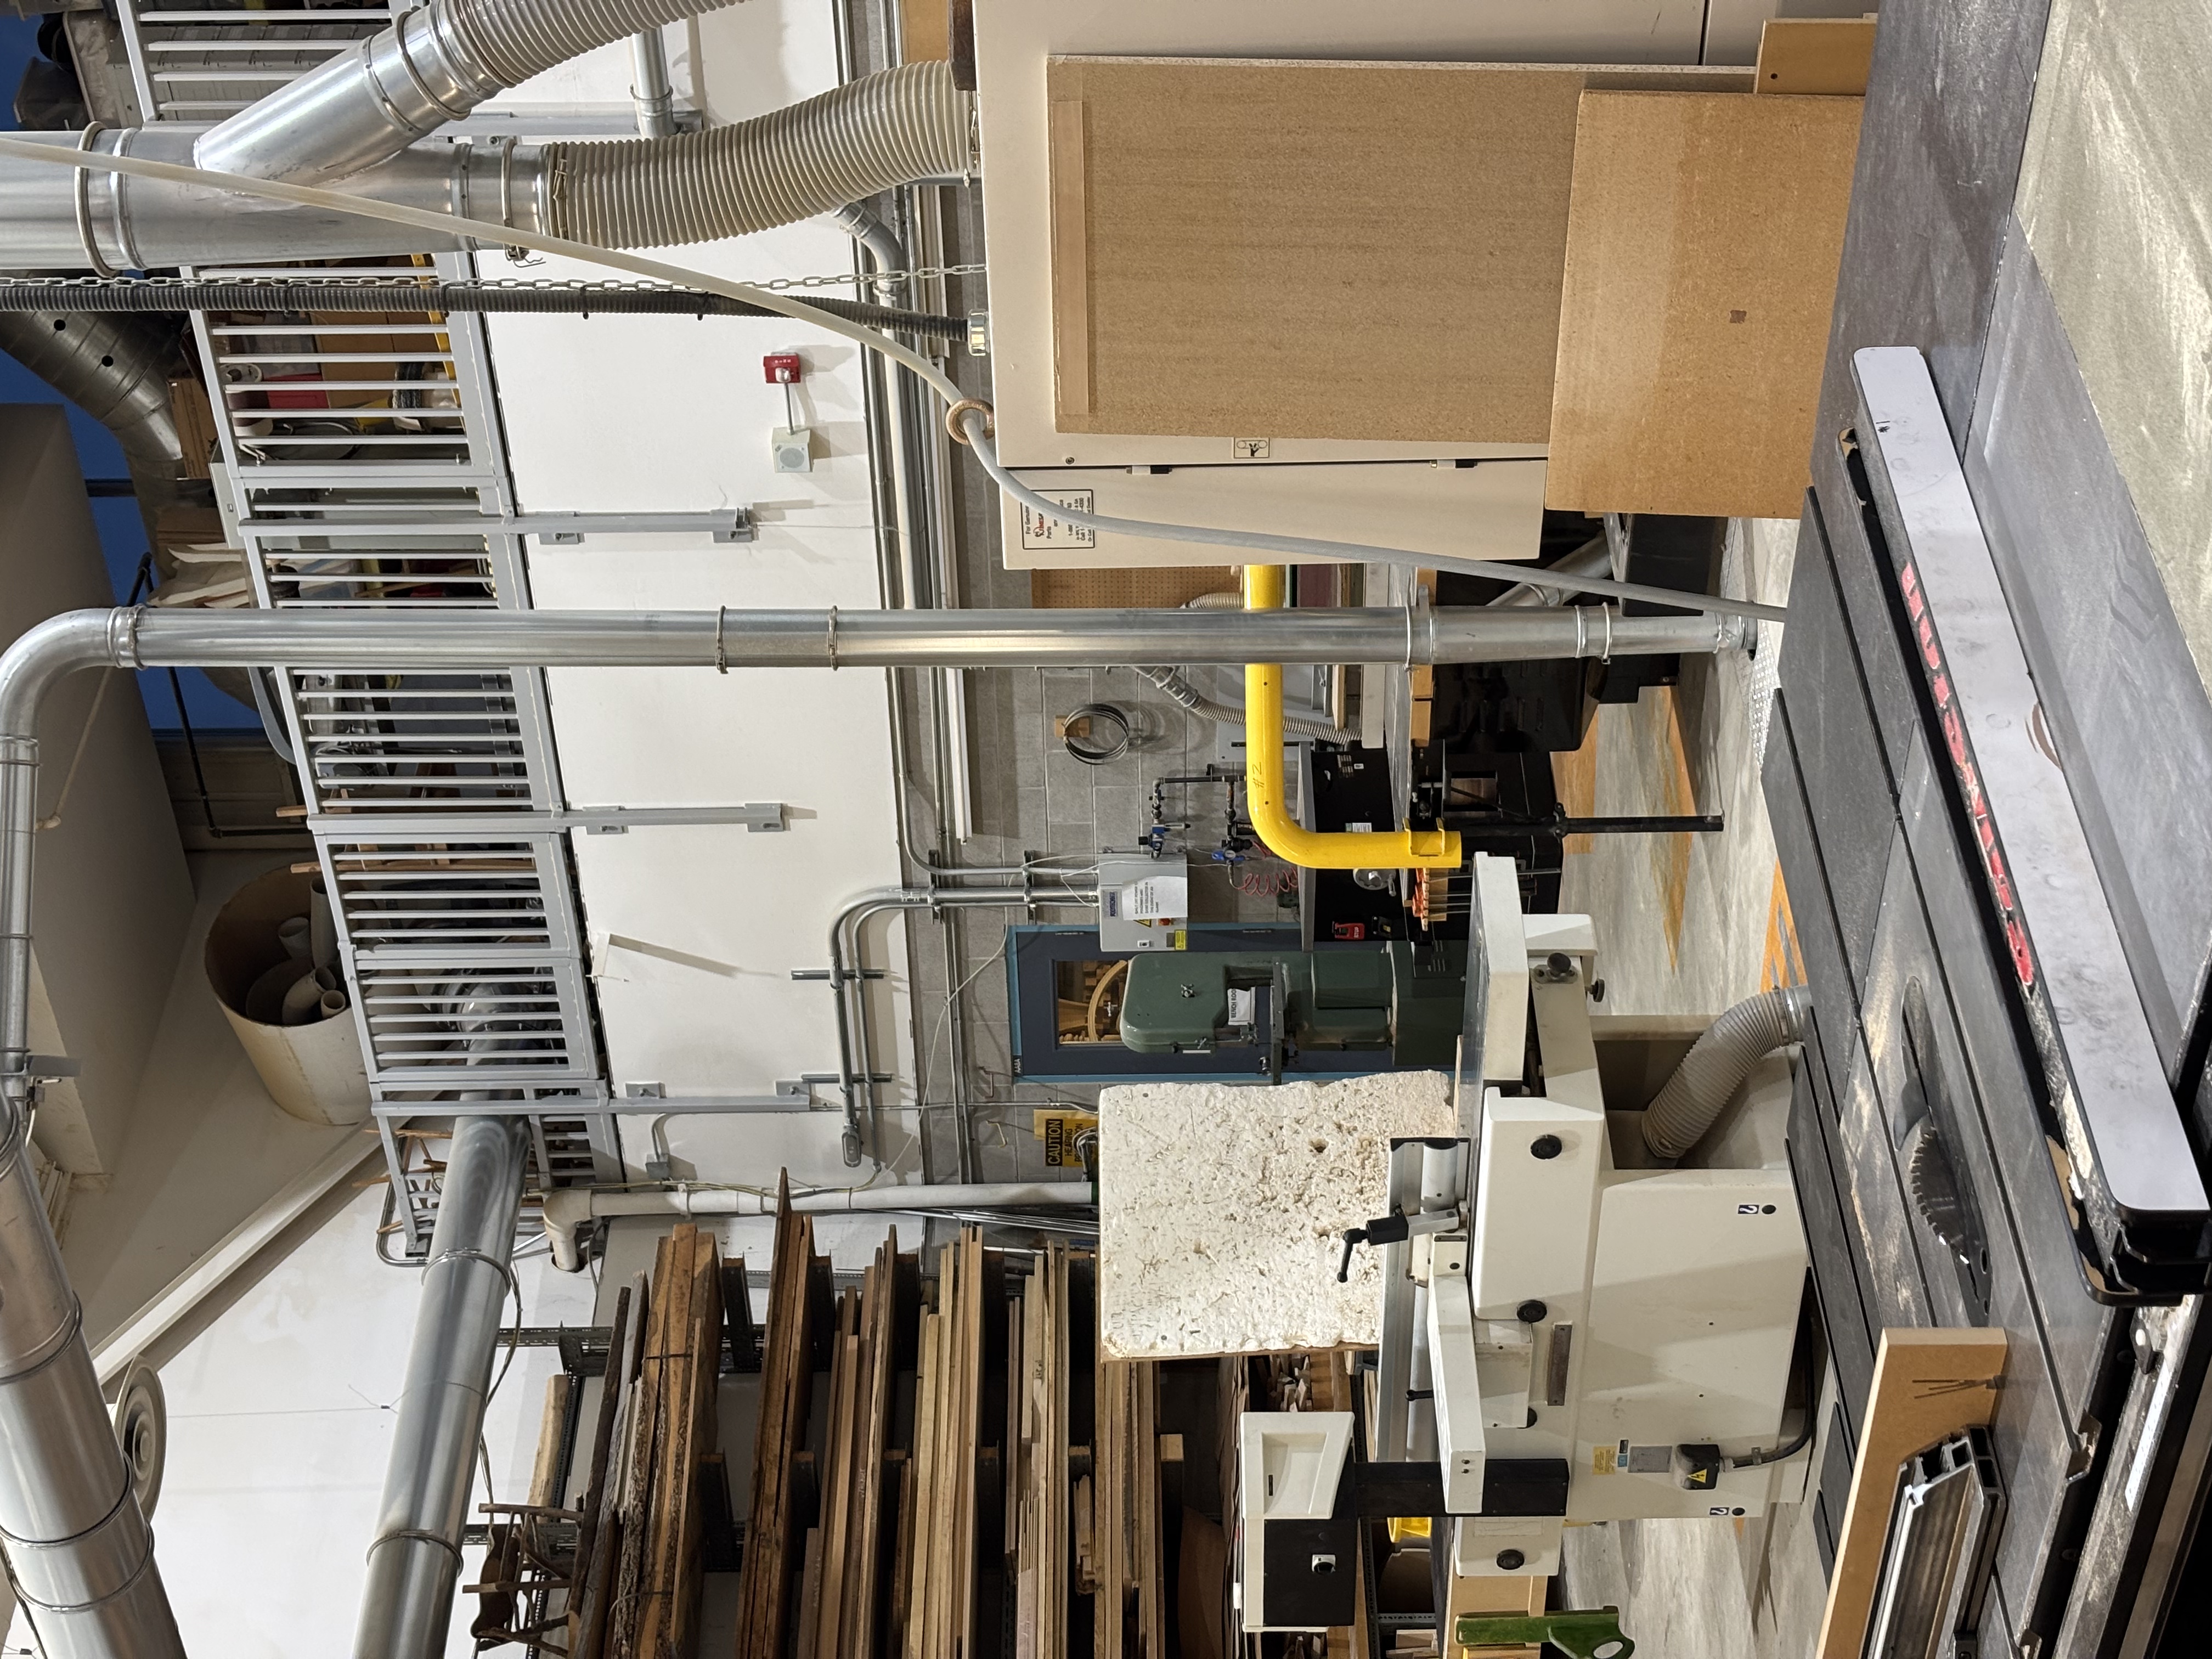
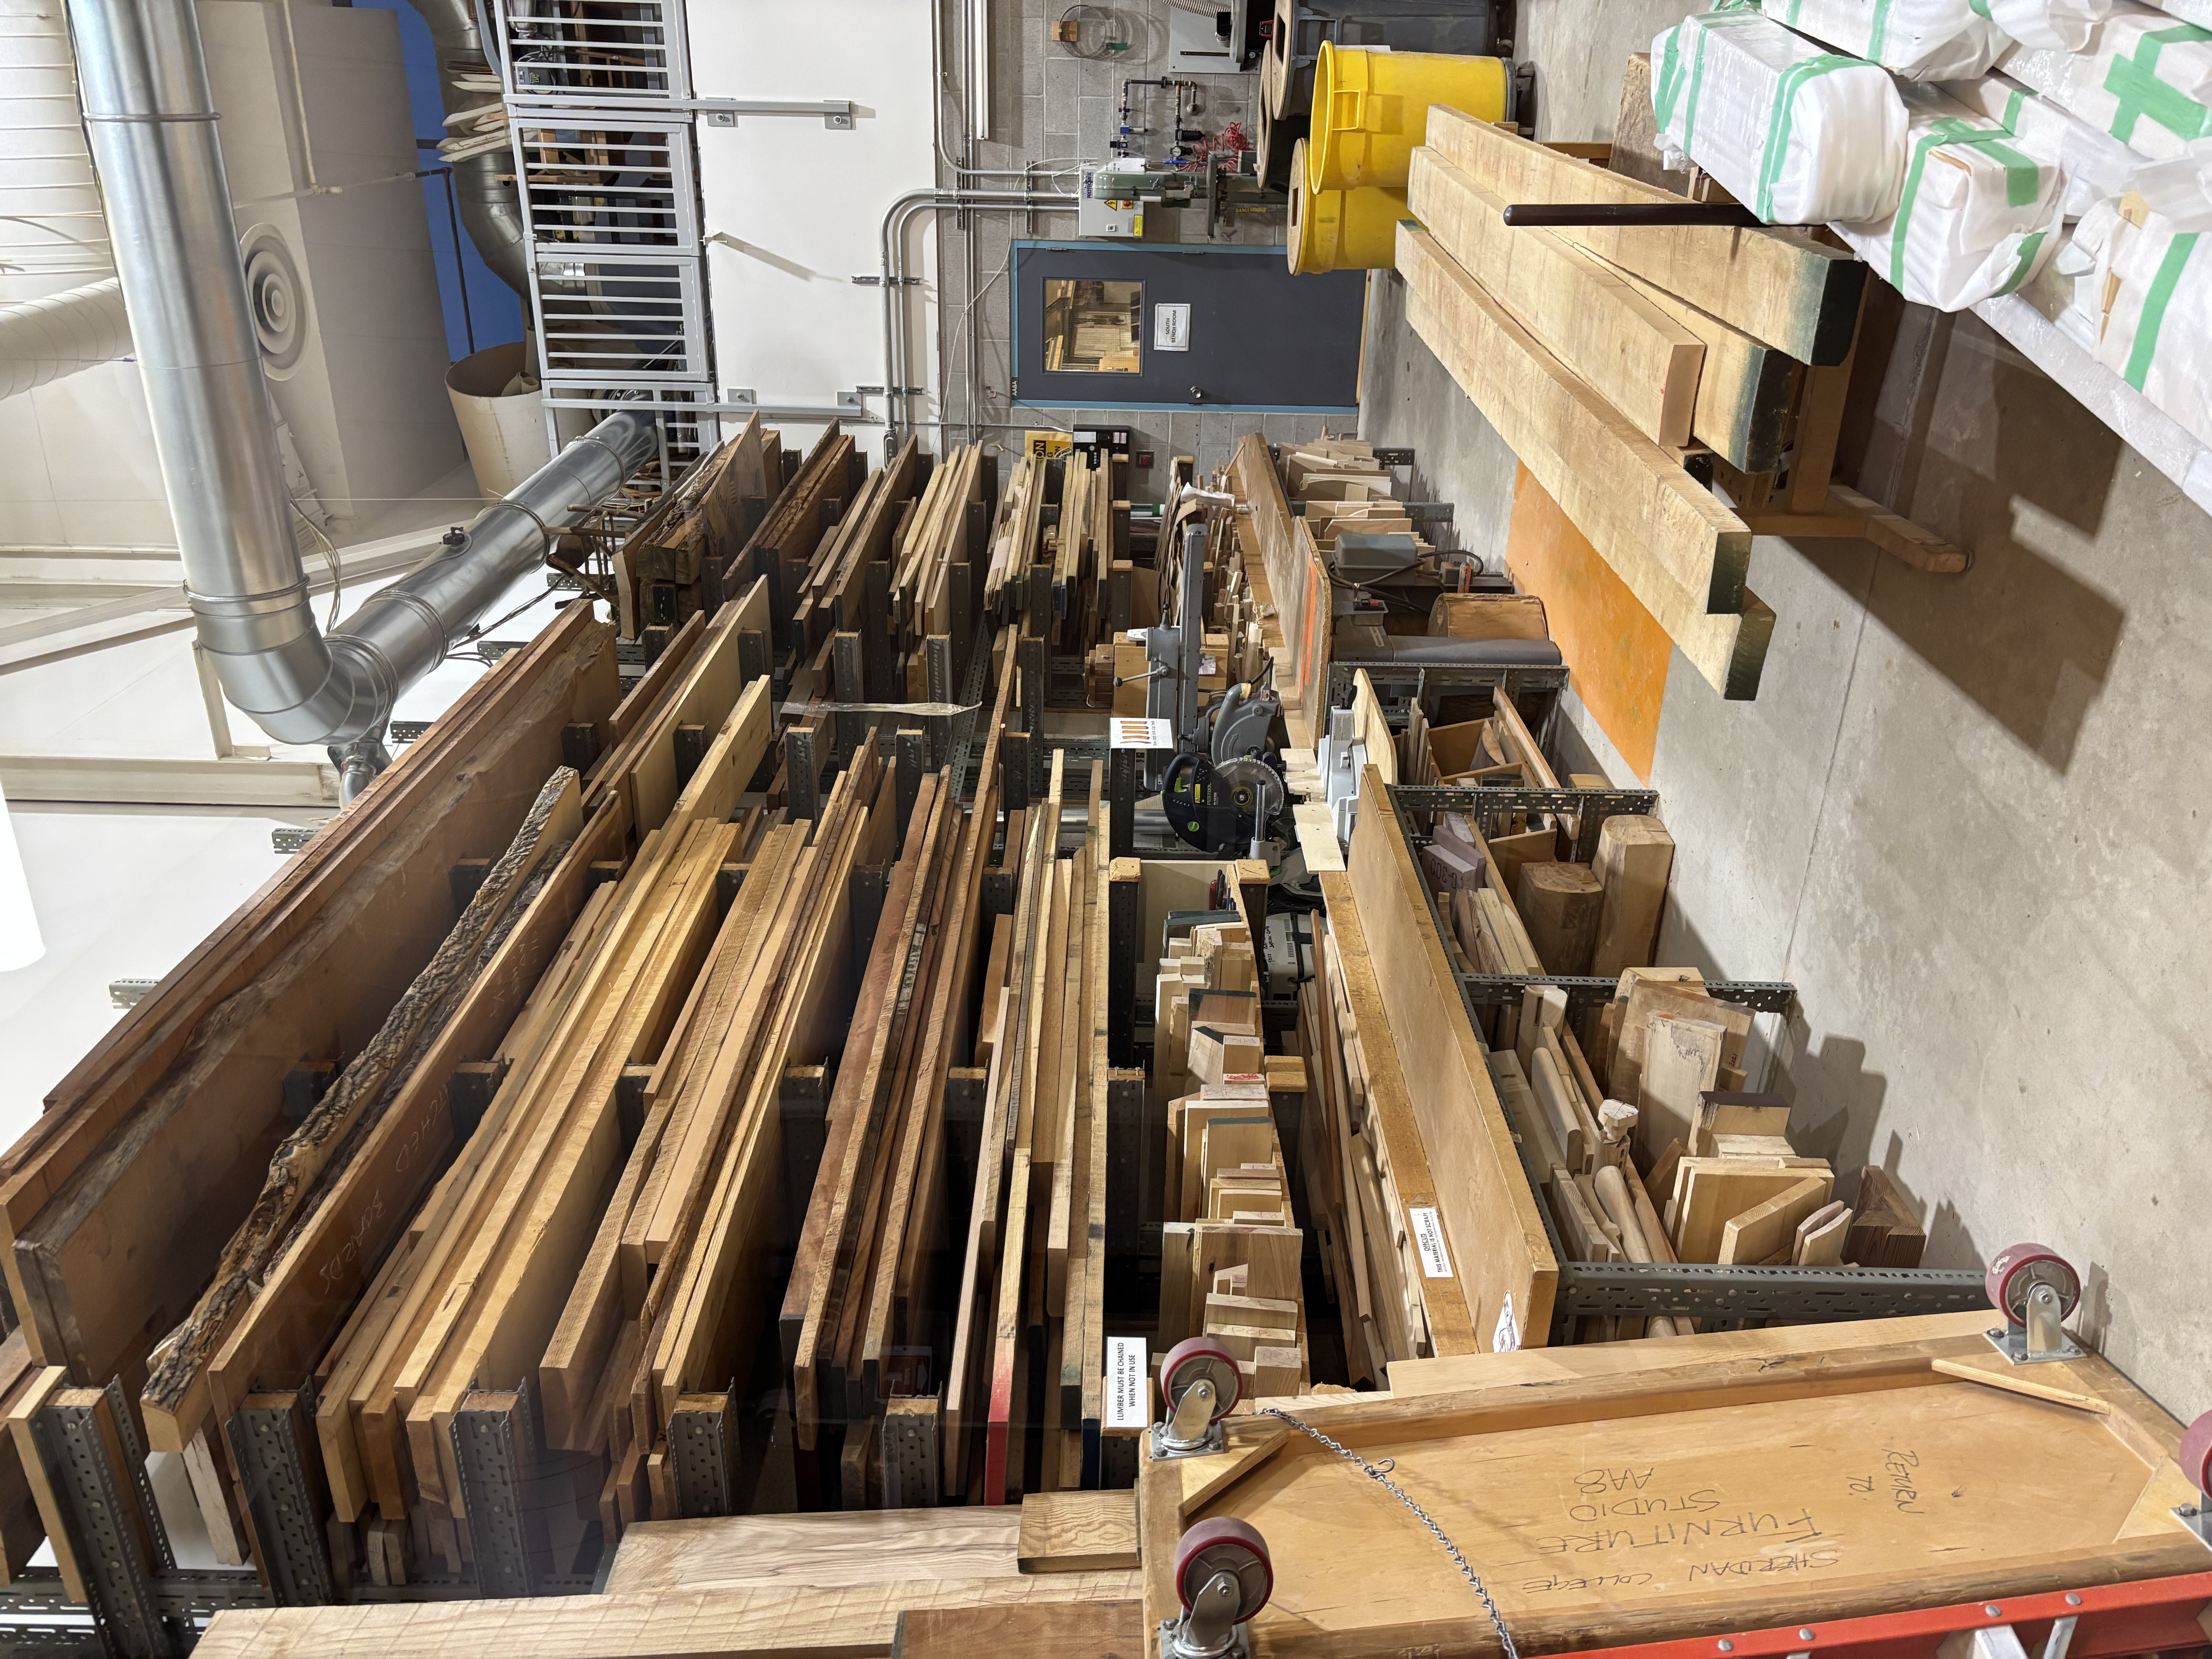
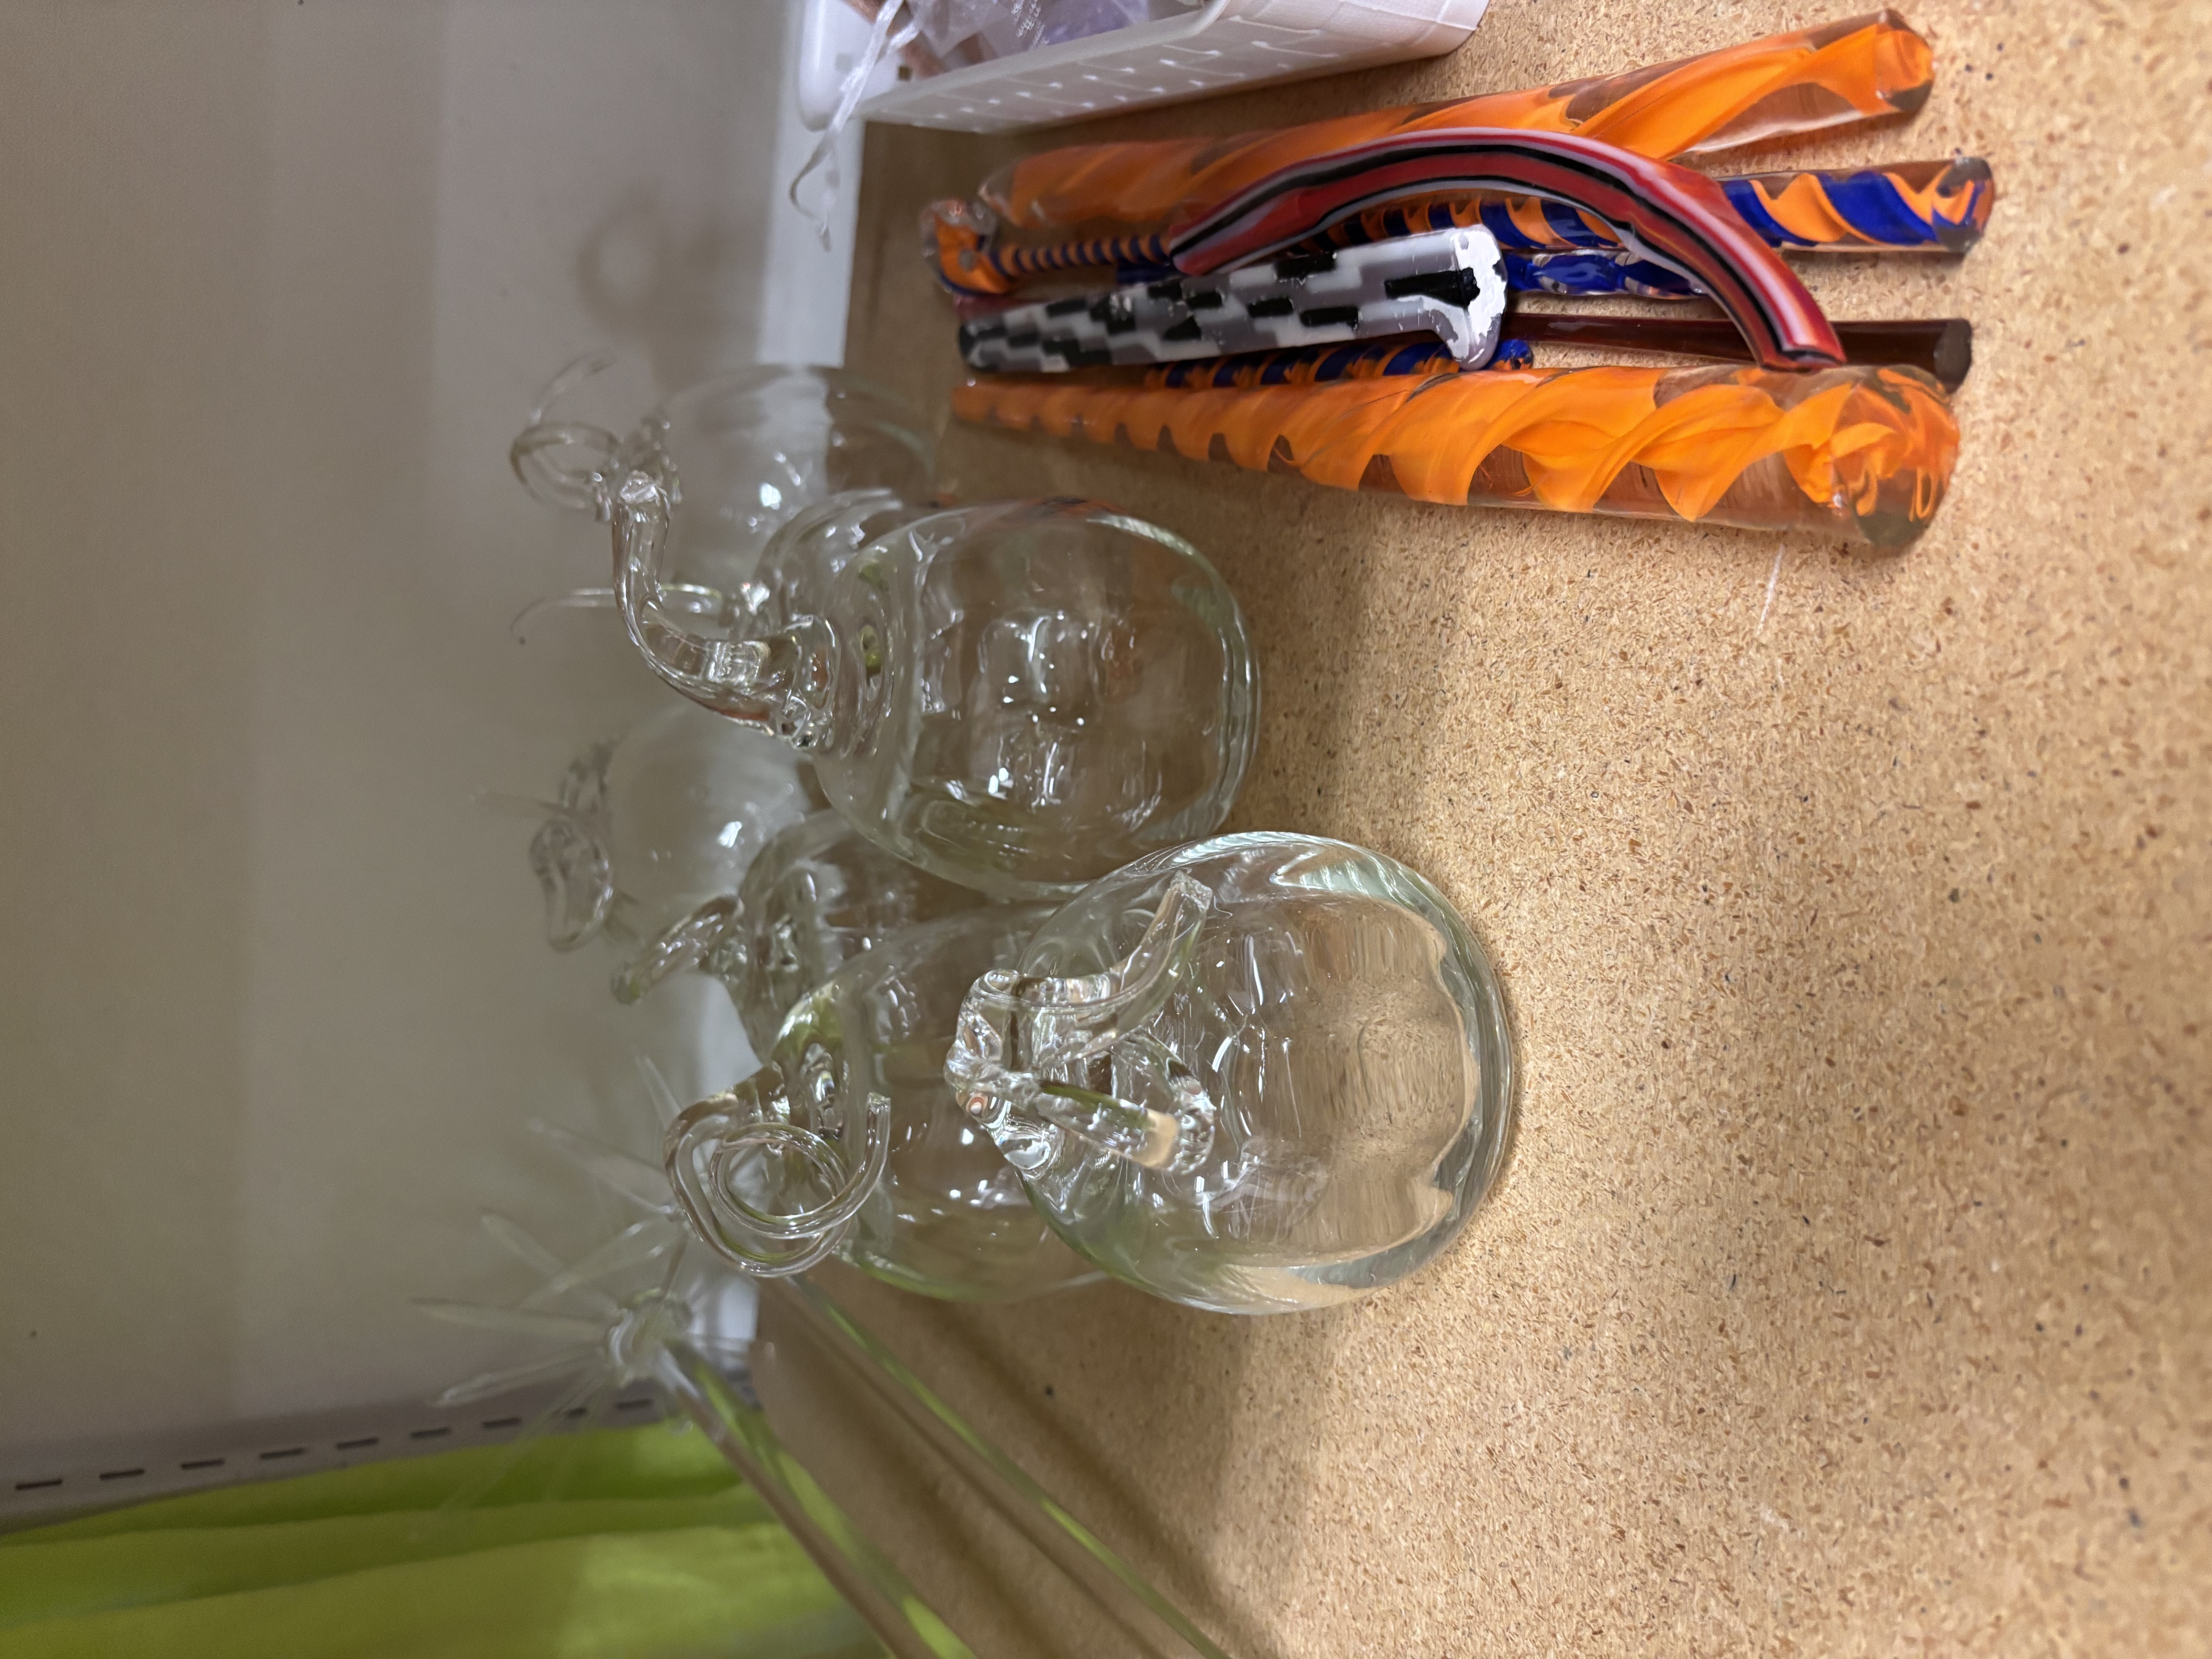
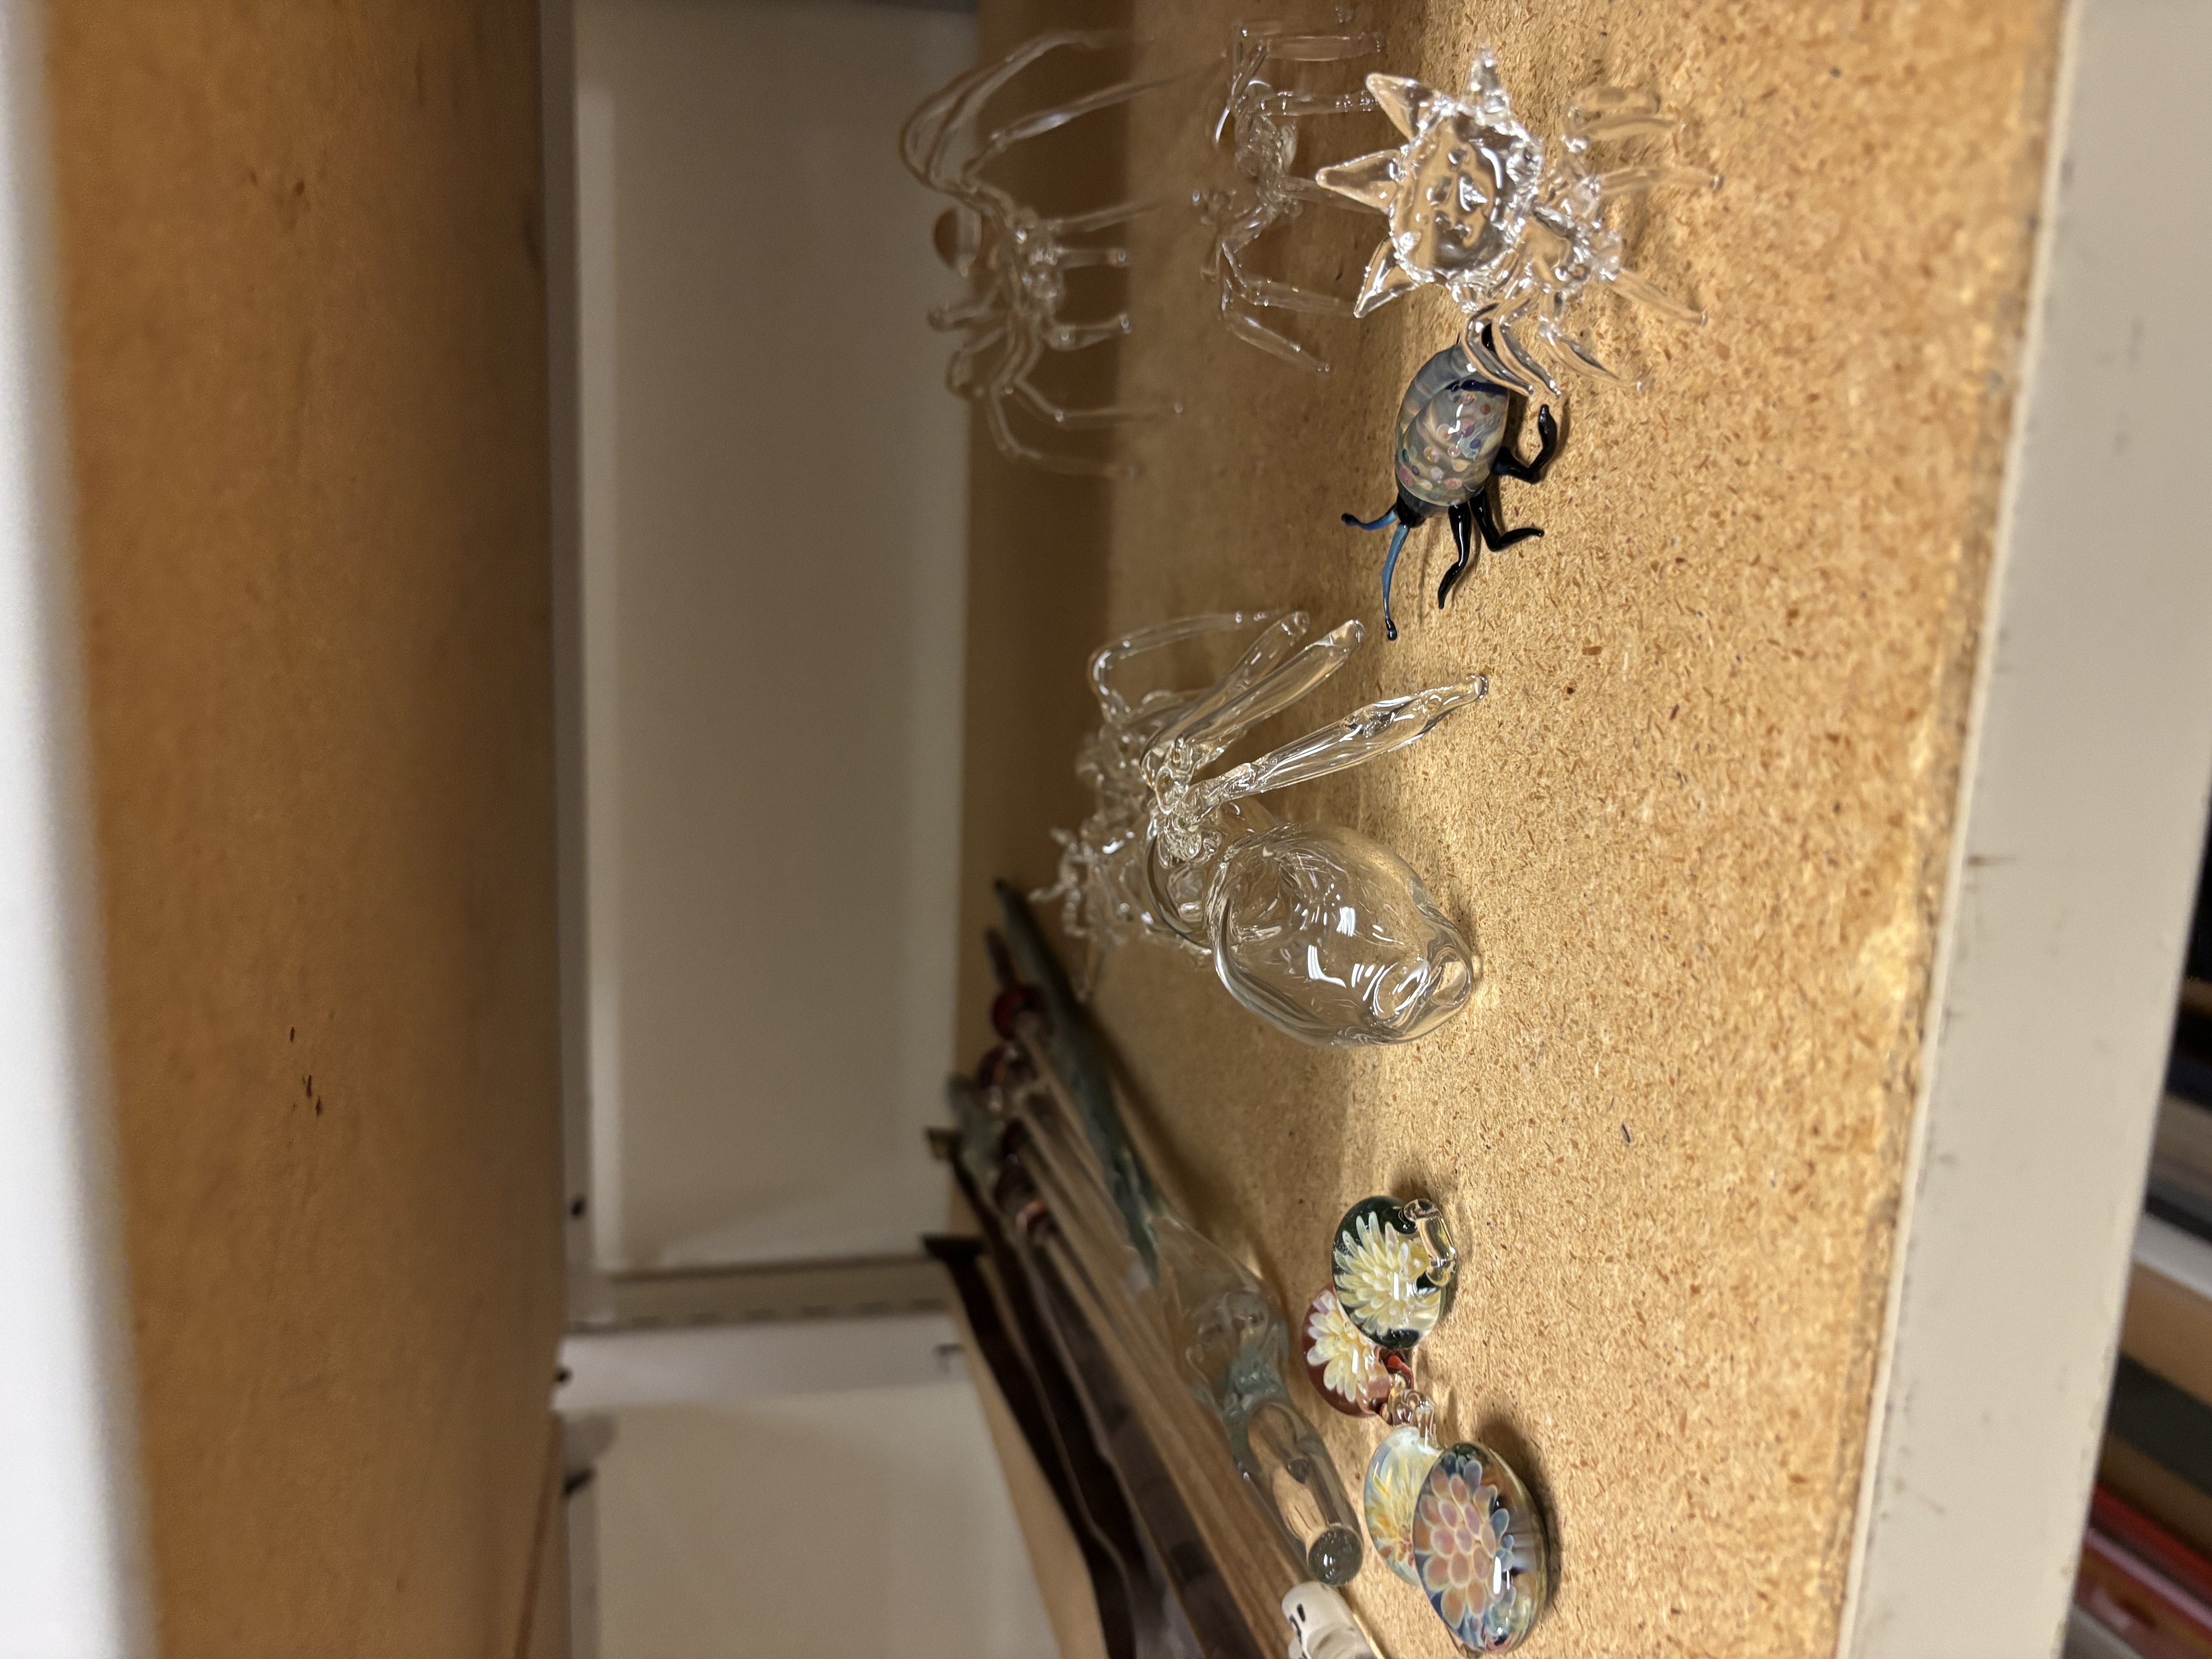
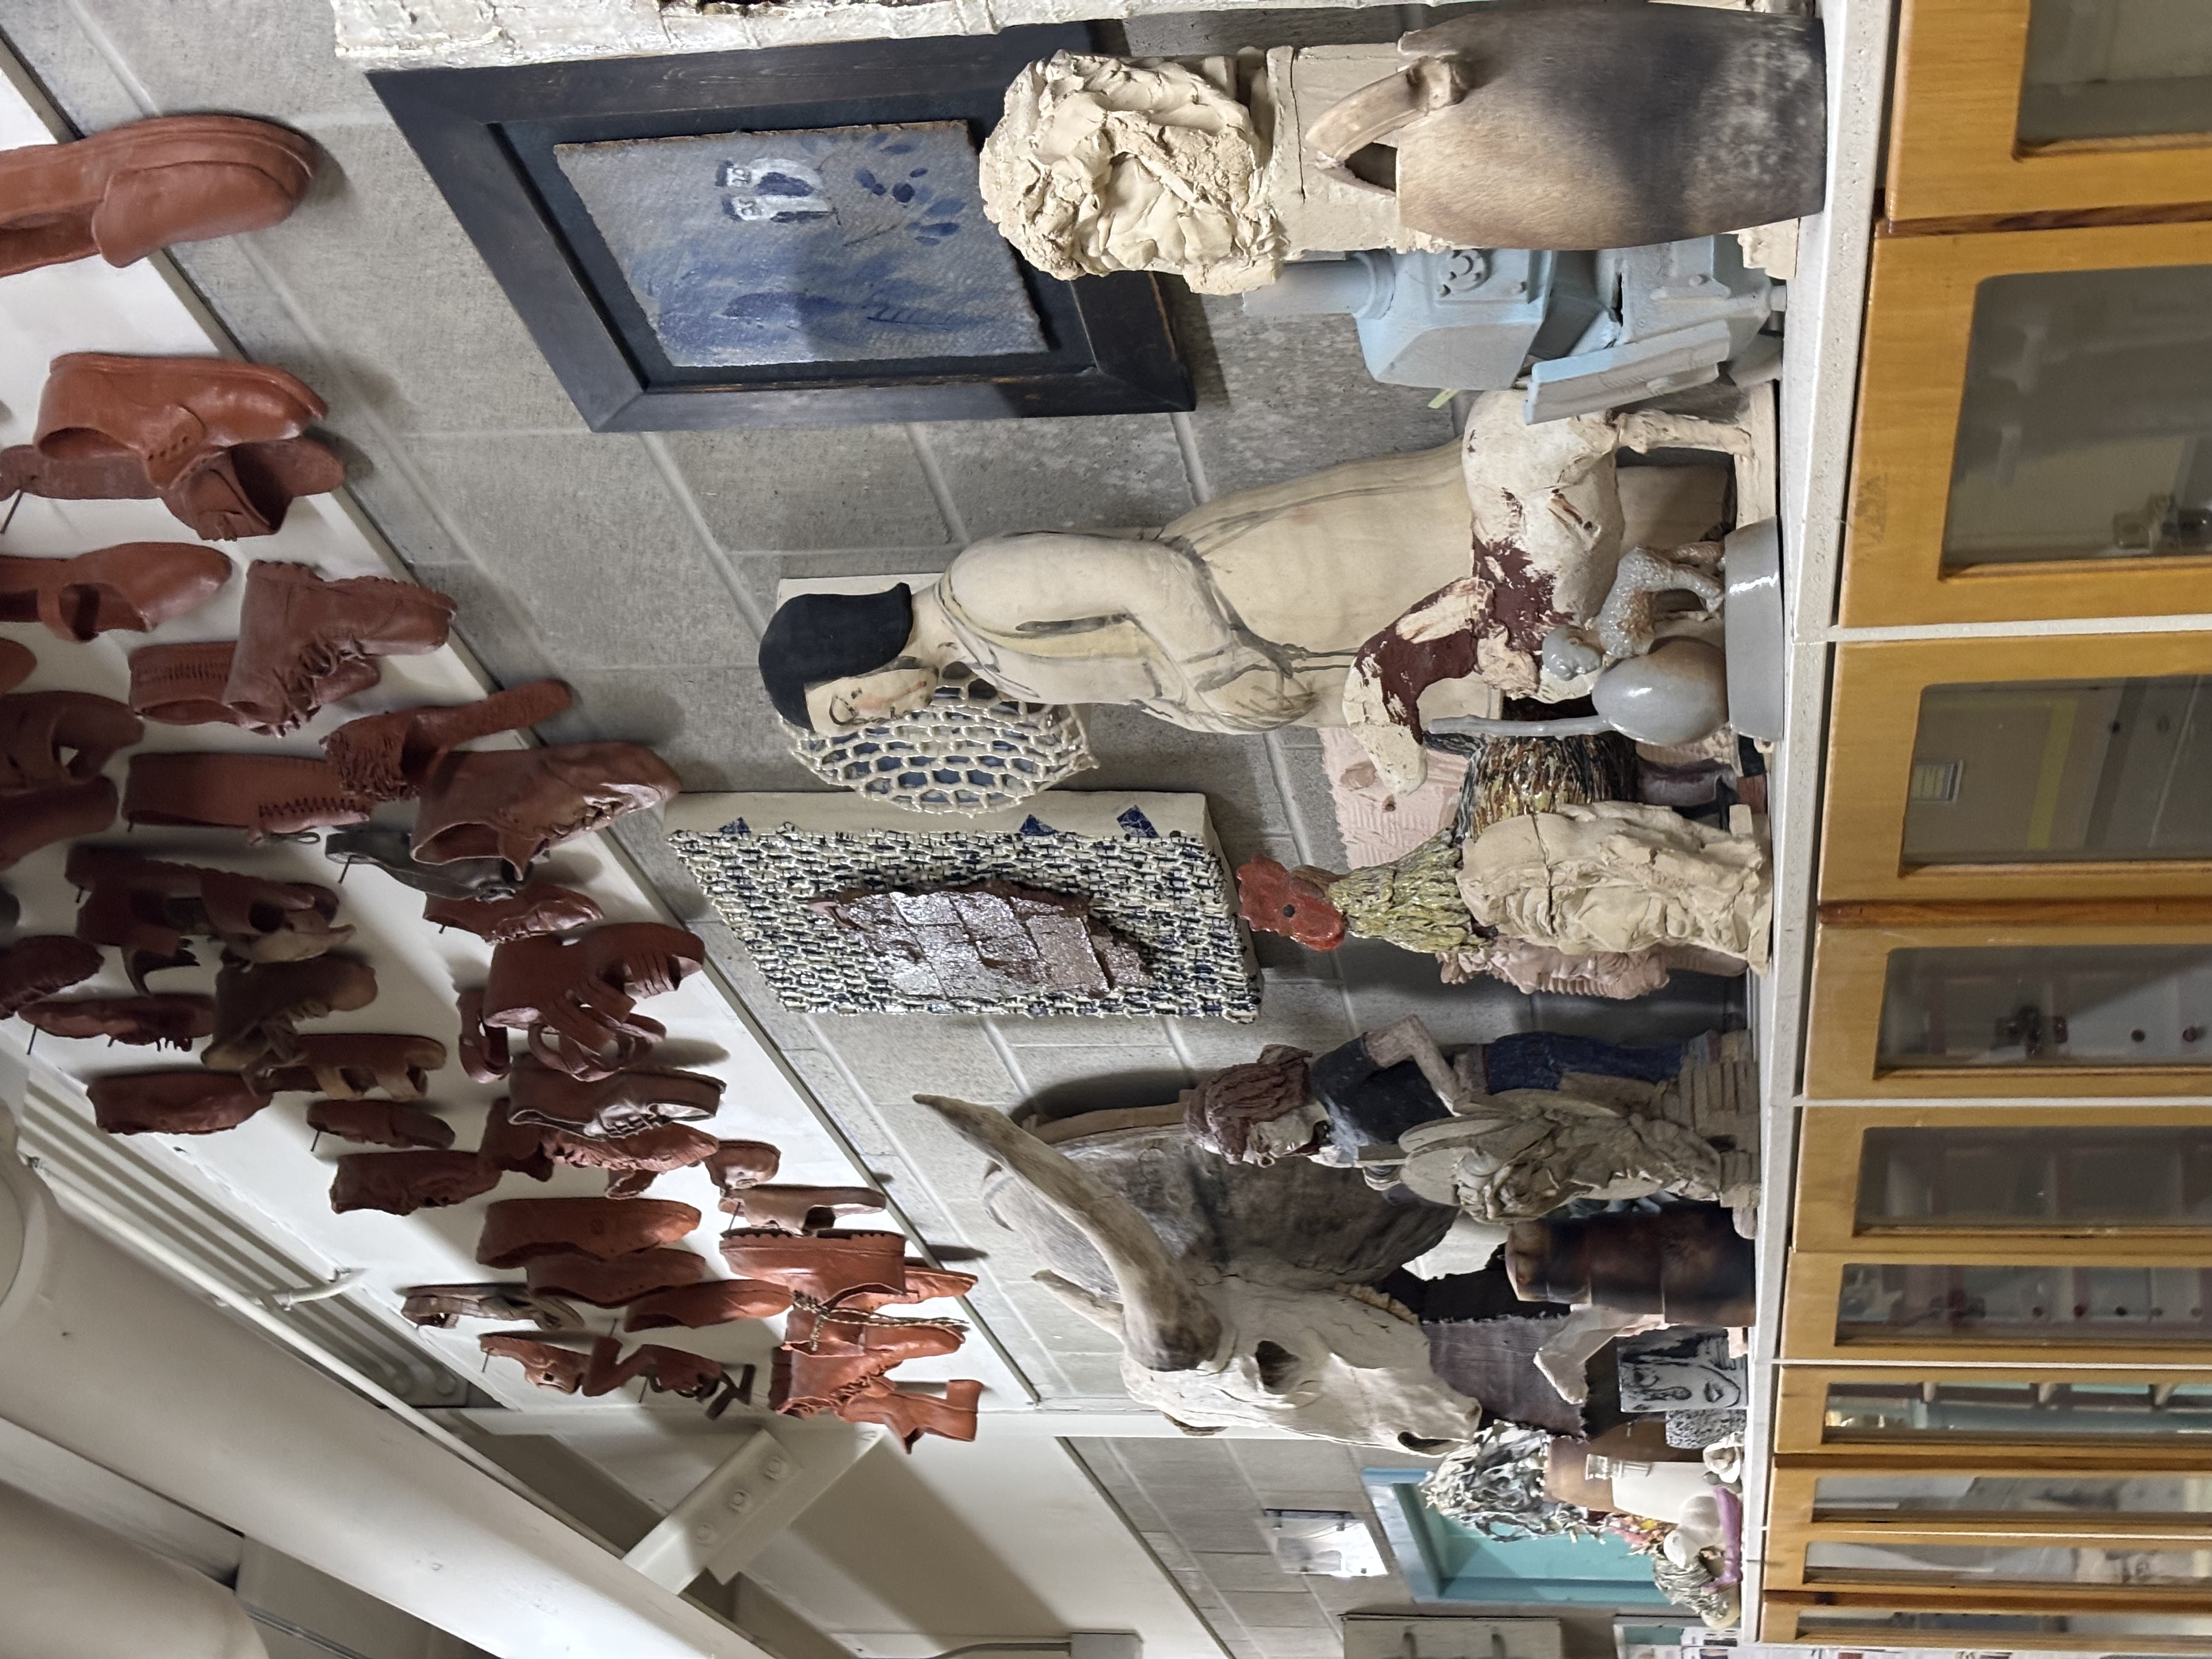
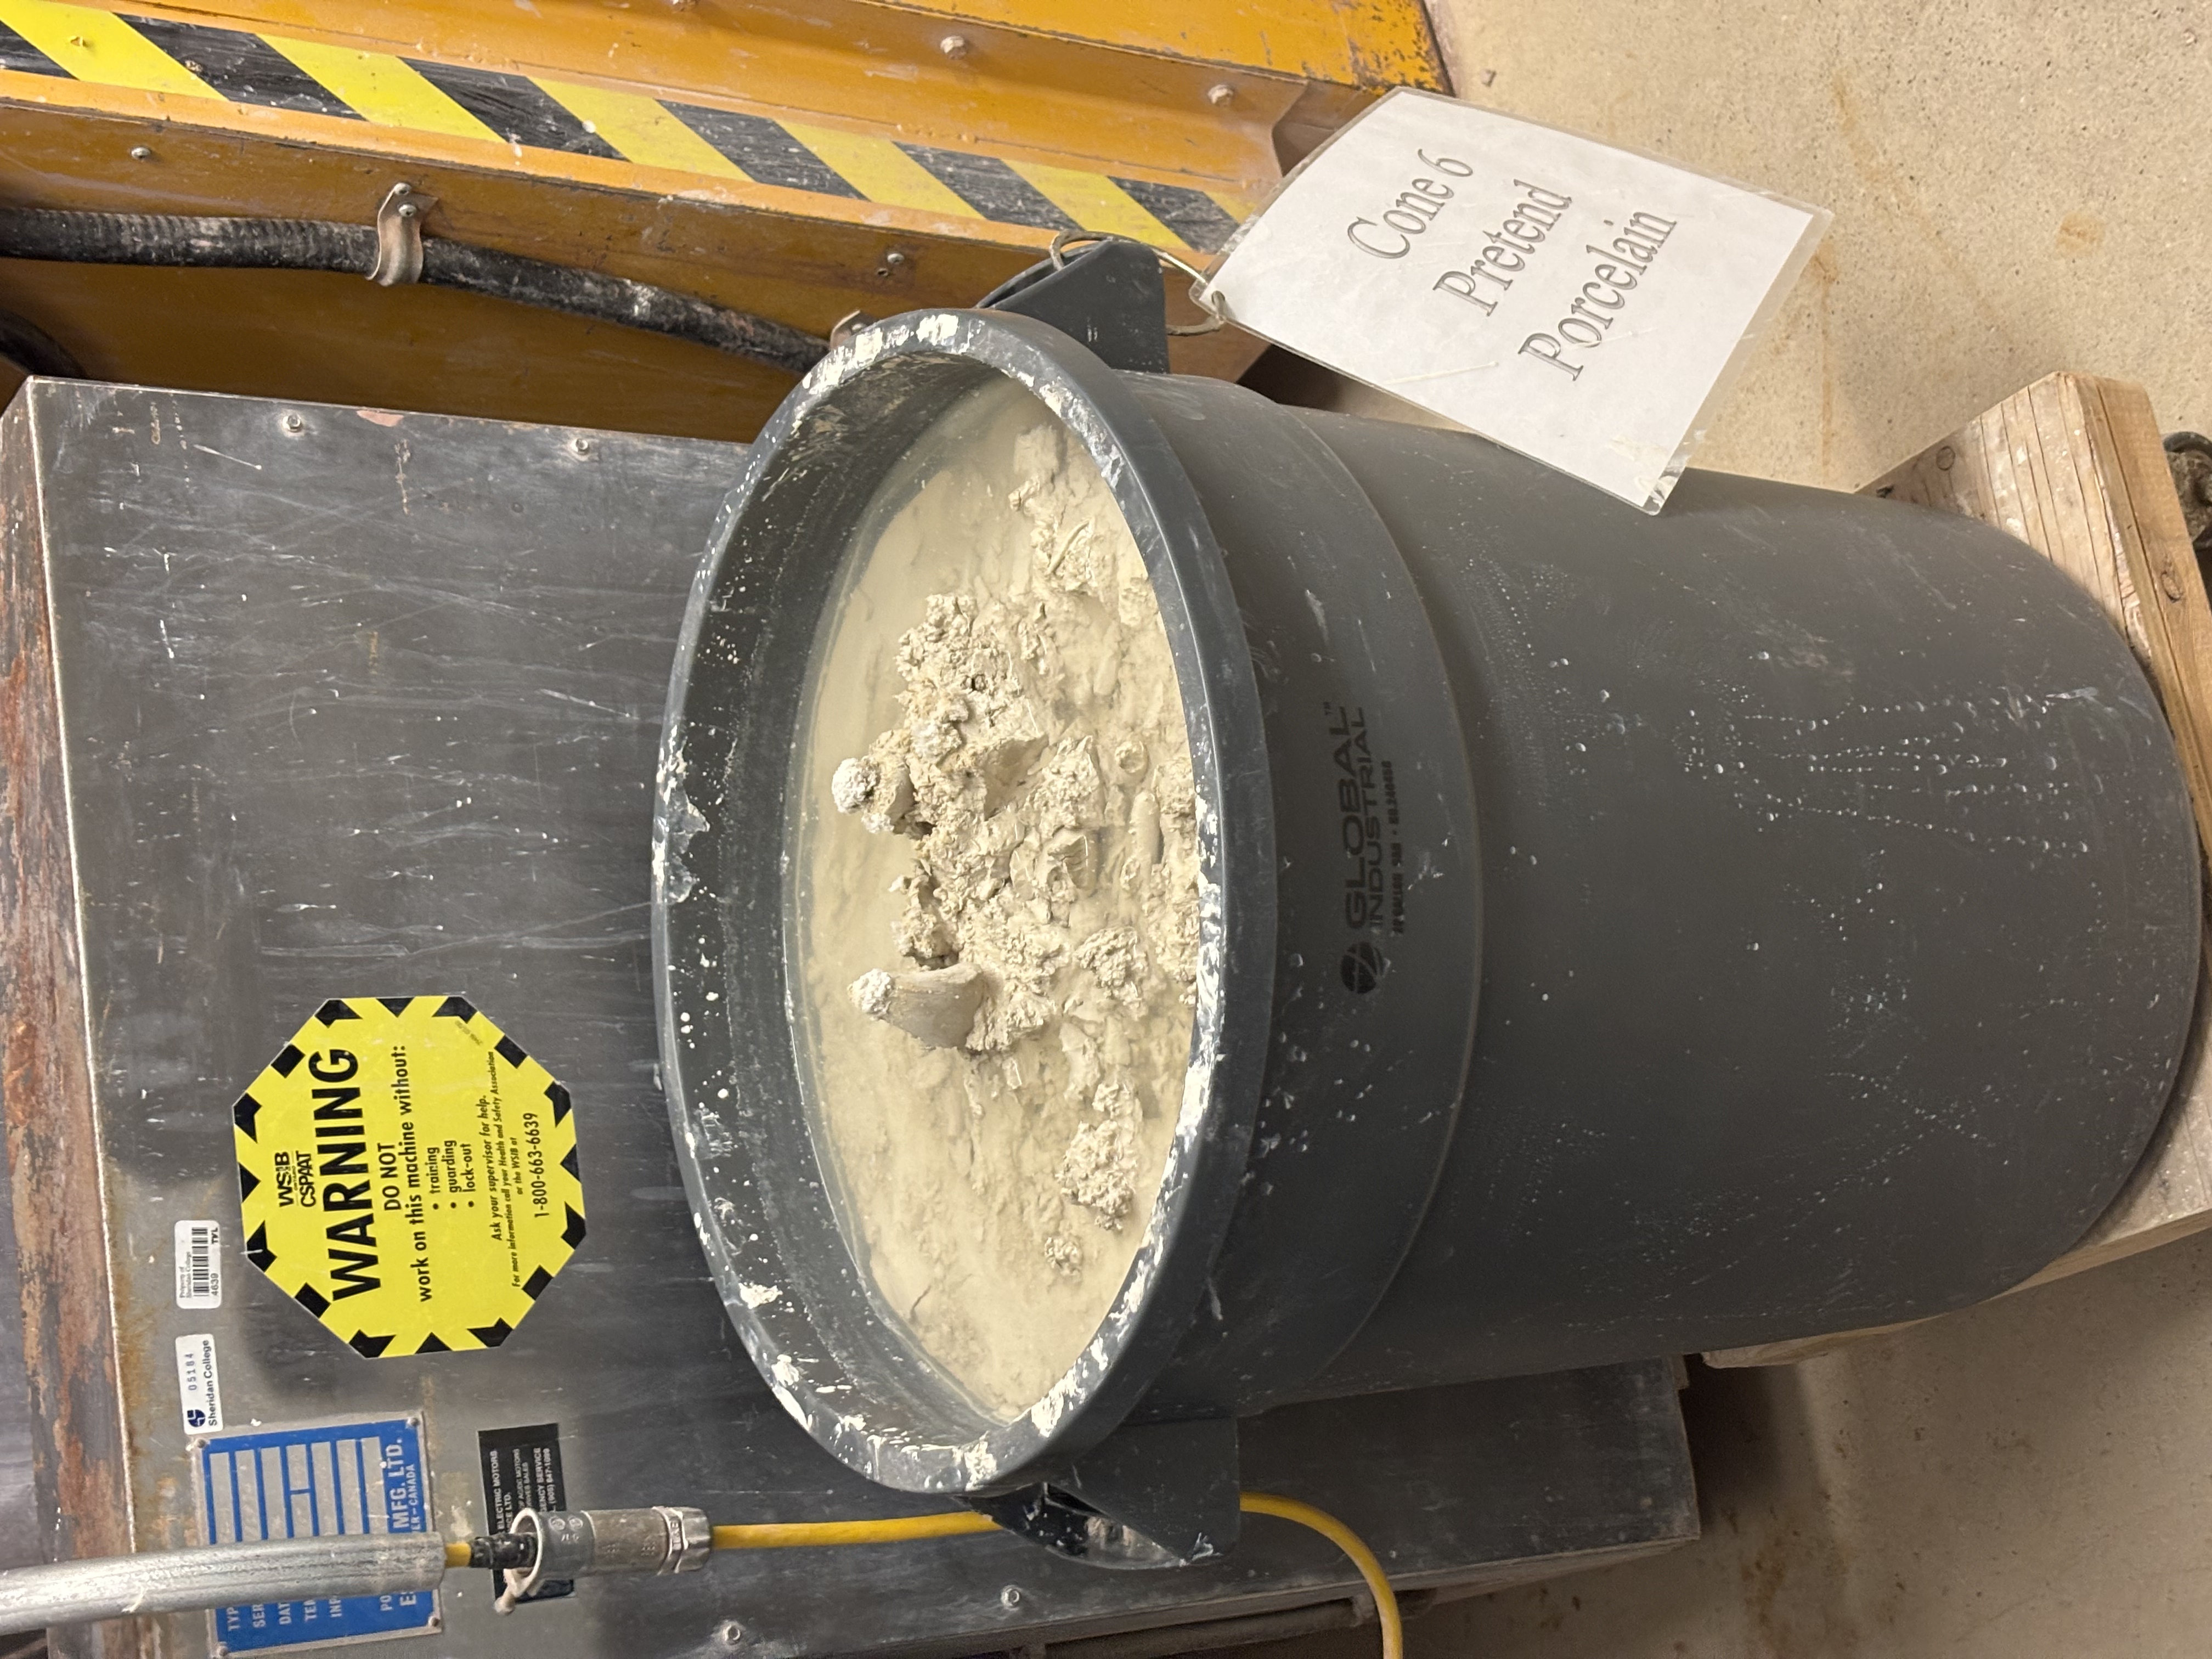
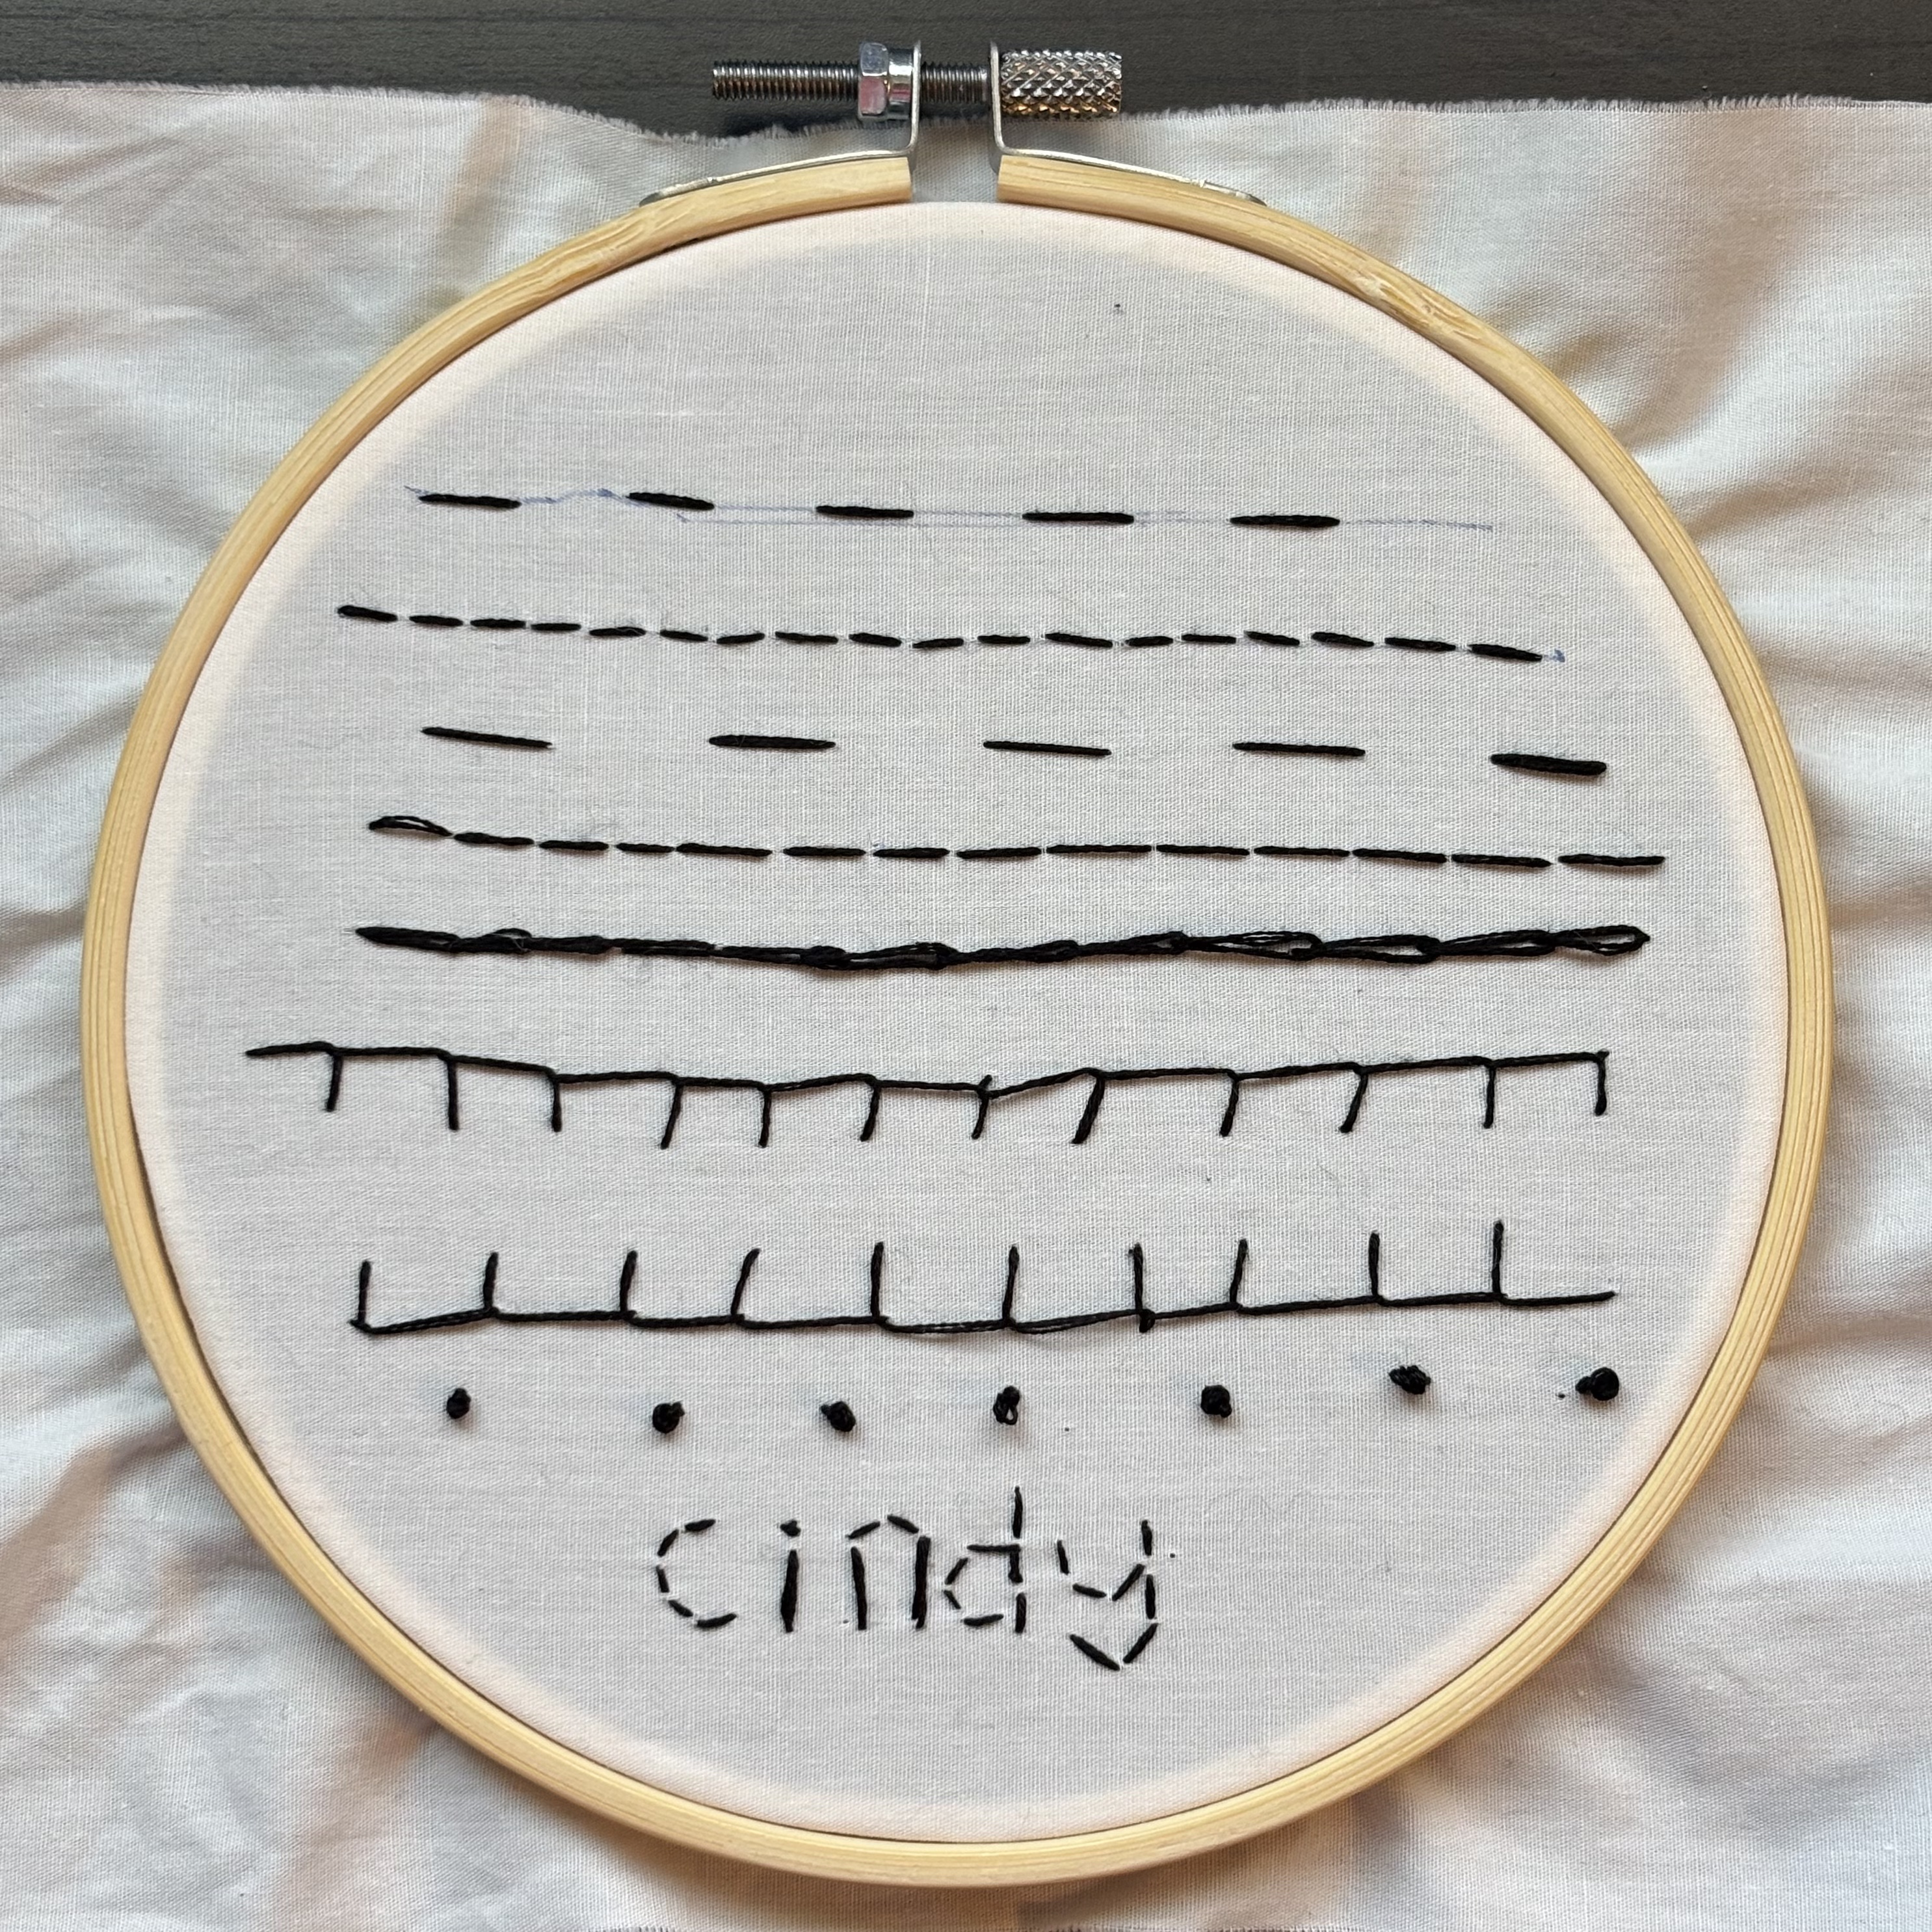
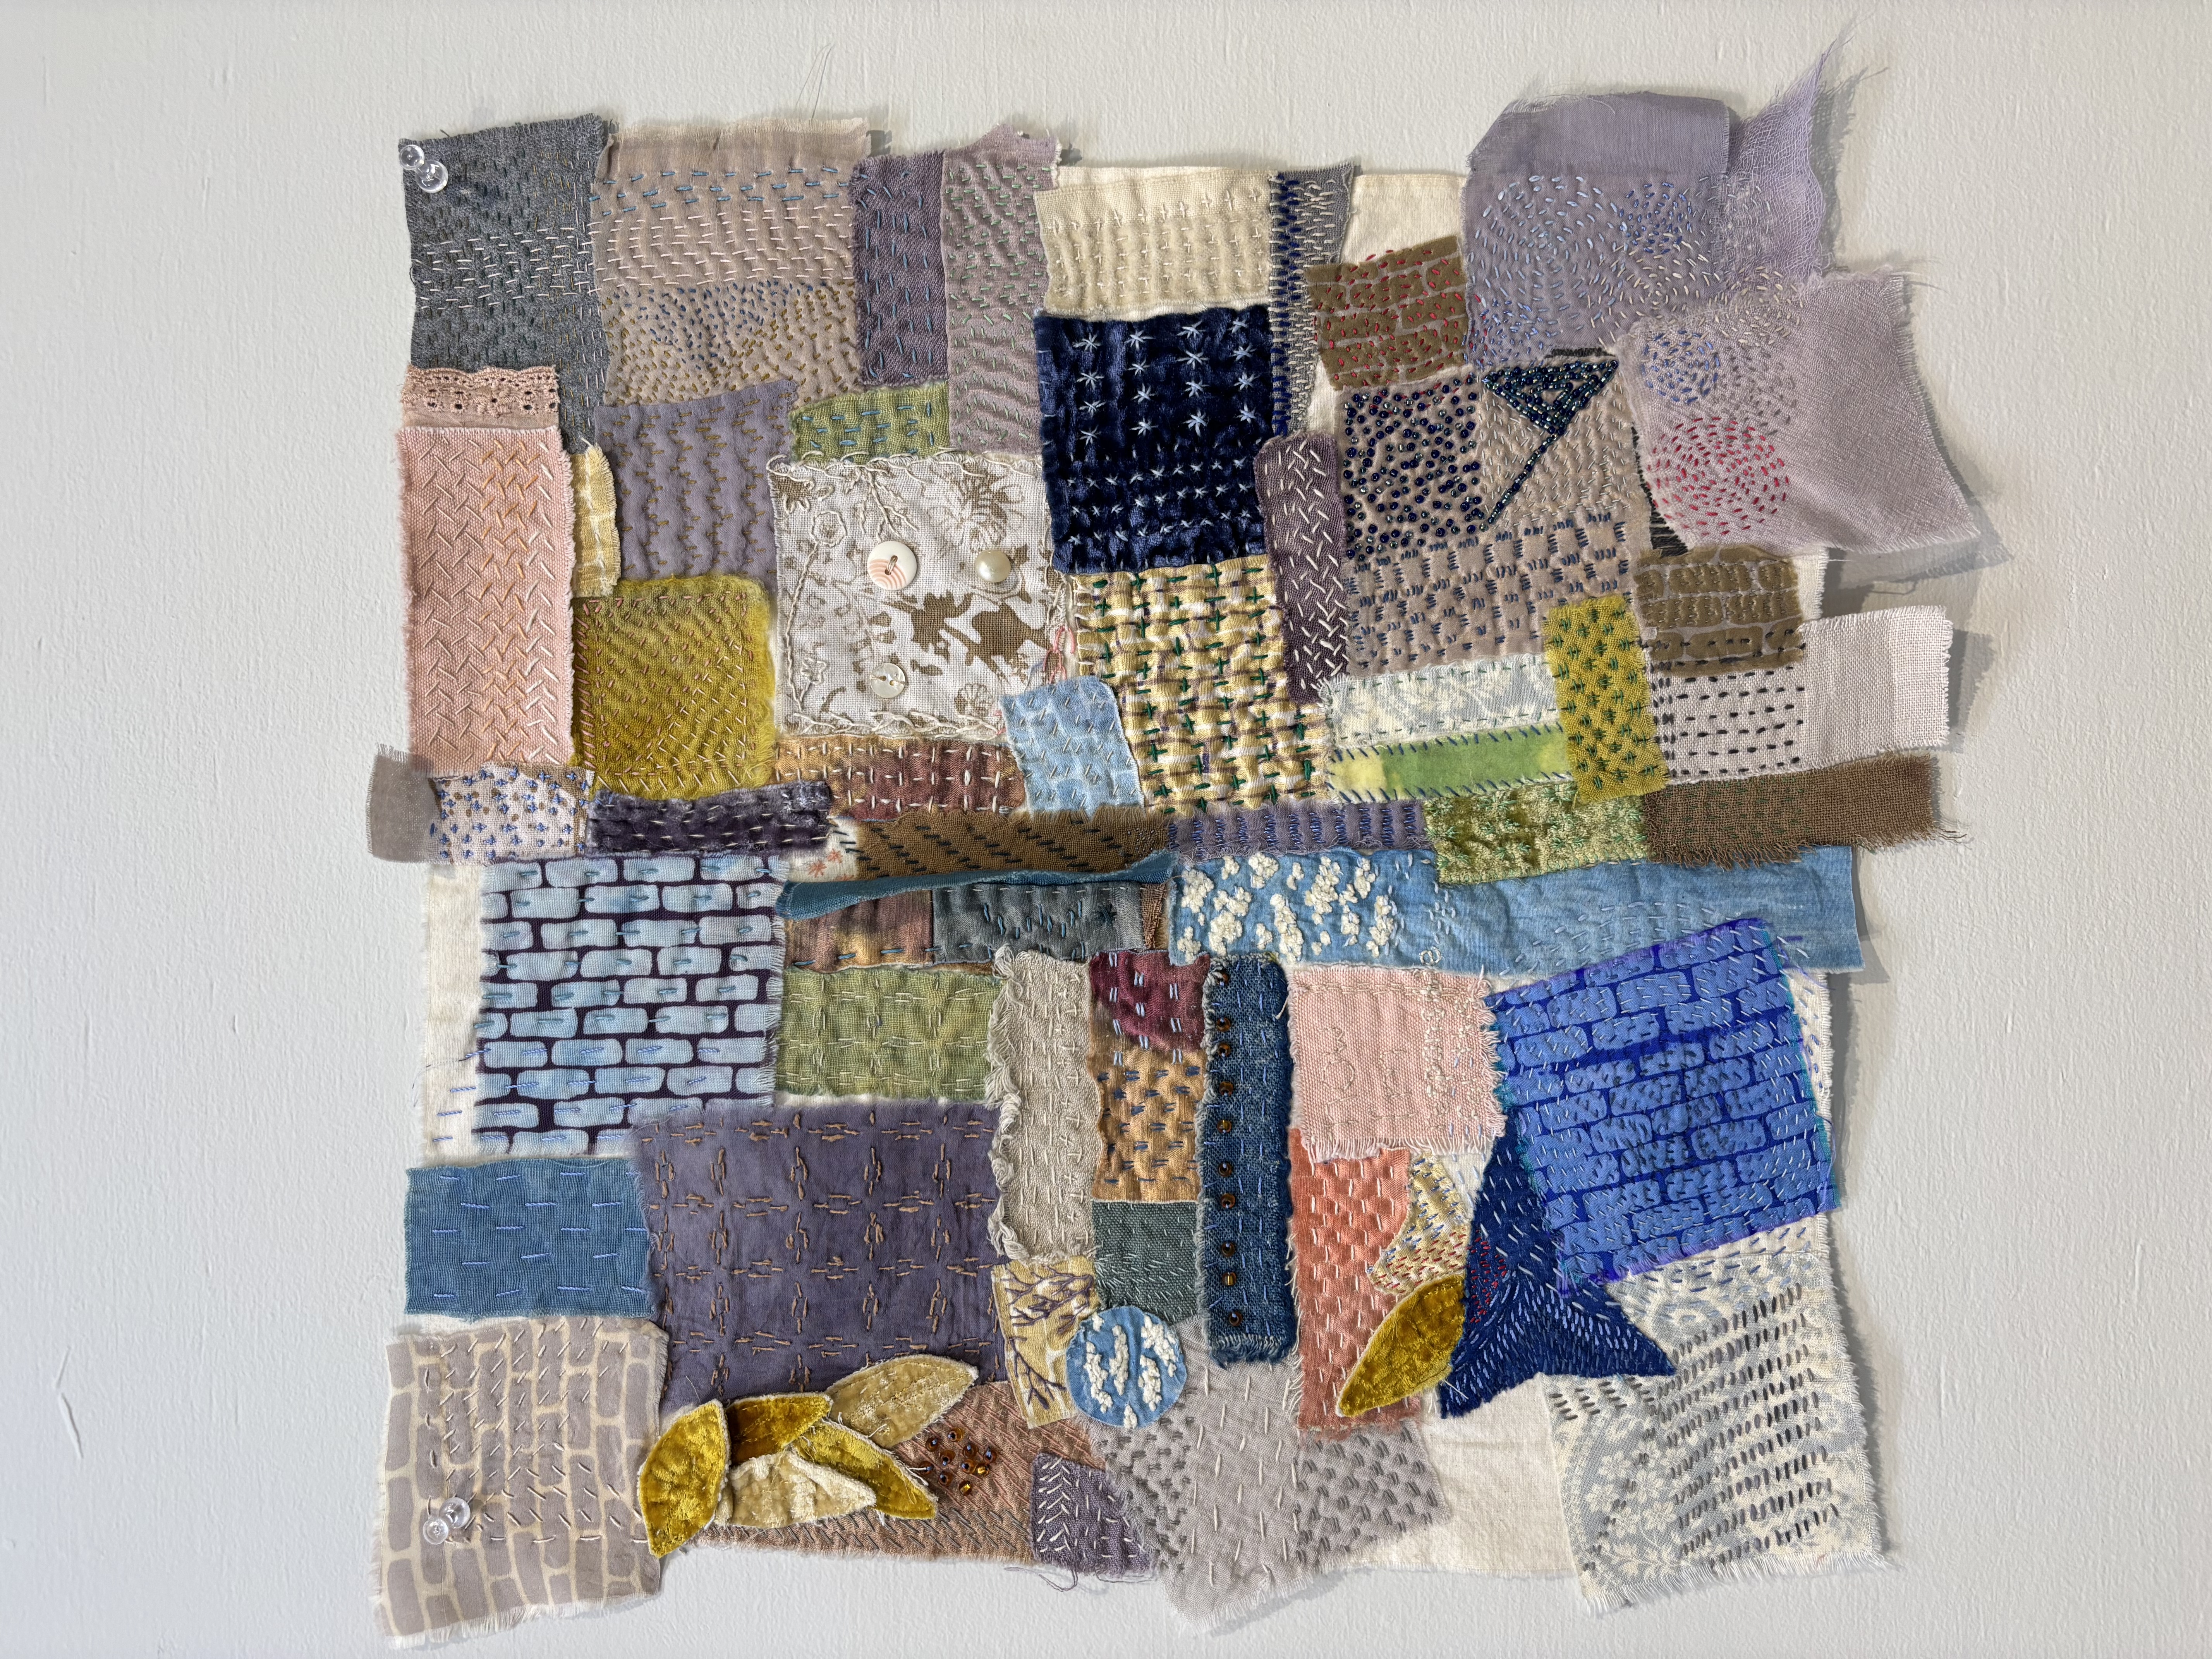
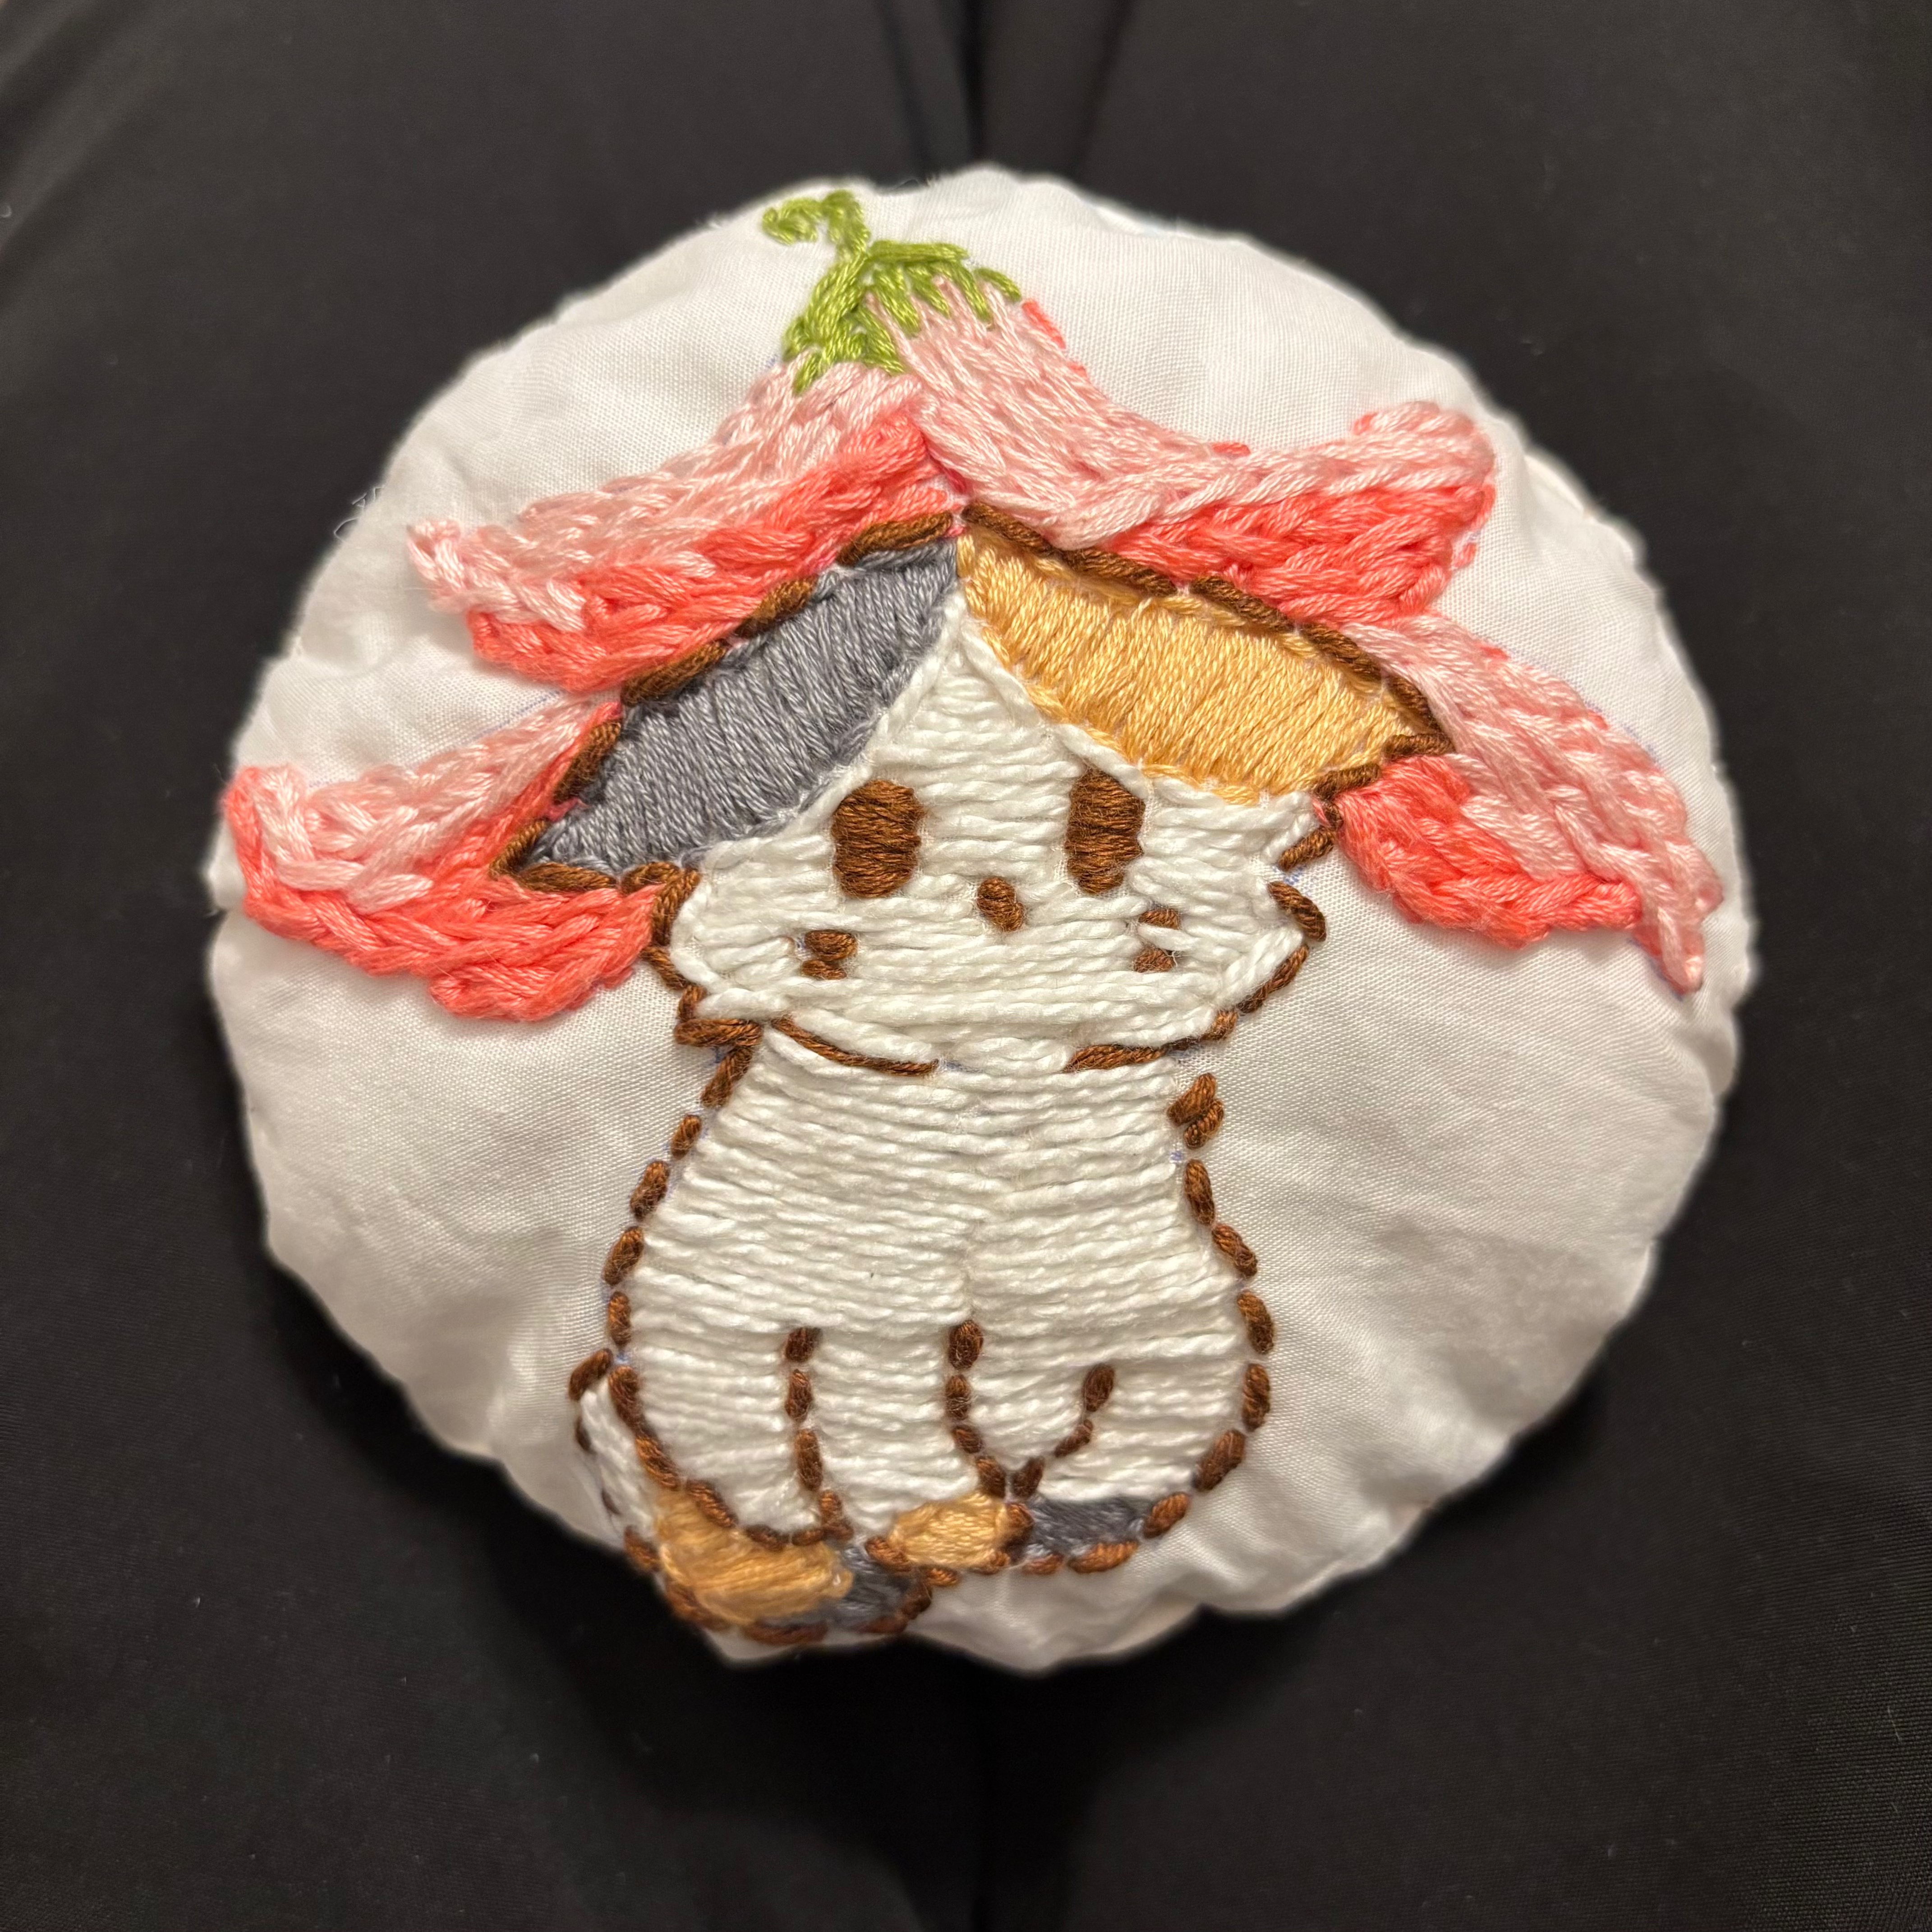
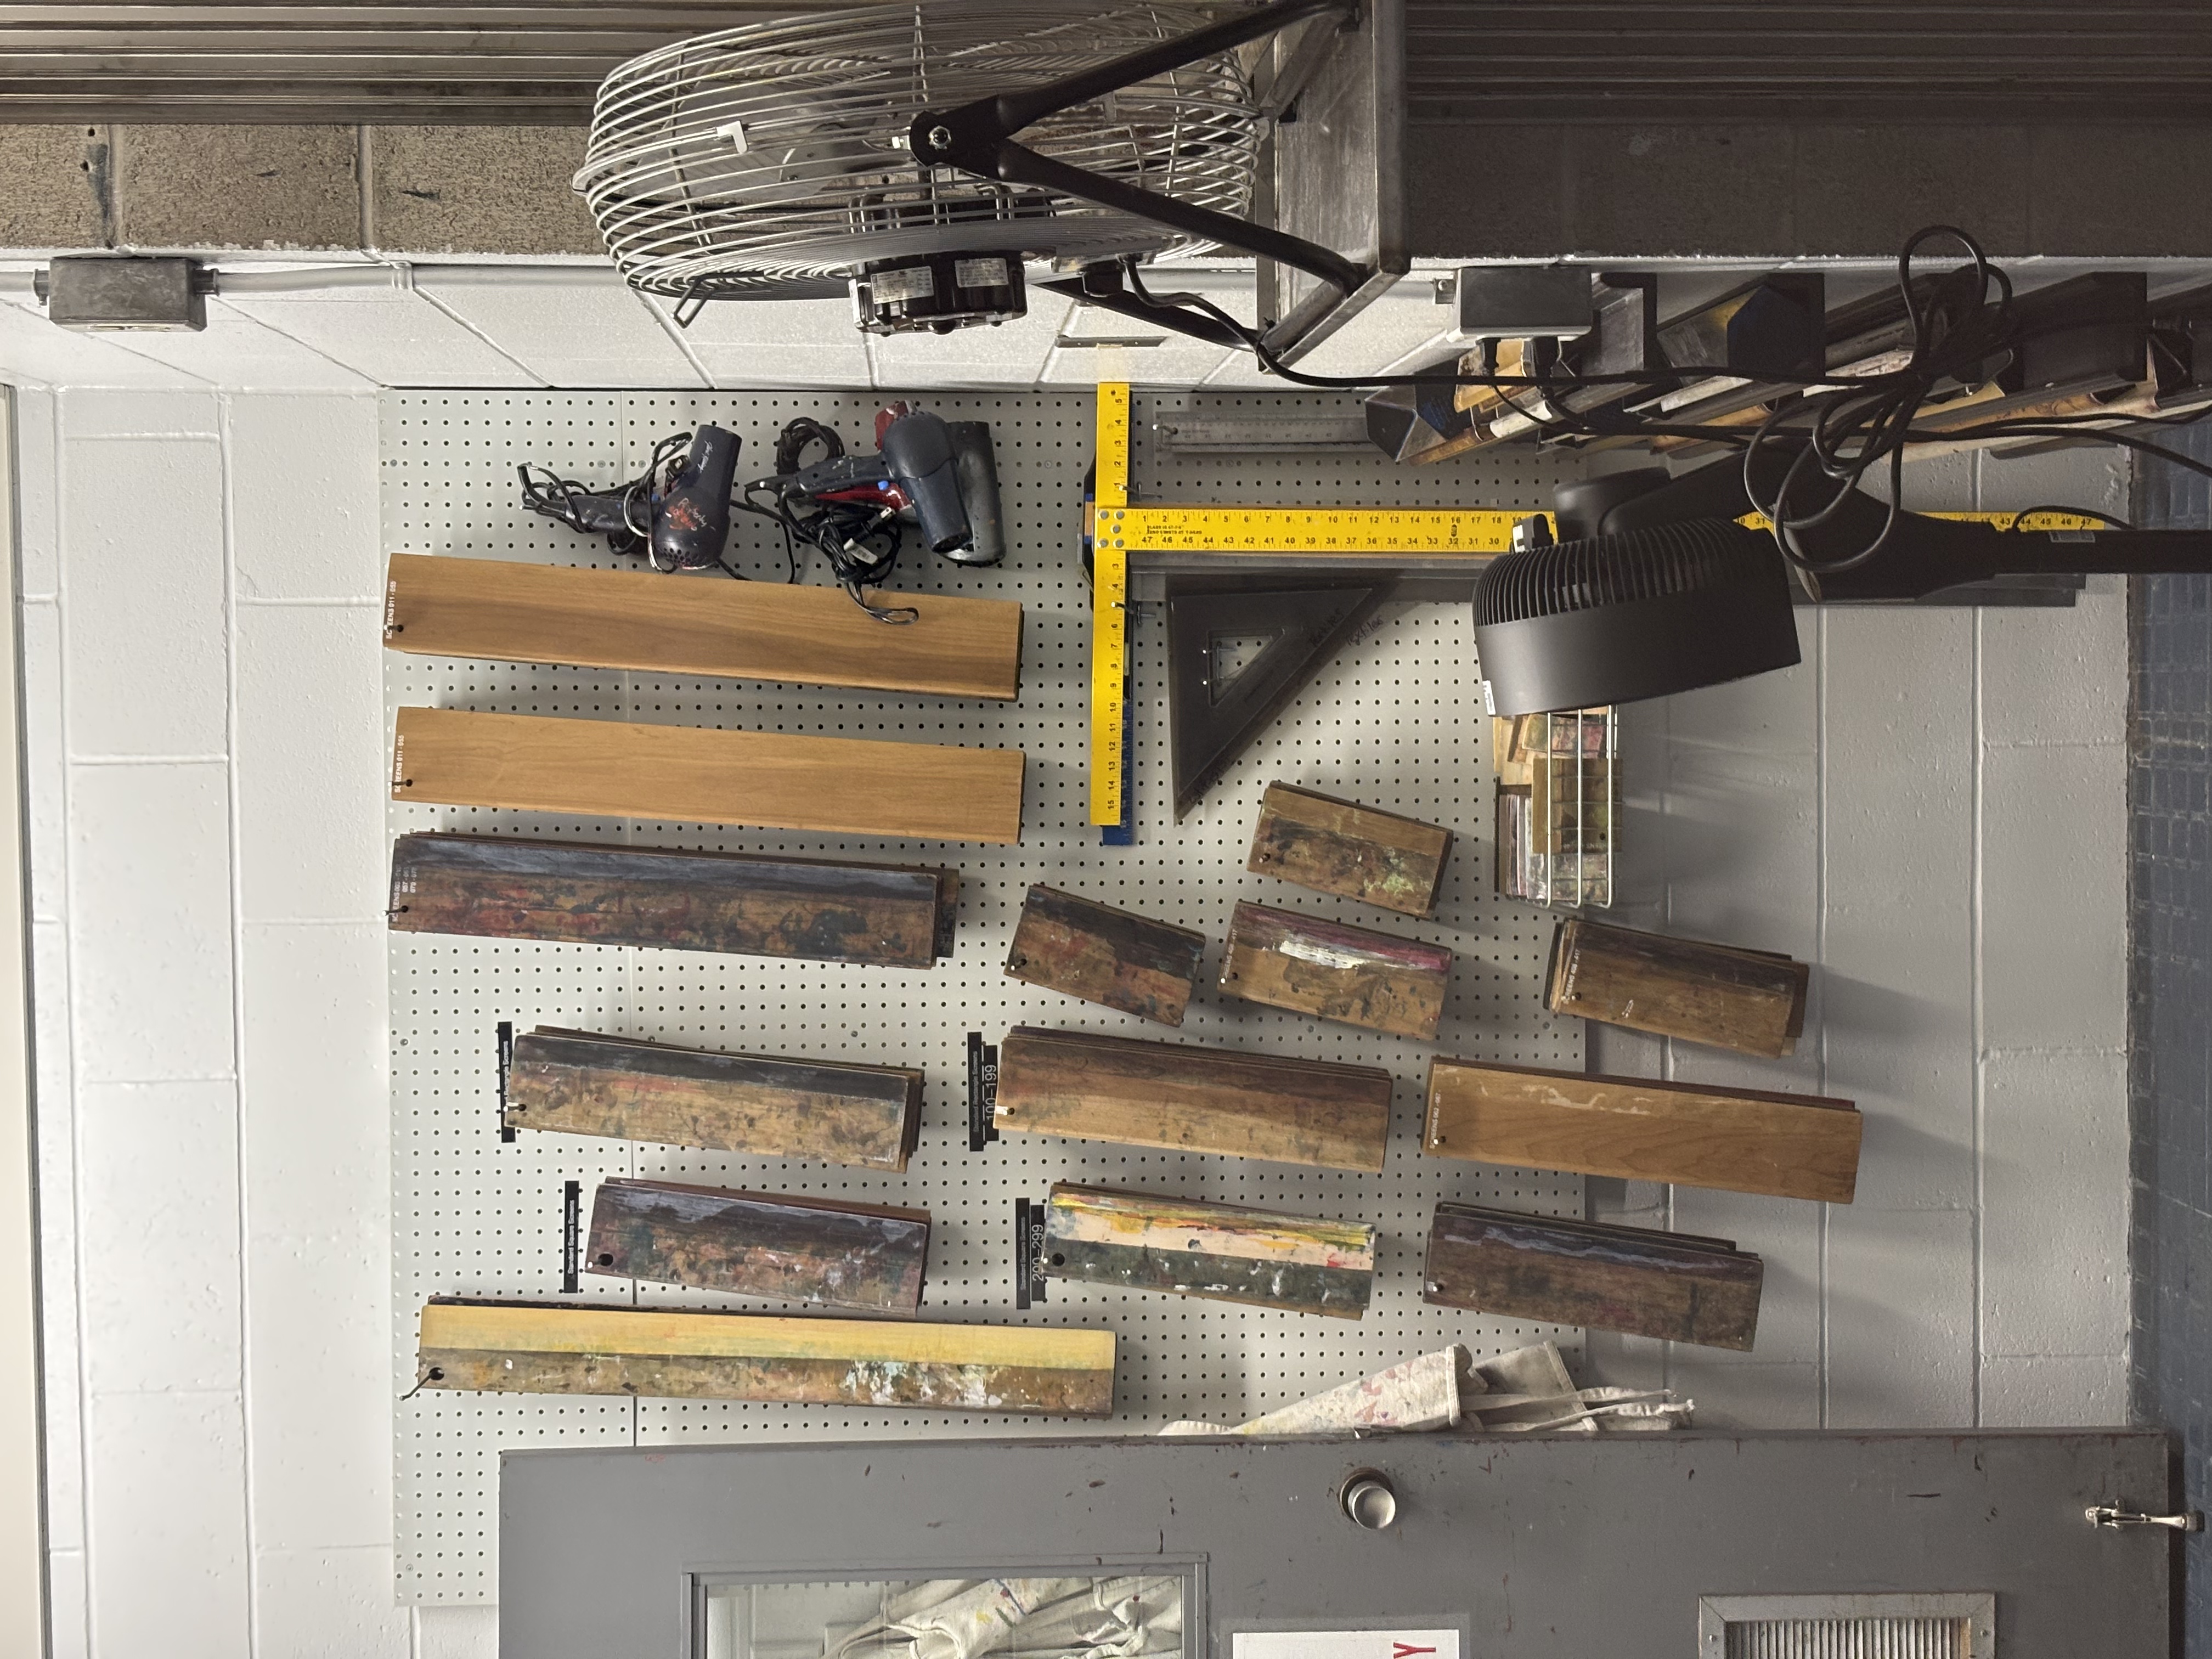
Tyvek, card pattern templates, and wire used for Industrial Design prototyping. An Industrial Design display showing study models for a modular travel and storage product. Woodworking machinery and dust collection inside Sheridan's Furniture Studio. Boards, strips, and live-edge lumber stored in Sheridan's Furniture Studio. Clear blown-glass vessels and coloured glass rods in Sheridan's Glass Studio. Small sculptural glass insects, animals, pendants, and glass rods. A Ceramics Studio display of vessels, figures, reliefs, tiles, and sculptural clay work. A container of prepared Cone 6 porcelain material in Sheridan's Ceramics Studio. A hand-stitch sampler held under tension in an embroidery hoop. A layered textile composition made from stitched fabric scraps, thread, beads, and buttons. A finished embroidered textile character made with dense hand stitching. Wood-handled screen-printing squeegees, drying equipment, and measuring tools stored in Sheridan's Textiles Studio.

Material Workshop 2

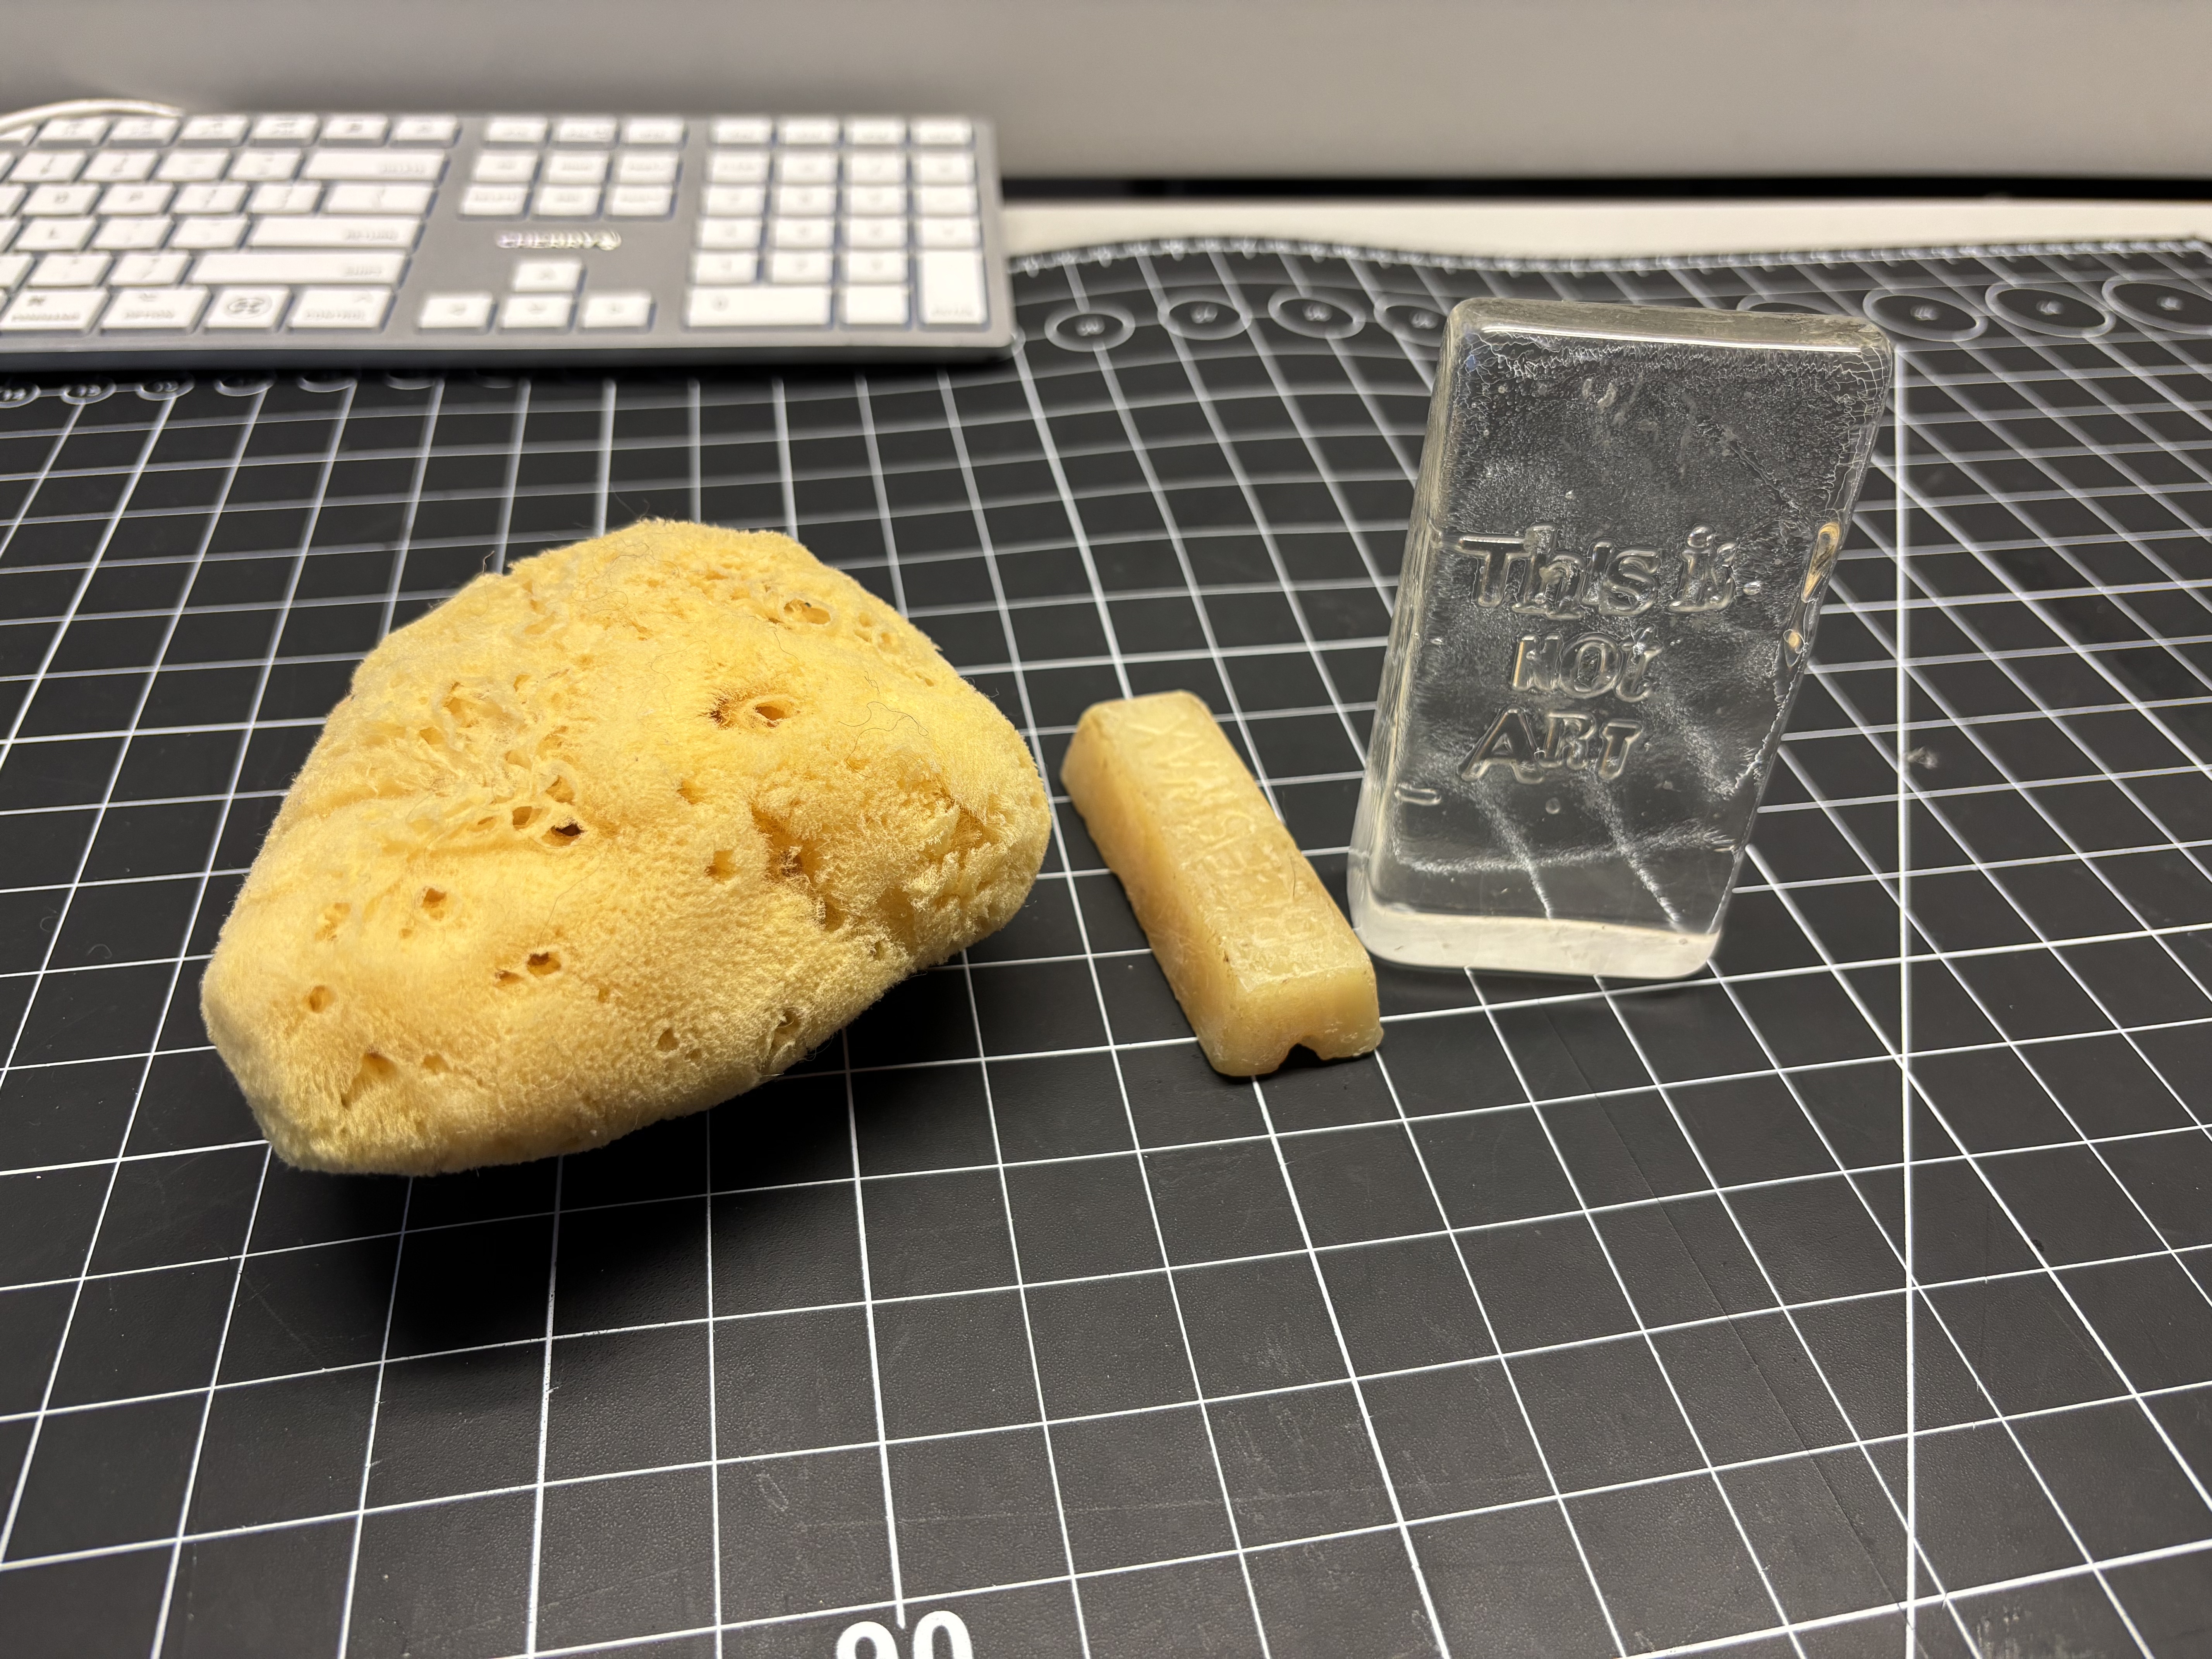
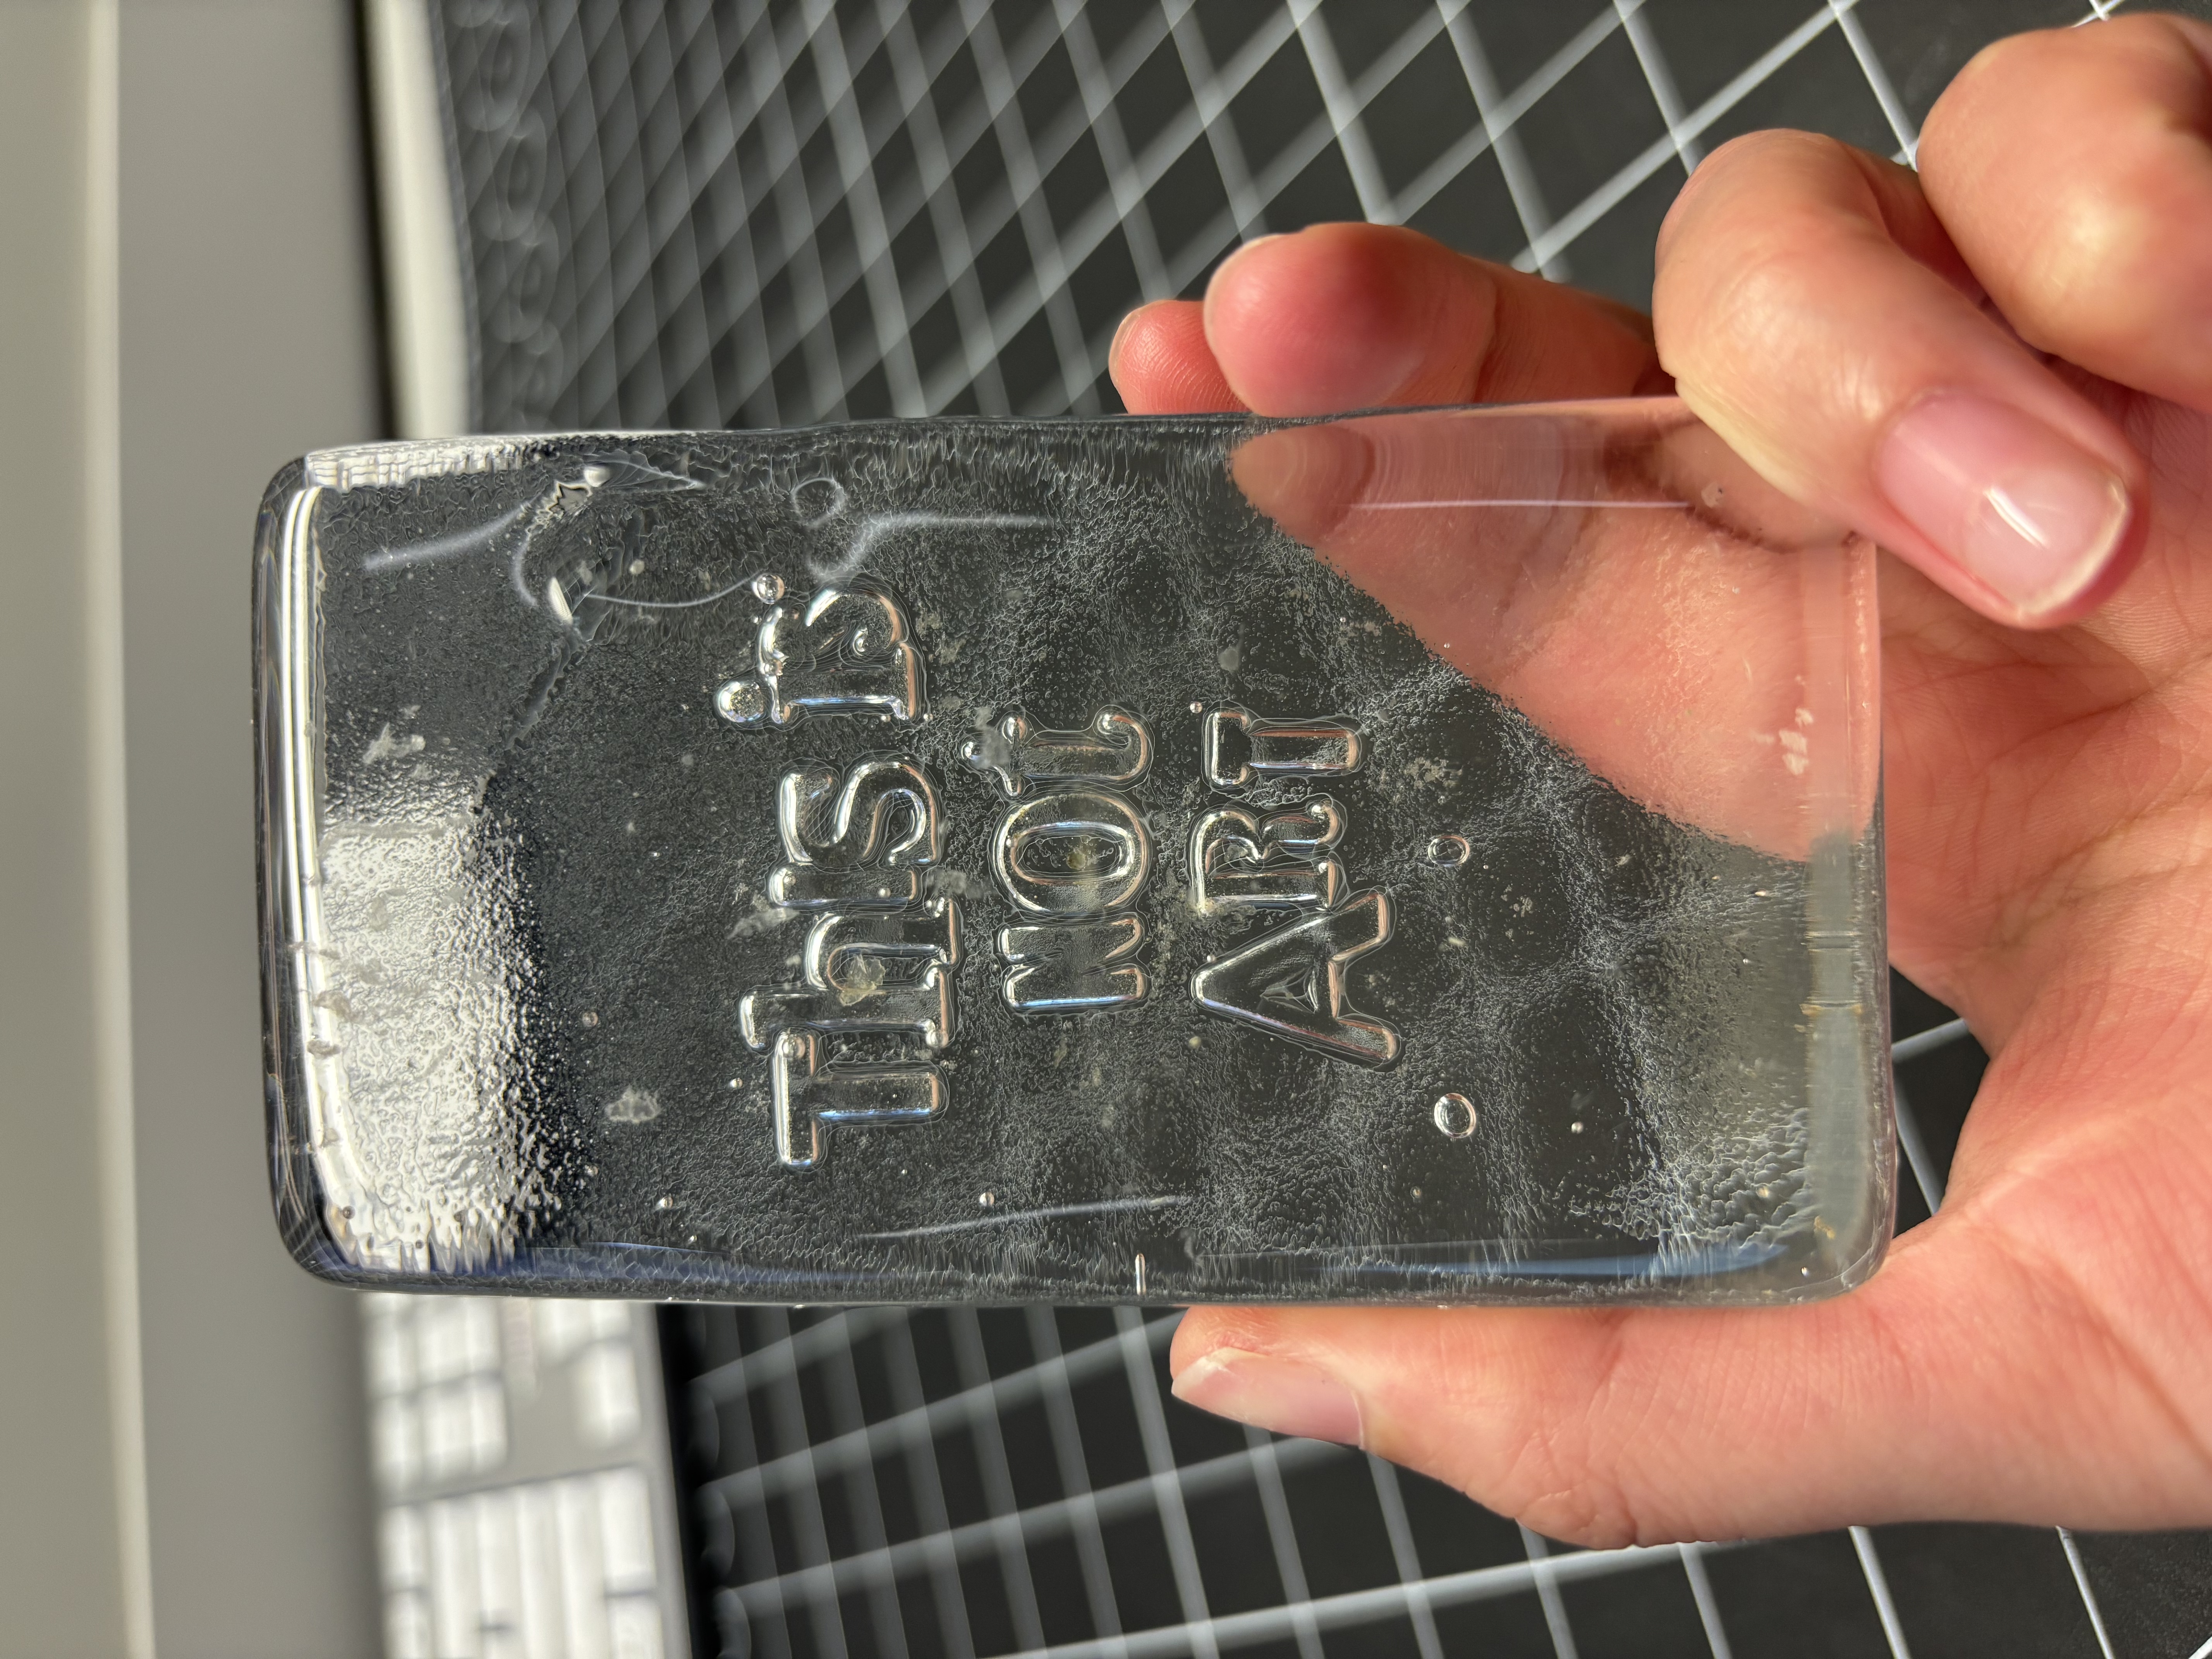
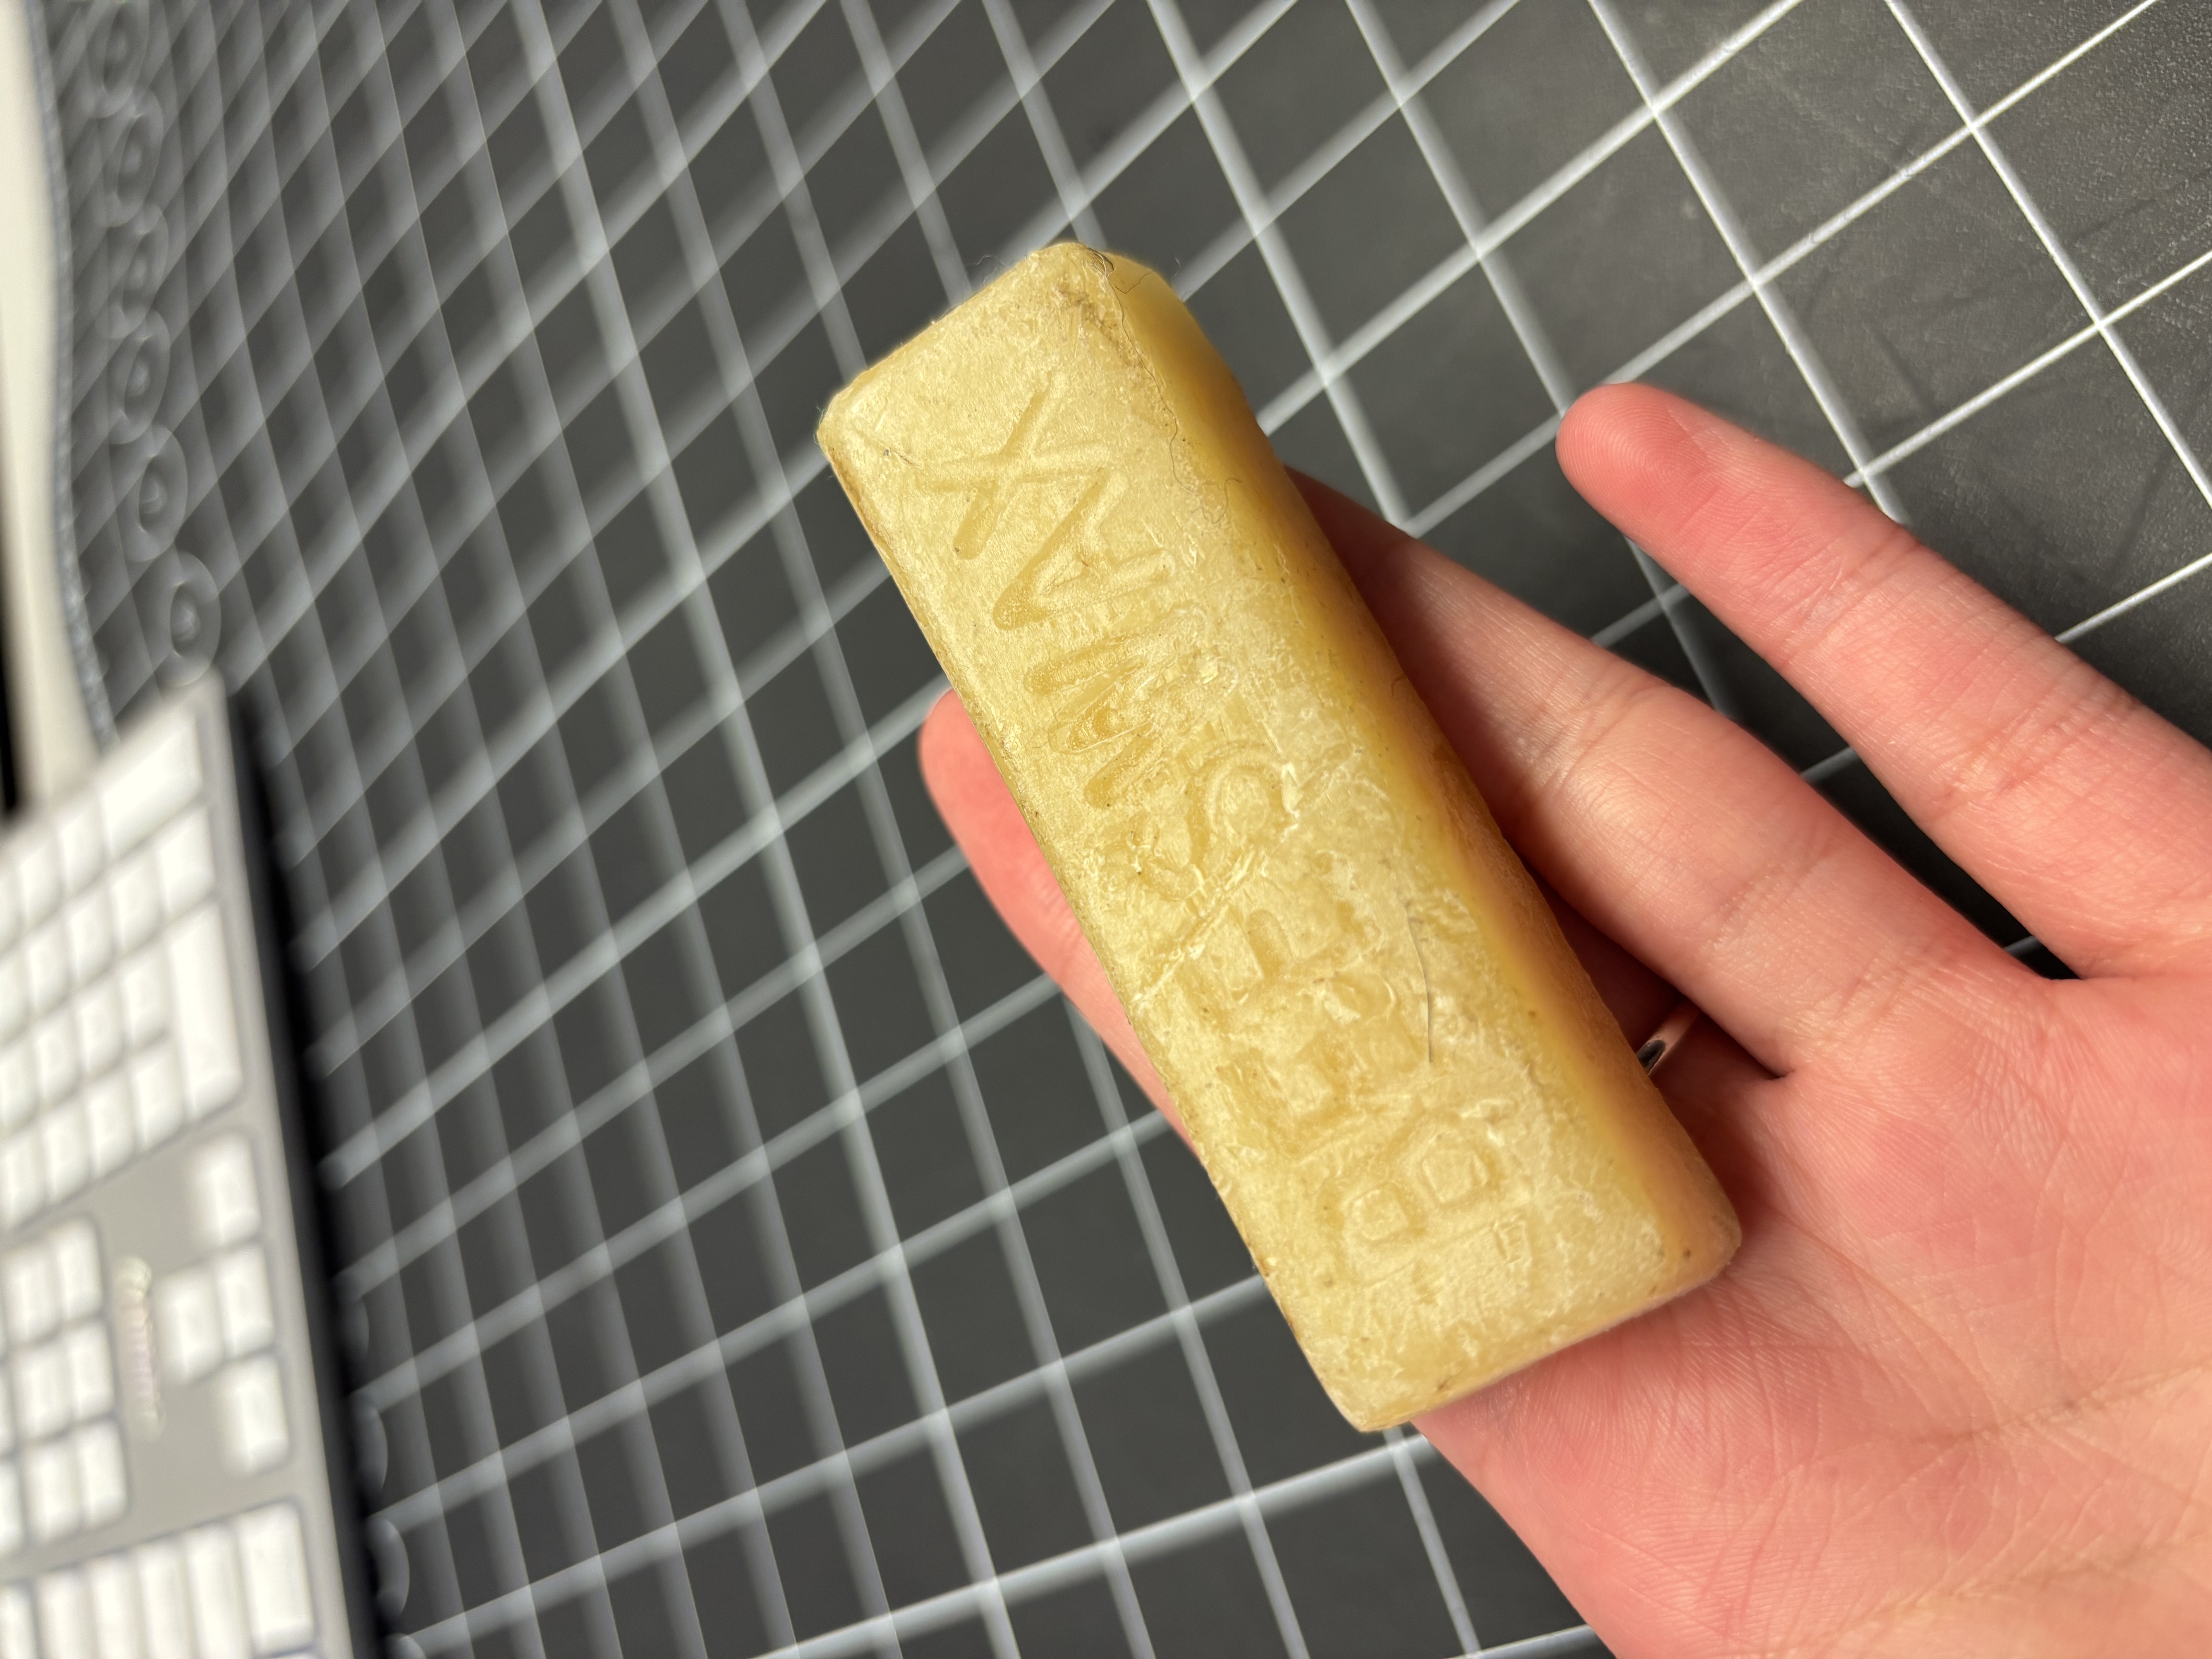
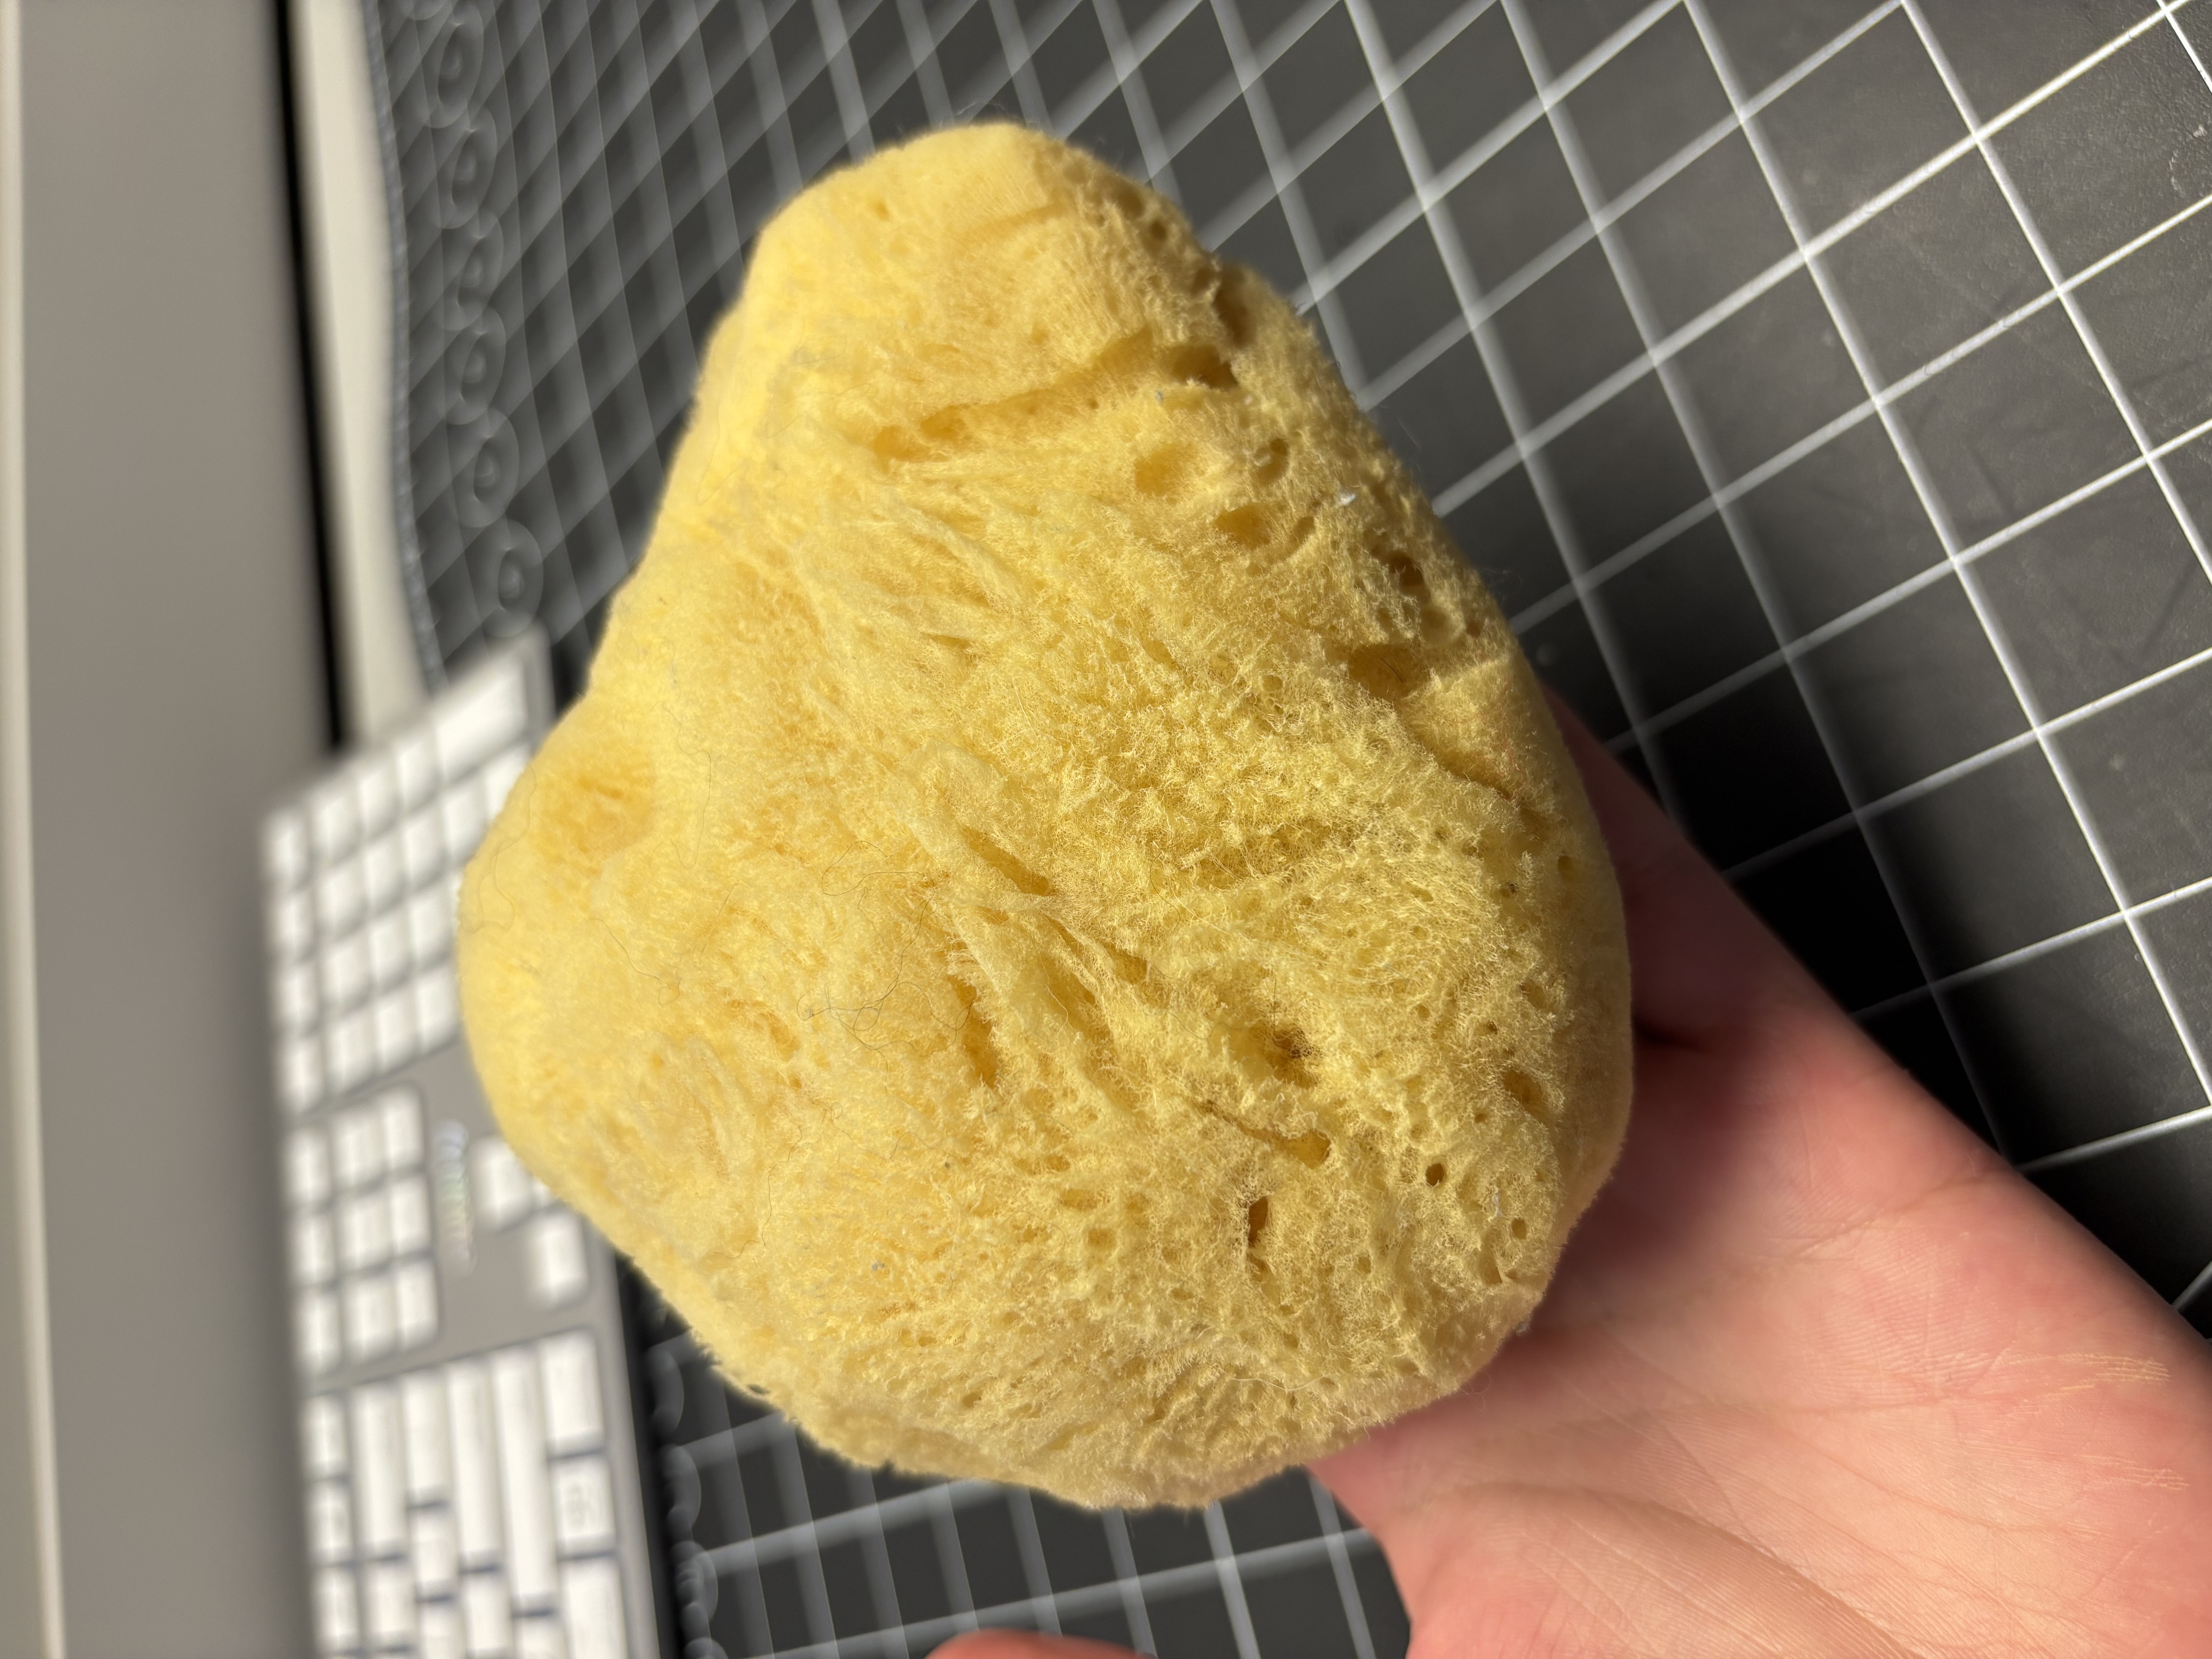
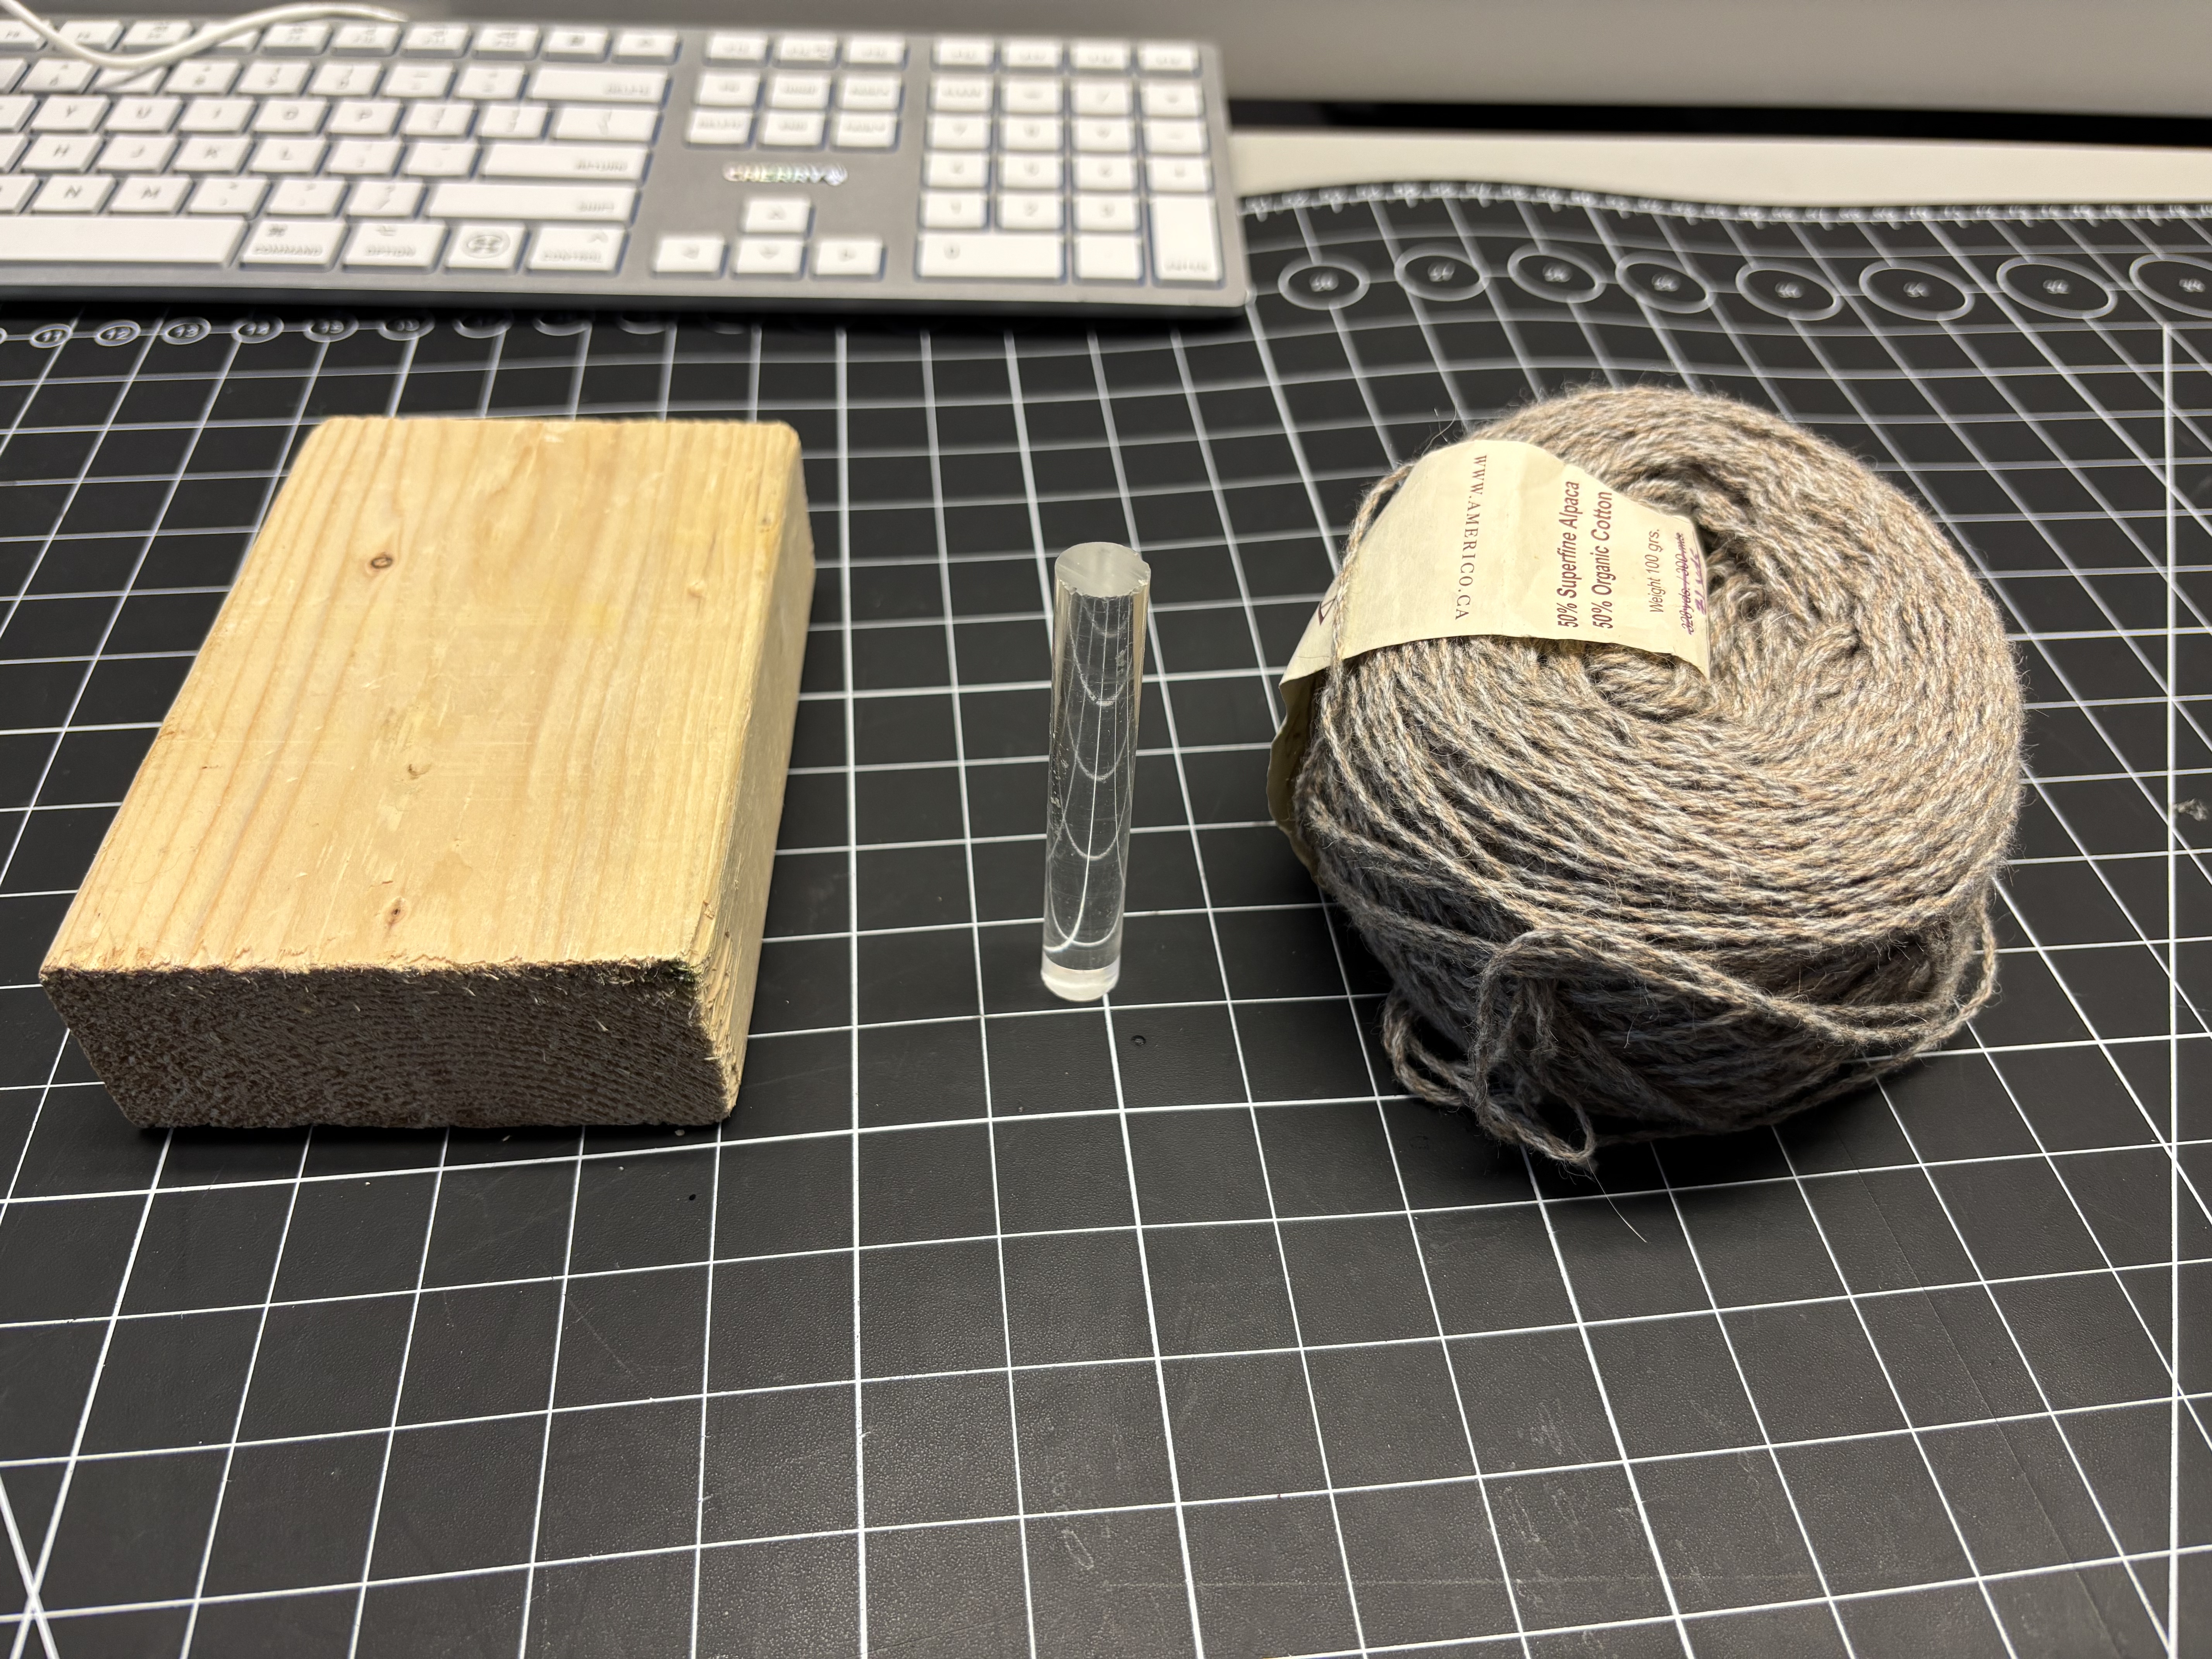
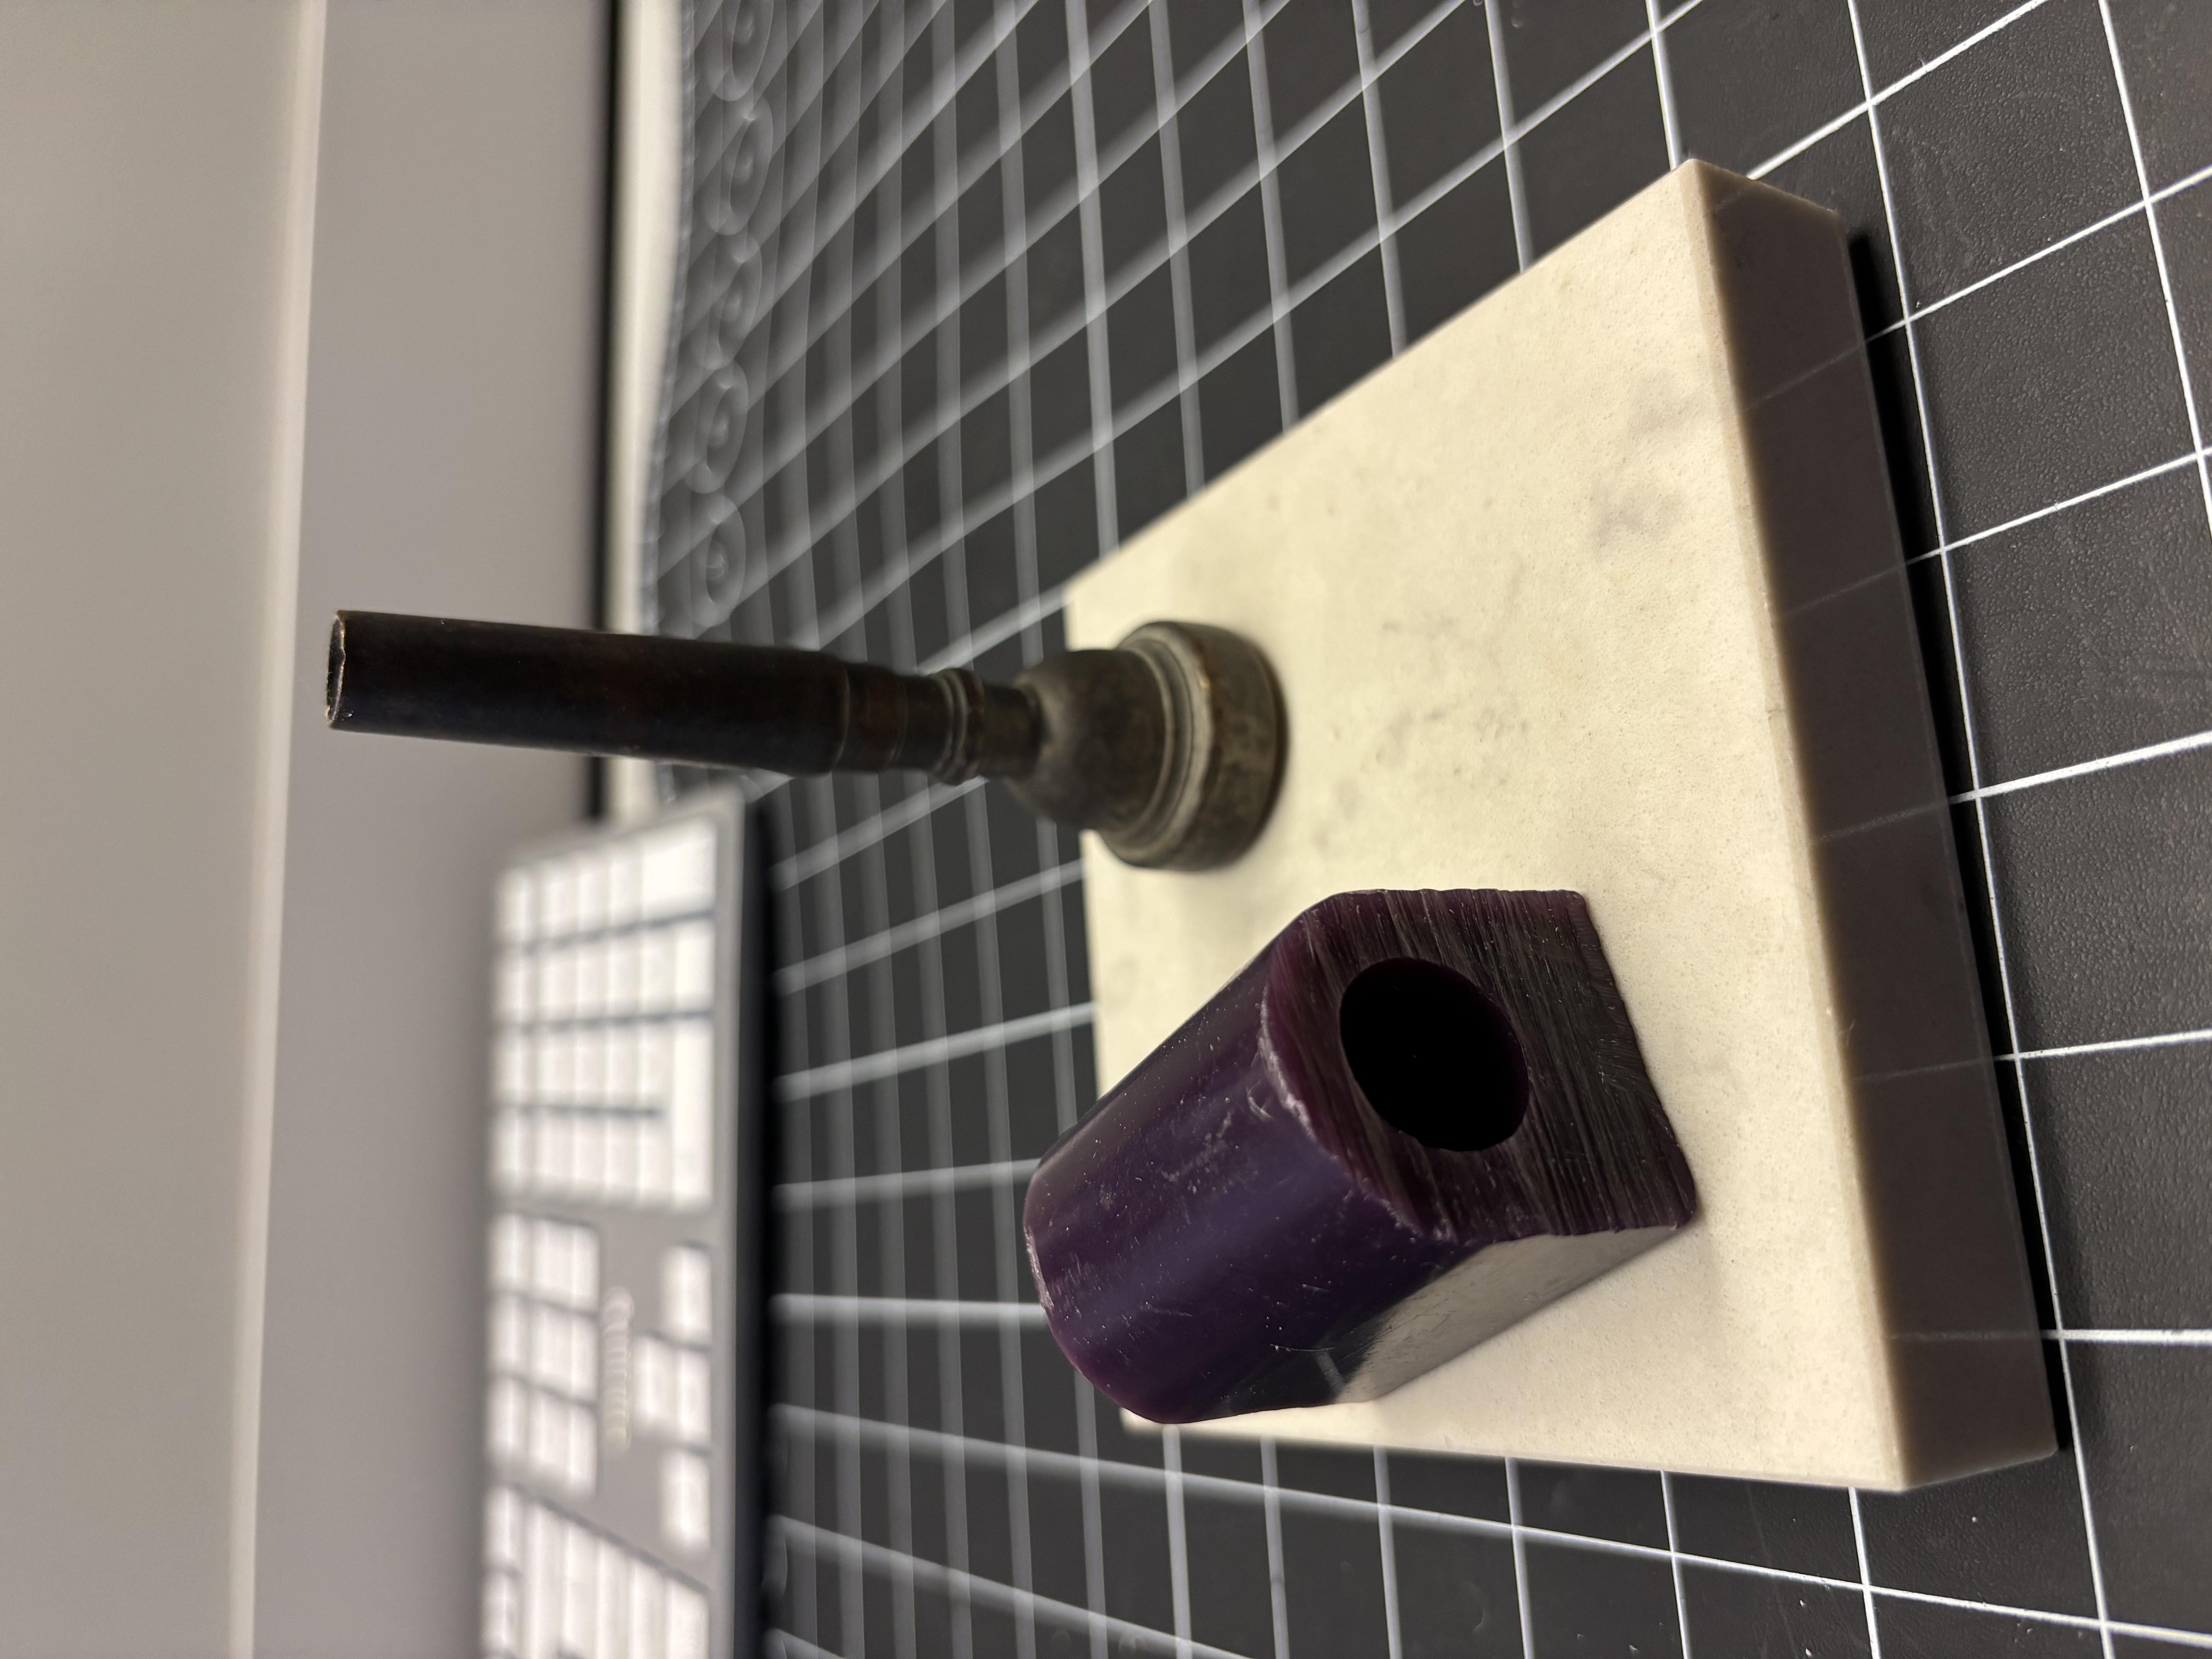
A natural sponge, a bar of soap, and a clear cast-glass block compared during a classroom material study. A transparent cast-glass sample containing bubbles and raised lettering. A worn yellow bar of soap held during a classroom material study. A yellow natural sponge showing its porous and fibrous surface. A wood block, a clear plastic rod, and a ball of alpaca-cotton yarn compared in class. A purple polymer profile, a metal component, and a marble tile compared during a material study.

Project 1


Project 1 Models

Published 3D Model 1

This was my first time using AI to create a complete 3D model, and the experience was very different from what I had imagined. I expected a fast but rough result. Instead, ChatGPT Codex responded to my reference photographs and increasingly specific prompts with an editable Blender asset. My role was not simply to ask for “a watch”: I had to study the real object, decide which construction details mattered, describe problems clearly, compare each version with the reference, and keep refining the result. I was especially surprised that the finished asset was not only visually convincing, but also had organized mesh topology, a usable UV layout, and a complete material setup. This project changed my understanding of AI from a one-click generator into a collaborative tool whose quality still depends on observation, precise language, technical checking, and repeated design decisions. Select the image to see the final render, detailed process notes, and interactive model.
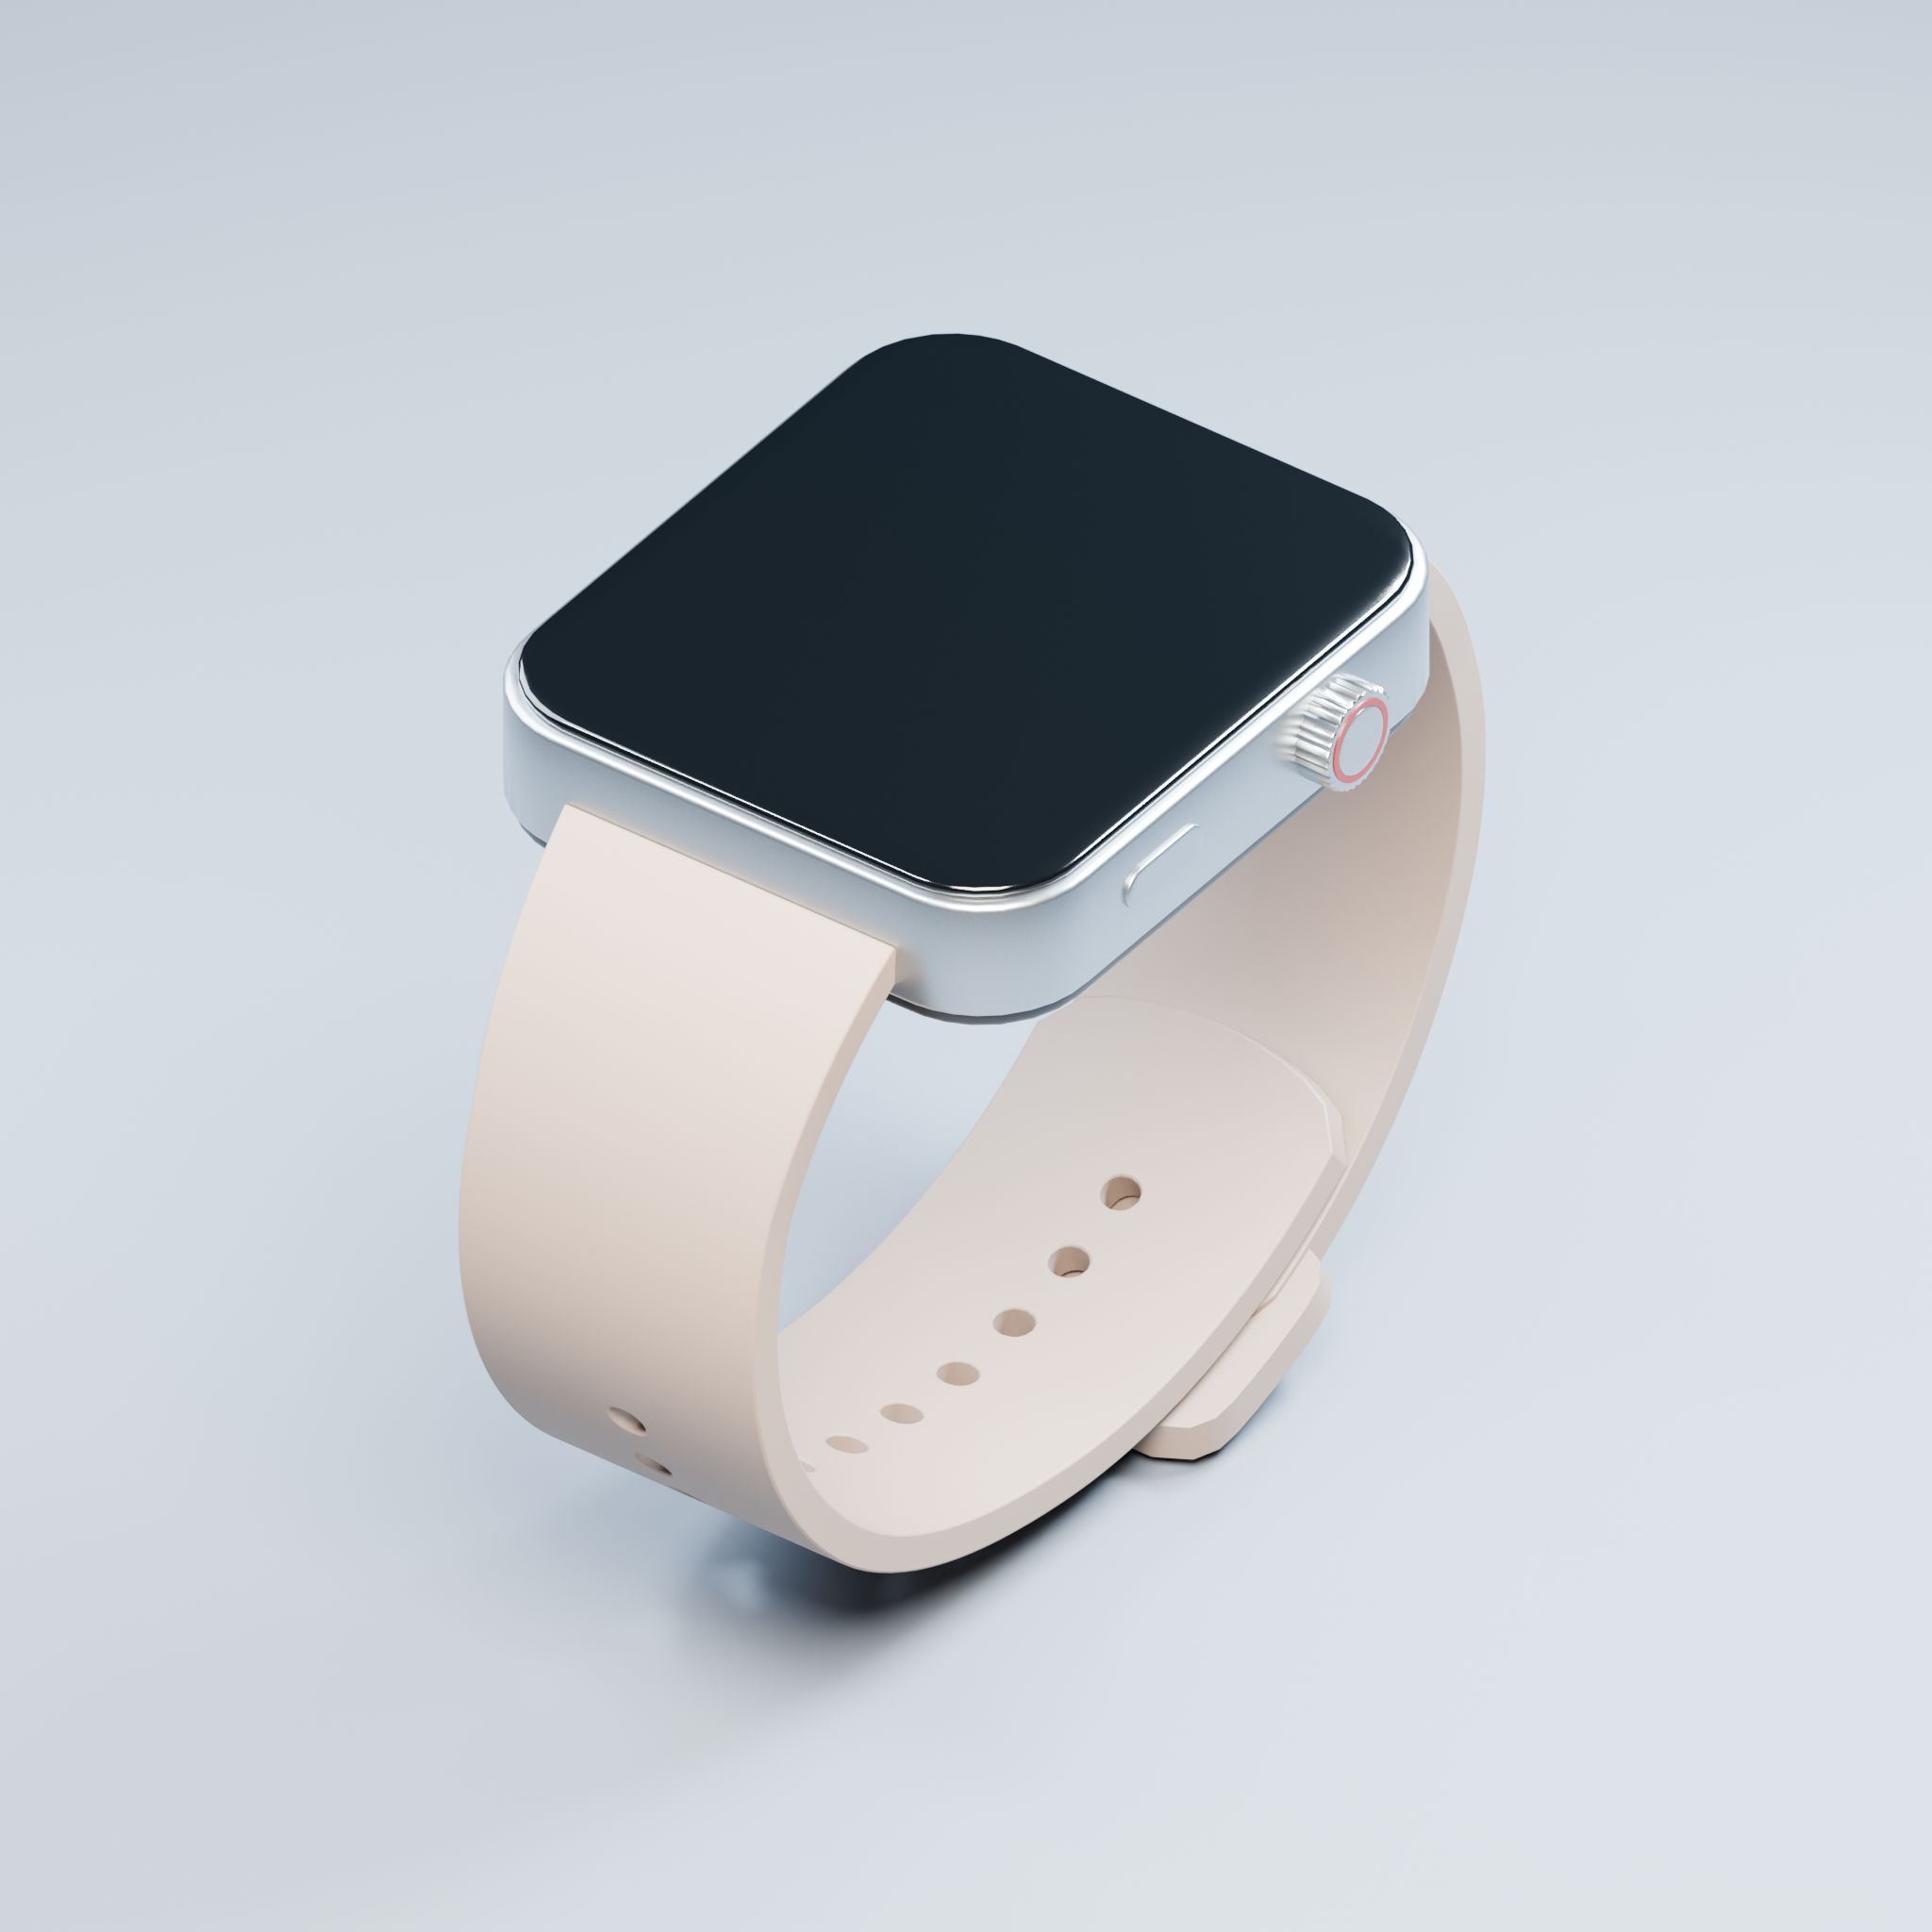
Final AI-assisted Blender render of a smartwatch with a reflective metal case and pale pink-beige silicone strap.

Published 3D Model 2

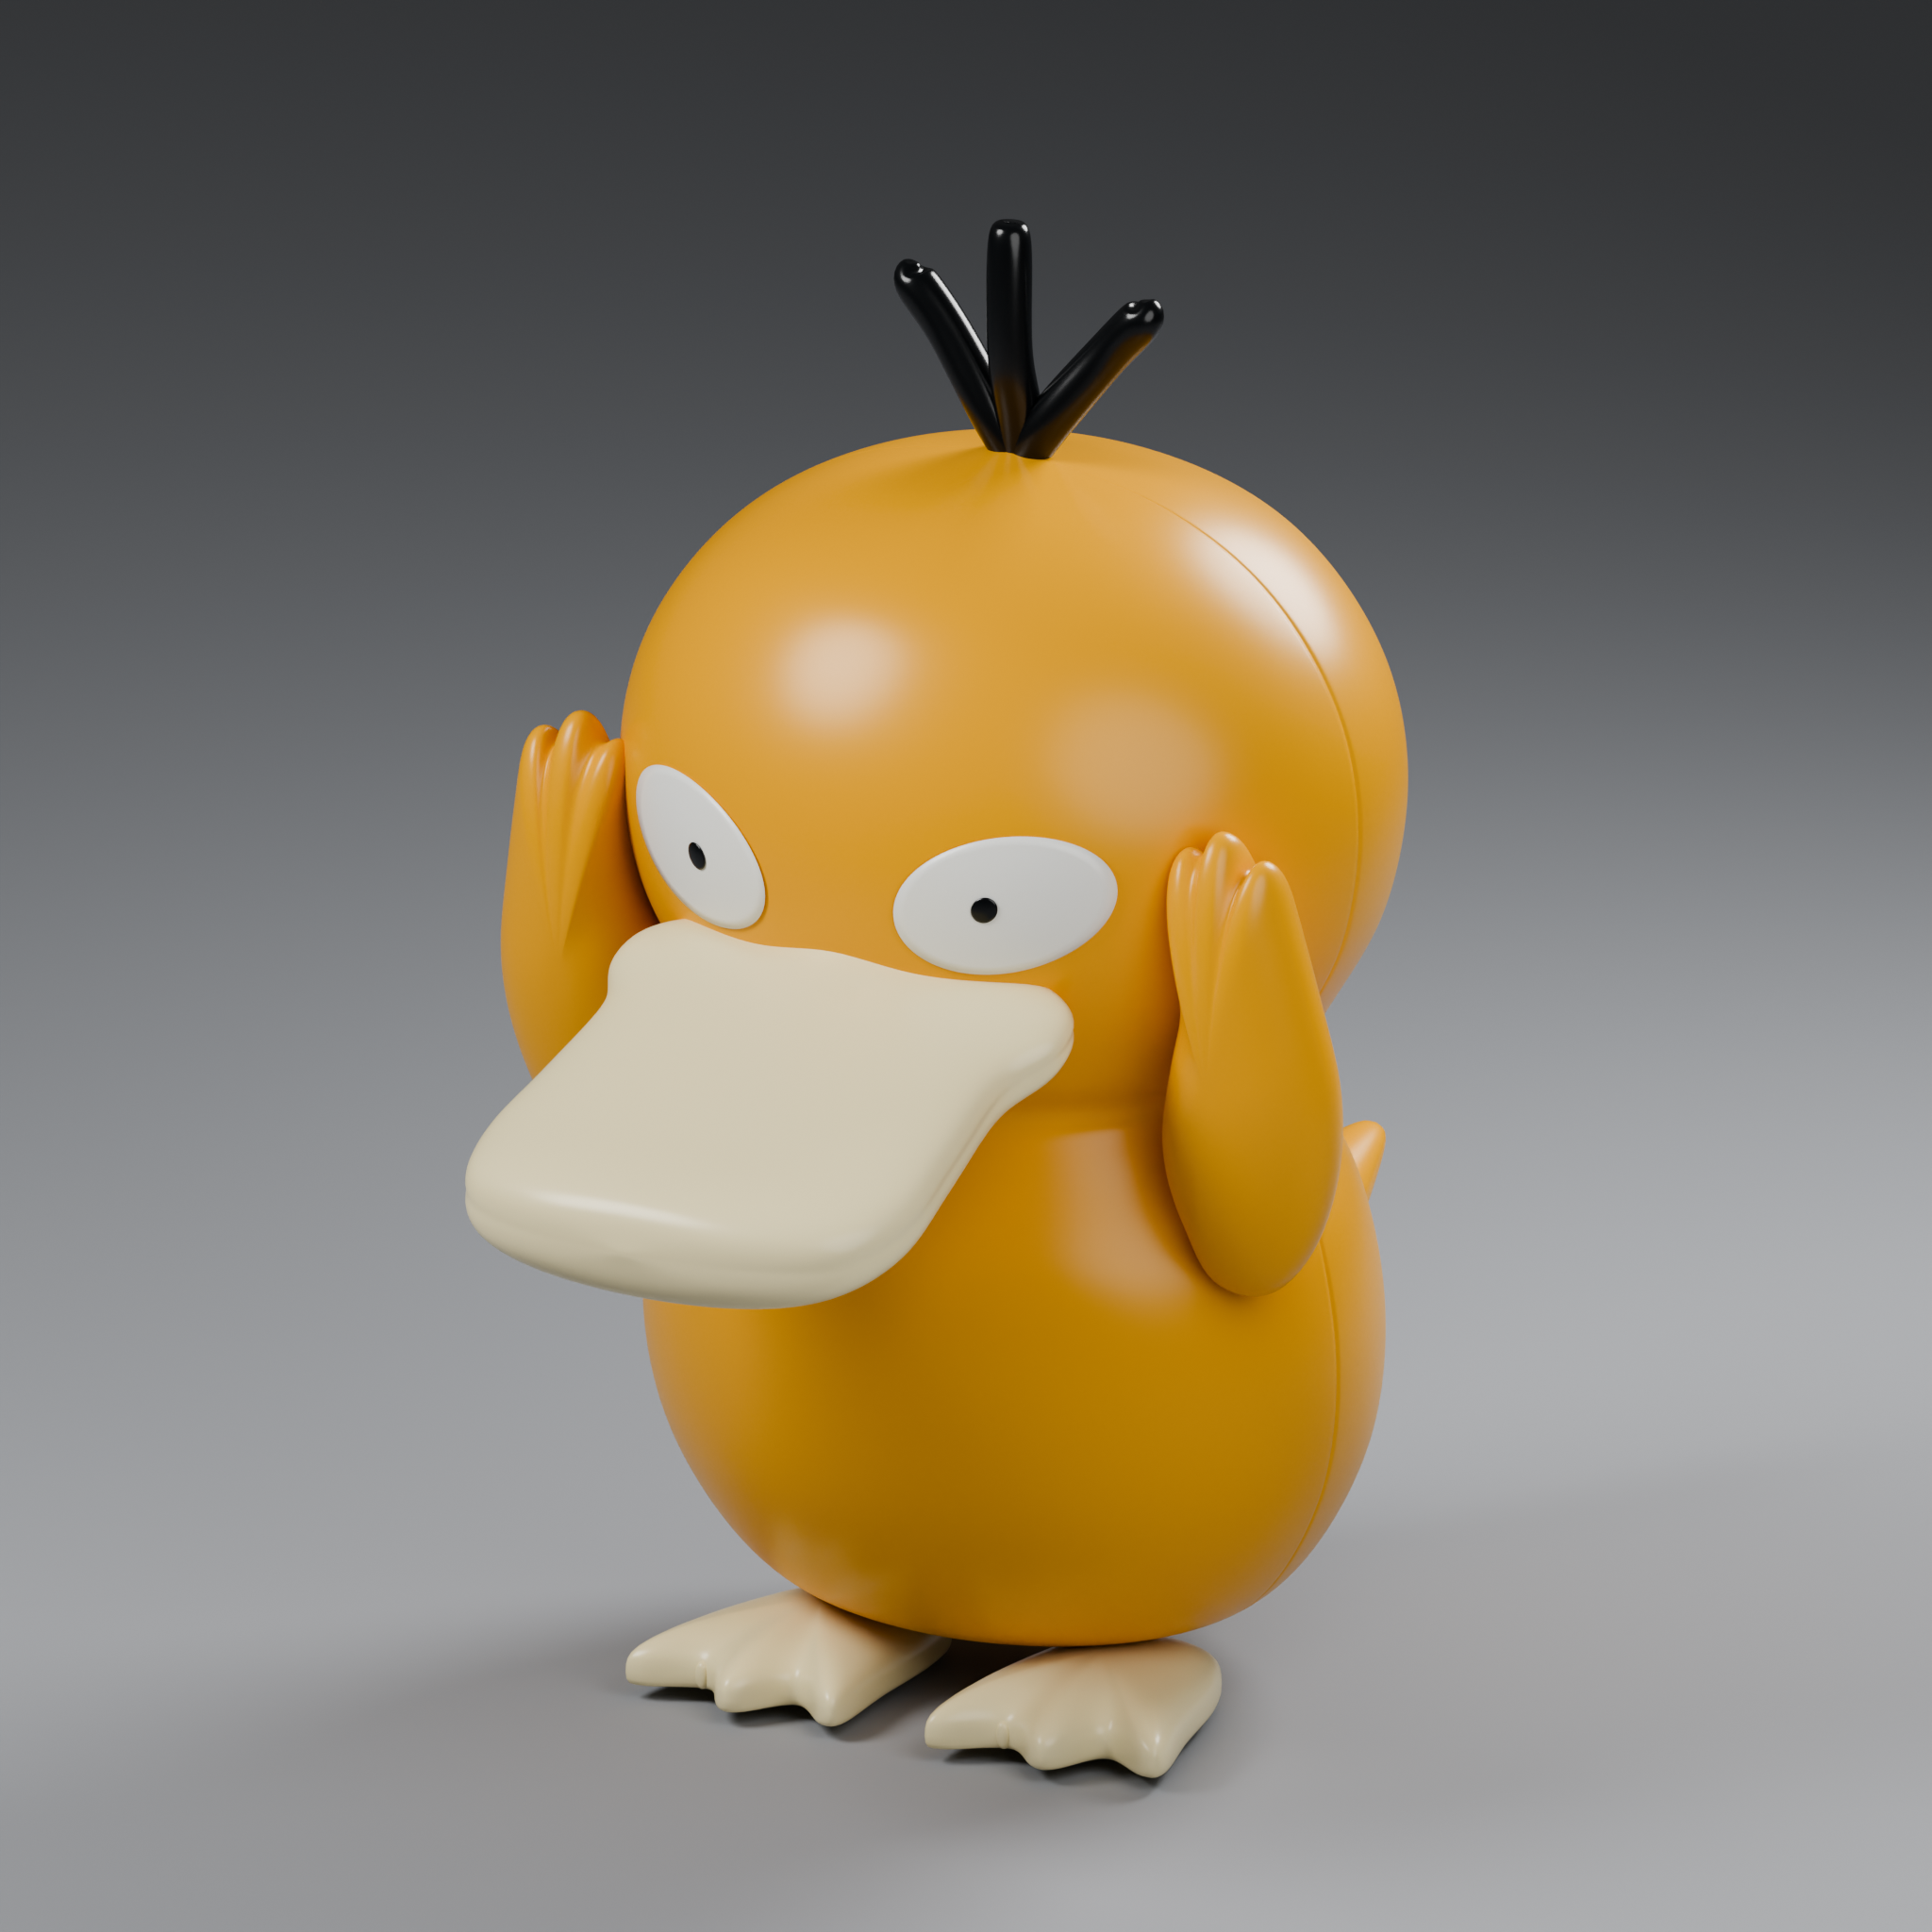
I developed this duck as an AI-assisted Blender model from eight photographs of a plastic toy. The first generated clay version captured the character, but its back and lower body looked too flat from the side. After comparing the model with my reference images, I opened the mesh in Blender and used Proportional Editing to pull the rear vertices outward, giving the body a fuller silhouette closer to the real object. This correction showed me that AI could establish a useful starting point, but careful observation and manual modeling decisions were still necessary. I then developed the white clay study into a finished yellow plastic version and prepared it for interactive viewing. Select the image to see the final render, detailed process notes, and the 3D model.
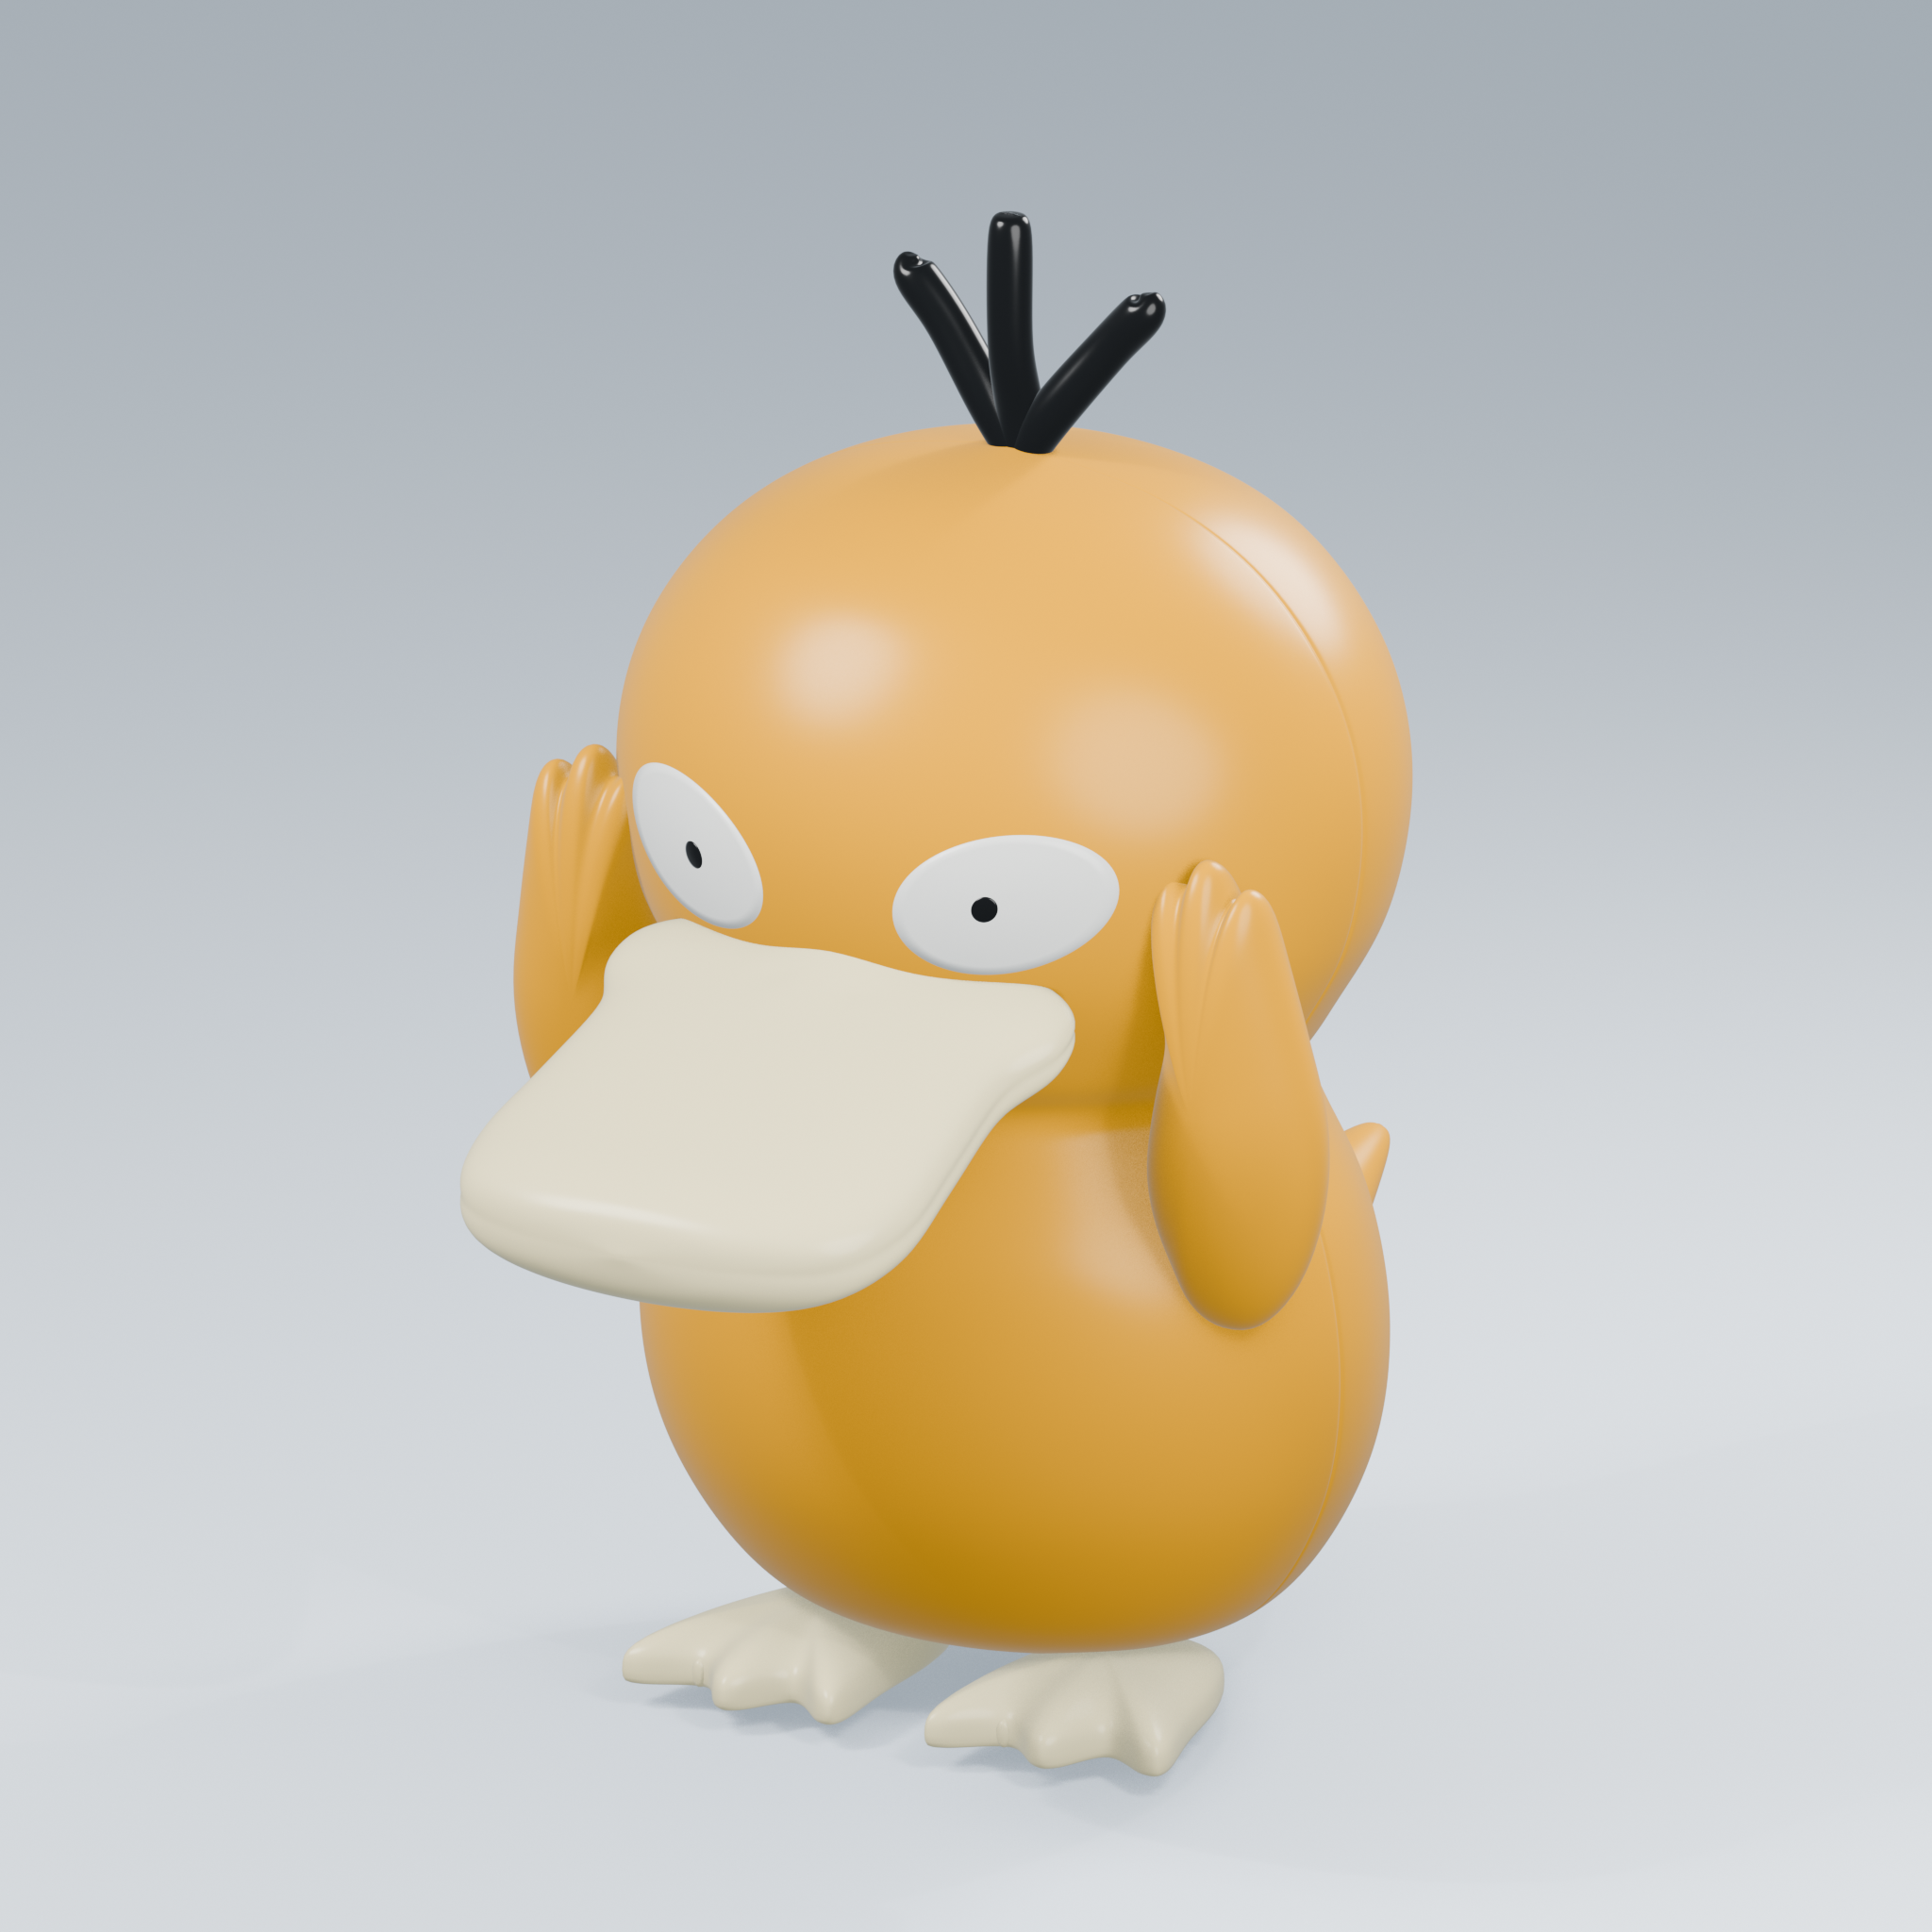
Final AI-assisted Blender render of a yellow plastic duck toy with raised hands.

Published 3D Model 3

This button hair clip became the third of my three final models. I began by studying nine photographs of the real object and using an AI-assisted Blender workflow to construct its rounded button form. Cylindrical cutters and Boolean operations created the four real openings, but the first holes did not match the size and spacing of the physical clip, so I compared each version with my photographs and revised them several times. I then developed the metal mechanism underneath instead of treating it as a flat decorative backing. The most interesting stage came after the geometry was complete: applying sixteen different materials showed me how one unchanged form could appear playful, luxurious, soft, fragile, natural, or luminous. Select the image to see the full material study, detailed process notes, and interactive models.
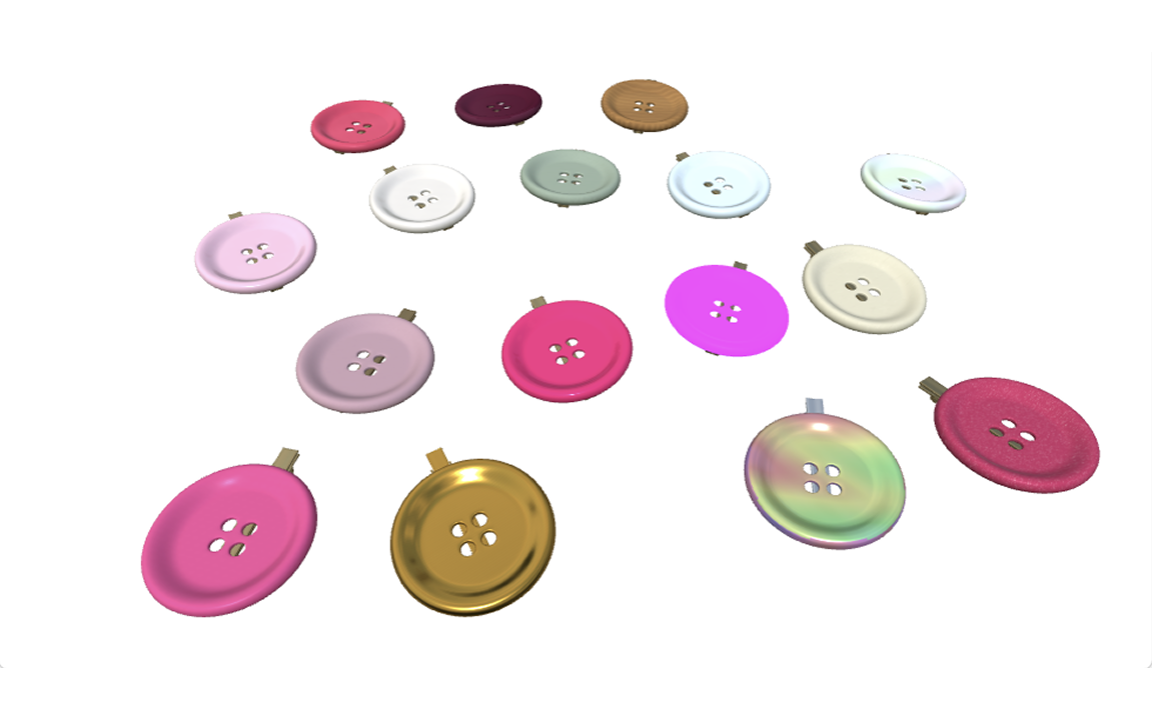
Overview of one button hair clip explored through sixteen different materials.
×

Powered by w3.css